HomeVintage Fisher PriceMy Etsy ShopCategoriesAbout
Showing posts with label breakfast. Show all posts

Friday, June 2, 2017

National Donut Day

Happy National Donut Day!  Yes it's a thing, I promise.  I've even blogged about it in the past.  Today you can celebrate all the yummyness that is a fried dough with delicious toppings. Yes!


To be honest most of the donuts we eat these days are made at home from scratch, but a donut here and there won't do any harm.  Especially if they're FREE!

Where to get freebies today?  Why I'm glad you asked:
  • Dunkin' Donuts: free classic donut with any beverage purchase.
  • Fractured Prune: free OC Sand donut.
  • Krispy Kremeany free donut (not just the classic ones like every other day).
  • LaMar's Donuts: any free donut & a cup of coffee.  You'll need to bring a printed golden ticket to redeem the offer.
  • Rainbow Donuts: free donut with any beverage.
  • Desert Donuts: free donut with purchase.

Hooray for donuts!  Go get one or two and celebrate.  If you want to make your own try my easy (baked) recipes!


For more info on National Donut Day including the official history check out my entry from last year: National Donut Day 2016.

Thursday, March 3, 2016

Delicious Baked Sour Cream Donuts


I've got a new baked donut recipe to share!  Evidently I only make donuts when we have play dates because I haven't made them since the last time we had friends over.  I liked our last Cinnamon Sugar Donut recipe but thought I'd try a different one this time.

I LOVE making donuts for play dates since they are easy and a super fun snack with kids.  The weather has been amazing here lately (ah Arizona winters) so we ate them outside while the kids played.


Sour Cream Donuts

1 cup all-purpose flour 
1/2 tsp baking soda 
1/4 tsp salt 
Pinch of nutmeg 
1/2 cup sour cream 
1/2 cup granulated sugar, plus more for coating the doughnuts 
1/4 cup coconut oil 
1/2 tsp vanilla extract 
1 large egg 

Preheat the oven to 350°F. Prepare donut pan by greasing it with coconut oil.  In a small bowl, whisk together the flour, baking soda, salt, and pinch of nutmeg. Set the dry ingredients aside. In a medium bowl, whisk together the sour cream, granulated sugar, coconut oil, vanilla extract, and the egg. Switch to a spatula and stir in the dry ingredients.  Fill a plastic storage bag (or a fancy icing bag) with the batter and pipe it evenly among the prepared donut pan. The batter should reach about half way up the inside of each circle. Bake the donuts for 12–16 minutes until the top edges begin to turn golden brown. Remove the donut pan from the oven and let the donuts cool for about 5 minutes before tossing them in the extra granulated sugar.

I found that this recipe made 6 very full (and delicious) donuts with extra batter to spare so I made a bonus heart shaped donut too.


The girls loved the donuts! 

Tuesday, October 27, 2015

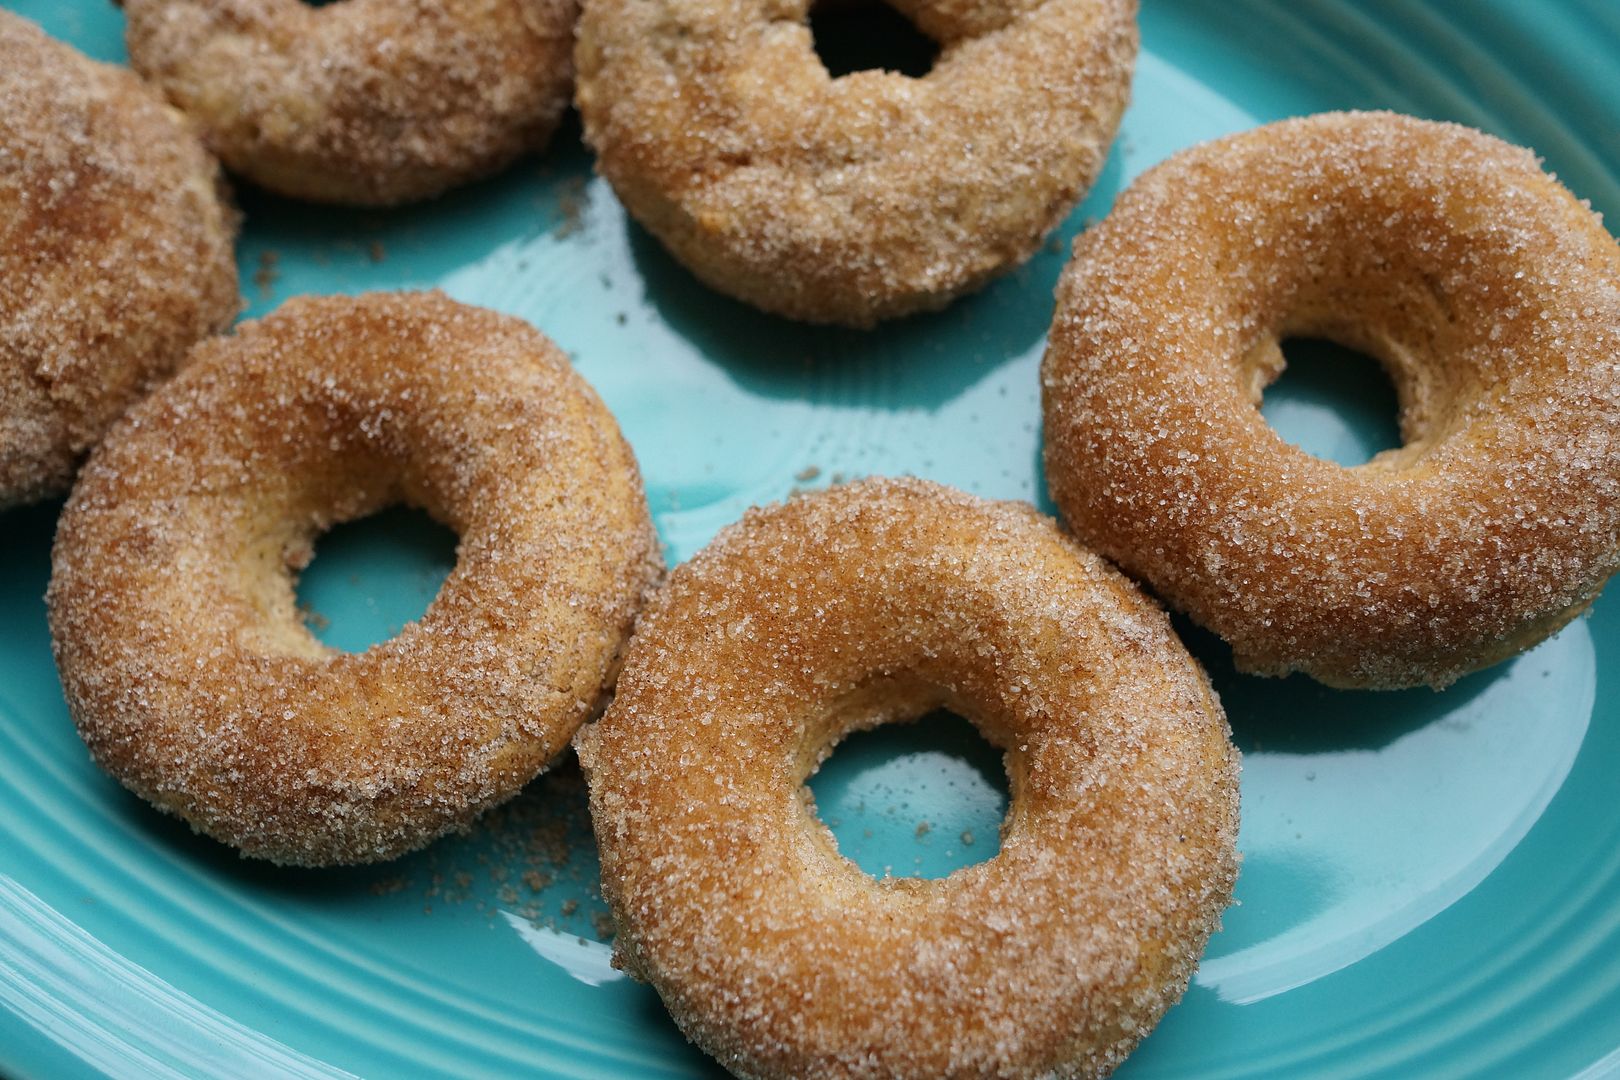
Cinnamon Sugar Baked Donuts


I have a new obsession that is absolutely not helping with my quest to maintain a slender figure. :)  Donuts people.  Donuts.  Now, these are baked donuts which isn't as bad as a fried one, or at least that's what I keep telling myself.  Fortunately I did the math and these donuts are only 234 calories each which is totally doable!  

So get a donut pan (I got this Wilton Nonstick 6-Cavity Donut Pan on Amazon for around $7) and give them a try.  If you're already a baked donut fan please feel free to pass your favorite recipes on to me!
Cinnamon Sugar Baked Donuts
Ingredients 
3/4 cup flour 
2 Tbsp cornstarch 
1/3 cup sugar 
1 tsp baking powder 
1/2 tsp salt 
1/2 tsp cinnamon 
1/4 tsp nutmeg 
1/3 cup buttermilk 
1 egg 
1 Tbsp melted butter 
1 tsp vanilla 

For topping: 
2 Tbsp melted butter 
1/3 cup sugar + 1 tsp cinnamon (mixed together) 

Instructions 
1. Whisk together flour, cornstarch, sugar, baking powder, salt, cinnamon, and nutmeg in a mixing bowl. 
2. In a small bowl, whisk together the buttermilk, egg, melted butter, and vanilla. Add to the dry mixture and stir till just combined. 
3. Spoon batter into a ziplock bag and snip off the corner. Squeeze the batter into a well greased donut pan. 
4. Bake at 375° for 12 minutes. Let cool for a couple minutes, then remove to cooling racks. While still warm, brush all sides of each donut with melted butter, then dip in the cinnamon sugar mixture till well coated.

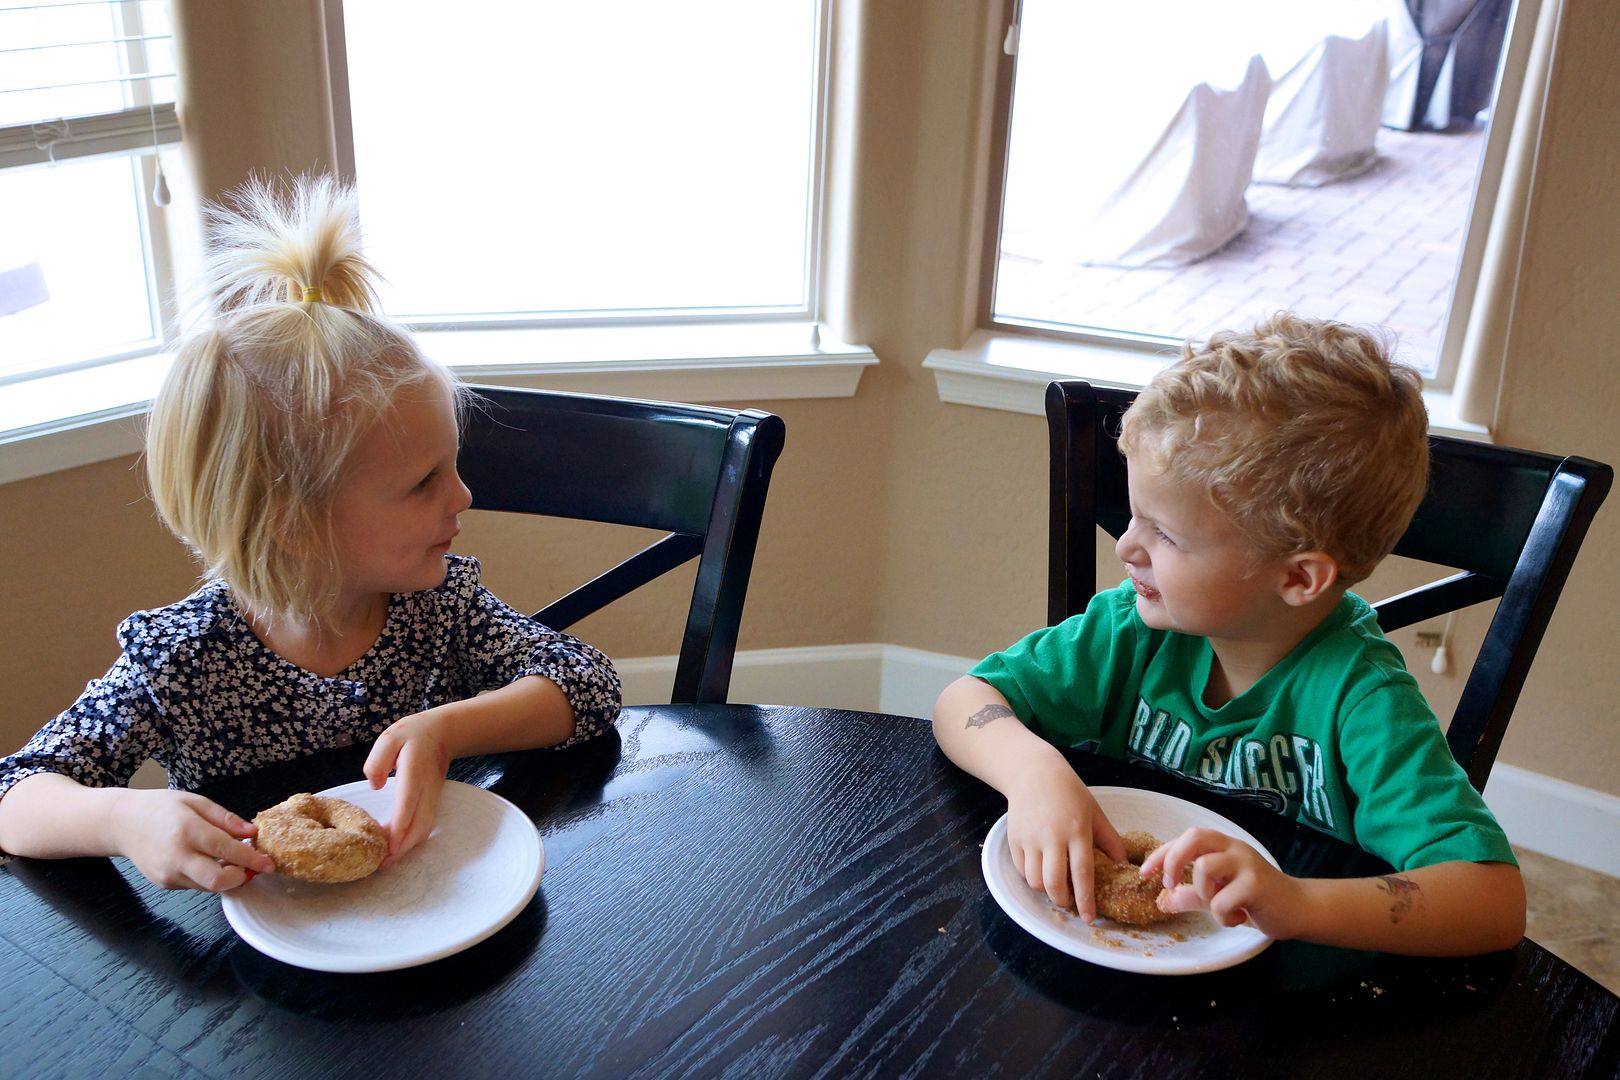
The recipe makes 6 standard size donuts which was perfect for my crowd.  You could always double the recipe if you need more.  These donuts were a huge hit with my littles and our BFFs that happened to be over for a playdate that morning.  Donuts + rain + besties = Living the Dream 


Wednesday, September 2, 2015

Cream Cheese Banana Bread

If you have a couple mushy bananas hanging around your kitchen you must make this recipe today.  Trust me, you won't regret it!  Well, unless you're on a diet then you'll pretty much hate me. ;)


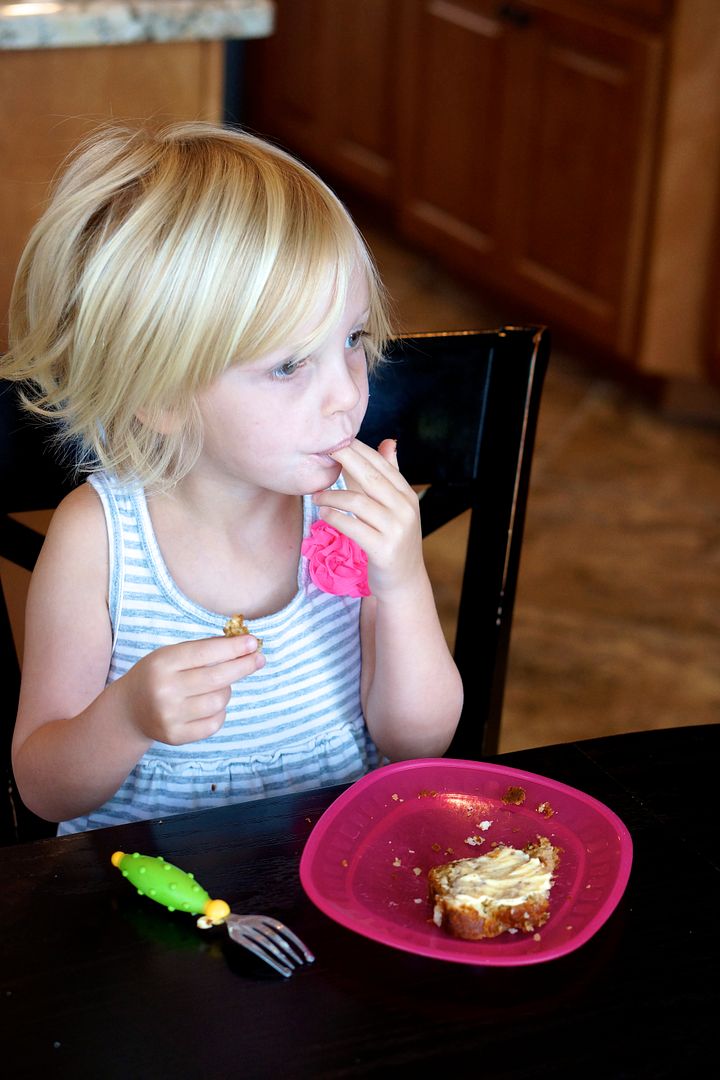
But seriously, I made this cream cheese banana bread on monday and it was gone by tuesday night.  My children, friends and even my husband (who doesn't like banana bread) thought it was delicious.  My youngest thought it was particularly spectacular when I spread butter all over it.  Ah, yummy!

I found this recipe online but made a few changes to suit our needs.  If you want to see the original recipe go here


Cream Cheese Banana Bread
Ingredients 
1 large egg 
½ cup brown sugar (packed) 
¼ cup coconut oil 
¼ cup sour cream 
2 tsp vanilla extract 
2 bananas mashed (about 1 cup) 
1 cup flour 
½ tsp baking powder 
½ tsp baking soda 
¼ tsp salt 

Filling 
1 large egg 
6 ounces cream cheese 
⅓ cup granulated sugar 
2½ tlbs flour 

Directions
1. Preheat oven to 350 degrees.  Coat (or spray) a 9 x 5 loaf pan with coconut oil and flour, set aside.
2. In a large bowl mix all filling ingredients using whisk and set aside.  It may be a little lumpy, especially if your cream cheese came straight from the refrigerator.  Just keep coming back to mix it in between the next few steps. 
3. In another large bowl mix together egg, sugar, oil, sour cream, and vanilla using a whisk until smooth. Add bananas and stir to incorporate. 
4. In a small bowl mix together flour, baking powder, baking soda, and salt. Gently stir the dry mix into the wet, folding it in and stirring until just combined.  Be careful not to over mix. 
5. Put about ⅔ of the bread mixture into prepared loaf pan. Put filling mixture over top, and carefully smooth over with a spatula. Top with remaining bread mix and smooth over the top. Bake about 50 minutes, until top is golden, and center is set. If top is getting too brown, and center is not set, tent foil over the top. 
6. Allow bread to cool for 10-15 minutes before turning out on a cooling rack.


Serve alone or with butter and a smile! :)

For another equally amazing banana bread recipe check out: Coconut Banana Bread with Lemon Glaze

Wednesday, September 24, 2014

Chocolate Chip Pumpkin Muffin Recipe

It is fall, time to bring out the pumpkin lattes, breads and muffins!  I have to admit that I'm not exactly in the fall spirit since it's still in the high 90's around here, but I'm making an effort.  This time of year here in Phoenix you see people wearing long pants and sweaters, despite the hot hot temperatures.  It's as if we are ignoring the reality and pretending it's fall like the rest of the country.  Of course the a/c in most places is high enough that we can survive in our fall digs.


But I digress, back to muffins.  I adapted a recipe from skinnytaste to use up some pumpkin puree I made last spring.  We are currently trying to get through everything in our freezer before buying more frozen foods.  I'm at the point where I'm getting mighty creative using what is left.  So when I saw this recipe for pumpkin puree I knew we were golden.  Especially since my girls are digging muffins in the mornings and I figured this was a great recipe to make ahead, freeze and then pull out to eat. 

Chocolate Chip Pumpkin Muffins
Ingredients
1 1/4 cup unbleached all purpose flour
3/4 cup sugar 
3/4 tsp baking soda 
2 tsp pumpkin pie spice 
1/4 tsp cinnamon 
1/4 tsp salt 
1 1/2 cups canned pumpkin puree (I used my own pumpkin puree
2 tbsp coconut oil 
2 large egg whites 
2 tsp vanilla extract 
2/3 cup mini chocolate chips 

Instructions
1. Preheat the oven to 350°F. Line a mini or regular muffin tin with paper liners and lightly spray liners with oil for easy removal. 
2. In a medium bowl, combine flour, sugar, baking soda, pumpkin spice, cinnamon, and salt.  Set aside. 
3. In a large bowl mix pumpkin puree, oil, egg whites and vanilla; beat at medium speed until thick. Scrape down sides of the bowl. Add flour mixture to the wet mixture, then blend at low speed until combined; do not over mix. Fold in chocolate chips. 
4.  Pour batter into prepared muffin tin and bake on the center rack for 22 to 24 minutes, or until a toothpick inserted in the center comes out clean. Let them cool at least 15 minutes before serving. 

Makes 28 mini muffins or 15 regular sized muffins.

Tuesday, March 4, 2014

National Pancake Day!

Have you celebrated National Pancake Day yet?  Oh yes, a day devoted to eating yummy syrup laden pancakes, bring it on!  I will admit that I didn't make pancakes this morning, I started my day with a beet green and berry smoothie but I intend on whipping up some for dinner.

Here are a couple of my favorite Pancake recipes in case you want to try something new.  Or you can go to Ihop, I hear they are giving out pancakes for free! ;)


First up Perfect Buttermilk Pancakes: These are special because they are made from scratch, not a mix!  This simple recipe takes only a couple minutes to make and the pancakes come out consistent every time.  After trying this recipe I've never gone back to a boxed "easy" mix ever again!


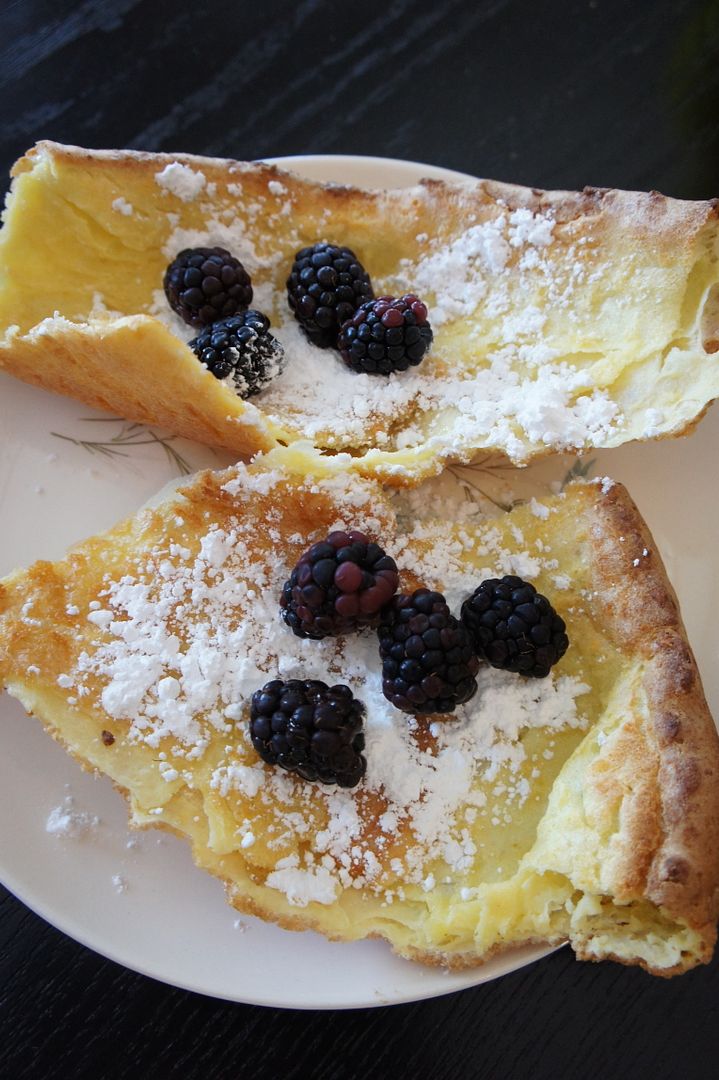
Or to be a little more adventurous try my Puffy Pancakes Recipe :  It may not look like a traditional pancake but it is truly delicious.  Also known as German Pancakes or Dutch Babies this is a light and fluffy pancake perfect with berries and a little powdered sugar.

However you make them have a Happy Pancake Day!

Monday, April 1, 2013

Puffy Pancakes Recipe

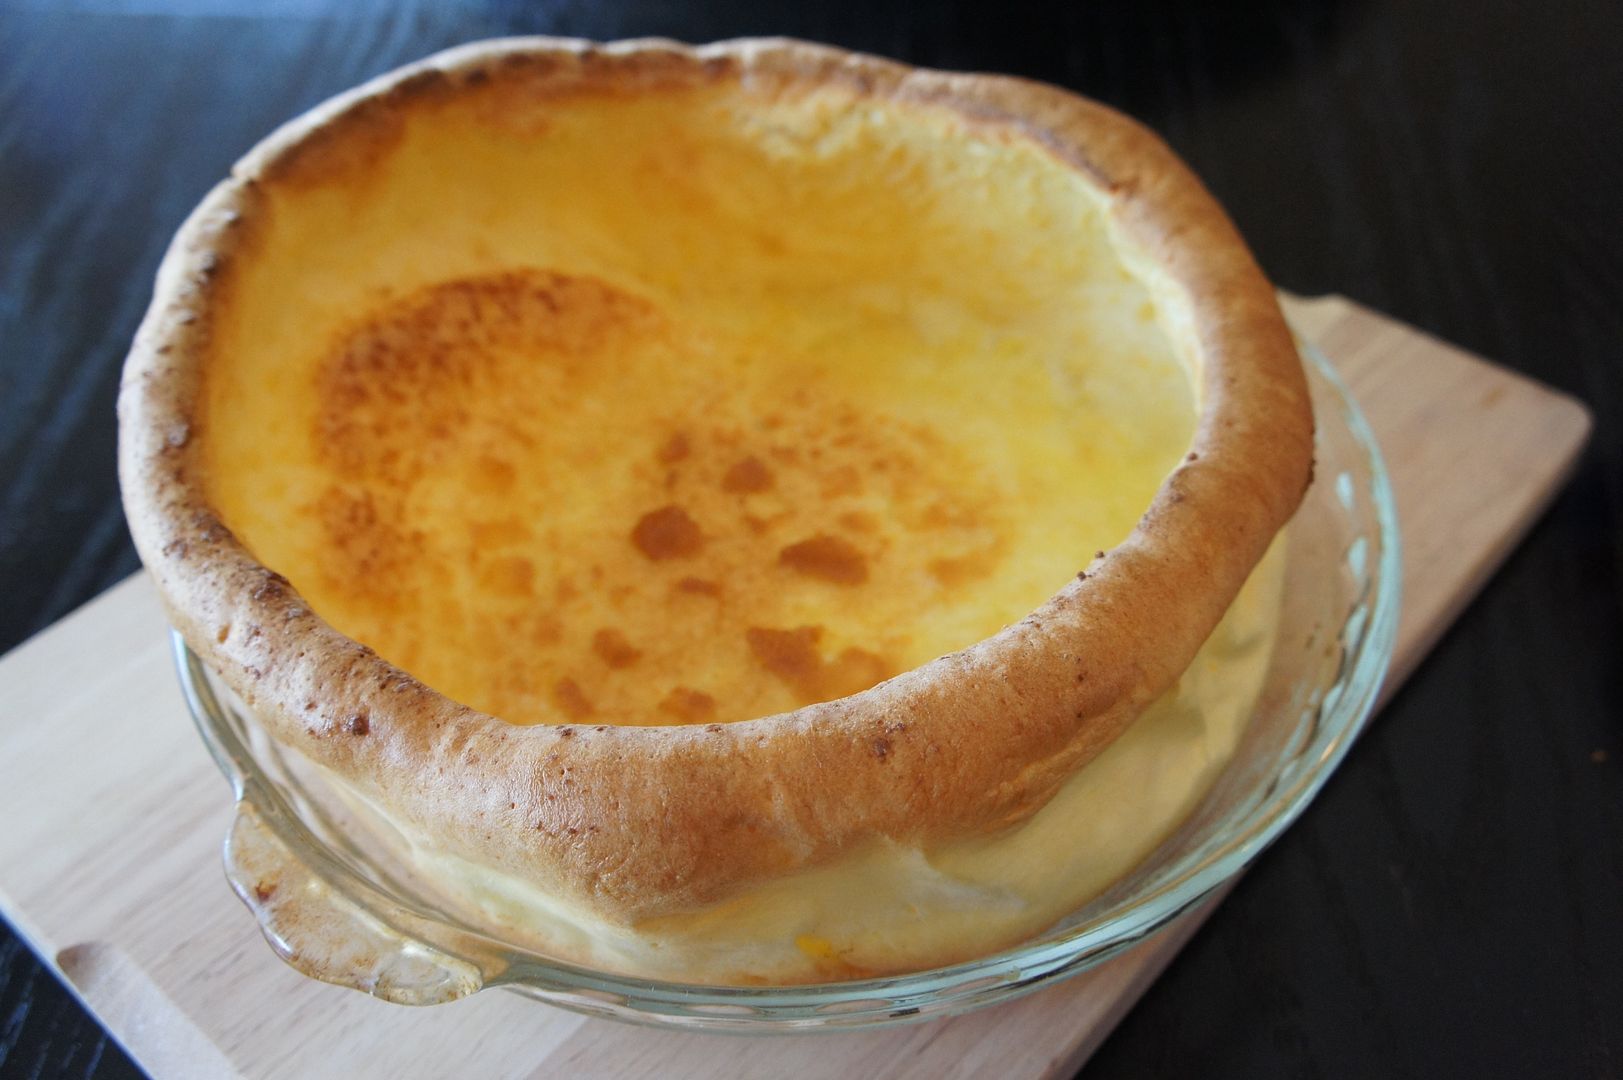
Have you tried Puffy Pancakes before?  You may also know them as Dutch Babies or German Pancakes.  When I was growing up they were called Papa's Colossal Pancakes in my house.  My dad would make them on weekends and we'd put lots of powdered sugar (from a Tupperware sugar mill) and lemon juice on them.  I remember the Tupperware mill breaking all the time (bottom coming off) and powdered sugar spilling all over my plate.  Ah memories.

This recipe is a bit easier than the one my dad used to make because it only takes a glass pie dish, no big heavy oven skillet required.  I made this Easter morning and the prep was simple although the outcome is quite impressive in its puffiness.  My 5 year old loved it!  You can serve slices with berries, jam or just powdered sugar and lemon juice (my favorite).  They sink down a bit after you remove them from the oven, like a souffle.


Puffy Pancakes Recipe
Ingredients
2 tablespoons butter 
2 eggs 
1/2 cup all-purpose flour 
1/2 cup milk 
1/4 teaspoon salt 
*toppings: powdered sugar, lemon juice and berries

Directions
1. Heat oven to 400°F.  While it is preheating put butter in 9-inch glass pie plate inside the oven to melt.  
2. In medium bowl, beat eggs slightly with wire whisk or hand beater. Beat in flour, milk and salt just until mixed (do not over beat). 
3. By now the butter should have melted, move it around the pie plate (or use a brush) so that the butter covers the sides.  Then pour the batter into pie plate. Bake 25 to 30 minutes or until puffy and deep golden brown. Serve pancake immediately with toppings.  Serves 2-3.


Thursday, March 21, 2013

Easy Waffle Recipe

Sometimes I am unable to come up with a new dinner idea, or even think of something to look up.  On those (usually hectic) nights I resort to making Brinner.  In case you didn't know brinner = breakfast for dinner.

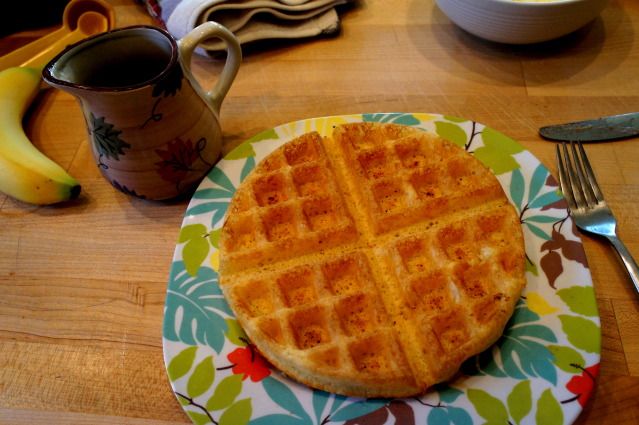
I may serve eggs and bacon, pancakes or even cinnamon rolls.  This week I decided to pull out the dusty and usually forgotten waffle maker.  I love to eat waffles, I just hate to make them.  It takes forever and I can't be bothered.  I decided to go for it that particular night because I remembered that my sister-in-law had given me a "easy" waffle recipe.  And easy it is!

So next time you're stumped for a dinner idea give breakfast a try.


Easy Waffle Recipe
Ingredients
2 egg yolks
1 3/4 cup milk
1/2 cup oil (I used olive)
1 3/4 cup flour
3 tsp baking powder
1/2 tsp salt
2 egg whites

Directions
1. Combine the egg yolks, milk and oil in a small bowl.  Combine the flour, baking powder and salt in a medium-large sized bowl.  Add the two bowls together.
2. Beat the egg whites (until stiff), then fold into the mix right before you are ready to put it in the iron.

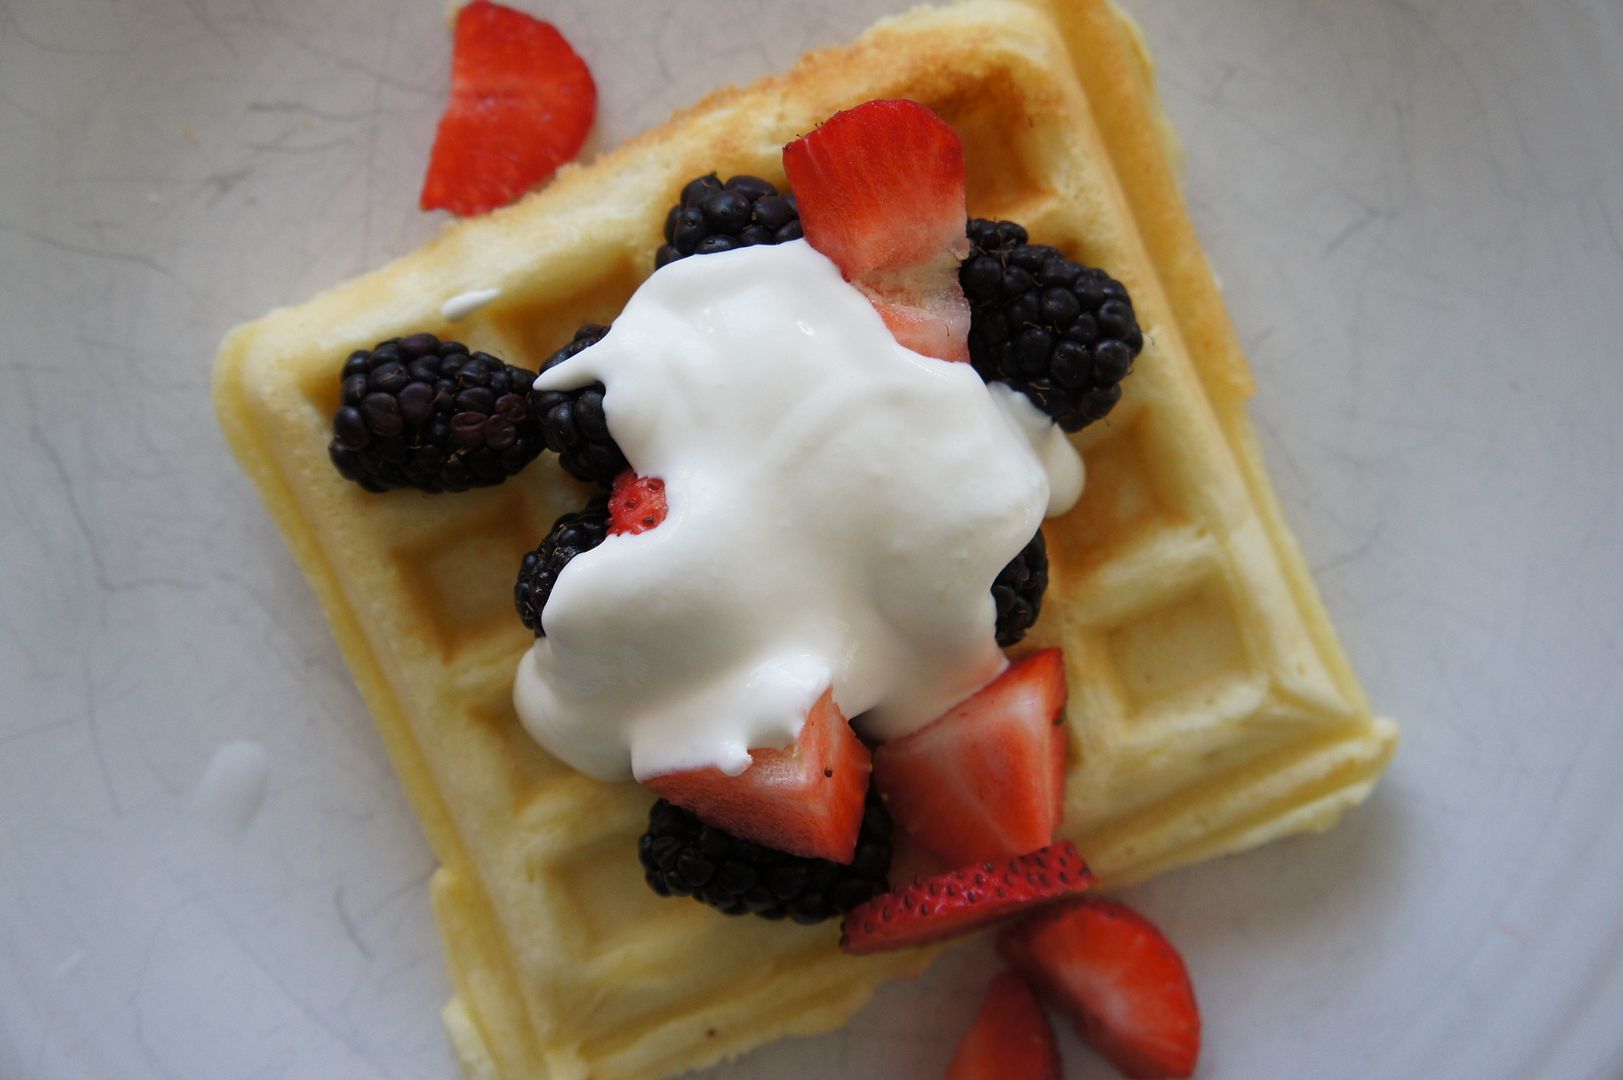
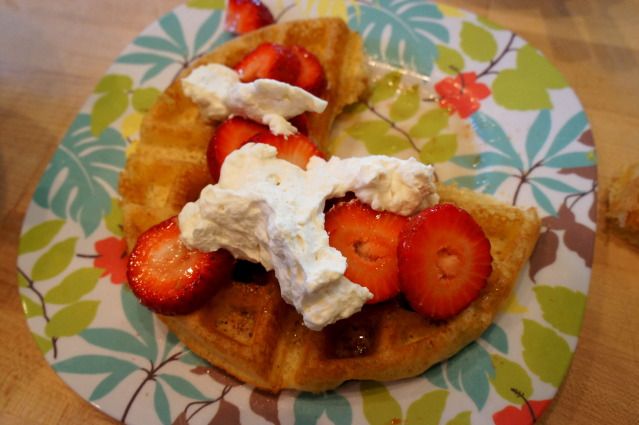
I added whip cream and berries to my waffles.  The whip cream was made by combining heavy cream, powdered sugar and vanilla.  I found the directions here.

Love Waffles?  Here are two more recipes:
Apple Cider Waffles
Goodnight Waffles (need to plan ahead for this one)

Thursday, March 7, 2013

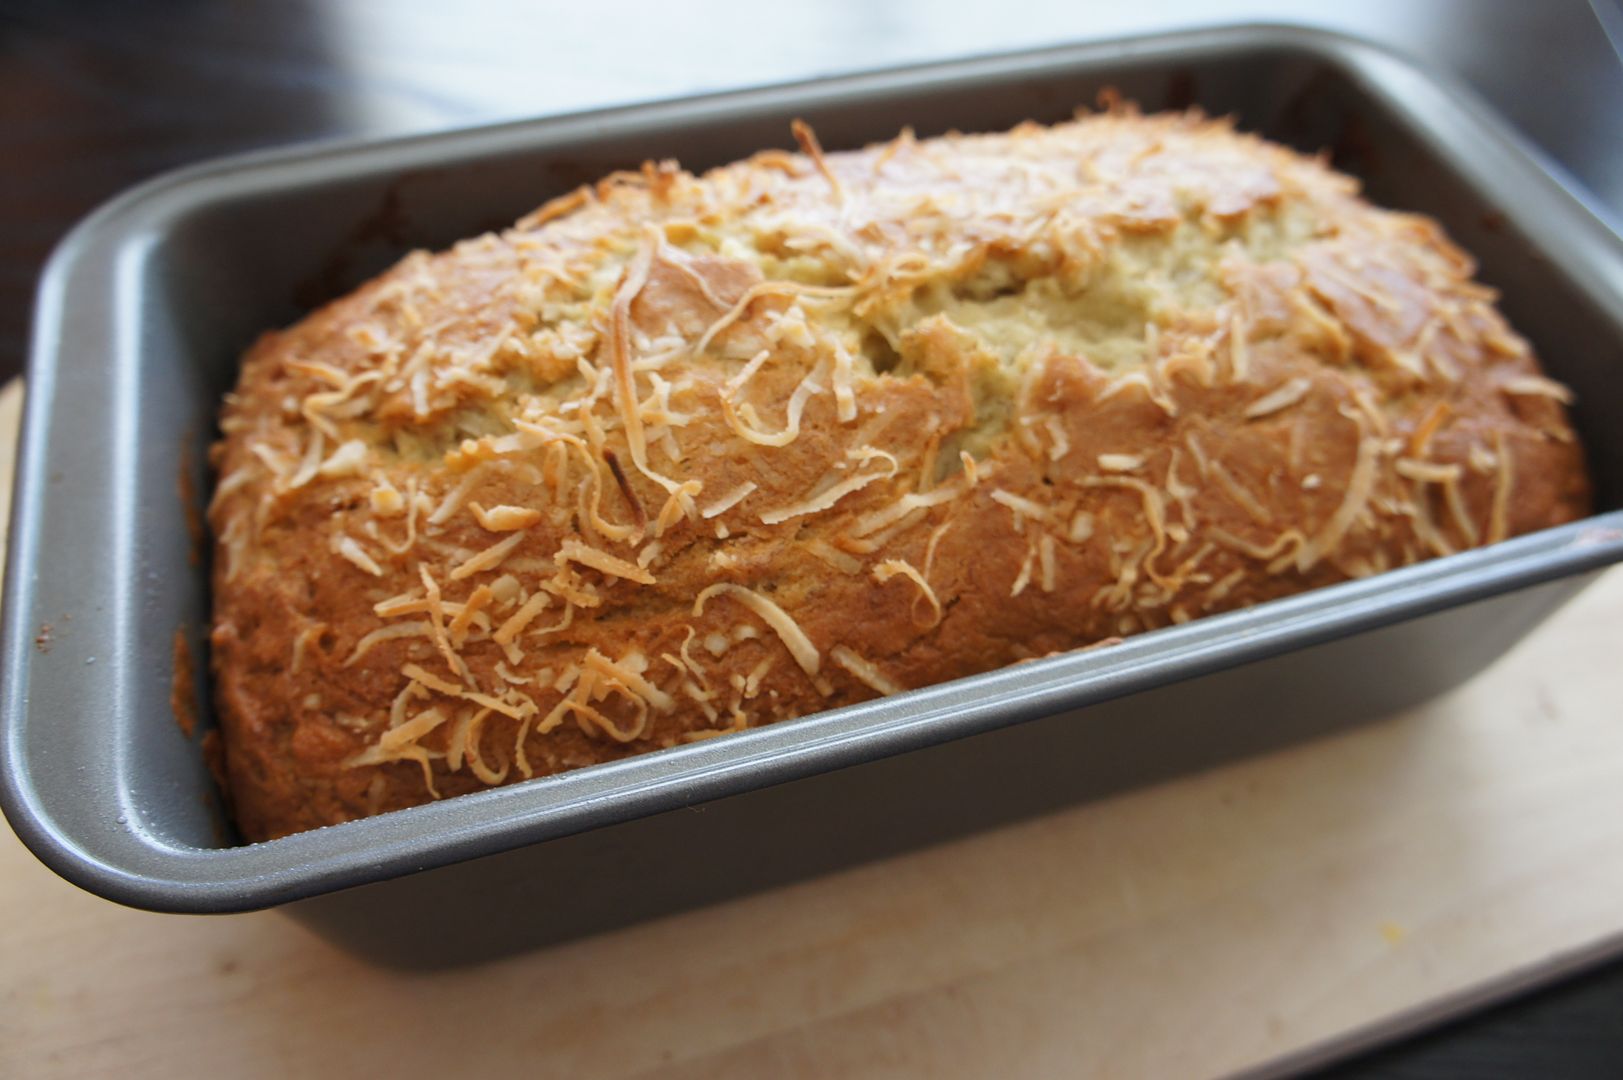
Coconut Banana Bread with Lemon Glaze Recipe

My 5 year old has been bugging me lately for banana bread.  I never seem to have enough mushy bananas around though because the baby and I eat so many!  However, today I had enough bananas so I did a little recipe research to find something new.  I was inspired by a couple different recipes and changed a few things to make my own version.


Now this is not just any banana bread.  This is AMAZING banana bread.  Heck, it has coconut and a lemon glaze!  My husband hates banana bread and he couldn't get enough of this.  He actually told me (unsolicited) that this is the best sweet bread he has ever had.

Without further adieu, here is the recipe:

Coconut Banana Bread with Lemon Glaze 
2 cup flour
3/4 tsp baking soda
1/2 tsp salt
1 cup sugar
1/4 cup (4 Tbsp) real butter, softened
2 large eggs
4 large bananas, mashed
1/4 cup sour cream or plain yogurt
2 Tbsp milk
1 tsp vanilla extract
1/2 cup shredded coconut
Topping: 2 Tbsp additional coconut
Glaze: 1/2 cup powdered sugar whisked with 1 1/2 Tbsp fresh lemon juice

Directions
1. Preheat oven to 350 degrees. Whisk flour, baking soda, and salt together in a medium bowl and set aside.
2. In a large mixing bowl, beat butter and sugar until blended (I did this by hand but you could use a mixer). Add eggs and beat to combine. Add banana, sour cream, milk, and vanilla. Beat until blended. Add flour mixture and beat until just combined. Stir in 1/2 cup coconut.
3. Pour batter into a 9×5″ loaf pan that has been greased with coconut oil. Sprinkle additional 2 Tbsp coconut on top. Bake in the oven for about 1 hour or until a knife inserted in center comes out clean. Note: Check bread after about 40 minutes. If the top has browned and the coconut pieces are looking toasty, cover top of bread lightly with a piece of foil. Continue baking until done. When done, remove pan from oven. Let cool on a cooling rack for about 10 minutes and then carefully remove from pan.
4. Whisk powdered sugar and lemon juice together for the glaze and then drizzle over top. Cool for another 15 minutes before slicing.

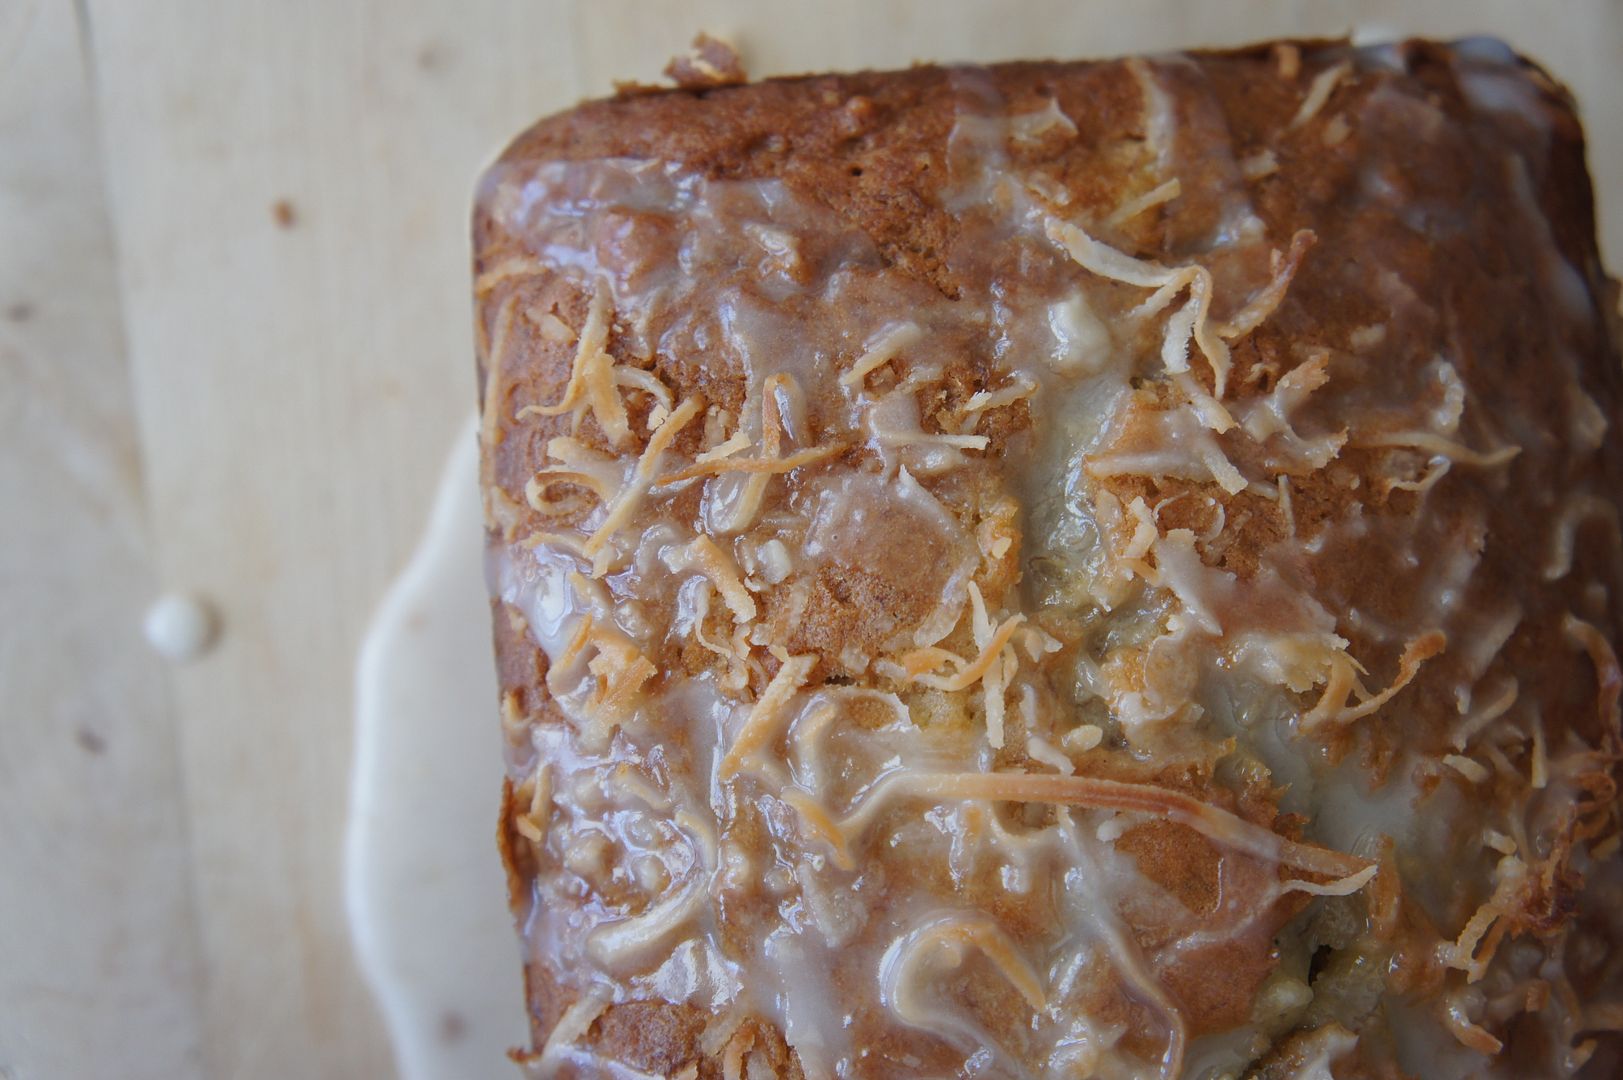
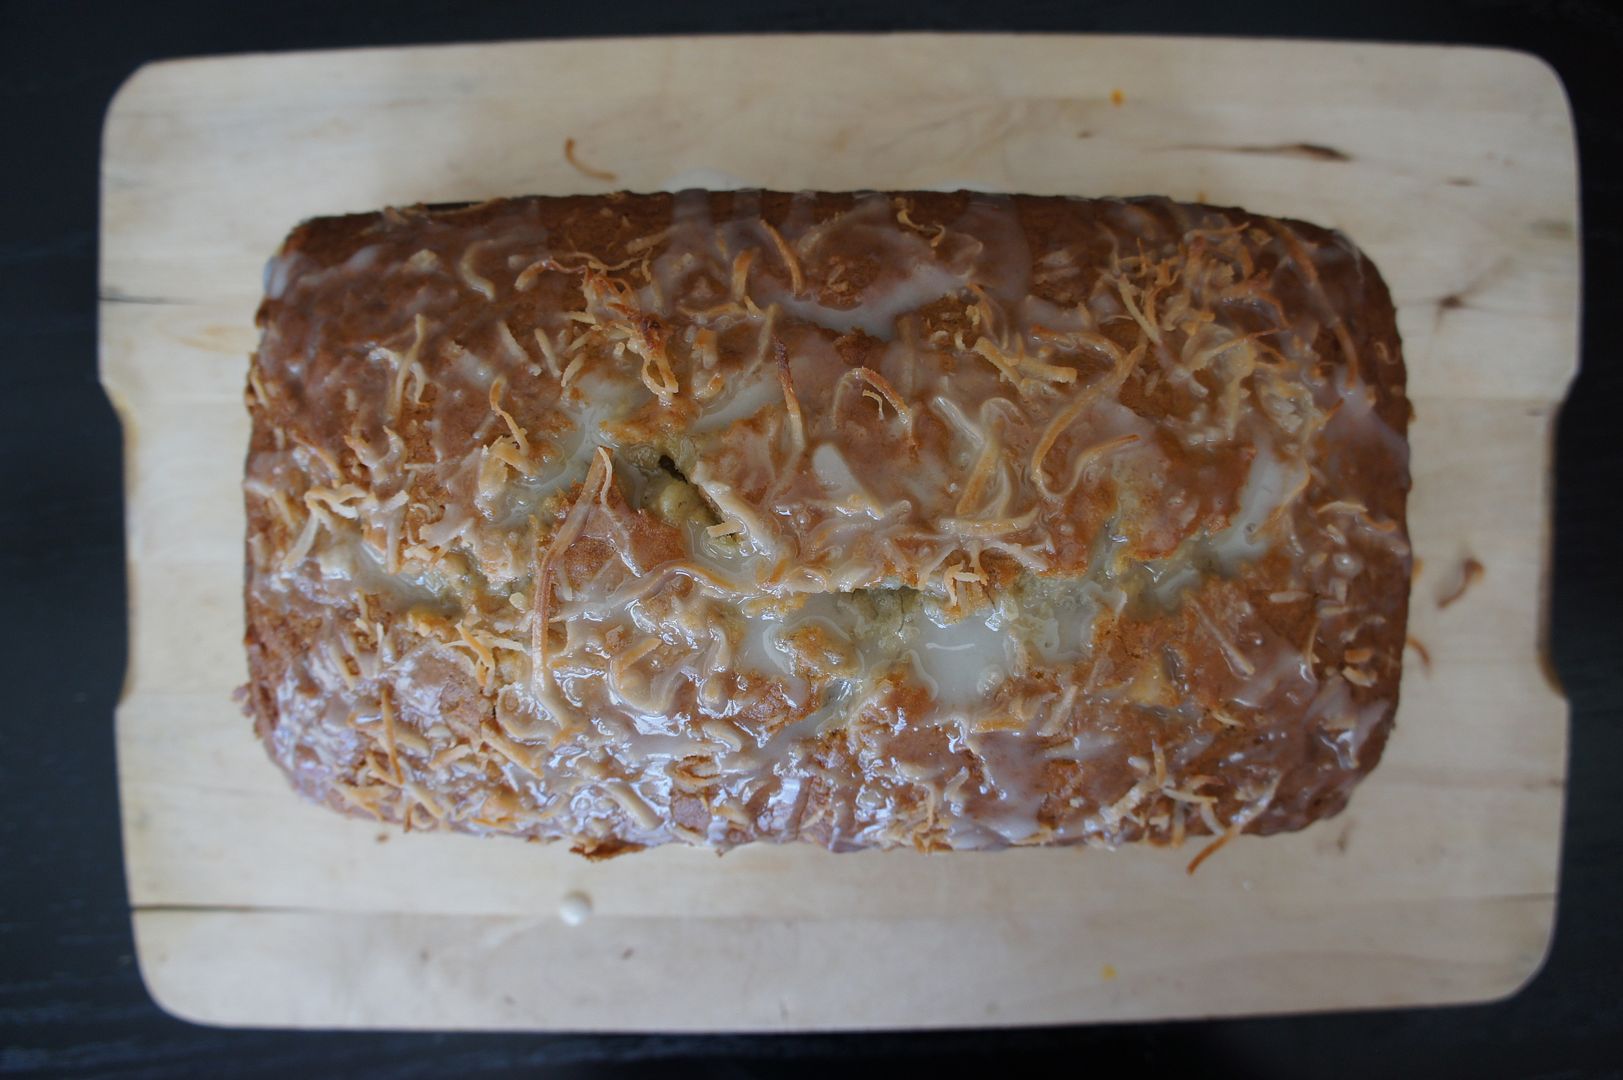
In the interest of full disclosure I did not follow my own directions at the end.  I did not wait another 15 minutes before slicing.  I cut into that beauty as soon as I finished taking these photos!  I took my slice and added a little (a lot?) of butter and it was heaven on a plate.


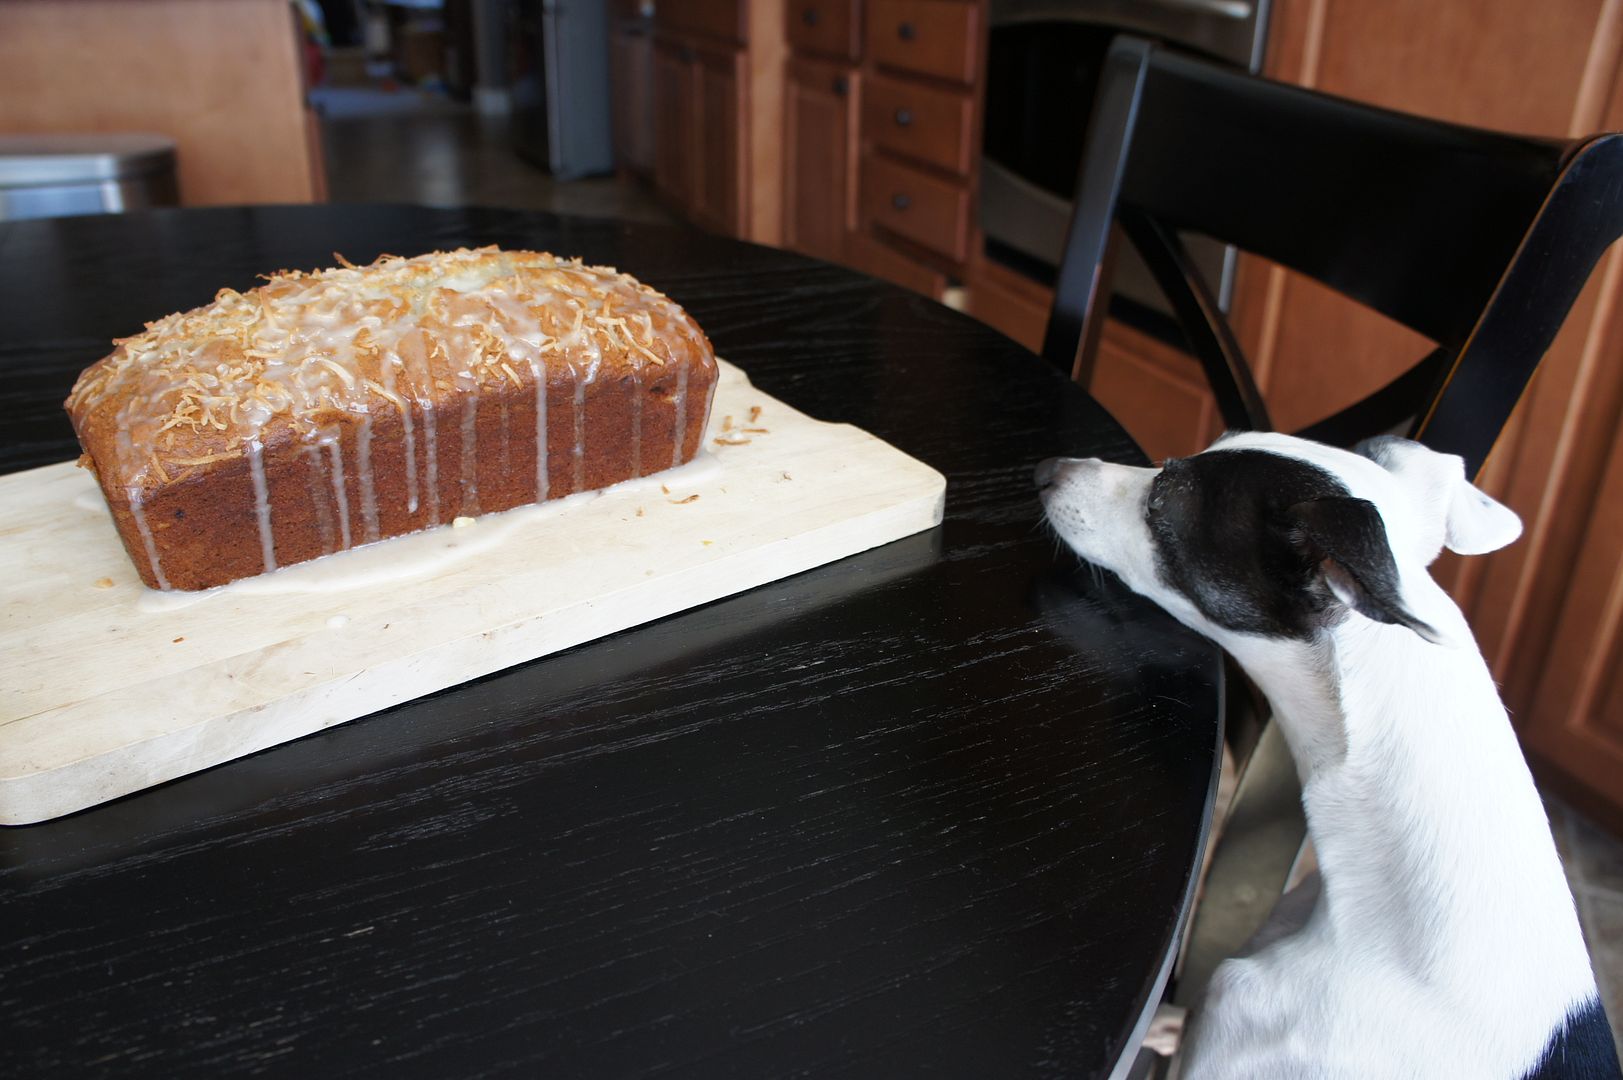
My sweet dog wishes he could have had a slice!

Isn't it beautiful?

Tuesday, October 9, 2012

Super Food Glowing Green Smoothie Recipe

I have very specific preferences for breakfast foods.  I've always been this way, not sure why.  For example, I am not a cold-pizza-for-breakfast kind of girl.  I can barely even stomach eggs before 10am.  I pretty much only eat cereal, granola bars, fruit, pancakes or waffles.  However, for the most part these aren't exactly the best way to start the day.  So when my BFF offered to bring me a Green Smoothie the other morning I was willing to give it a try.


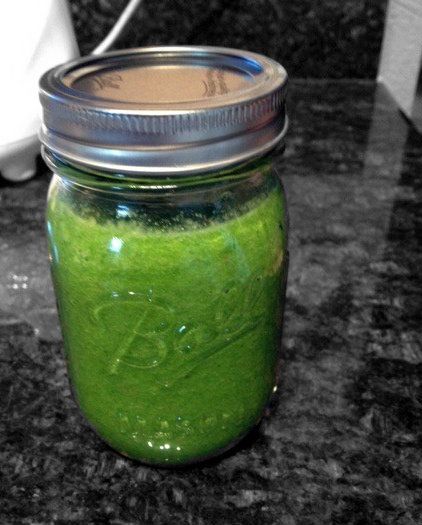
The smoothie is called the Glowing Green Smoothie and that is an appropriate name.  This drink was a bright glowing green!  It was cold and a bit icy and very healthy tasting.  Not unpleasant, just healthy.  It tasted even healthier once she informed me of the ingredients.  Then all I could taste was the romaine and celery, ha!  I drank the entire thing and I must say I felt a lot better than I do after my usual iced-coffee/granola bar combo.  I may tweak some of the ingredients a bit but I plan on trying to add (healthy) smoothies to my morning routine soon!

Glowing Green Smoothie (from The Beauty Detox Solution by Kimberly Snyder)

Ingredients 
1 1/2 cups water
1 head organic romaine lettuce, chopped
1/2 head large bunch or 3/4 small bunch organic spinach
3-4 stalks of celery
1 organic apple, cored & chopped
1 organic pear, cored & chopped
1 organic banana
Juice of 1/2 organic lemon
*Optional:
1/3 bunch organic cilantro (stems ok)
1/3 bunch organic parsley (stems ok)

Directions
1. Add the water and chopped head of romaine and spinach to the blender. Starting the blender on a low speed, mix until smooth. Gradually moving to higher speeds, add the celery, apple & pear.
2. Add the cilantro & parsley if you choose. Add the banana and lemon juice last.

The Glowing Green Smoothie is best when cold. It also shouldn't be chunky at all, but nice & smooth. It keeps ok covered in the fridge for up to 2 days.   You can substitute out the apple or pear for in-season fruit such as pineapple, mango, plum or peach.  Berries are another option but when mixed with the green veggies they will turn the smoothie an unappetizing brown.

Tip: Make the entire batch and freeze individual portions in mason jars (oh-so-trendy and easy right now).  Then the night before you take out a jar and keep in in the refrigerator.  By the morning it is just right!  My friend makes a big batch of 3 blender fulls.  This fills up her freezer for the whole week!

Thanks to my BFF Anne for the smoothie, recipe and tips!

Tuesday, September 18, 2012

My Brother (and Sister-in-law's) Goodnight Waffles Recipe

Last month while on vacation visiting my brother and his family they treated us to the most delicious waffles.  I'm not sure you should even call it a waffle because it was so light and crisp.  It was the best waffle I'd ever had!  I may have helped myself to 3 (or 4) that morning and then we made them again the next day since the batter kept well.

One of the best perks about this recipe is that you do the work the night before, which makes the morning go much smoother.  Perfect when you are having a family get-together!  Give them a try and let me know what you think.


Goodnight Waffles
Serves 6

Ingredients 
1/2 cup lukewarm water
1 tablespoon sugar
1/4 ounce active dry yeast
2 cups whole milk, warmed
1/2 cup unsalted butter, melted and cooled
1 teaspoon salt
2 cups all-purpose flour
2 large eggs, slightly beaten
2 teaspoons vanilla
1/4 teaspoon baking soda

Directions 
1. The night before, or at least 8 hours before baking, combine the warm water, granulated sugar and yeast. Let stand 10 minutes, until foamy. Stir in the warm milk, melted butter, and salt. Fold in the flour until smooth.
2. Wrap bowl tightly with plastic wrap and let stand overnight on the counter.
3. Preheat waffle iron. While waffle iron heats, stir the eggs, vanilla, and baking soda into the batter.  Follow the manufacturer's directions for making waffles.

They are especially fabulous with fresh whipping cream and sliced berries.  Thanks again to my brother and his family for such a lovely breakfast and visit!!

Saturday, September 1, 2012

Chocolate Chip Raisin Granola Bar Recipe

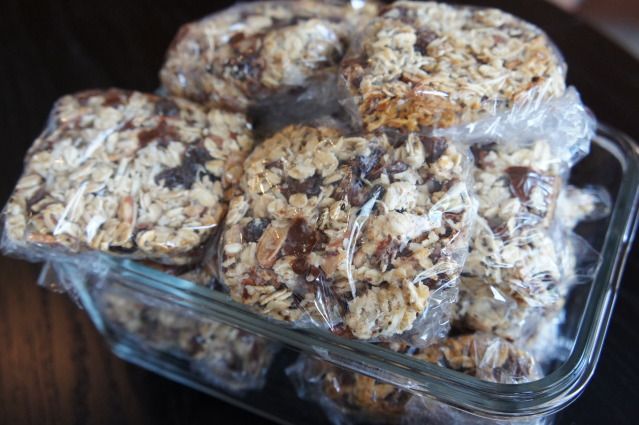
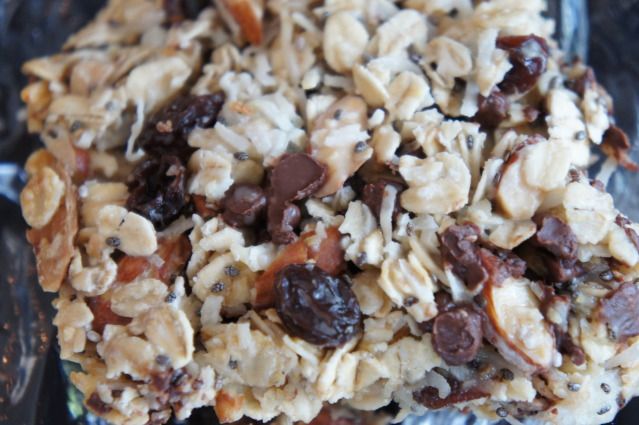
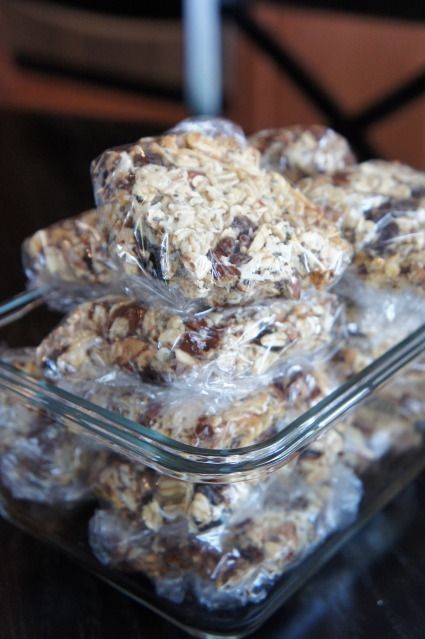
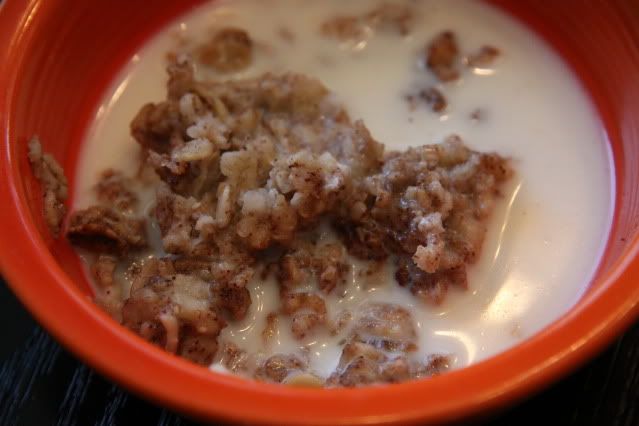
I found this recipe on my friend Kim's blog and had to give it a try.  I am one of those people that doesn't have time to eat breakfast usually, as I'm feeding the baby or hurrying to get us out the door.  More often than not I'm eating a granola bar in the car while I drive! ;)  So I thought this recipe would be right up my alley!


The recipe was simple and included oats, chia seeds (and you know I love chia), sweetened condensed milk, coconut, almonds, raisins, coconut oil, mini m&ms and chocolate chips.  I followed her recipe except that I didn't have m&m's.  I think next time I might throw some dried cranberries and/or another nut in there too.


They turned out great and were gobbled up by me, the baby and my 4 year old.  Success!

Go here to find the recipe.

Wednesday, March 28, 2012

Berry Banana Chia Seed Smoothie


I made a smoothie, and yes, it had chia seeds in it.  I can't help myself, those little chia seeds are amazing.  Although I do prefer them in vanilla or coconut pudding.


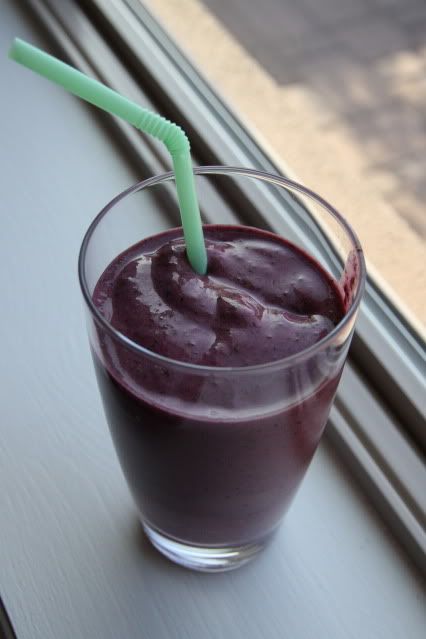
But I digress.  So this smoothie was packed full of lots of good things.  Including spinach.  Yes spinach.  I'd read that in smoothies you can't taste the spinach so I thought I'd give it a whirl and it was true!  Nary a spinach taste to be found.  I also added ground flaxseed, a dash of chia seeds and honey to sweeten the deal.

Berry Banana Chia Smoothie
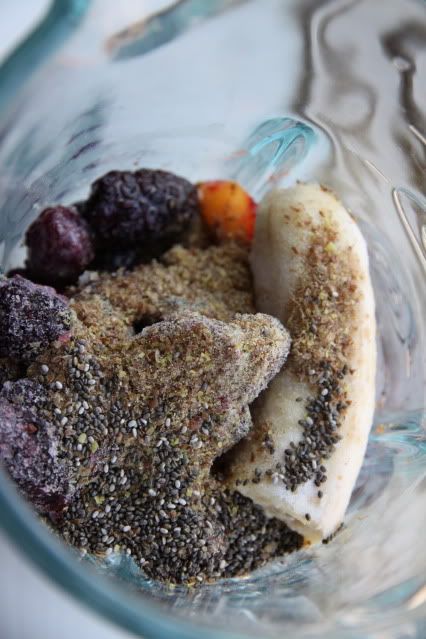
1 1/4 cup frozen fruit (I had blueberries, raspberries, blackberries and a couple pieces of peach)
1/2 a frozen banana
1 cup of milk
1Tbsp ground flaxseed (I didn't measure, just put some in)
1Tbsp chia seeds (also didn't measure this)
honey (to taste)
3/4 cup fresh spinach

Put the spinach on the bottom, then the fruit and toppings.  Add the milk and give it a whirl. Voila, a yummy smoothie!  You could use any combination of frozen fruits of course.  I think I'll try strawberry, peach and blackberry next time.

I shared some with my 4 year old and she said it was good.  I think we'll be doing more smoothies around here, easy and a great way to pack in the fruit and veggies.

Saturday, March 10, 2012

The best buttermilk pancakes

This lazy saturday morning seemed perfect for making pancakes.  My very favorite pancake recipe makes them from scratch, but is just as easy as a mix.  I've loved pancakes forever but have only recently made them actually taste good.  Before I found this recipe I used all kinds of mixes from Bisquick to organic whole wheat.  They all ended up not-so-great, either too thick, too thin, too tasteless, etc.  


I'd about given up when I found this recipe on epicurious.  I tweaked it a bit and now they turn out perfect every. single. time.  I love the consistency. :) 


Perfect Buttermilk Pancakes
Ingredients
1 cup of flour
1 tsp baking soda
1/2 tsp salt
1 large egg, lightly beaten
1 1/2 cups well shaken buttermilk
1/8 tsp vanilla


Directions
1. Put your griddle (or pan) on medium high.
2. Whisk together flour, baking soda, salt, egg, buttermilk and vanilla.
3. When the griddle is hot enough to make water drops scatter over the surface put 1/4 cup of batter onto the griddle.  Cook until golden, turning over 1/2 way through, about 2 minutes per batch.
4. Serve immediately.

You can add fruit inside the batter, although I prefer to put it on top.  This morning we had fresh blueberries.

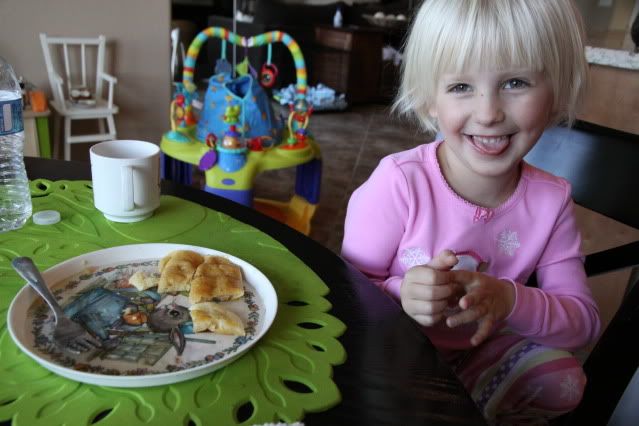
This is one satisfied customer.  

Thursday, February 9, 2012

The best waffles ever.

I recently tried a new recipe for Apple Cider Waffles.  I happened to have some fresh apple cider in the fridge so I thought I'd give it a whirl.

Turns out they were easy to make, smelled fabulous and tasted great.  What more could you want?

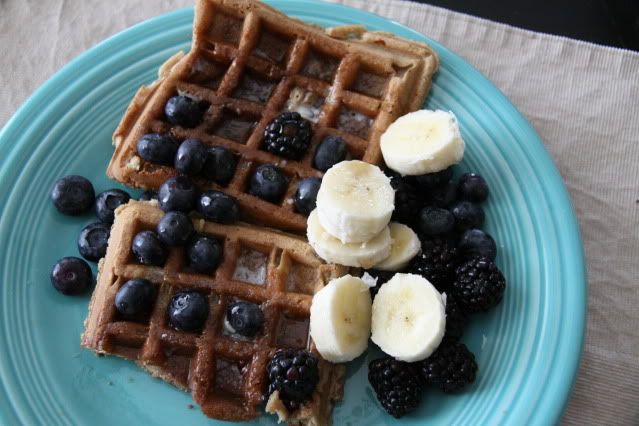
I had some leftovers in the freezer so I warmed them up yesterday for breakfast.  Added a little butter and some fresh fruit and it was delicious.  Quite the upgrade from my usual bowl of cereal or granola bar.

I found the recipe on stephanie cooks.  She found it on another site.  That's how it works here in the blog world.  Ha!

Apple Cider Waffles

Ingredients:
  • 1 1/2 cups flour
  • 1 Tbsp sugar
  • 1 tsp baking powder
  • 1/2 tsp baking soda
  • 1/4 tsp salt
  • 1 tsp cinnamon
  • 1 egg
  • 2 Tbsp vegetable oil
  • 1/3 cup milk
  • 1 cup apple cider

Directions:

  1. In a mixing bowl combine the flour, sugar, baking powder, baking soda, salt and cinnamon.  Stir well. 
  2. Beat in the egg, oil, milk and cider.
  3. Set aside and let stand 5 minutes while heating your waffle iron.
  4. Spray the waffle iron and cook according to waffle iron directions.
Can be frozen and reheated in the microwave, but like most foods it is best served fresh.

Sunday, January 29, 2012

Roasted Okra and other recipes from this week.

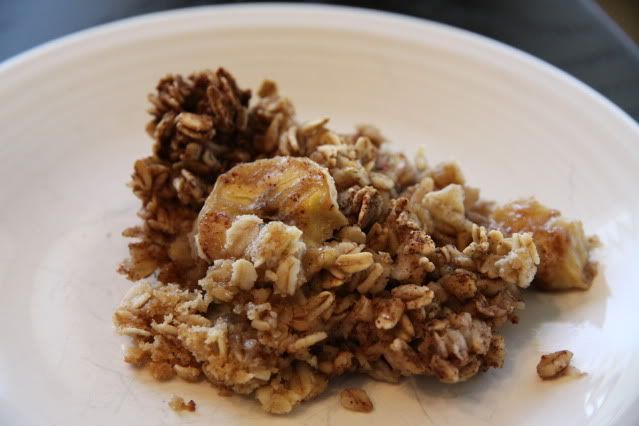
As you know this week I made Kale Chips and banana pear teething biscuits.  I also made a lovely oven baked sweet banana oatmeal that I found on the frugal girls.  The oatmeal was easy to make but it took lots of patience to wait for, as the cooking time was an hour all together.

Baked Sweet Banana Oatmeal

I'd say it was worth the wait.

My daughter and husband preferred it with milk on top.  I will admit that I added whip cream to mine.

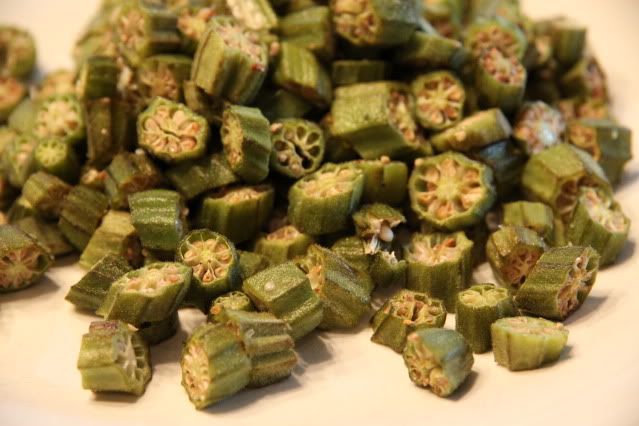
Roasted Okra
Last night I made my husband almost a pound of roasted okra.  Okra is one of his favorite vegetables but I can count on one hand how many times I've made it for him in the last 8 years.  Why the kibosh on okra you may ask?  Well, I found it to be difficult, messy (slimy) and icky.  That's putting it mildly.  Part of the problem is that the recipes he was accustomed to were breaded.  This of course could be very time consuming and difficult.  

So I just avoided the little slimy bugger.  

But recently after reading about all the nutritional benefits of okra and finding a new recipe I thought I'd give it another try.  This time it was easy and I didn't even mind the taste.  That's saying something!  Now everyone is happy.  Even the four year old ate some.


Ingredients
  • 1 pound of fresh okra, sliced 1/3 inch thick.
  • Olive oil
  • Salt (I recommend sea salt) to taste
  • Black pepper, to taste
Directions
  1. Preheat oven to 425
  2. Arrange the okra slices in one layer on a foil lined cookie sheet.
  3. Drizzle with olive oil and sprinkle with salt and pepper.  Bake in the preheated oven for 15 minutes or until brown and toasty.  We prefer it more on the toasty/crisp side.
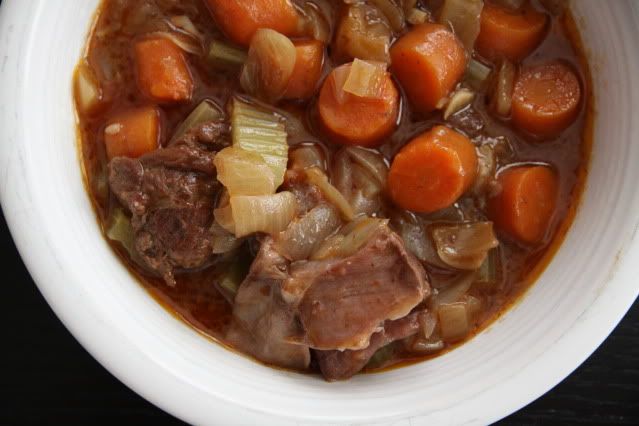
Easy Crock pot Pot Roast
Right now my house smells amazing because this morning we put a pot roast in the crock pot.  It has been cooking for the last few hours and I can't wait to eat it.  I found the recipe here.  I'll update with a photo if it looks and tastes as good as it smells.

ETA: It did taste as good as it smelled and here's how it looked.
My husband said it was his favorite pot roast to date so I'll be making this one again soon.  

I still haven't gotten around to making the yummy looking sea salt and nutella sugar cookies, maybe next week. ;)

Saturday, January 14, 2012

Mystery ingredient soup and other recipes from this week

I enjoy eating food.  Preparing it, not so much.  However, I do appreciate the accomplishment of a cooked meal.  Especially if it hasn't burned, spilled, smoked or basically sucked.  Recently in my household we dramatically increased the amounts and types of vegetables and other healthy foods being consumed.  As a result there are many more recipes available to me that my entire family will happily, or at least willingly eat.  Case in point are this week's recipes.

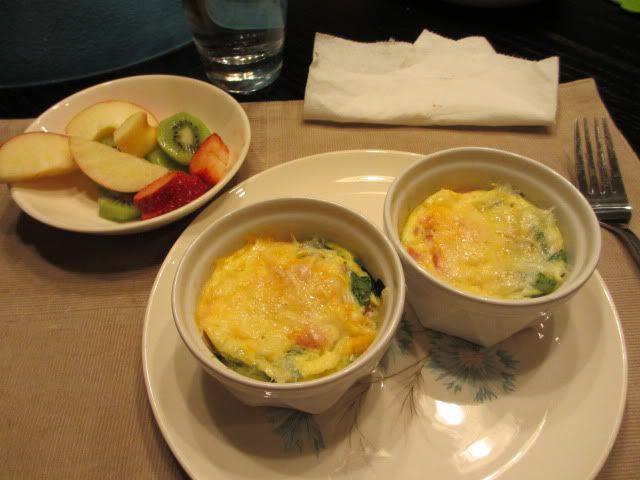
I found these mini omelet bakes on Pinterest.  I made ours with spinach, bell peppers, cheese (cheddar and parmesan) and ham.  I cooked them in ramekins (I think that's what they're called) because I didn't have big muffin tins.  They were a big hit by the way.

Remember the cilantro bouquet from earlier this week?  I used it in a couple recipes.  One day I put it on white fish with butter and salt.  We had kale for the first time for the same meal.  I sauteed the kale with olive oil and garlic then put some vinegar in at the end.  The fish was a hit, the kale was eaten but I think my 4 year old and perhaps my husband held their noses while swallowing it fast.  Ha!

One of my favorite dishes this week was a Mediterranean quinoa salad.  We've been eating quite a bit of quinoa around here the last couple of weeks.  I've made it plain (in the rice cooker), Spanish style (with beans, onions, tomatoes and chili pepper) and now Mediterranean.   This recipe wasn't a favorite for my family but I loved it!  

Now for the Pièce de résistance and the reason I bought the cilantro in the first place.
I made a black bean vegetable chili/soup with chocolate.  Yes that's right, bittersweet chocolate was the secret ingredient!  I found the recipe in the USA weekend and made a few adjustments.  Here's what I did.

1 quart chicken broth (it calls for vegetable but I only had chicken)
1 can (14.5 oz) diced tomatoes
1 Tb. vegetable oil
1 medium-large onion, cut into medium dice
1 bell pepper, color choice is yours (I used yellow) cut into medium dice
3 Tbs. chili powder (I used about 2 1/2)
1 tsp. each ground cumin and oregano
2 cans (15.5 oz each) drained black beans
1/2 cup of barley (I cooked it first though)
3 large garlic cloves, minced (we are big fans of garlic around here, it may have been more like 5-6)
1 ounce bittersweet chocolate (I did 1/8th of a cup)
1/4 cup chopped fresh cilantro

Heat broth and tomatoes in a small pan until steamy hot, about 5 minutes.  Meanwhile, heat oil in a  soup kettle over medium-high heat.  Add onions and peppers; saute until soft and golden brown, about 5 minutes.  Add chili powder, cumin and oregano: saute until fragrant, a minute or so.  Add beans and barley along with hot broth mixture.  Bring to a simmer, reduce heat to low and simmer, partly covered, until vegetables are tender and flavors have blended, about 20 minutes.  Stir in garlic, chocolate and cilantro and simmer a couple of minutes to blend flavors.  Turn off heat and let stand a few minutes if there's time (and is there ever?).  Adjust seasonings (we added salt) and serve.  

Makes 4-6 servings

It was pretty good and everyone (well maybe not the 4 year old) liked it and had seconds.  We added parmesan on top, but then again we add parmesan to almost everything around here.