HomeVintage Fisher PriceMy Etsy ShopCategoriesAbout
Showing posts with label dessert. Show all posts

Monday, December 12, 2016

Fantastic Pumpkin Pie Recipe

My girls and I made an old fashioned pumpkin pie for Thanksgiving this year.  We had dinner with my in-laws so only had to bring this pie and some ice-cream.  Since I didn't have to make anything else I decided to do both from scratch.  The pie recipe turned out amazing, and not bland like the store bought kinds.  This is partly because of a spice mix-up.  I was using a recipe from simply recipes and when I got 1/2 way through the spice ingredients I realized I was missing a couple.  So...I substituted with pumpkin pie spice and it turned out great.

We served ours with fresh whipping cream (my favorite!) but it would also work with ice cream.
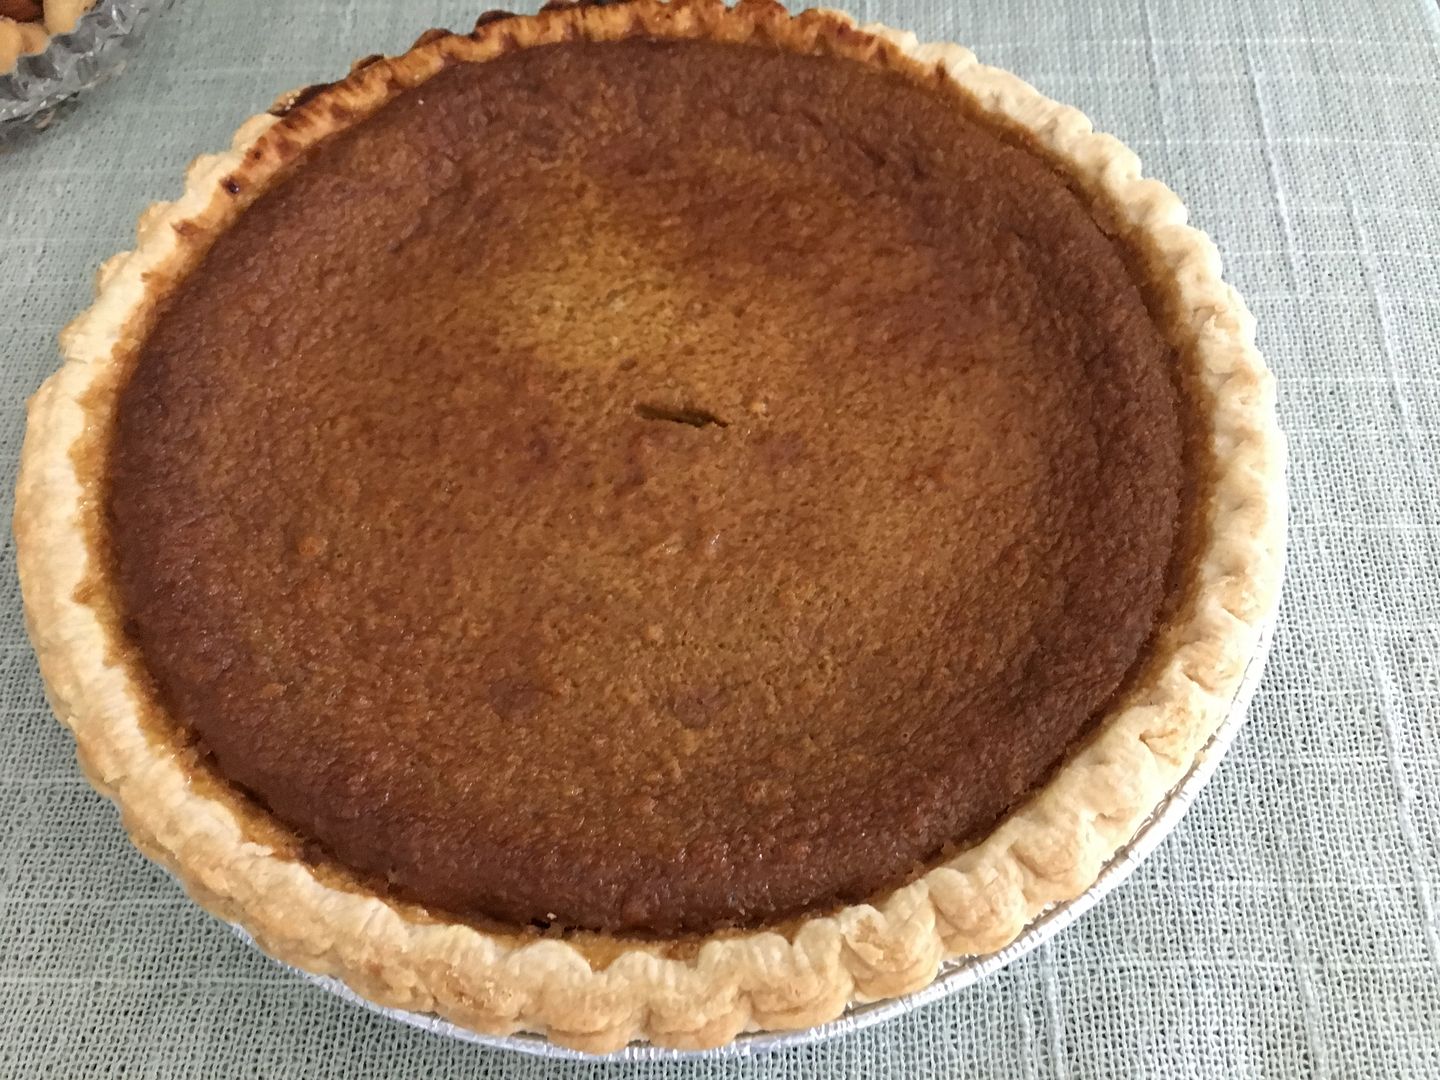

Flavorful Old Fashioned Pumpkin Pie

Ingredients
2 eggs plus the yolk of a third egg
1/2 cup packed brown sugar
1/3 cup white sugar
1/2 teaspoon salt
2 teaspoons of cinnamon
1 teaspoon ground ginger
1/4 teaspoon ground nutmeg
1 teaspoon pumpkin pie spice
2 cups of pumpkin from a sugar pumpkin or from canned/boxed pumpkin (I used an organic box from Target)
1 1/2 cup heavy cream
1 pie crust

Directions
1 Preheat your oven to 425°F. 

2 Beat the eggs in a large bowl. Mix in the brown sugar, white sugar, salt, spices—cinnamon, ground ginger, nutmeg and pumpkin pie spice. 

3 Mix in the pumpkin. Stir in the cream. Beat together until everything is well mixed. 

4 Pour the filling into an uncooked pie shell. Bake at a high temperature of 425°F for 15 minutes. Then after 15 minutes, lower the temperature to 350°F. Bake for 45 to 55 minutes more, or until a knife inserted in the center comes out clean. (Check on your crust halfway through, if it is looking too brown add some foil or a crust protector).

5 Cool the pumpkin pie on a wire rack for 2 hours. Note that the pumpkin pie will come out of the oven all puffed up (from the leavening of the eggs), and will deflate as it cools. 

Serve with whipped cream.
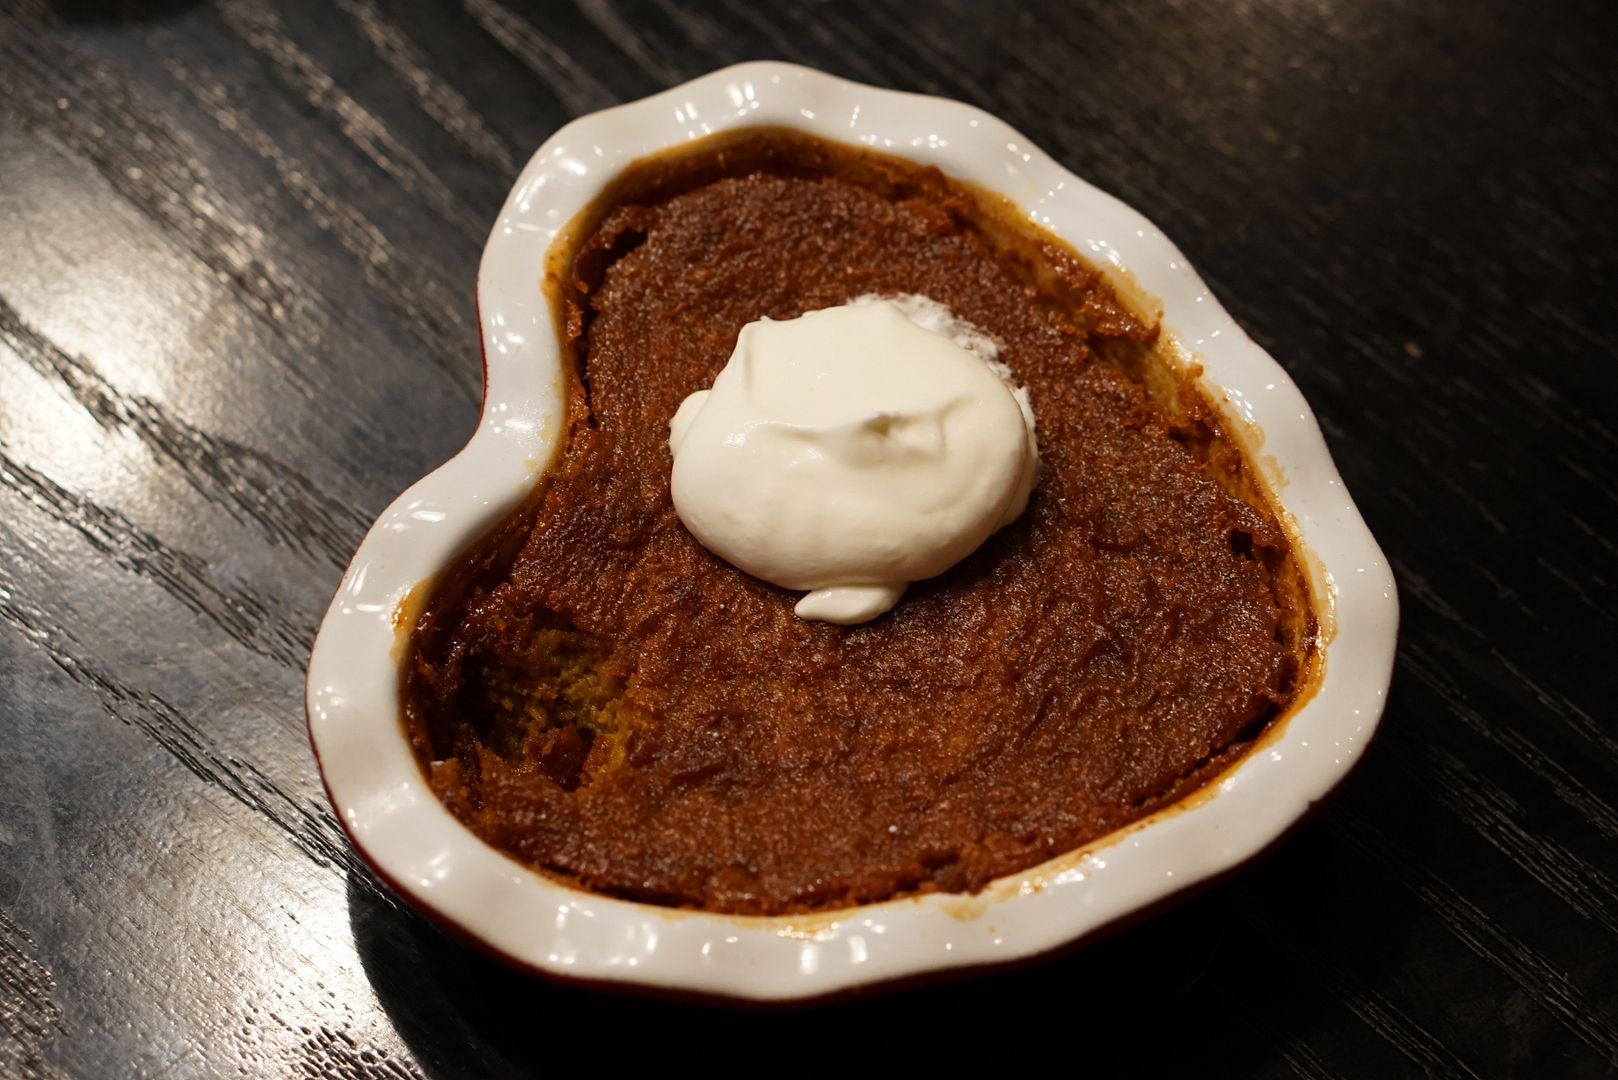

Note: This recipe made more filling than would fit in my regular pie crust.  I filled a small baking dish with the remaining filling and had a crust less personal sized pumpkin desert to eat first. :)
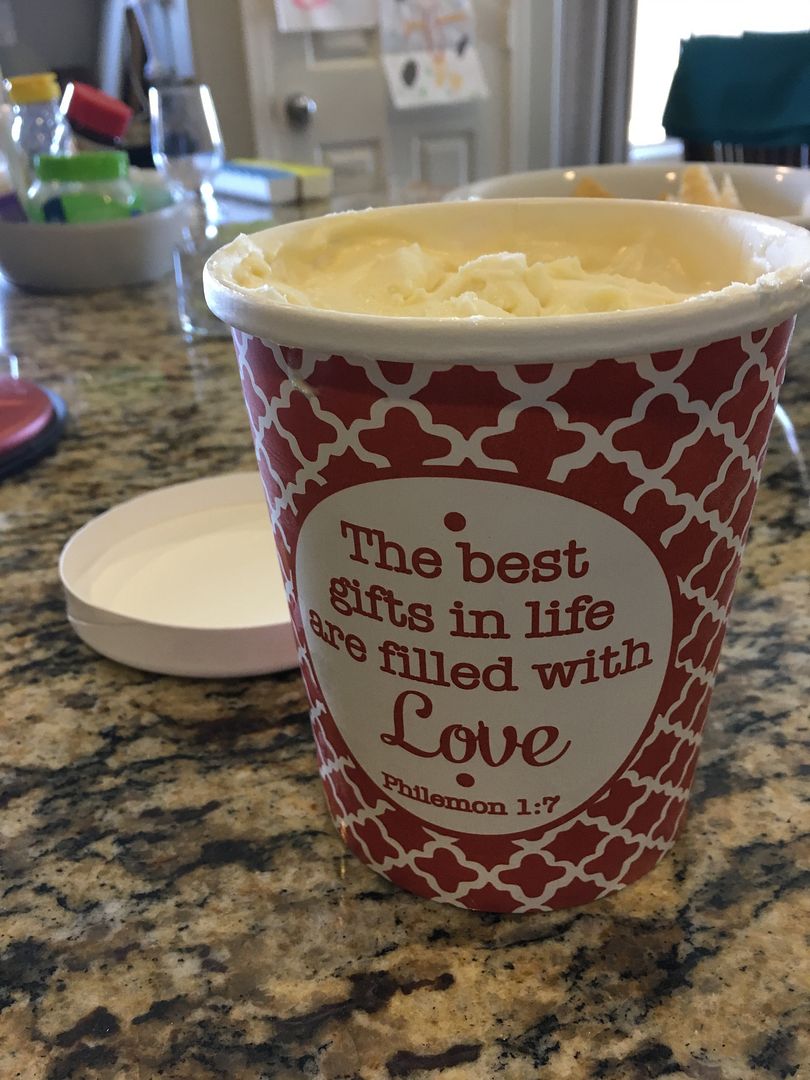

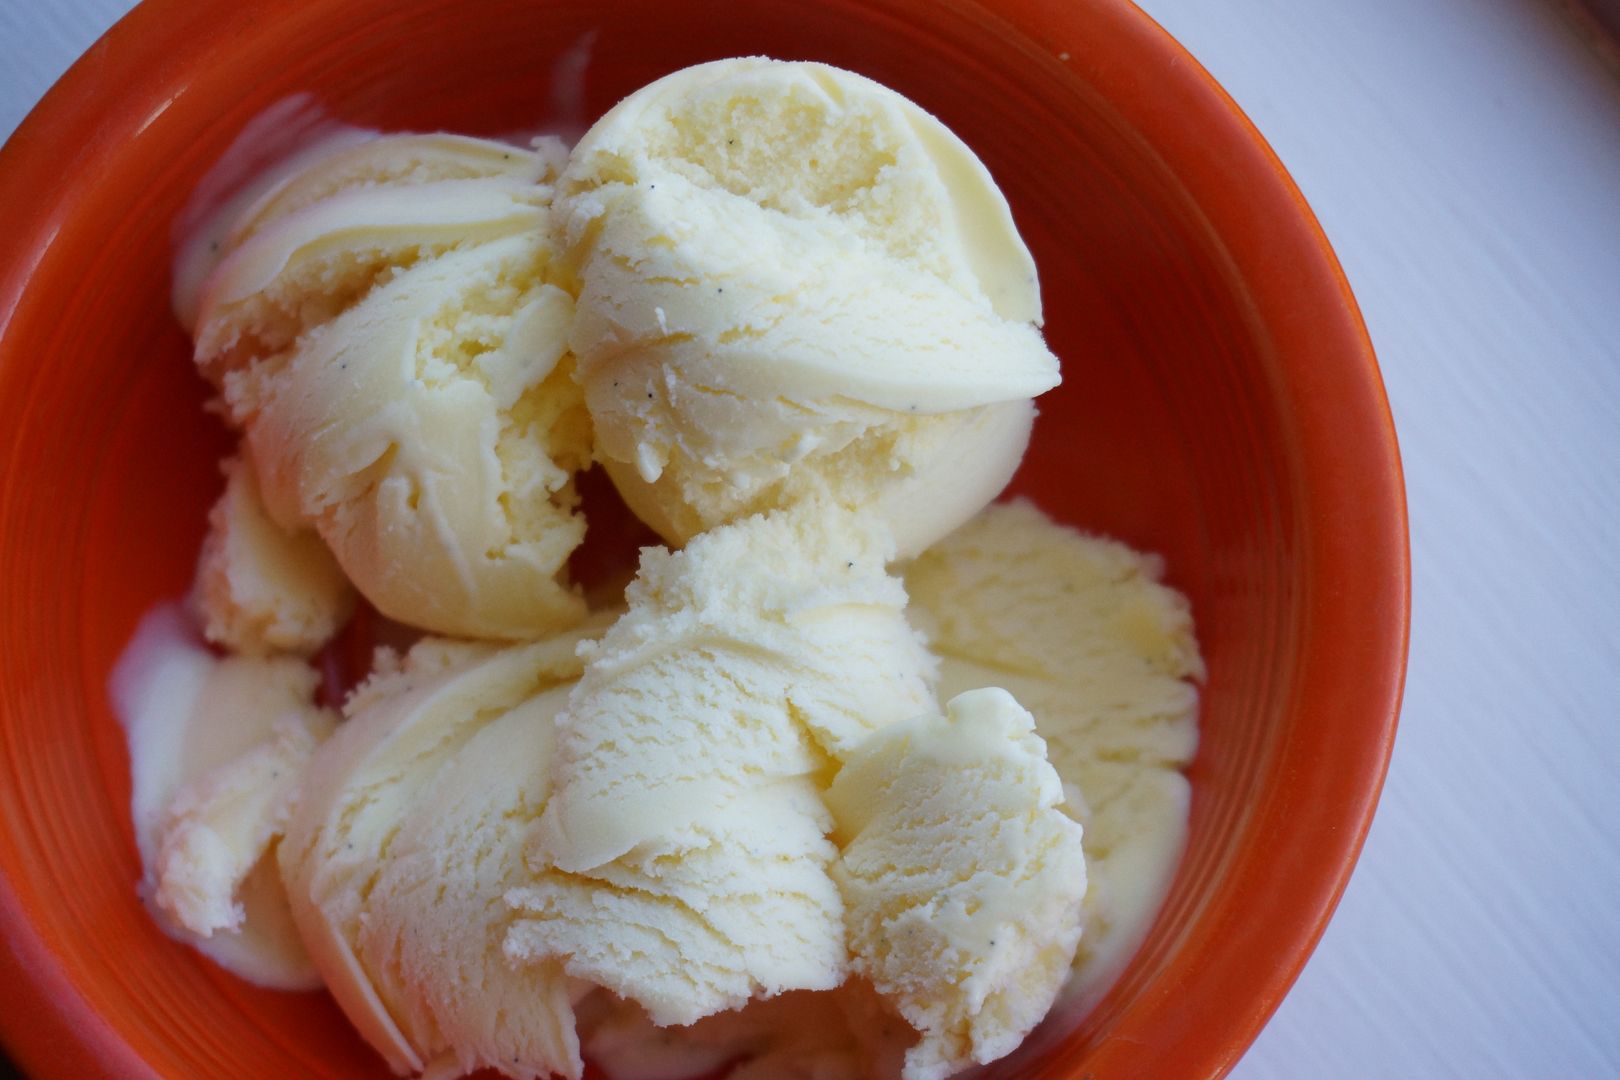
For my delicious (and easy!) Vanilla Ice Cream recipe that tastes just like Haagen Dazs go here.  Also check out my cute container that I put the ice-cream in, a fun and fancy touch.  My container was designed but how fun would it be to purchase some white ones and decorate them yourselves (or have the kids do it).  Perfect for gifting!  You can get pint sized containers on Amazon..

Friday, July 8, 2016

Fresh Pineapple Pie

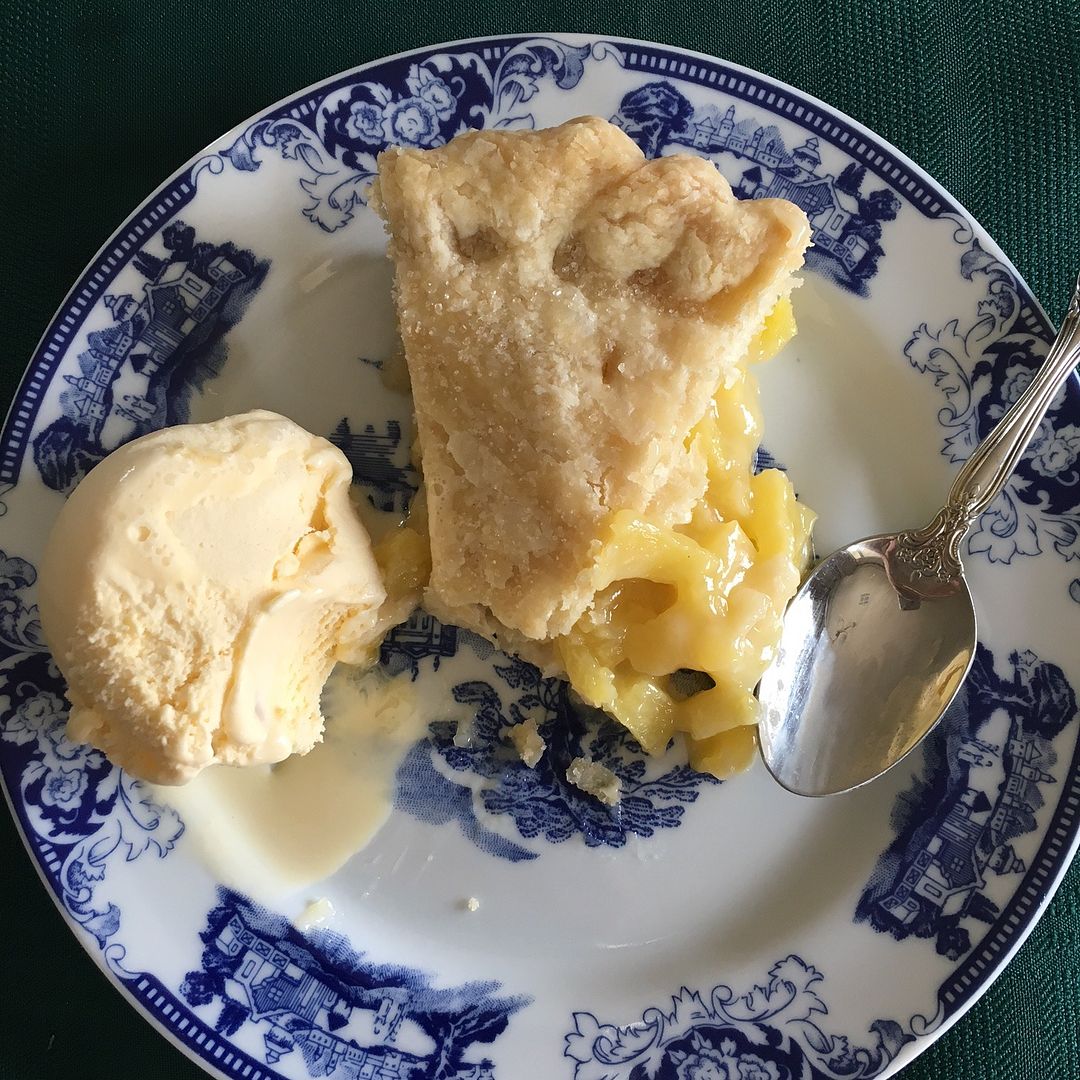
I have a confession to make, I didn't know until last week that Pineapple Pie was even a thing.  I'd never heard of it let alone tasted one!  


My Mother-in-law's Pineapple Pie

My talented mother-in-law made us a fresh (completely from scratch) pineapple pie during our last visit and when she told me the flavor I did a double take and asked "pineapple"?  I'd heard of Pineapple Upside Down Cake but never a pie.

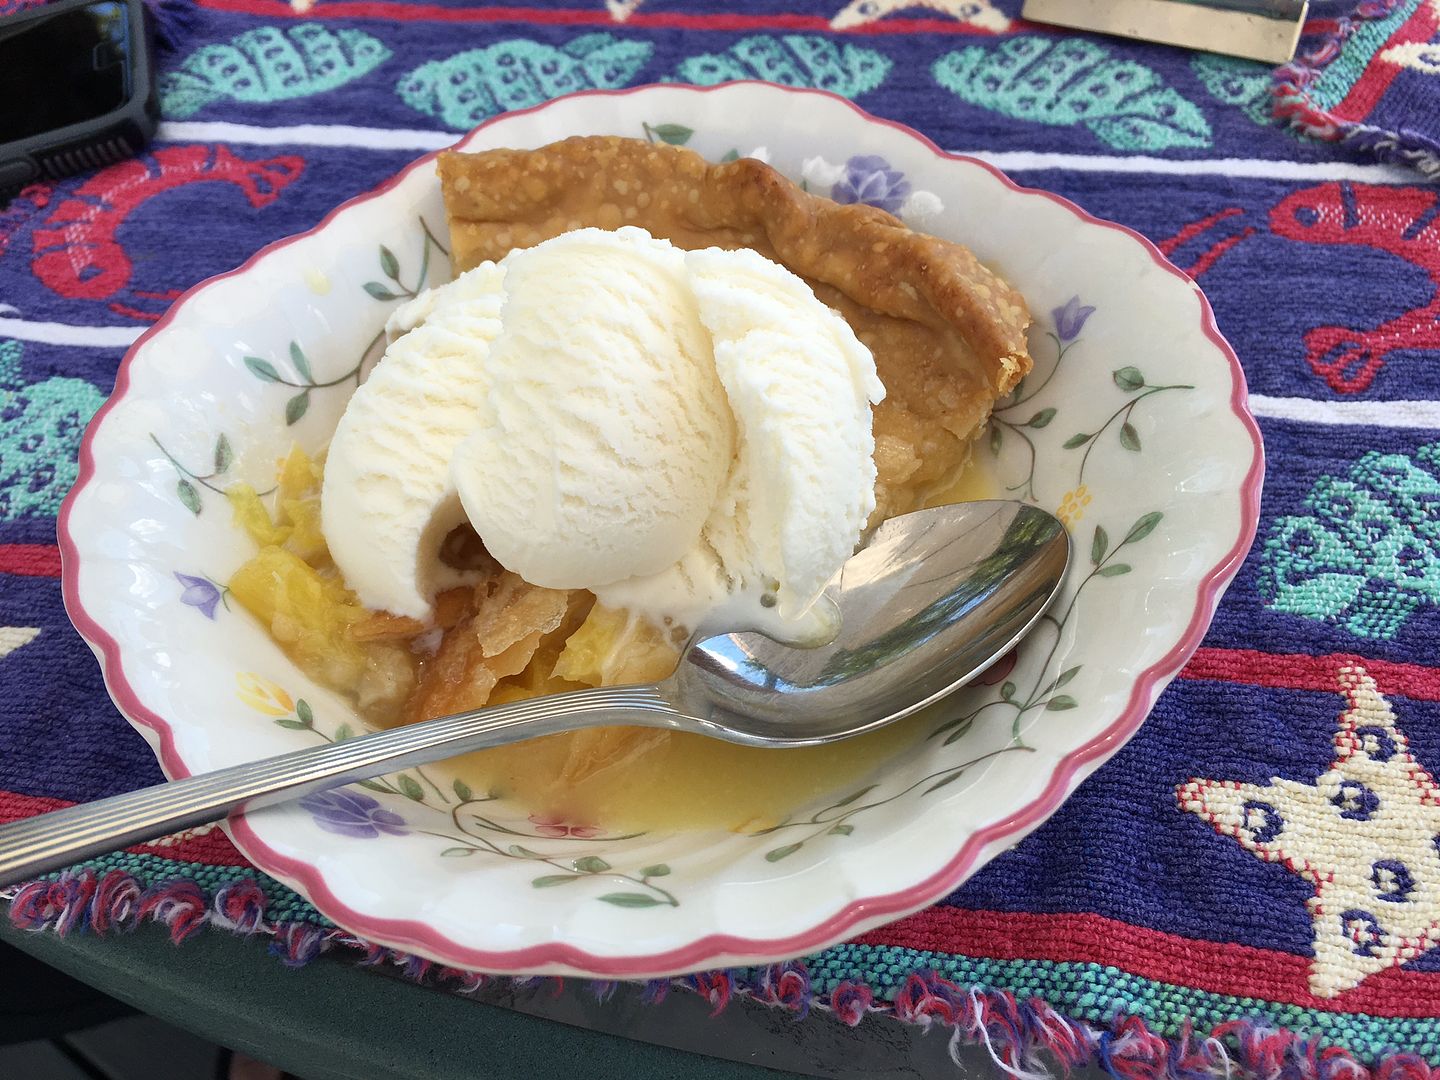
But guess what, it's delicious.  Ah, the mixture of tart pineapple with rich crust and some creamy vanilla ice-cream on the side to cut the tart...perfection!


I loved it so much that I asked my MIL for her recipe and made a pie this week while visiting my family.  I brought my dad a piece and he went on and on about how much he loved it and how "smart" I was. :) My dad has Alzheimer's so this pie brought me a beautiful memory with my dad!

So if you've never had a (fresh) Pineapple Pie before you must make it.  It is really quite easy, the only time consuming part was cutting the pineapple.

Let me know what you think!

Fresh Pineapple (2 crust) Pie

Ingredients
2 eggs slightly beaten
1 1/3 cup sugar
1 Tbsp lemon juice
2-3 cups diced (or shredded) fresh pineapple (almost 1 whole pineapple)
1 Tbsp cornstarch

Instructions
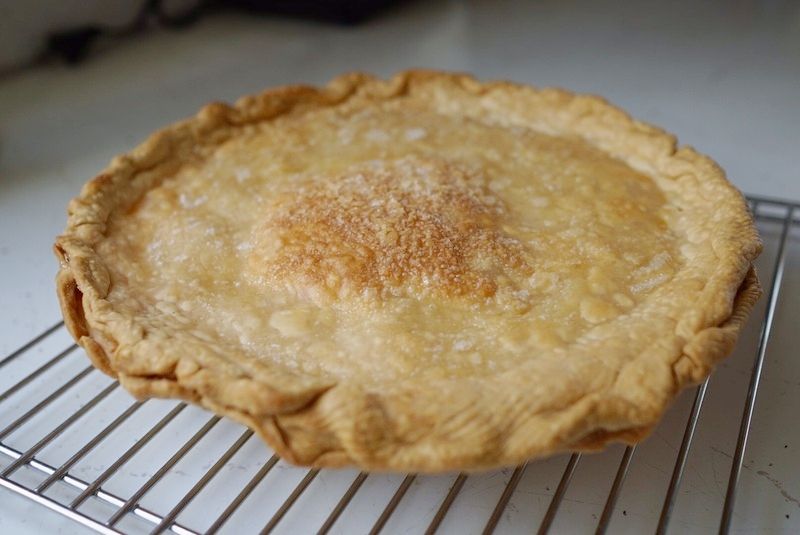
Combine the above ingredients.  Put mixture in uncooked pie shell (freshly made or store bought).  Leave dots of butter on top (I left about 8 pea sized pieces).  Cover with second crust.  Bake 10 minutes at 450, then at 350 until done (about 35 minutes).

*I added about a teaspoon of milk to the top crust and spread it around then sprinkled sugar on top (before baking).  That was how my grandmother made pies. :)


My Pineapple Pie

Note: I didn't include cornstarch in my pie and it turned out delicious but a bit runny.  I checked with my MIL and learned that I should have added the 1 Tbsp of cornstarch to help thicken.  Next time I'll get it right!

Tuesday, March 8, 2016

Lemon and Raspberry Sour Cream Pie


It's that time of year where there are people regularly offering fresh lemons (and other citrus) for free.  Just this last couple of weeks I've brought home a couple dozen lovely homegrown lemons thanks to friends!  Since there is only so much lemon I can use in my regular cooking I searched out recipes (ah-hem desserts) that are lemon flavored.

This recipe passed the Pinterest test and it's a winner!  So if you're up to your eyeballs in lemons at your house too don't just make lemonade, make pie!


Lemon and Raspberry Sour Cream Pie

Ingredients
1 8″ pre-baked pie shell
3 lemons, zested & juiced (1 Tbsp. zest + 1/2 cup juice)
3 1/2 tablespoons cornstarch
1 cup granulated sugar
3 egg yolks
1 cup milk (I used whole)
1/2 stick butter, cubed
1 cup sour cream
whipped cream, to garnish
fresh raspberries (or jam) to garnish

Directions
1. Pre-bake your pie crust (homemade or store-bought, I found a tasty and organic pre-baked pie crust at my Fry's Grocery) and let it cool completely.
2. In a medium size saucepan, whisk together the lemon juice, lemon zest, cornstarch, sugar, egg yolks and milk. Cook over medium-low heat until thick, whisking frequently.
3. Remove from the heat and whisk in the butter. Allow the custard to cool completely.
4. Once cooled, whisk in the sour cream. Pour into your pre-baked pie crust and refrigerate at least two hours.
To serve, slice and top with raspberries (or a layer of jam) and whipped cream.

Serves 8 (or 4, you know, depending on how much you LOVE pie!).  Remember to keep it refrigerated.


For more lemon recipes check out:

Thursday, March 3, 2016

Delicious Baked Sour Cream Donuts


I've got a new baked donut recipe to share!  Evidently I only make donuts when we have play dates because I haven't made them since the last time we had friends over.  I liked our last Cinnamon Sugar Donut recipe but thought I'd try a different one this time.

I LOVE making donuts for play dates since they are easy and a super fun snack with kids.  The weather has been amazing here lately (ah Arizona winters) so we ate them outside while the kids played.


Sour Cream Donuts

1 cup all-purpose flour 
1/2 tsp baking soda 
1/4 tsp salt 
Pinch of nutmeg 
1/2 cup sour cream 
1/2 cup granulated sugar, plus more for coating the doughnuts 
1/4 cup coconut oil 
1/2 tsp vanilla extract 
1 large egg 

Preheat the oven to 350°F. Prepare donut pan by greasing it with coconut oil.  In a small bowl, whisk together the flour, baking soda, salt, and pinch of nutmeg. Set the dry ingredients aside. In a medium bowl, whisk together the sour cream, granulated sugar, coconut oil, vanilla extract, and the egg. Switch to a spatula and stir in the dry ingredients.  Fill a plastic storage bag (or a fancy icing bag) with the batter and pipe it evenly among the prepared donut pan. The batter should reach about half way up the inside of each circle. Bake the donuts for 12–16 minutes until the top edges begin to turn golden brown. Remove the donut pan from the oven and let the donuts cool for about 5 minutes before tossing them in the extra granulated sugar.

I found that this recipe made 6 very full (and delicious) donuts with extra batter to spare so I made a bonus heart shaped donut too.


The girls loved the donuts! 

Monday, October 12, 2015

Tasty Molasses Cake Recipe from the Kitchen House


A few weeks ago I read The Kitchen House: A Novel by Kathleen Grissom.  The novel is set on a large plantation decades before the Civil War in Virginia.  It has a unique view following Lavinia, a young Irish orphan girl as she moves from the kitchen house to the big house.  Amazon describes it as a "heartbreaking and ultimately hopeful story of class, race, dignity, deep-buried secrets, and familial bonds."

This book was difficult to put down and when I finally finished I wasn't ready for it to end so I went on to read the author interview and then study group questions in the back of the book.  In the author interview this Molasses Cake recipe was introduced.  The recipe (created by the author) was a modern adaption of a cake that would have been made in the pre Civil War time.  The minute I saw it I had to have it.  So....that very afternoon I baked this cake!  

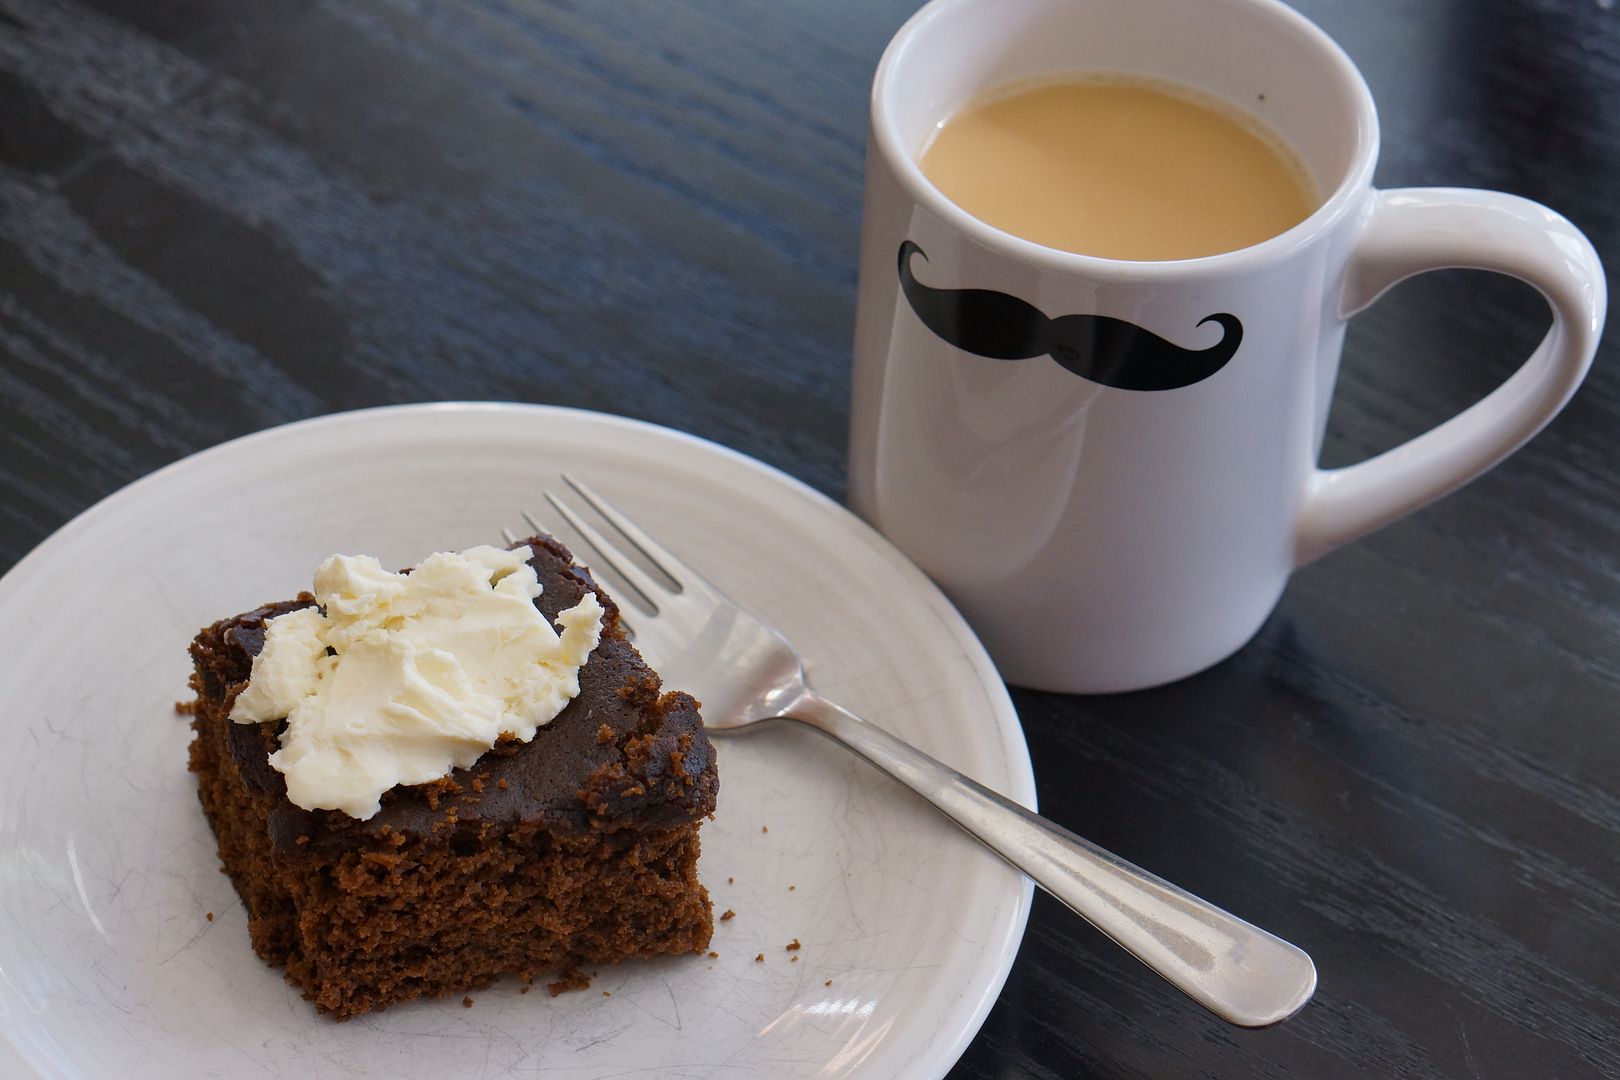
My kids were confused as to why it looked like chocolate but tasted quite different, ha!  I am a huge fan of molasses cookies but still found this cake to be a bit lacking on its own.  I whipped up a quick and easy cream cheese frosting to make it even better (just cream cheese and cane sugar blended).

It was quite tasty, especially alongside a cup of Trader Joe's Pumpkin Spice coffee.  Ahhhhh, bring on fall already!! (Still in the 90's -100's here in Phoenix this week, boo!)  So get the Kitchen House on your kindle and whip up some cake.  Let me know what you think!

Tasty Molasses Cake

1/2 cup butter
1/2 cup packed brown sugar
1 egg
1/2 cup milk
1 cup molasses
2 cups flour
1 tsp baking soda
1 tsp ground ginger
1 tsp cinnamon
2 dashes ground cloves
1/4 tsp salt

Preheat oven to 350 degrees.  Grease an 8 inch square baking pan.  In a large bowl cream the butter and sugar.  Beat in the egg.  In a separate bowl combine the milk and the molasses.  In another bowl combine the flour, baking soda, ginger, cinnamon, cloves and salt.  Add each of these alternately to the butter mixture, beating well between additions.  Bake for approximately 45 min or until a toothpick comes out clean.

Wednesday, February 25, 2015

Hot Chocolate Party Favor - Easy Peasy!

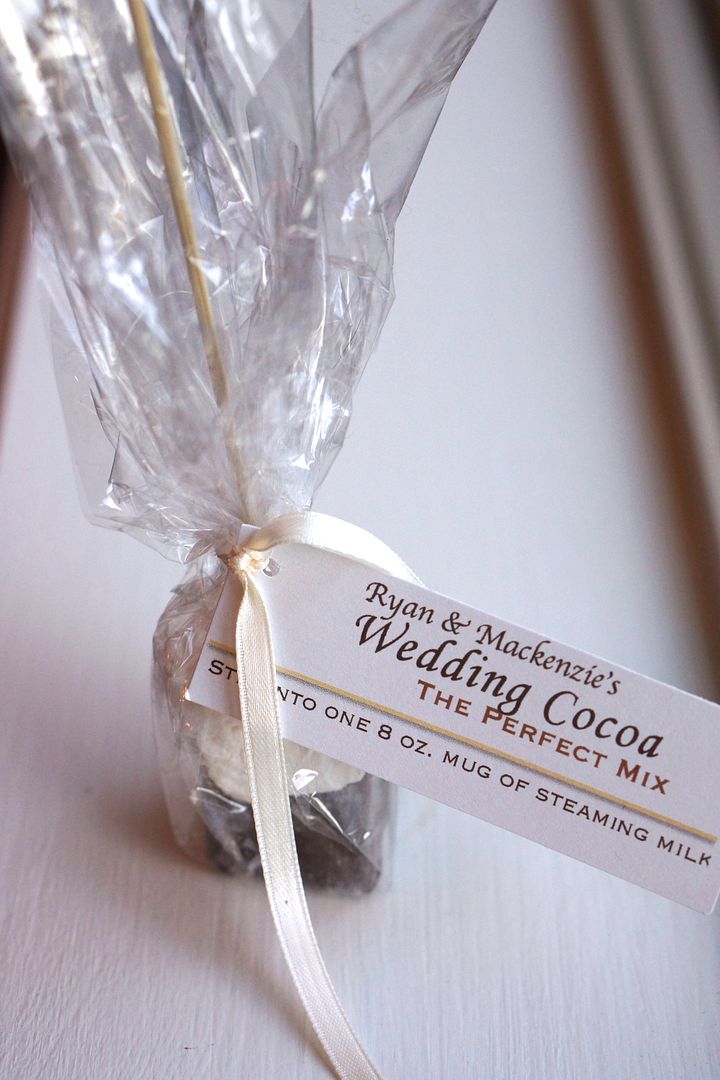
My oldest nephew got married last weekend and they had the most delicious party favors.  Little individual hot chocolate sticks.  Each favor included a cube of chocolate and a cube of marshmallow on a stick with a tag that said "Bride & Groom's Names, Wedding Cocoa - The Perfect Mix".

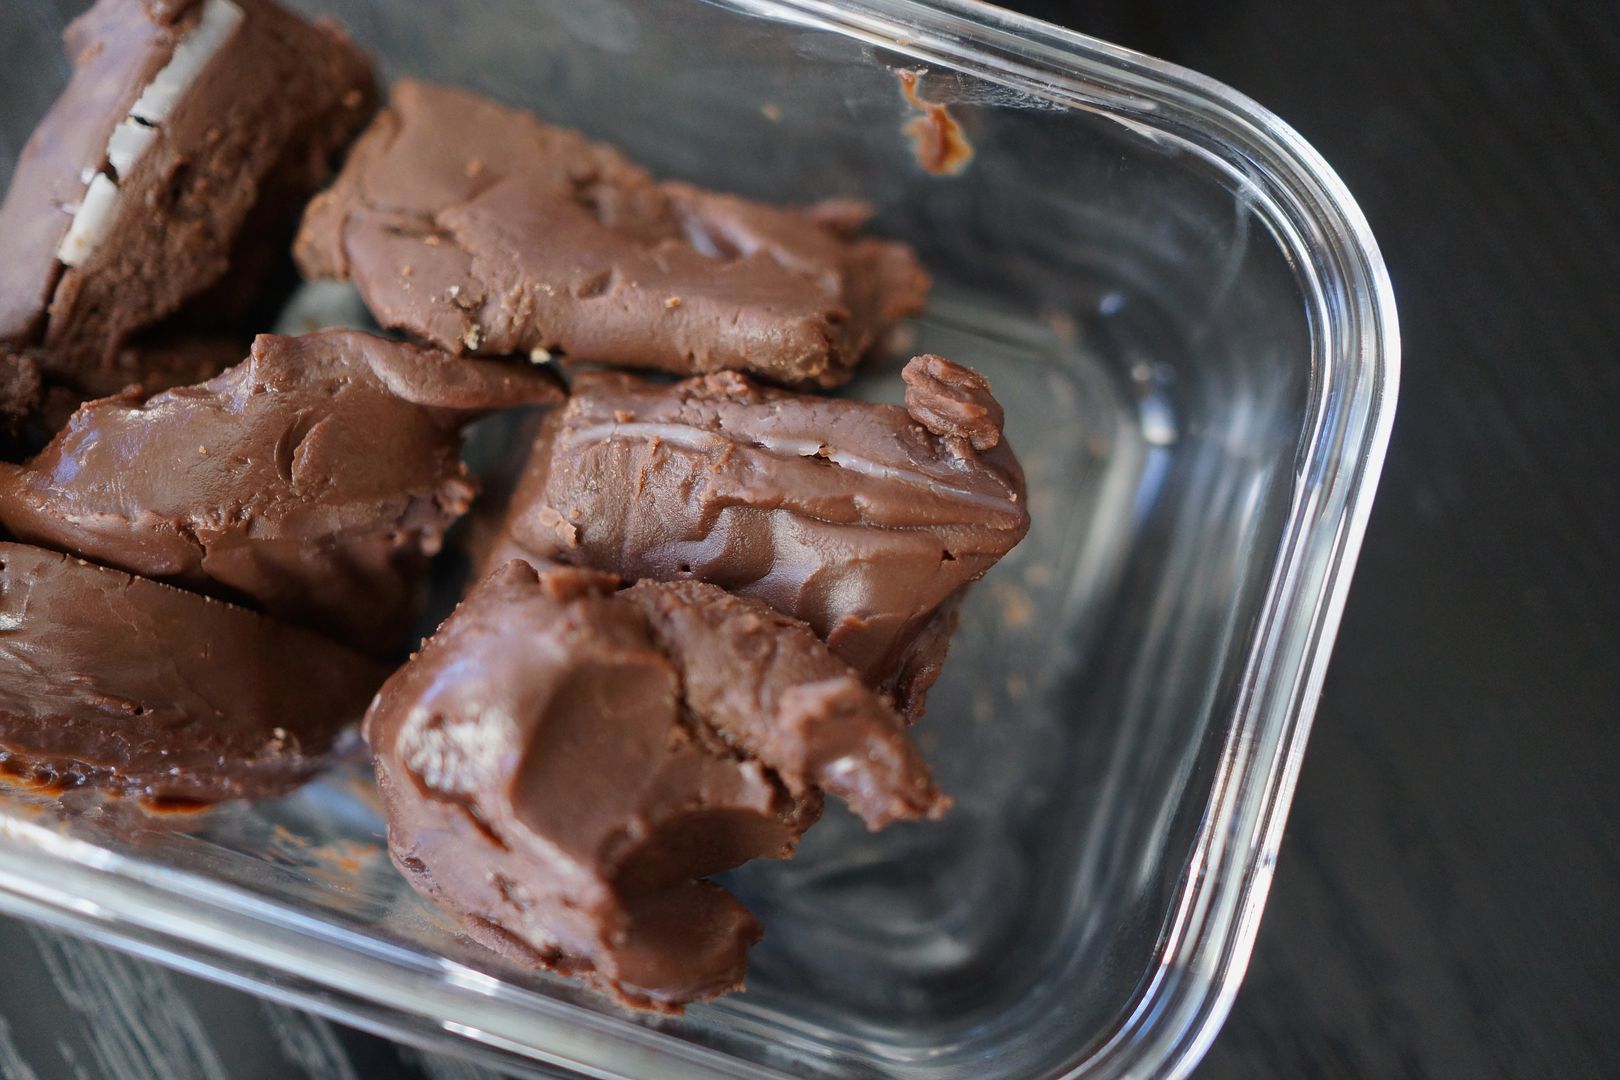
When we got home to try them I guessed that they must be made out of fudge.  Just last month I posted an easy way to make a mocha at home using homemade fudge.  In my case it was my super simple 7 Minute Dark Chocolate Fudge recipe!


Ingredients
1 oz of Fudge (try my recipe!!), approximately 1 inch cubed
1 marshmallow 
- stick, cellophane square and ribbon to decorate

Directions on the tag should say to stir the stick into 8 oz of steaming milk.

What a wonderful gift idea to combine the fudge and a marshmallow (homemade or store bought)!  Perfect for a wedding or birthday party favor (hello Frozen themed parties!!!) or even a simple Christmas gift. 

I can't wait to make them myself.  Of course I'll need a different little tag since my wedding days are long gone.  Here are some ideas:

Frozen Party Theme

"A Sweet Treat to Warm Your Heart"
"Some People are Worth Melting For"

Christmas Gift

"Baby It's Cold Outside"
"Have a Cup of Cheer"


Happy Wedding Ryan and Mackenzie and thanks for the hot chocolate! :)

Tuesday, February 17, 2015

Chocolate Applesauce Banana Cake


I had a couple ripe bananas on my counter last week and company for dinner so I decided to whip up a more healthy version of chocolate cake for dessert.  My girls LOVE chocolate and I figured that although this isn't exactly "healthy" (just a wee bit of sugar in there, ha!) it is an improvement over regular cake with ingredients like bananas and applesauce.

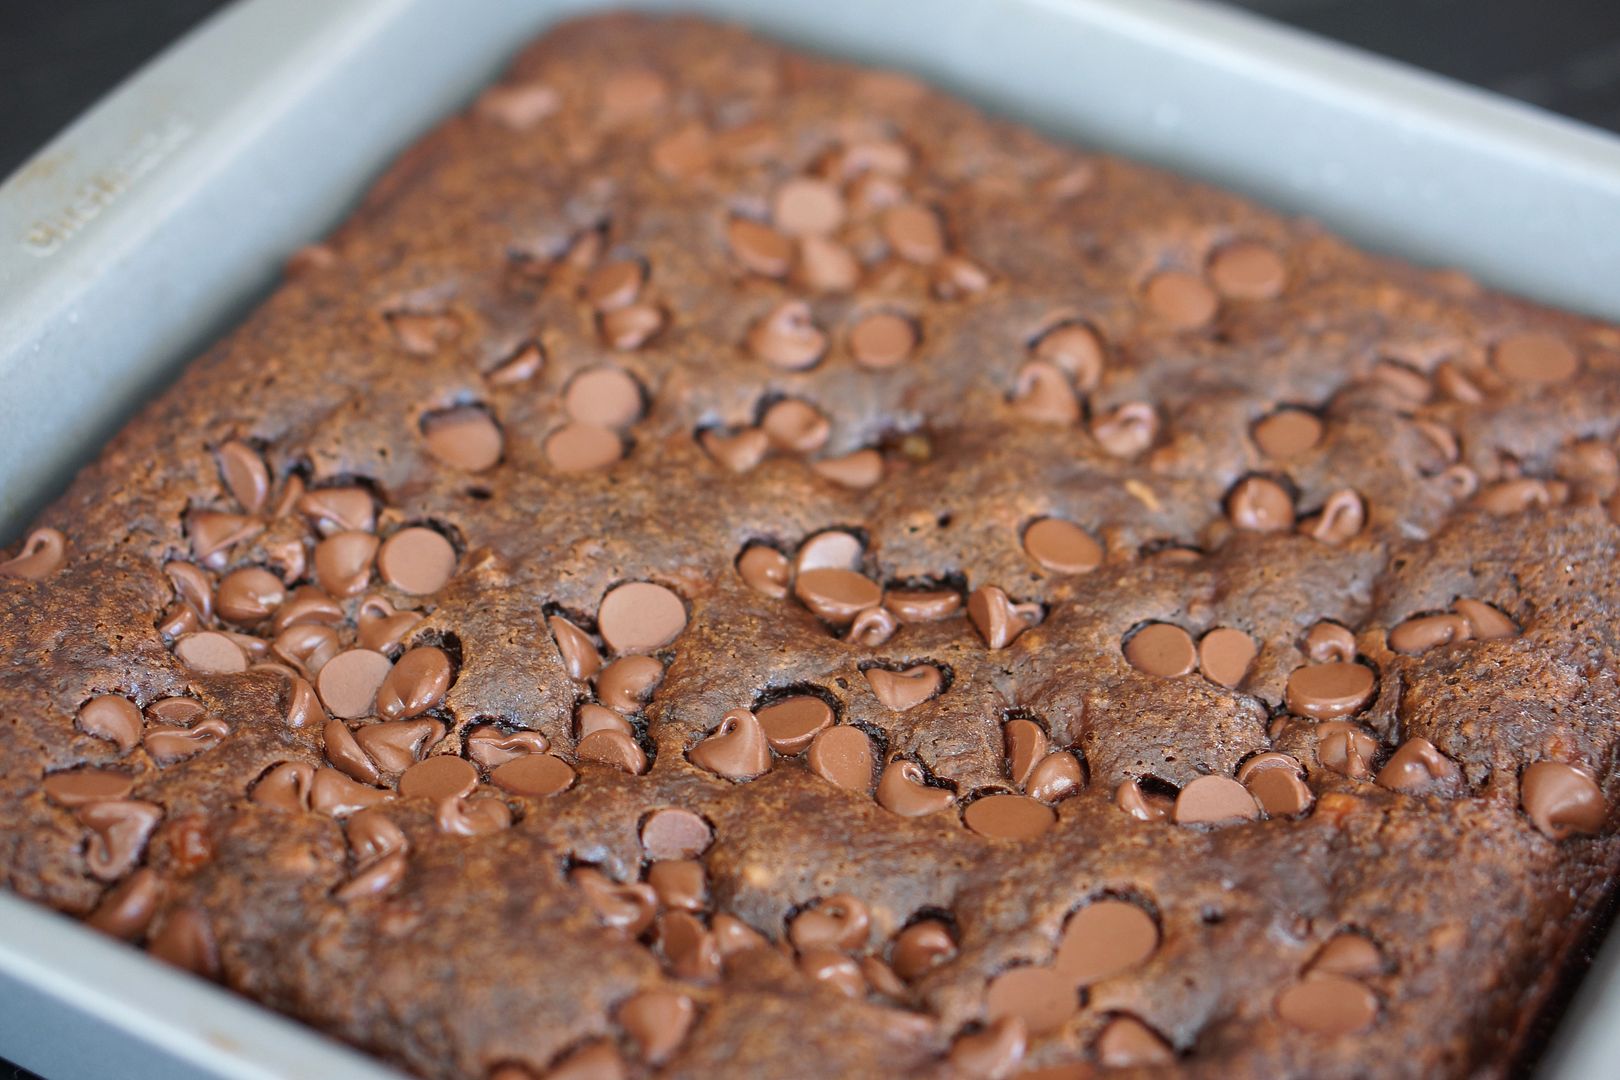
I was generous with the chocolate chips on top and my girls were fans!  They asked for seconds and this cake was gone within 2 days.

I appreciated that it was an easy recipe to make and only required one bowl.

Chocolate Applesauce Banana Cake

Ingredients
2 very ripe bananas
1/2 cup granulated sugar
1/4 cup brown sugar
1/2 cup applesauce (unsweetened)
1/2 cup water
1 tsp white vinegar
1¼ cups all-purpose flour
1/4 cup unsweetened baking cocoa
1 tsp baking soda
1/4 tsp salt
2/3 cup semi-sweet chocolate chips, divided

Instructions

1. Preheat oven to 350 degrees. Coat 8x8 baking pan with coconut oil (or spray with non-stick cooking spray).
2. Mash bananas in a medium size bowl. Stir in sugars, applesauce, water, and vinegar until thoroughly combined.
3. Stir in flour, cocoa, baking soda and salt just until combined.
4. Fold in 1/3 cup of chocolate chips. Pour batter into baking pan. Sprinkle remaining chocolate chips on top.
5. Bake for 33-37 minutes or until toothpick inserted into cake comes out clean. Let cool, slice and serve. (we waited about 10 minutes)

Monday, January 5, 2015

My New (Easy At Home) Mocha Obsession


Over Christmas break I was taught the most marvelous way to make mocha (or hot chocolate) at home.  I had brought my 7 Minute Fudge recipe for a holiday get-together and one of my neighbors informed me that a square of my fudge would be perfect for hot-chocolate.  


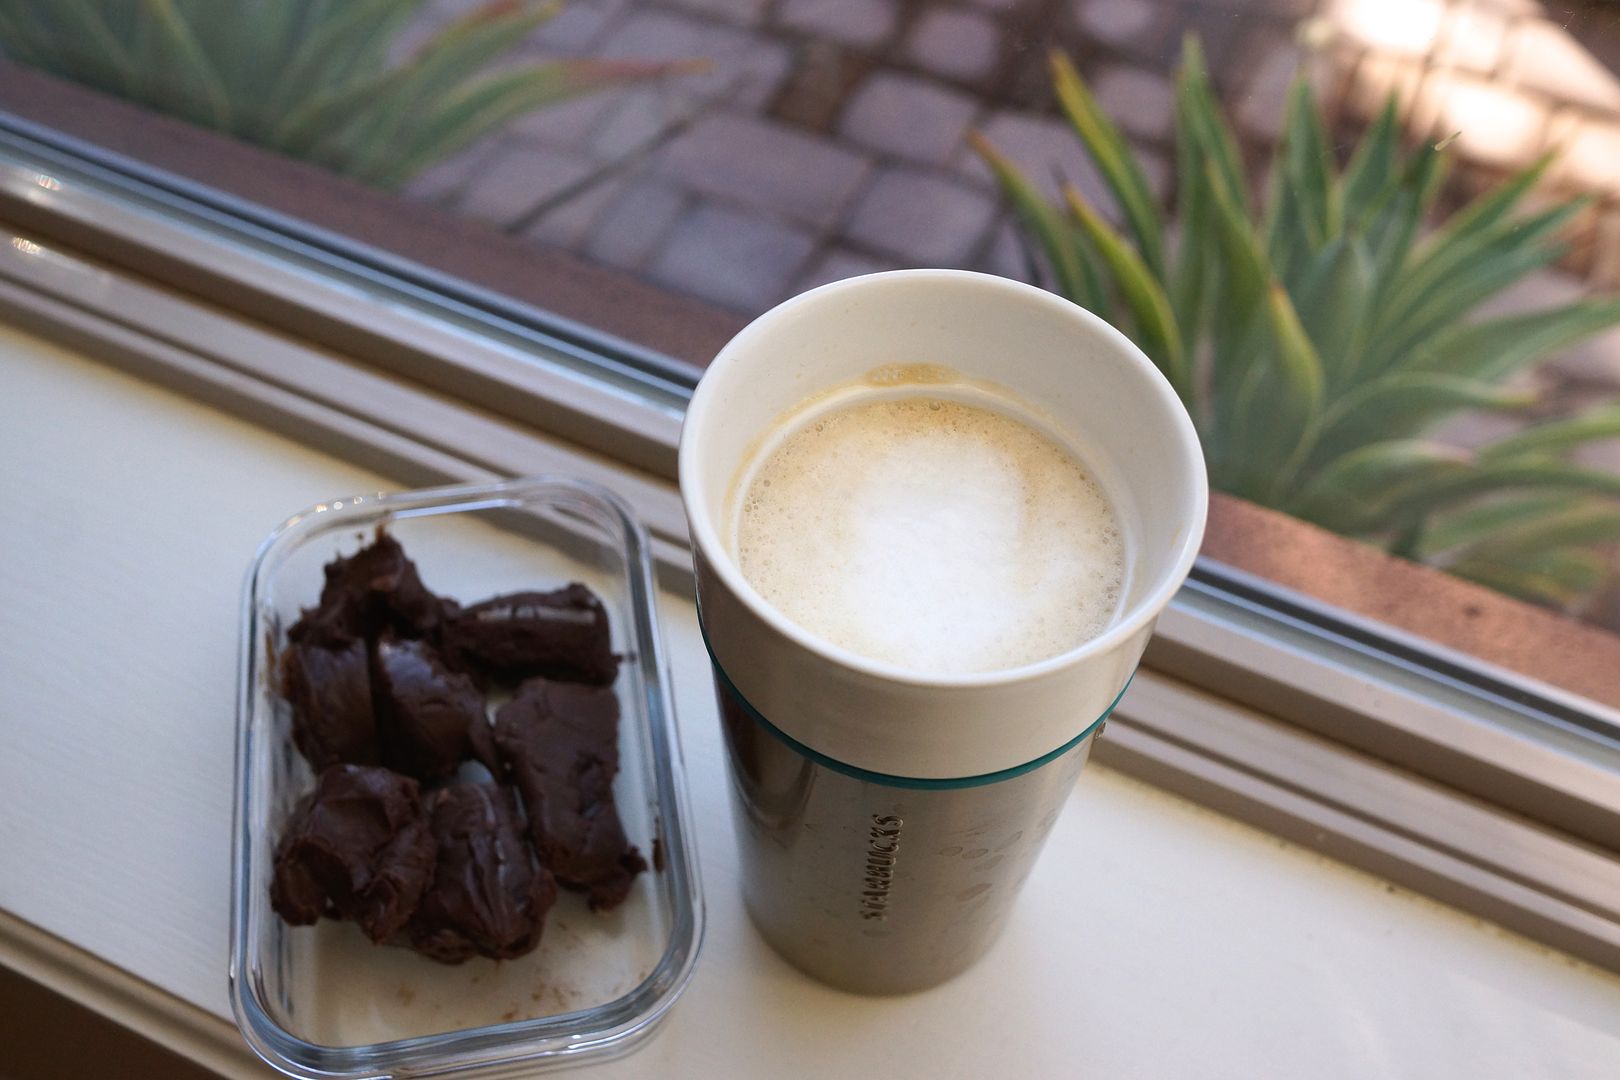
Since my recipe is only chocolate, sweetened condensed milk, butter and heavy cream (yum) it melts with ease and creates the most delicious mocha flavor in my coffee.  Oh my it is good and oh so easy in my Keurig!


Directions
Brew Coffee

Add fudge square (start small around 1 inch square and add more as needed)
Stir
Enjoy!

I also add a little steamed milk to make it extra creamy.

So go make some 7 Minute Dark Chocolate Fudge and give it a try! :)

Thursday, October 2, 2014

(Heavy) Cream Cheese Frosting Recipe


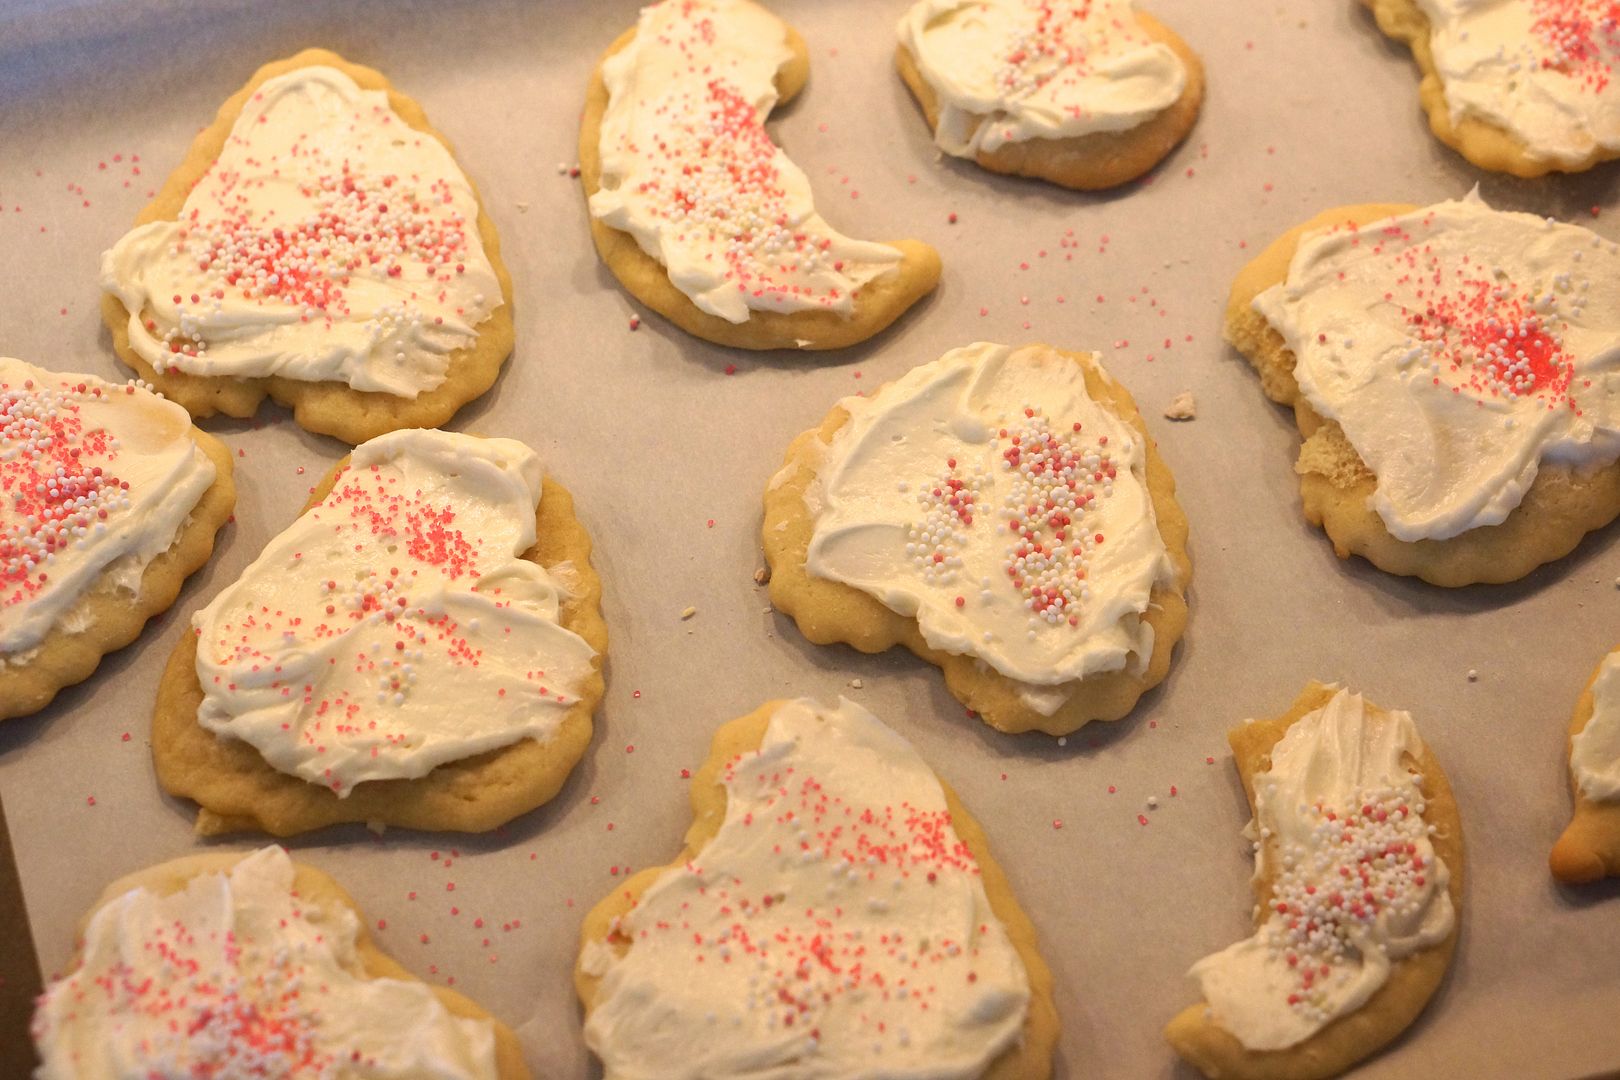
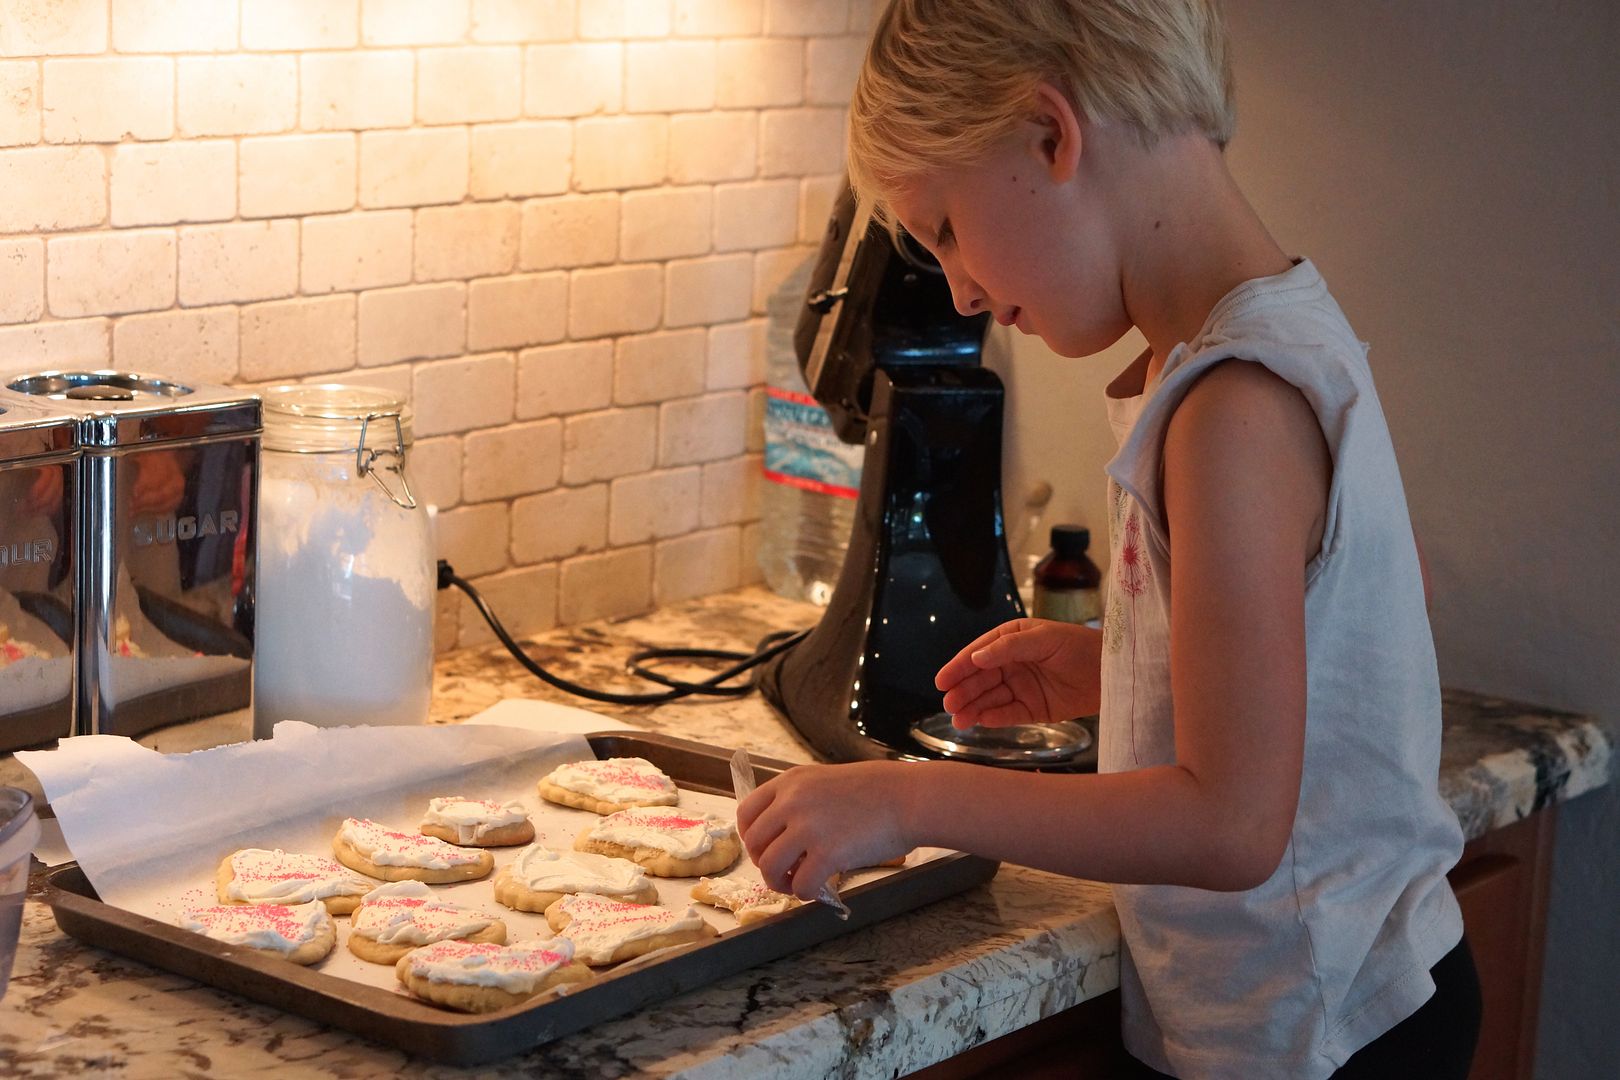
Last week I needed to make 6 cookies ("C" week) for my daughter's pre-school class.  I should have made my consistently popular Chocolate Chip Oatmeal Raisin (lactation) Cookies but instead I decided to throw caution to the wind and try a brand new recipe.  I made a soft sugar cookie recipe that left me with dozens and dozens of cookies (sigh).  I sent them to school frosting-free (these were 3 year olds after-all!) but promised my girls that we'd frost the rest that weekend.  Not wanting to make a typical sugar frosting I did some more research to find a new cream cheese frosting recipe (you know, because cheese is healthy, ha!). 

Which led to my next problem.

My husband and I have been counting calories and using the myfitnesspal app for the last couple of months.  At the same time we've been attempting to fatten up our skinny little children.  Let's just say these are difficult goals to achieve at the same time. ;)  This particular recipe is fabulous for the girls but not so much for me.  However, the frosting is SO yummy that it is difficult to resist.

You see it has the normal cream cheese frosting ingredients with a special indulgent twist.  Heavy Cream.  Oh yes, you can't go wrong with heavy cream.  


My girls agree!

Heavy Cream Cheese Frosting 
8oz cream cheese, room temperature 
3/4 cup powdered sugar 
1/2 teaspoon vanilla 
1/2 cup heavy cream, cold. 

Beat the cheese, sugar and vanilla until smooth and fluffy. In a separate bowl, beat the heavy cream to nearly stiff peaks, then add the whipped cream into the cheese mixture and quickly and briefly beat to combine. Do not over beat.

You can store the frosting in the refrigerator, it stays creamy and easily spreadable. 


So give it a try.  It would be lovely on a cake, cinnamon rolls or even toast!  Or you know, on a spoon. :)

Enjoy!  (and no, I didn't calorie count either the cookie recipe or the frosting!!)

Tuesday, June 18, 2013

Vanilla Bean Ice Cream Recipe

It's that time of year again for ice-cream. You know, when it's 108 degrees outside.  Well, at least here in Arizona it's that hot!  Let's just say we eat our ice-cream inside the air conditioned house. ;)

I decided to try a vanilla bean recipe this time.  I already have a fabulous (and popular!) Haagen Dazs Vanilla Ice Cream recipe that is always a winner, but I decided to branch out and try something with a little vanilla bean in it.

I referenced the great book of ice-cream recipes (The Perfect Scoop by David Lebovitz) and this is what he had.  It is a custard based vanilla (hello 6 egg yolks!) and I will admit that it takes a little time and patience for this one.

I found it perfect with tart berries and a little cake.  I will admit however that my Vanilla Ice Cream (haagen dazs copycat) is still my favorite!


Vanilla Bean Ice Cream from The Perfect Scoop by David Lebovitz - "Vanilla Ice Cream"
Ingredients
1 cup milk (I used 2%)
3/4 cup sugar
2 cups heavy cream
pinch of salt
1 vanilla bean, split in half lengthwise
6 large egg yolks
3/4 teaspoon vanilla extract

1. Warm the milk, sugar, 1 cup heavy cream and salt in a medium saucepan.  Scrape the seeds from the vanilla bean into the warm milk and add the bean as well.  Cover, remove from heat and let steep at room temperature for 30 minutes.
2. Pour the remaining cup of heavy cream into a large bowl and set a mesh strainer on top.  In a separate medium sized bowl whisk together the egg yolks.  Slowly pour the warm mixture into the egg yokes, whisking constantly and scrape the warmed egg yolks back into the saucepan.
3. Stir the mixture continually over medium heat with a heatproof spatula.  Pour the custard through the strainer and stir it into the cream.  Put the vanilla bean back into the custard, add the vanilla extract and stir until cool over an ice bath (or put in the refrigerator and stir every 5-10 minutes until cool).
4. Chill the mixture thoroughly in the refrigerator.  When you're ready to make the ice-cream remove the vanilla bean (you can rinse it and save for another use/recipe) then freeze the mixture according to your ice-cream maker directions.  If you like it soft eat right away, otherwise put the ice-cream back into the freezer overnight or until hard (that's how we like it).

Monday, May 27, 2013

My Favorite Fudge in all the World


My favorite fudge in all the land comes from a tiny little town on the North Shore of the Big Island of Hawaii.  It is sold upstairs at the Kohala Coffee Mill in Hawi, HI.


Now you may already know that I love fudge, and I have a wonderful 7 Minute Dark Fudge recipe to prove it.  But this isn't like any fudge you've ever had, well unless you've been to Hawaii.  I'm talking about liliquoi fudge, liliquoi also known as passionfruit is a perfectly sweet tropical fruit.


I first had their beautiful fudge a couple years ago when I was pregnant with my baby-girl.  I bought only 1/4 lb at that time and had it polished off before we left the island.  I talked to everyone I knew about that fudge and dreamed of it on and off for the next 2 years.  A trip back up North was a must have on our recent trip.  We drove all the way up and straight to the shop.  When we arrived a sign said "Closed" and my heart dropped right there.  Well, turns out they were opening at 11am and it was 10:50.  Whew.  A few minutes later there we were ordering my beloved fudge.  A full pound this time thank-you-very-much.

Love!  I'm on the hunt for a recipe to make it myself, I'll let you know if I find a good one.

If you are ever on the Big Island I recommend a trip to Hawi.  Buy some fudge and at least sample the liliquoi, you won't be disappointed!

Sunday, April 21, 2013

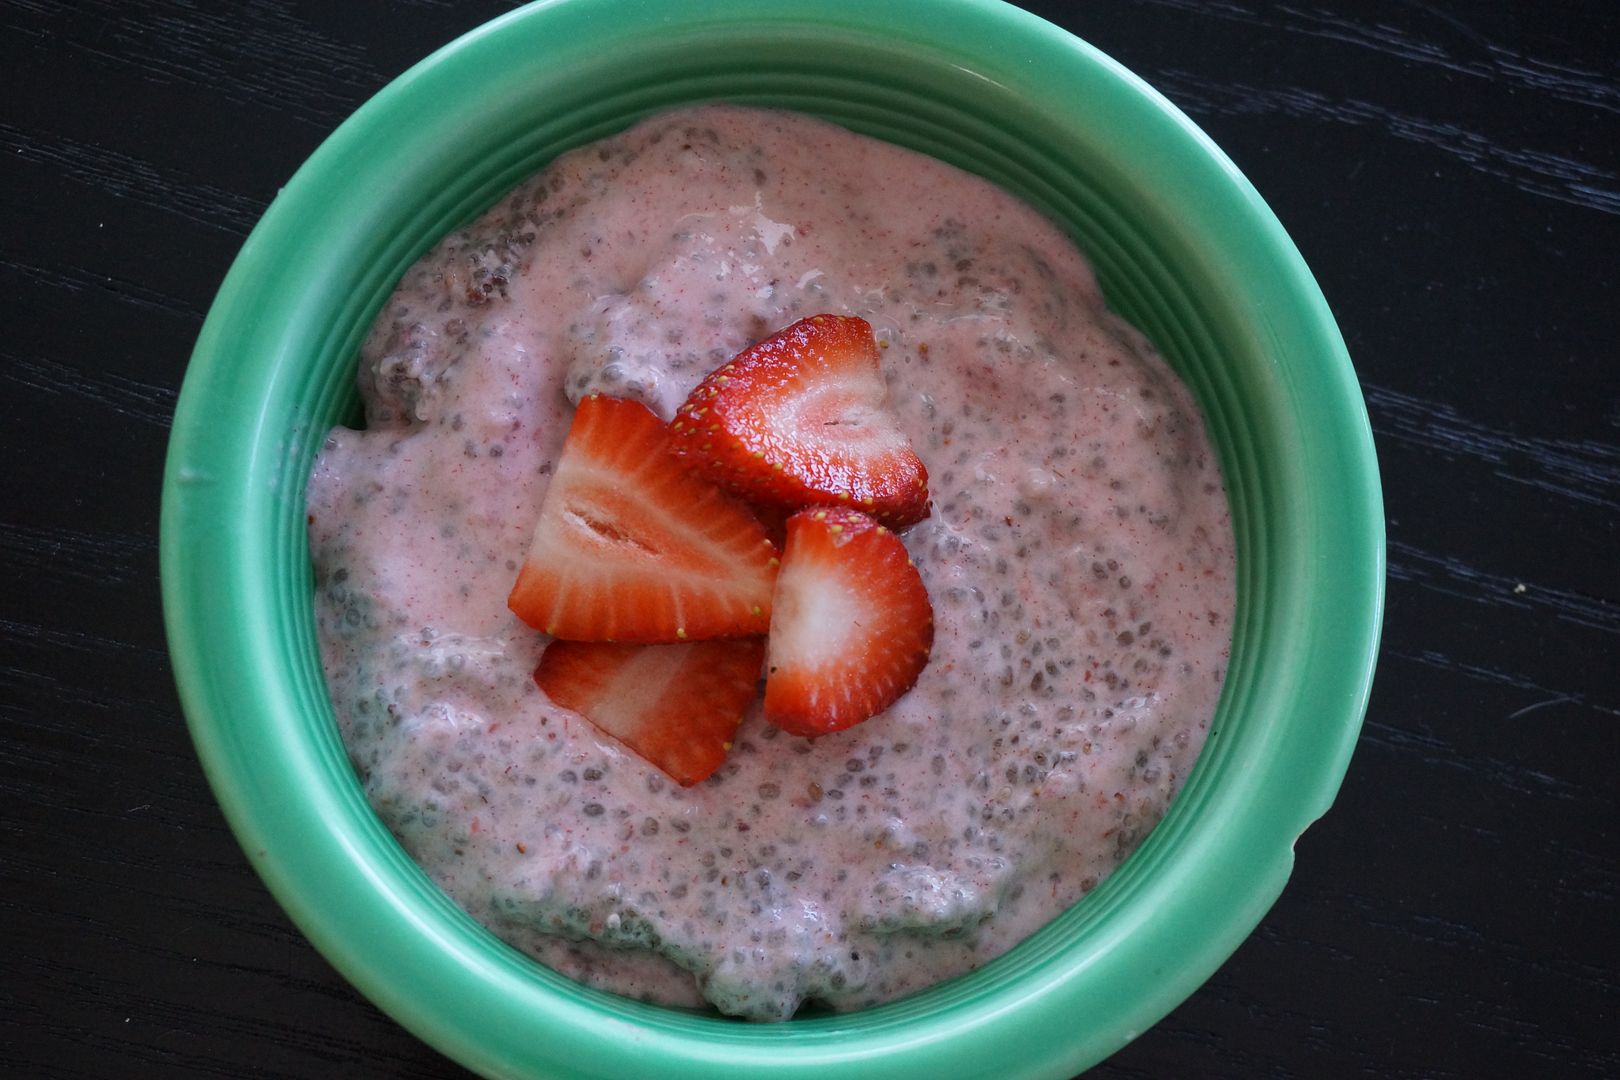
Strawberry Banana Chia Pudding Recipe


Oh yes, you read that right.  I've got another Chia recipe for you.  This one is a lovely cross between a smoothie and pudding.  Basic ingredients that make it great for the entire family, even babies!

Why should you should eat chia seeds? Because just 2 tablespoons of chia seeds has: Five times the amount of calcium in milk (plus boron which helps you absorb it), Three times the amount of antioxidants in blueberries, Three times the amount of iron in spinach, Three times the amount of fiber in oatmeal, Two times the amount of protein of any other bean, seed or grain, and Two times the amount of potassium in a banana!

Are you sold?

Here's the recipe.  Note: you can make it dairy free/vegan by switching out the milk for almond milk (or other milk alternative).

Chia Strawberry Banana Pudding
Ingredients
2 1/2 cups (10 oz) strawberries, fresh or frozen
2 bananas
1 cup milk or 1/2 and 1/2 (we love it creamy here)
3/4 cup (90 g) chia seeds
Sliced fresh strawberries for serving

Instructions
Combine the strawberries, bananas and milk in a blender. Blend until smooth. Pour into a glass jar or bowl. Stir in the chia seeds. Cover the mixture and refrigerate 2hrs to overnight until thickened. Spoon into bowls and serve with sliced fresh strawberries.

Thursday, March 28, 2013

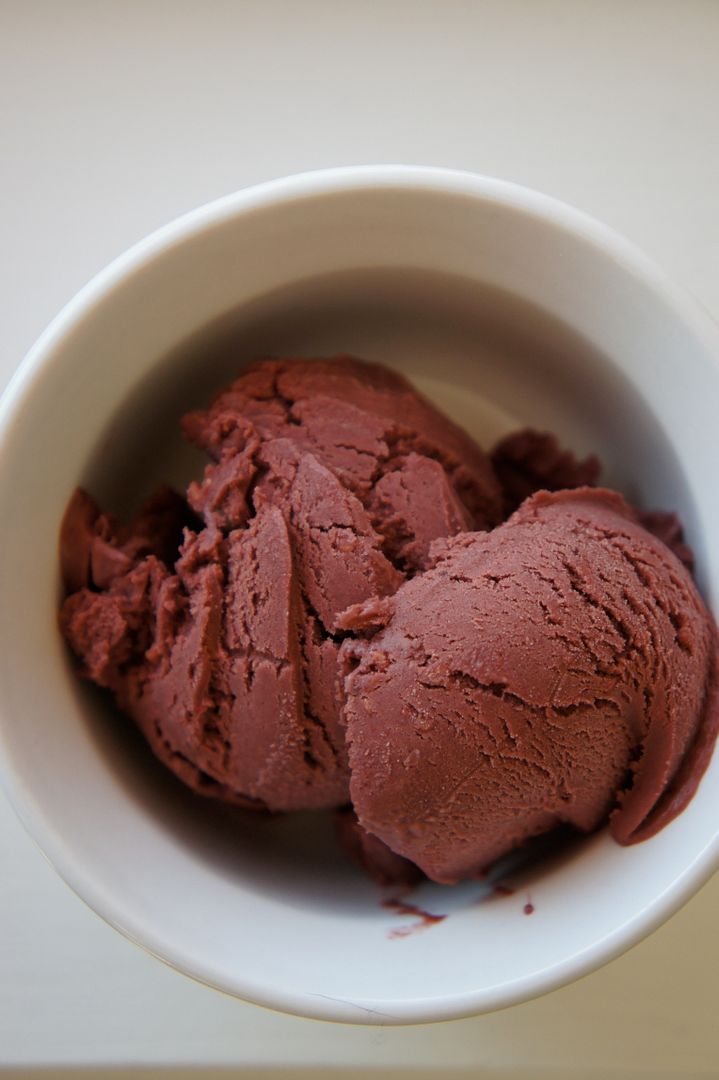
Chocolate Raspberry Truffle Ice Cream


Doesn't that look lovely?  It's ice-cream season here in AZ again (although some could argue it is year round) and with the 80-90 spring temps I've pulled out my ice-cream maker.  I have an attachment for my KitchenAid mixer and it works wonderfully.

I decided to start off the new year of ice-cream with a new recipe.  I have the best book, The Perfect Scoop by David Lebovitz.  Ah, the spring and summer are going to be delicious!
First up, Chocolate Raspberry ice cream.  I called it chocolate raspberry truffle because it is so smooth and rich with a slight tart from the raspberries, ah, just like a truffle!  This recipe makes only 3 cups so you may want to double the recipe because it goes fast!

Chocolate Raspberry Truffle Ice Cream from The Perfect Scoop by Lavid Lebovitz
Ingredients
1 1/2 cups heavy cream
5 tablespoons unsweetened dutch-process cocoa powder
2/3 cup sugar
2 cups raspberries, fresh or frozen

Directions
1. Whisk together the cream, cocoa powder and sugar in a large saucepan.  Heat the mixture, whisking frequently until it comes to a full rolling boil (about 10 minutes for me, it will start to foam up).  Remove from heat and add the raspberries (I used frozen).  Cover and let stand for 10 minutes.
2. Puree the mixture in a food processor or blender.  You can press the mixture through a mesh strainer to remove the seeds if you want, I didn't take the time and enjoyed the little seedy crunch here and there. 
3. Chill the mixture thoroughly, then freeze using your ice-cream maker.  After mixing in my attachment for 15 minutes I put the ice cream in the freezer (in a glass container) overnight to harden.

Thursday, March 7, 2013

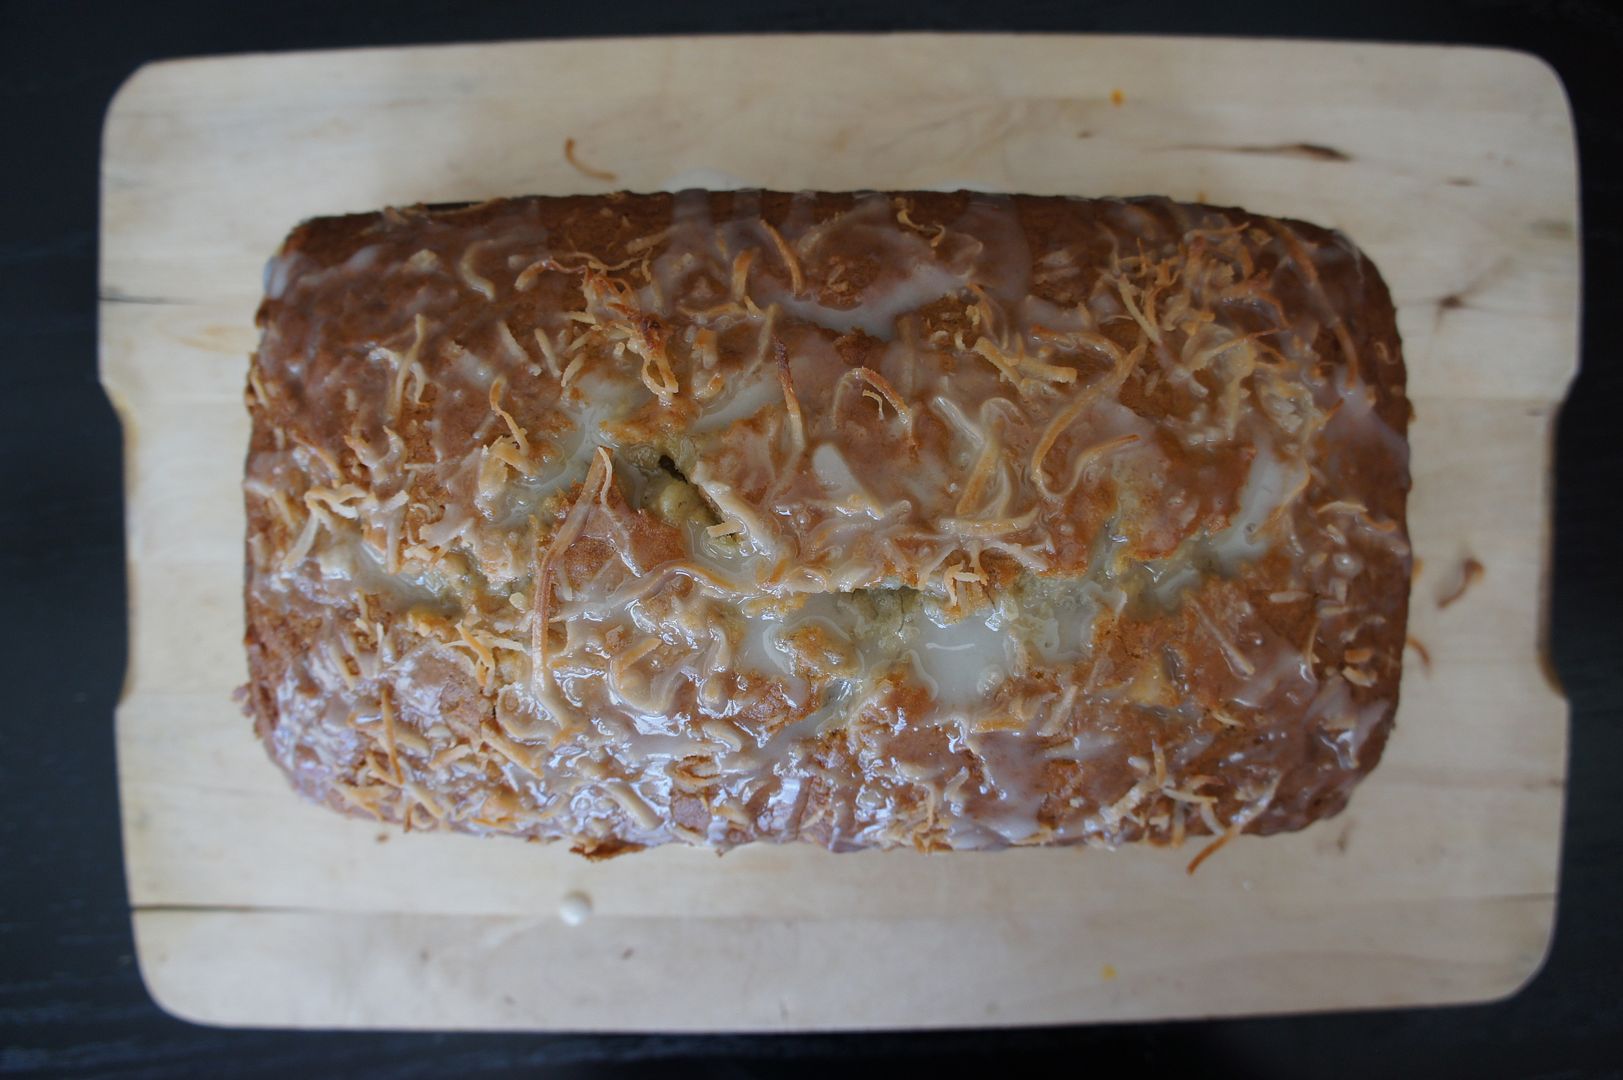
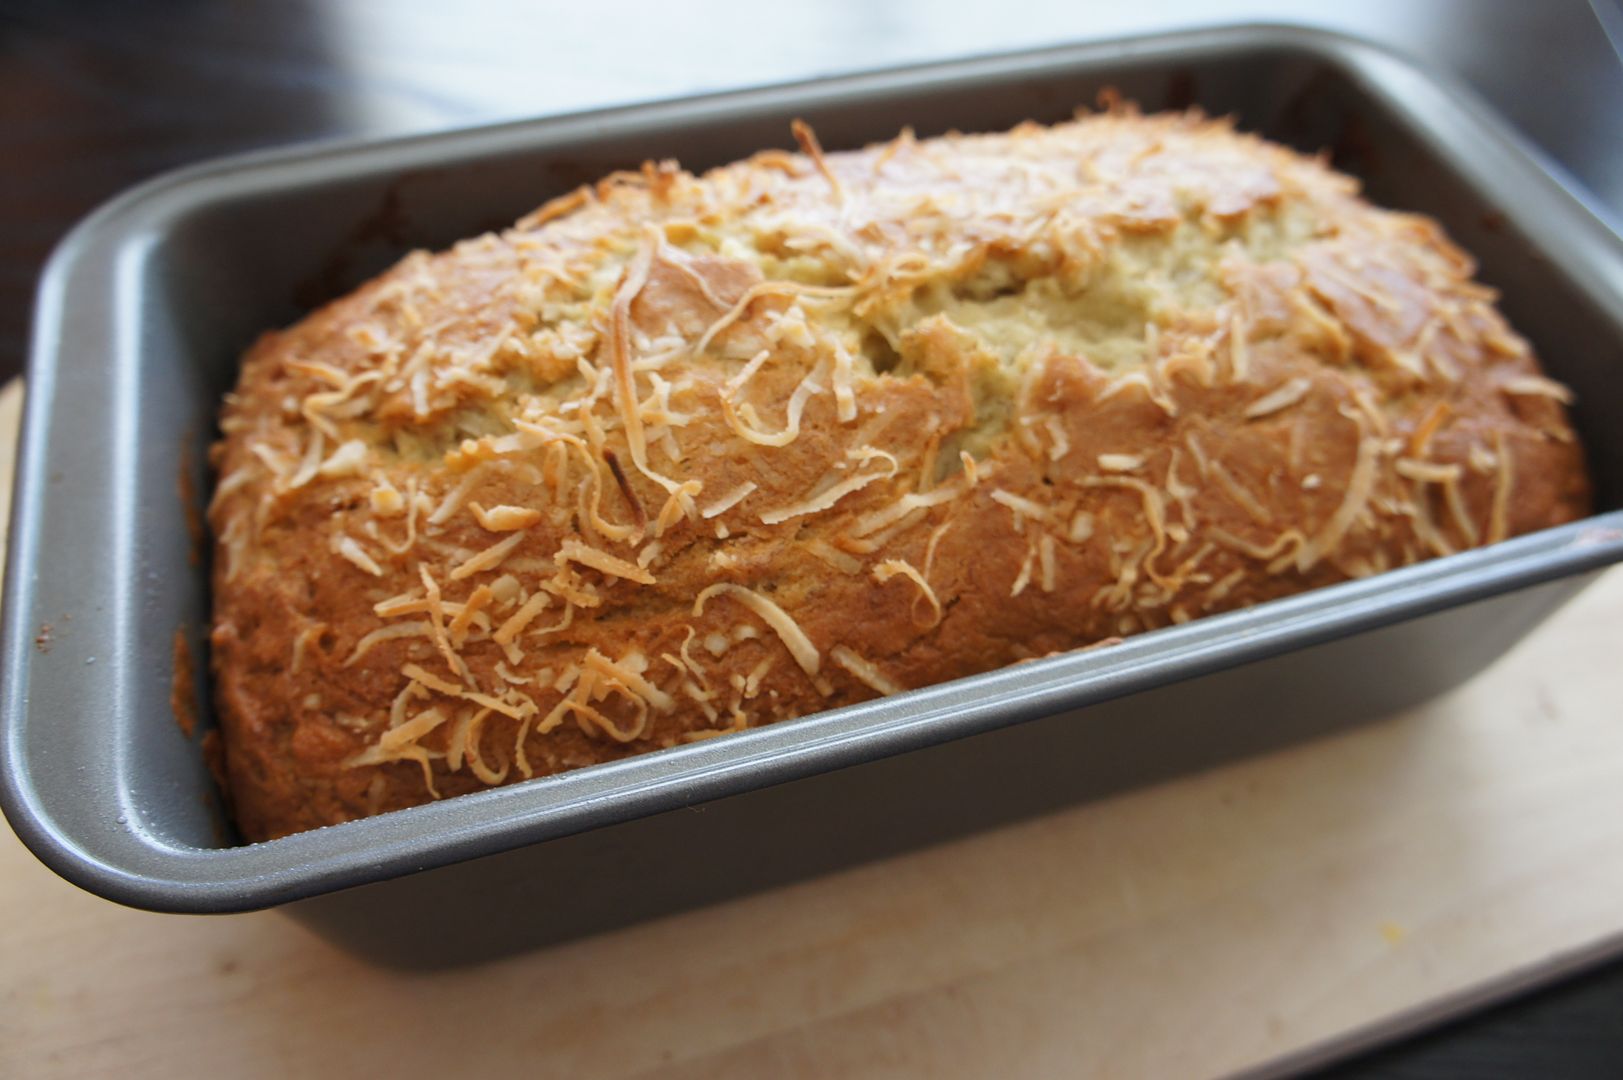
Coconut Banana Bread with Lemon Glaze Recipe

My 5 year old has been bugging me lately for banana bread.  I never seem to have enough mushy bananas around though because the baby and I eat so many!  However, today I had enough bananas so I did a little recipe research to find something new.  I was inspired by a couple different recipes and changed a few things to make my own version.


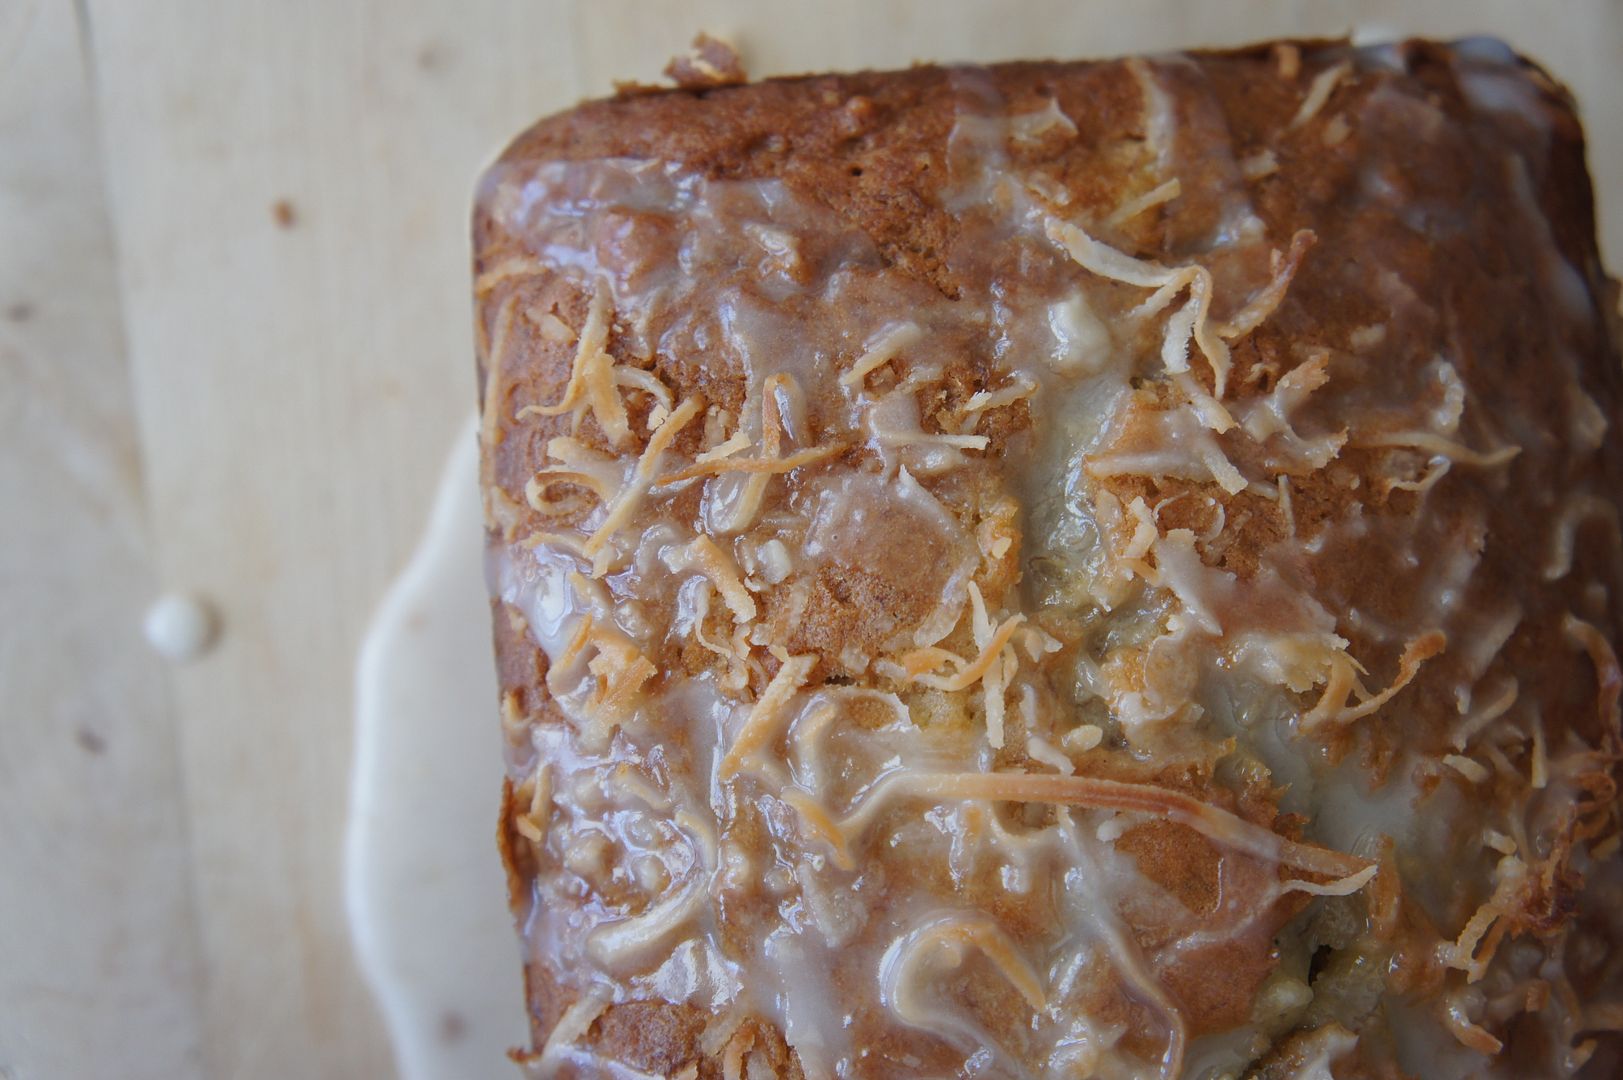
Now this is not just any banana bread.  This is AMAZING banana bread.  Heck, it has coconut and a lemon glaze!  My husband hates banana bread and he couldn't get enough of this.  He actually told me (unsolicited) that this is the best sweet bread he has ever had.

Without further adieu, here is the recipe:

Coconut Banana Bread with Lemon Glaze 
2 cup flour
3/4 tsp baking soda
1/2 tsp salt
1 cup sugar
1/4 cup (4 Tbsp) real butter, softened
2 large eggs
4 large bananas, mashed
1/4 cup sour cream or plain yogurt
2 Tbsp milk
1 tsp vanilla extract
1/2 cup shredded coconut
Topping: 2 Tbsp additional coconut
Glaze: 1/2 cup powdered sugar whisked with 1 1/2 Tbsp fresh lemon juice

Directions
1. Preheat oven to 350 degrees. Whisk flour, baking soda, and salt together in a medium bowl and set aside.
2. In a large mixing bowl, beat butter and sugar until blended (I did this by hand but you could use a mixer). Add eggs and beat to combine. Add banana, sour cream, milk, and vanilla. Beat until blended. Add flour mixture and beat until just combined. Stir in 1/2 cup coconut.
3. Pour batter into a 9×5″ loaf pan that has been greased with coconut oil. Sprinkle additional 2 Tbsp coconut on top. Bake in the oven for about 1 hour or until a knife inserted in center comes out clean. Note: Check bread after about 40 minutes. If the top has browned and the coconut pieces are looking toasty, cover top of bread lightly with a piece of foil. Continue baking until done. When done, remove pan from oven. Let cool on a cooling rack for about 10 minutes and then carefully remove from pan.
4. Whisk powdered sugar and lemon juice together for the glaze and then drizzle over top. Cool for another 15 minutes before slicing.

In the interest of full disclosure I did not follow my own directions at the end.  I did not wait another 15 minutes before slicing.  I cut into that beauty as soon as I finished taking these photos!  I took my slice and added a little (a lot?) of butter and it was heaven on a plate.


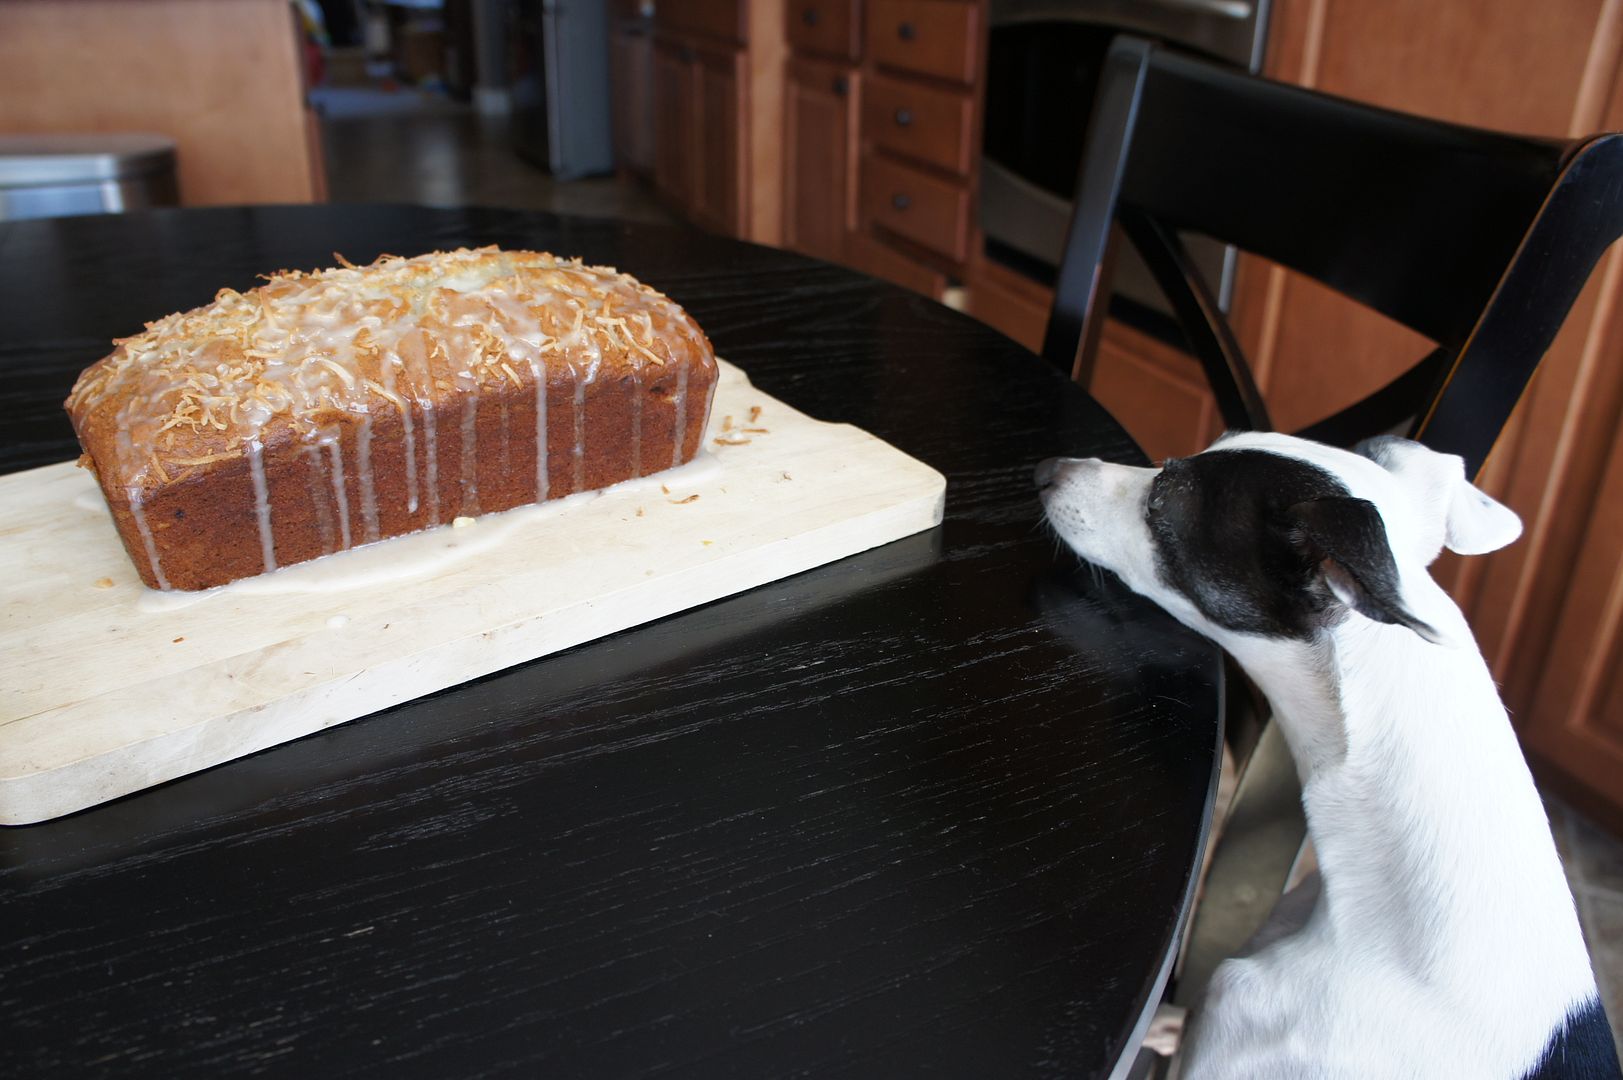
My sweet dog wishes he could have had a slice!

Isn't it beautiful?

Sunday, February 3, 2013

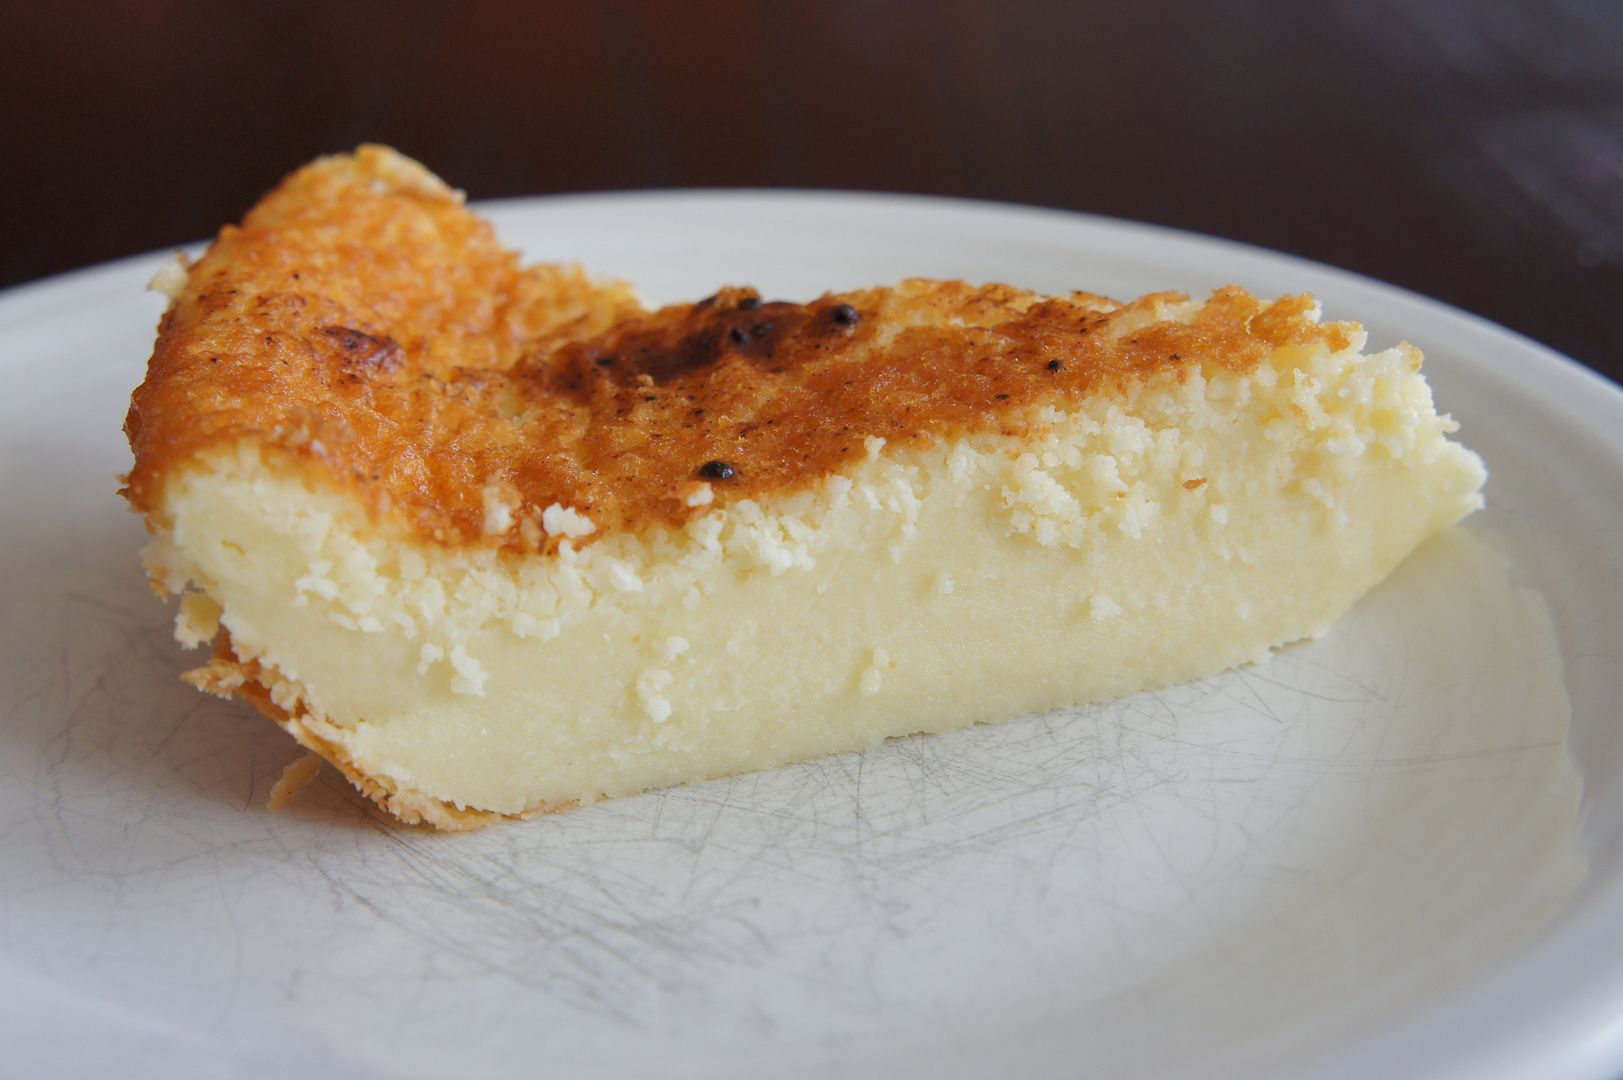
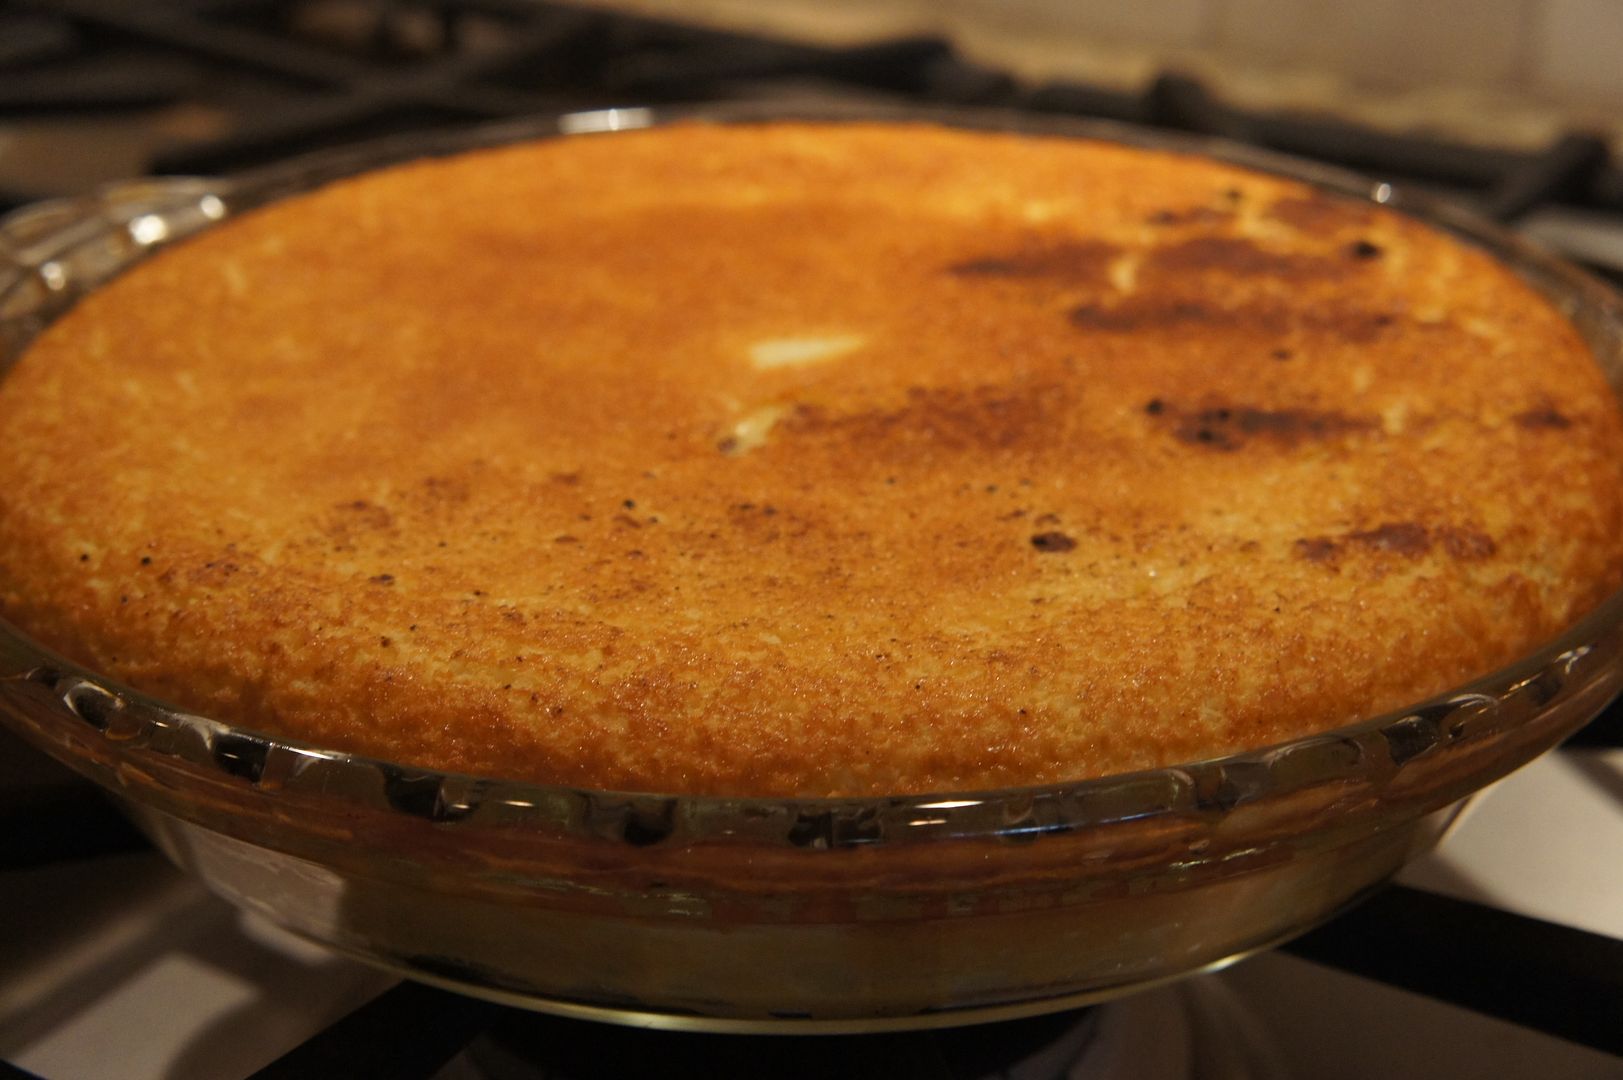
Coconut Custard (Blender) Pie Recipe

It's Superbowl Sunday!  We're not a football (or television) watching family but I can still help with some great food ideas.  Now, I realize the game is already going so you may be thinking "too little too late" but you'd be wrong.  This pie recipe is so easy you can whip it up in 5 minutes and be eating it in 40.  I kid you not.

I had some friends over for a play date last week and decided to make a pie.  Just like that.  SO EASY!  I adapted the recipe from Land O Lakes.  They call it a magic pie because the ingredients separate while cooking so you end up with a golden coconut top, custard middle and (allegedly) a flour crust.  I didn't really see much of the crust on my pie but the rest was true.  I decided to rename it a custard pie because I think it suits it better.


Coconut Custard Pie
Ingredients
1 cup heavy cream & 1 cup milk (or 2 cups Half and Half)
1 cup flaked coconut (I used unsweetened)
3/4 cup sugar
1/2 cup all-purpose flour
3 tablespoons Butter, melted
4 Eggs
1 teaspoon vanilla

Topping:  Freshly grated whole nutmeg or cut-up fresh fruit (I added fresh blueberries one day and they were perfect!).

Directions
Heat oven to 325°F. Grease and flour 9-inch pie pan; set aside. Place half & half in 5-cup blender container; add all remaining ingredients (except toppings of course).  Cover, blend at medium speed until well mixed (1 to 2 minutes). Pour egg mixture into prepared pie pan; sprinkle with nutmeg, if desired. Bake for 40 to 50 minutes or until knife inserted in center comes out clean. Serve warm or chilled with fresh fruit. Store refrigerated.


I sprinkled Nutmeg on only one side, it came out a little clumpy but tasted just fine.

So what are you waiting for?  Go make a pie!

Saturday, November 3, 2012

The Greatest & Easiest Chocolate Cake Recipe

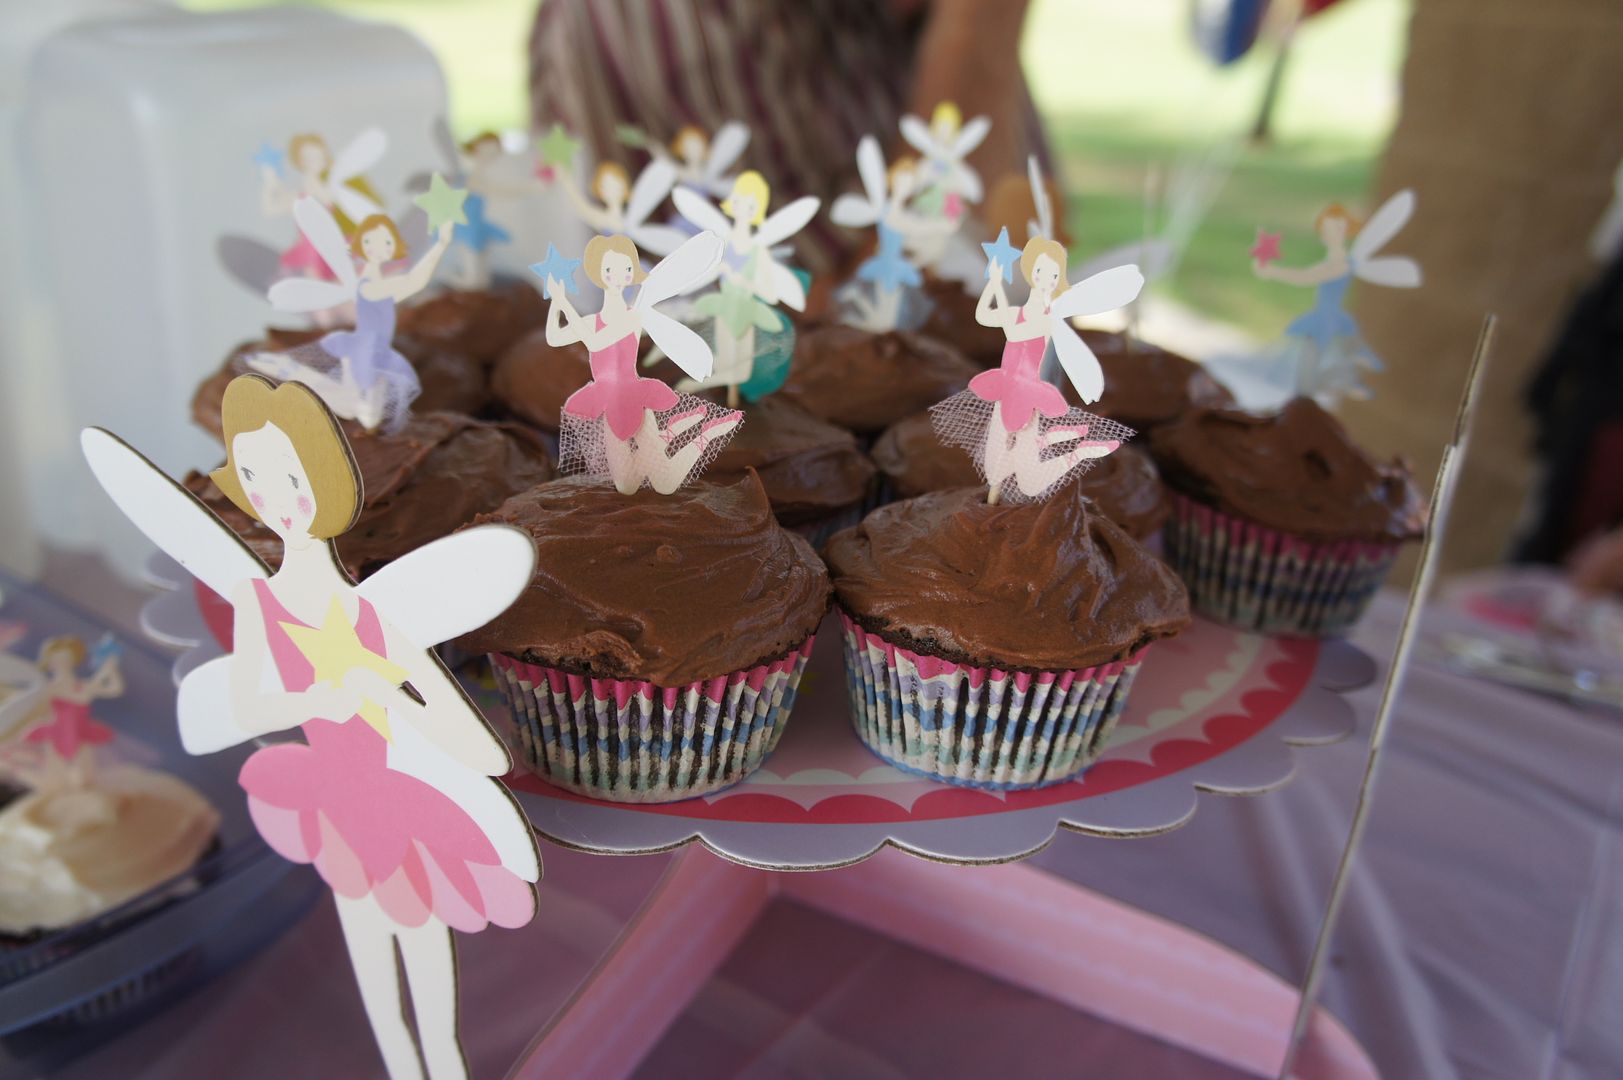
Pretty big claim to be the "Greatest & Easiest Chocolate Cake" but that's what it says on the back of the Trader Joe's Cocoa Powder box.  I needed to make a couple dozen chocolate cupcakes for my big 5 year old's birthday party (today!) and wasn't up for another 3 hour marathon to make the Chocolate Cake with Salted Caramel Frosting like I did on monday.

Since the recipe said greatest and easisest I decided to give it a whirl.  It was easy partly becasue you put all of the ingredients in the mixer at one time.  That alone is a time saver.  It made the bowl quite full which made me nervous but it all stayed in just fine.  The recipe made 26 cupcakes with quite a bit of batter left over.  They were moist and very chocolatey.  Everyone seemed to like them at the party this morning and a few kids (and grown-ups) even asked for seconds!


The Greatest & Easiest Chocolate Cake (Cupcakes)
Ingredients
3 1/3 cup flour
1 1/3 cup cocoa
3 cups sugar
1 Tbsp baking soda
1 tsp salt
12 oz butter (softened)
3 cups buttermilk
1 tsp vanilla
5 eggs

Directions
1. Preheat the oven to 350.  Grease and flour two 9" round baking pans or line cupcake cups with paper liners.
2. Place all ingredients in electric mixing bowl (I used my KitchenAid) and beat on high speed for 3  minutes, scraping down sides of bowl once during mixing.
3. Pour into prepared pans or cupcake cups.  Bake cakes for about 55 minutes or until toothpick comes out clean, or bake cupcakes for 20-25 minutes (mine took 25).

For the frosting I used a simple chocolate recipe.  It had just the right amount of chocolate and sweet and was a great consistency for cupcakes.  I noticed that a couple kids were happy just licking the frosting off of their cupcakes and rather than eating the cake they asked for another one to lick!  So I guess that's a vote in this recipe's favor.

Chocolate Frosting 
6 Tbsp. butter, softened
2 3/4 cups powdered sugar
1/2 cup cocoa
1/3 cup milk
1 tsp. vanilla

Directions
Add butter to bowl, then add about 1/3 of the powdered sugar. Mix well.  Add about a 1/3 of the milk and vanilla. Mix well.  Then add about 1/3 of the cocoa.   Mix well and then scape down the sides of the bowl.  Repeat this process until all ingredients are added.


I'll have more about the birthday party coming up.  It was a Fairy-Princess theme with a dash of superhero/prince since it was a boy-girl party.

Monday, October 29, 2012

Chocolate Cake with Salted Caramel Frosting


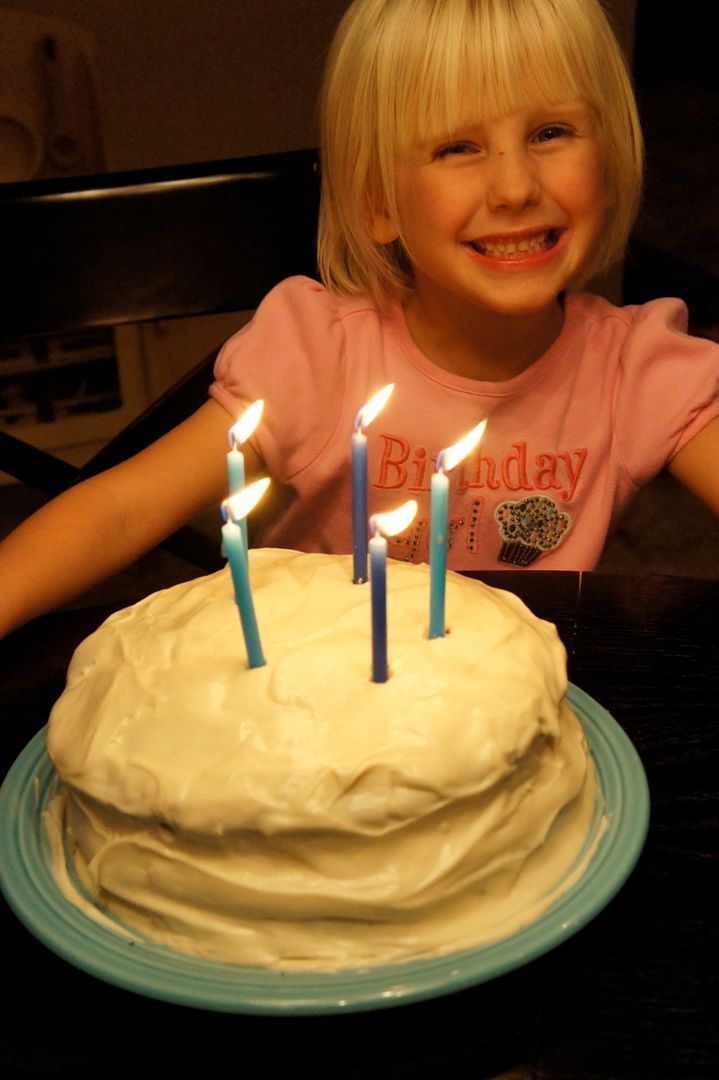
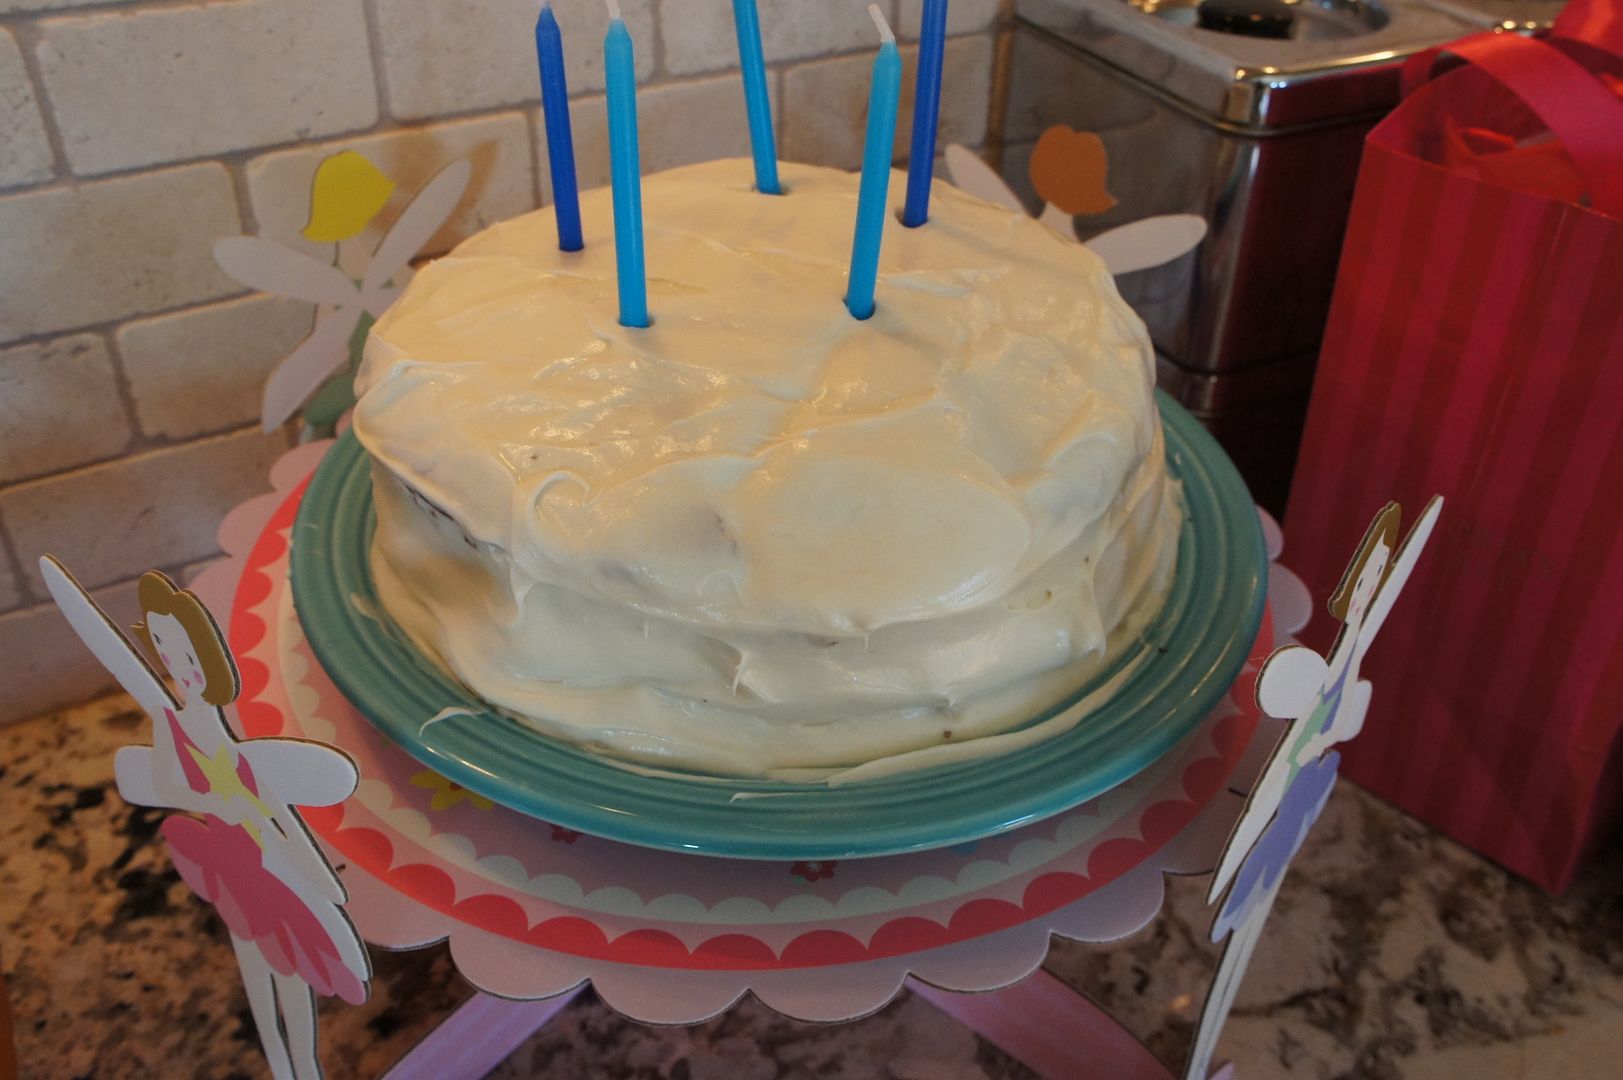
My oldest daughter turned 5 today.  Sigh.  They grow so fast!  It seems like yesterday that I took her home from the hospital.  Yesterday I asked her what she would like to have for her birthday dinner.  This included the main dish, a drink and a dessert.  She requested Chicken Soup with Rice (more on that later), Lemonade and Chocolate Cake.  Being the great Pinterest loving mommy that I am after I put the baby to bed last night I hopped online to look for a chocolate cake recipe.  I figured I'd whip something up from scratch rather than using a box.  I saw this recipe and got started.  Little did I know that I would be spending the ENTIRE evening on this 3 part recipe.  Yes that's right, I made a gourmet cake for my 5 year old that took me 3 hours to complete.  Sigh.  By the time I realized I was in over-my-head I was invested.

Now this cake isn't actually difficult to make, just a bit time consuming.  I had never made caramel before, so I didn't realize that it needs to slowly cook to be just right.  Fortunately for me everything turned out great (I had an idea after licking all the bowls last night) and the cake was a huge hit at her celebration tonight.

She is worth it.  Hey, it wasn't as long as her labor so it wasn't that bad.  Ha!

Chocolate Cake
adapted from Ina Garten

Ingredients
12 tablespoons (1 1/2 sticks) butter, at room temperature
2/3 cup granulated sugar
2/3 cup light brown sugar, packed
2 extra-large eggs, at room temperature
2 teaspoons pure vanilla extract
1 cup buttermilk, shaken, at room temperature
1/2 cup sour cream, at room temperature
2 tablespoons brewed coffee
1 3/4 cups all-purpose flour
1 cup good cocoa powder
1 1/2 teaspoons baking soda
1/2 teaspoon kosher salt

Instructions
Preheat the oven to 350 degrees F.  Grease your cake pans (I used coconut oil). In the bowl of an electric mixer fitted with a paddle attachment, cream the butter and 2 sugars on high speed until light and fluffy, approximately 5 minutes.  Lower the speed to medium, add the eggs 1 at a time, then add the vanilla and mix well. In a separate bowl, whisk together the buttermilk, sour cream, and coffee. In another bowl, sift together the flour, cocoa, baking soda, and salt. On low speed, add the buttermilk mixture and the flour mixture alternately in thirds to the mixer bowl, beginning with the buttermilk mixture and ending with the flour mixture. Mix only until blended. Fold the batter with a rubber spatula to be sure it’s completely blended. Divide your batter between your cake pans.  I had just enough to fill my two 8 & 1 1/2 inch pans 2/3 full.  The directions say to bake for 20-25 minutes, until a toothpick inserted into the middle comes out clean.  My pans took 35 minutes to bake completely.  Let cool for 10-15 minutes and then remove to a cooling rack to cool completely.

Salted Caramel 
1 cup sugar
4 tablespoons water
2 tablespoons light corn syrup
1/2 cup heavy cream
2 tablespoons butter
1/2 teaspoon lemon juice
1/2 teaspoon salt, kosher or sea

1. Combine the sugar, water, and the corn syrup in a large saucepan and stir with a wooden spoon over medium heat until sugar is dissolved.
2. Cover the saucepan and let it cook over medium heat for 3 minutes.
3. After 3 minutes, remove the lid, increase the heat to medium-high, and bring to a boil.
4. Do not stir from this point on, but instead swirl the liquid around the pan so that the caramel doesn’t burn.
5. Continue to cook until the caramel turns an even amber color (took me about 10-15 min) then remove from the heat and let stand for about 30 seconds.
6. Very carefully pour the heavy cream into the mixture. The mixture will bubble up significantly and is very hot.
7. Stir the mixture, again being careful. Add the butter, lemon juice, and salt. Stir until combined.
8. Measure 1 cup into a Pyrex measuring cup. Stirring occasionally, allow to cool until thick like molasses and warm to the touch, about 20 minutes. Save any extra in a sealed container in the refrigerator. It is delicious on ice cream.

Salted Caramel Frosting 
2 sticks butter at room temperature
8 ounces of cream cheese
3-4 cups sifted powdered sugar
1 cup salted caramel (recipe above)

1. Beat butter and cream cheese at medium speed until creamy.
2. Add 2 cups of the powdered sugar into the butter/cream cheese mixture and beat to combine.
3. Add 1 cup of the salted caramel and beat to combine.
4. Add additional powdered sugar until the frosting is the sweetness and consistency you desire.

You will be able to frost your cake right away because by the time you've made the caramel and the frosting it should be cool to the touch.


Saturday, October 13, 2012

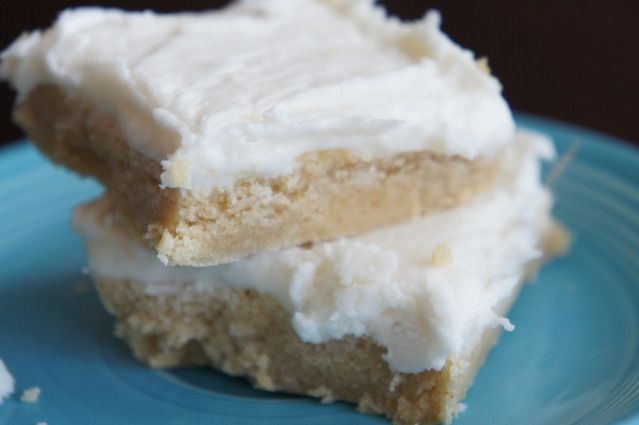
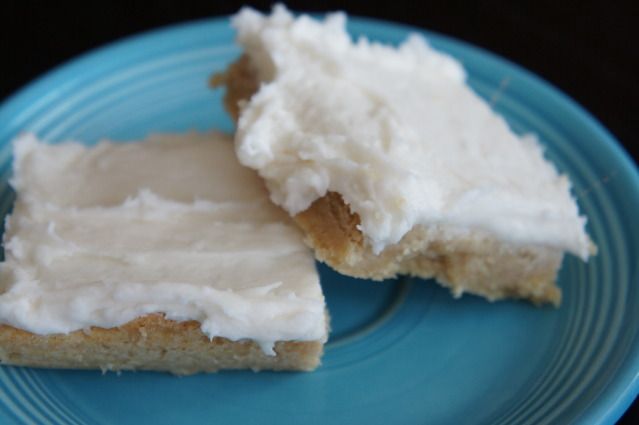
Sugar Cookie Bars Recipe

Pinterest is a dangerous place.  First I found a quick fudge recipe and now this.  I saw photos of these cookies and had to have them.  Fortunately (or unfortunately, depending on how you look at it) this recipe was so easy I could make it while making dinner.  That's right, I made dinner and dessert at the same time.  I am a miracle worker I tell you. ;)  The cookies were easy since I didn't have to take the time to roll them out and make shapes.

I recommend that you make these cookies when you have people to share them with.  Under no circumstances should you make them when your significant other is out of town or on a diet.  Trust me.  Give some away.  Your hips and rear will thank me later.


Sugar Cookie Bars
Cookie Ingredients: 
 2-1/2 cups flour (I used wheat flour from our CSA)
1/2 tsp. baking powder
1/2 tsp. salt
1/2 cup butter, softened
1 cup granulated sugar
1 egg
1-1/2 Tbsp. sour cream
1 tsp. vanilla extract

Directions:
1. Preheat oven to 375 degrees and grease a 9x13 inch baking dish.  I used a glass dish and greased it with a little coconut oil.
2. In a medium bowl combine flour, baking powder and salt.  Set aside.
3. In a large bowl (I used my kitchenaid mixer) cream together butter and sugar until light and fluffy, about 3 minutes.  Add egg and combine well.  Add the sour cream and vanilla and mix until completely blended.
4. Slowly add the flour mixture and stir until well combined.
5. Gently press the cookie dough into the baking dish and spread out with hands.  Try hard not to eat the dough first.  Ha!
6. Bake 17-20 minutes, until edges become lightly golden.  Set aside to cool completely.

Frosting Ingredients: 
1/2 cup butter, softened
4 cups powdered sugar
1/4 cup half and half
1 tsp. vanilla
Pinch of salt

Directions: 
1. In a medium bowl, cream together butter, powdered sugar, and half and half until light and fluffy. Stir in vanilla and salt, combine well.
2. Frost your (completely) cooled cookie bars. Cut into squares and serve.

I found that the cookies were even better the 2nd day.  I will warn you again that they are difficult to stay away from.  I may have had 4 (or 5) last night.

Saturday, September 29, 2012

7 Minute Dark Chocolate Fudge Recipe (yes 7 minutes)!

The other night I was looking around Pinterest and I saw this recipe from about.com.  It said 7 minute fudge and I thought hey, I have 7 minutes.  Pinterest is such a dangerous place when you're having sweet cravings.  This recipe is my new favorite and I think will be on a regular rotation around here.


The fudge is rich, sweet and has a great texture.  I will no longer be a sucker to those fudge sellers at the open markets and fairs. :)  You must try this recipe, I'm not kidding!

Seven Minute Dark Chocolate Fudge
Ingredients
1 (12-ounce) package semisweet chocolate chips
1 (14-ounce) can sweetened condensed milk
1 tablespoon butter
1 tablespoon cream (some skipped this but I never say no to heavy cream)
*1/2 cup milk chocolate chips, if desired (I didn't, I prefer the darker chocolate taste)

Directions
1. Put chocolate chips and condensed milk in a microwave safe bowl.  Microwave on medium power for 2-3 minutes, stirring after 2 minutes.  Continue microwaving, stirring at 1 minute intervals until chips are melted and the mixture is smooth and thick.  Make sure not to over cook, you don't want burnt chocolate!  You could also melt the mixture on the stove, just keep the temperature low and watch it closely.
2. Stir in butter and cream until mixed.  Then pour into a greased 8" square pan and cool.  I used coconut oil to grease my pan.  I recommend keeping the fudge in the refrigerator.
3. If you are more adventurous you could add nuts, marshmallows, chopped dried fruit, peanut butter chips or other flavored chips after the cooking time is done.


Try it, you'll thank me later.  Well, unless you're on a diet then you might be mad at me.  Sorry.

Tuesday, August 14, 2012

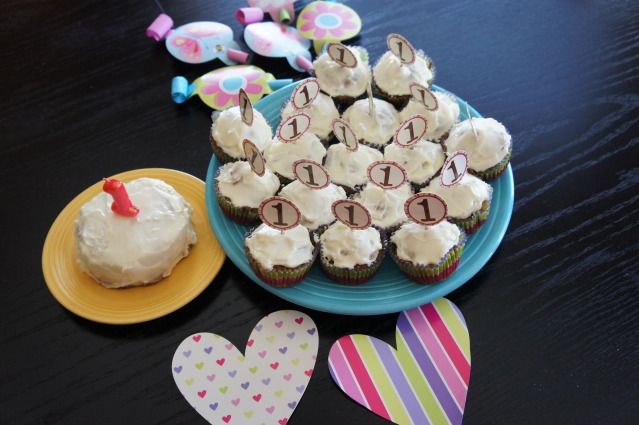
Baby Girl 1st Birthday Party - Pink Sweet One theme

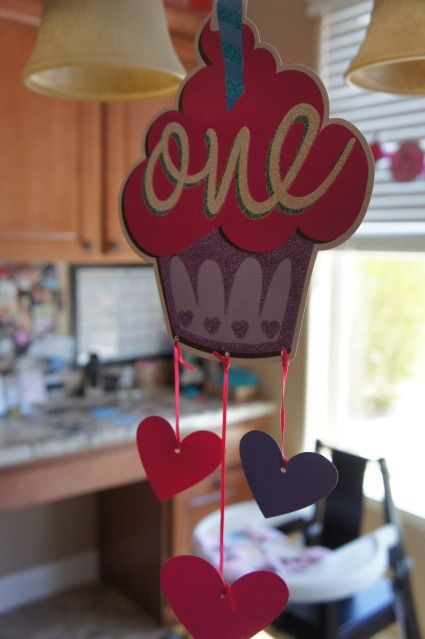
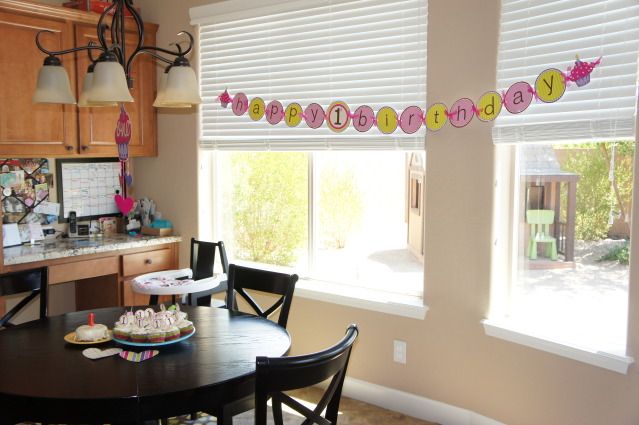
My baby girl turned one last month and I threw her a simple Pink Sweet One themed party.  It was a small party with friends but I still had fun planning the menu and decorations.


The decorations were from Hobby Lobby.

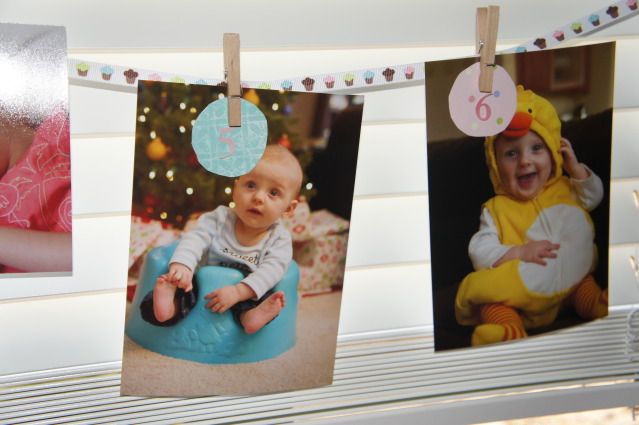
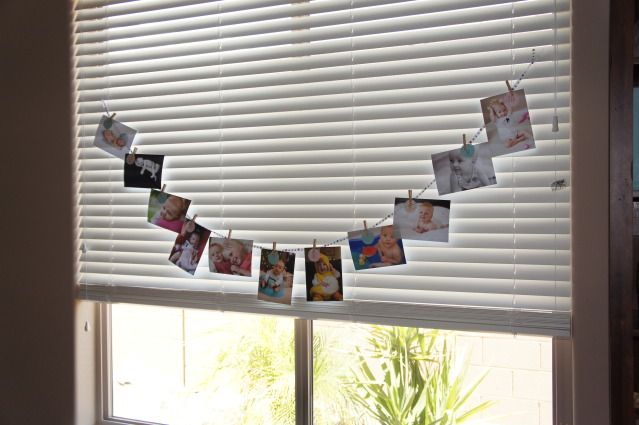
I made a photo banner with photos from each month of baby's first year.  I cut out pretty paper circles and used number stickers to label each month.  I attached them to a cupcake ribbon with small wooden clothes pins.


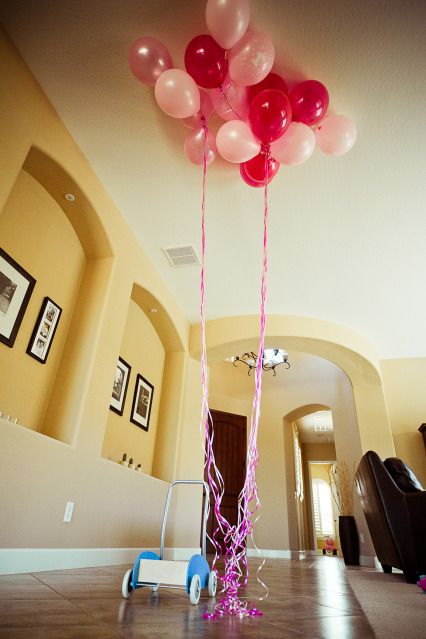
I bought 18 balloons in different shades of pink.  They were used as decorations, played with by little children and the next day props for a pink balloon photo shoot!

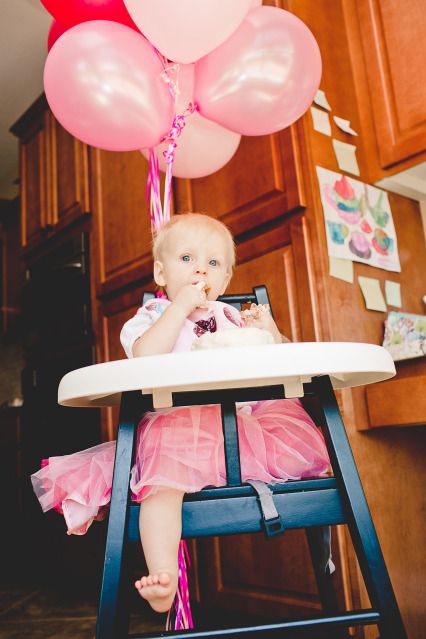
The birthday girl wore a pink tutu and t-shirt from gymboree.  They were her big sisters but she only wore the t-shirt once or twice. ;) 

Love these two!

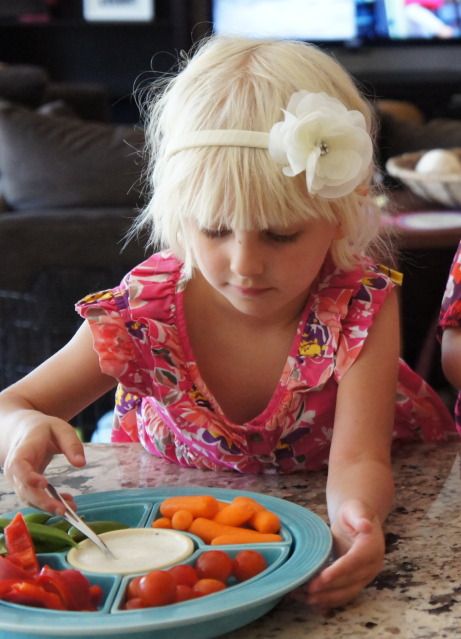
I went a little nuts making the menu from scratch.  I made two kinds of ice-cream, cupcakes, ranch dip (with veggies), salsa (with chips) and gluten free brownies.  My good friend brought homemade zucchini hummus.

Big sister trying out the ranch dip and veggies.  Notice my beautiful vintage fiesta relish tray was put to good use. 


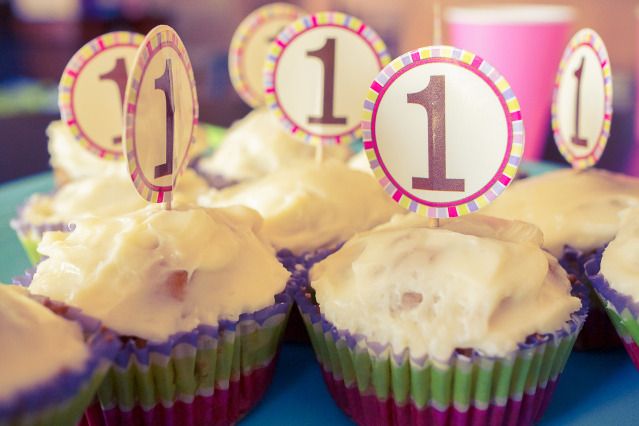
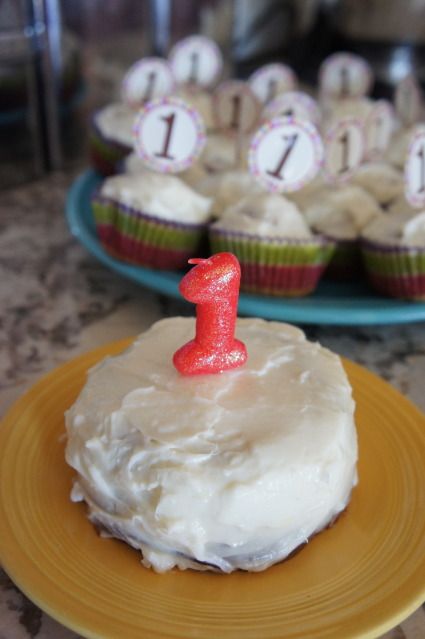
The cupcakes were healthy and tasted good.  I knew baby girl would like them since I'd first made them a couple months ago for my birthday.  I made a little smash cake for baby girl to devour.


She was such a dainty little eater.  She massaged her cake a bit but never threw it all over or stuffed it in her face.  Her sweet cupcake bib was a hand-me-down from her big sister.  I bought it from Colby Lane Designs on Etsy.

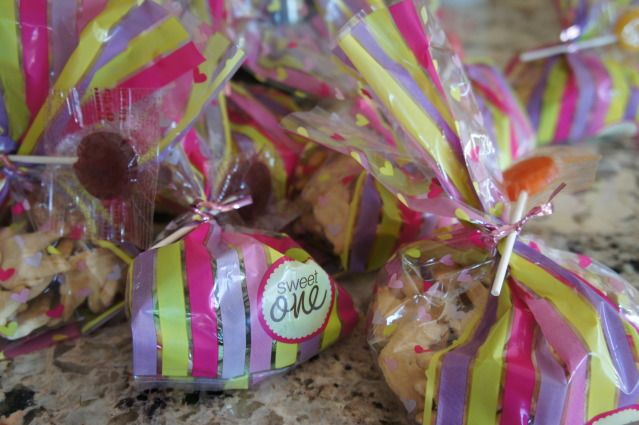
Since our little guests were mostly other 1 year olds or the pre-school set I sent them home with goodie bags (also from Hobby Lobby) with animal crackers inside and organic lollies on the outside. 

It was a lovely party for the sweetest little One year old around.

Menu