HomeVintage Fisher PriceMy Etsy ShopCategoriesAbout

Wednesday, September 19, 2012

Semi-Wordless Wednesday - Puppy Days

We're in puppy land around here.  

Our big 8 year old Italian Greyhound is getting to know his new little sister.

Our big 4 year old is getting to know her too.

So far so good.

But something is wrong with this picture. ;)

Despite the semi-sleepless nights we're all getting along just fine.  It's hard to be irritated at potty mishaps or crying when you look into those beautiful steel-blue eyes.

Tuesday, September 18, 2012

My Brother (and Sister-in-law's) Goodnight Waffles Recipe

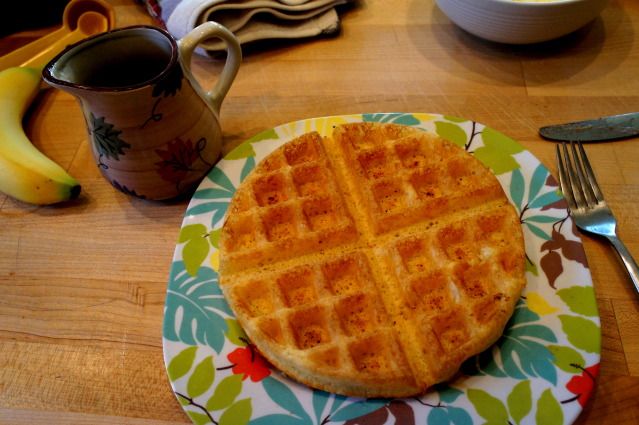
Last month while on vacation visiting my brother and his family they treated us to the most delicious waffles.  I'm not sure you should even call it a waffle because it was so light and crisp.  It was the best waffle I'd ever had!  I may have helped myself to 3 (or 4) that morning and then we made them again the next day since the batter kept well.

One of the best perks about this recipe is that you do the work the night before, which makes the morning go much smoother.  Perfect when you are having a family get-together!  Give them a try and let me know what you think.


Goodnight Waffles
Serves 6

Ingredients 
1/2 cup lukewarm water
1 tablespoon sugar
1/4 ounce active dry yeast
2 cups whole milk, warmed
1/2 cup unsalted butter, melted and cooled
1 teaspoon salt
2 cups all-purpose flour
2 large eggs, slightly beaten
2 teaspoons vanilla
1/4 teaspoon baking soda

Directions 
1. The night before, or at least 8 hours before baking, combine the warm water, granulated sugar and yeast. Let stand 10 minutes, until foamy. Stir in the warm milk, melted butter, and salt. Fold in the flour until smooth.
2. Wrap bowl tightly with plastic wrap and let stand overnight on the counter.
3. Preheat waffle iron. While waffle iron heats, stir the eggs, vanilla, and baking soda into the batter.  Follow the manufacturer's directions for making waffles.

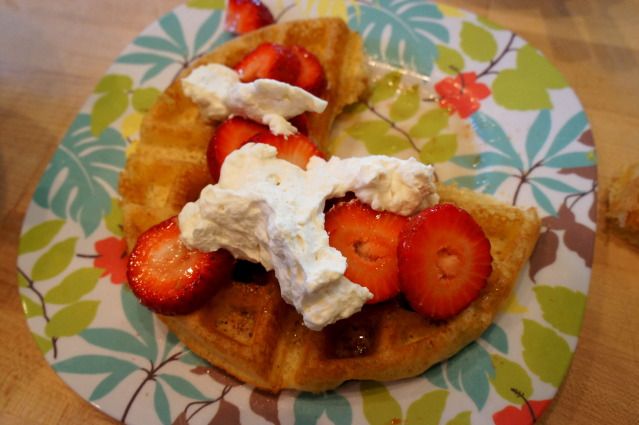
They are especially fabulous with fresh whipping cream and sliced berries.  Thanks again to my brother and his family for such a lovely breakfast and visit!!

Monday, September 17, 2012

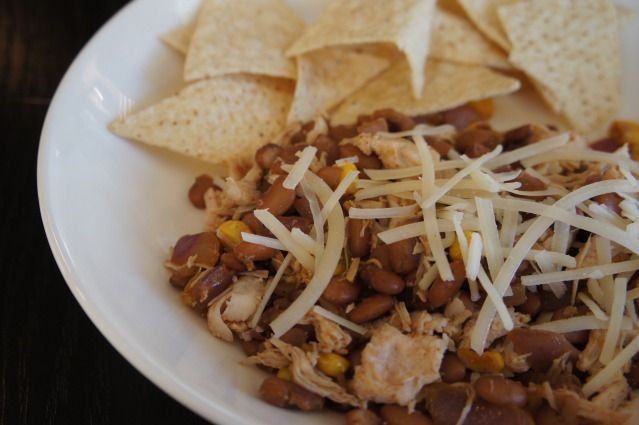
Tepary Bean, Corn, Chicken and Chips Recipe

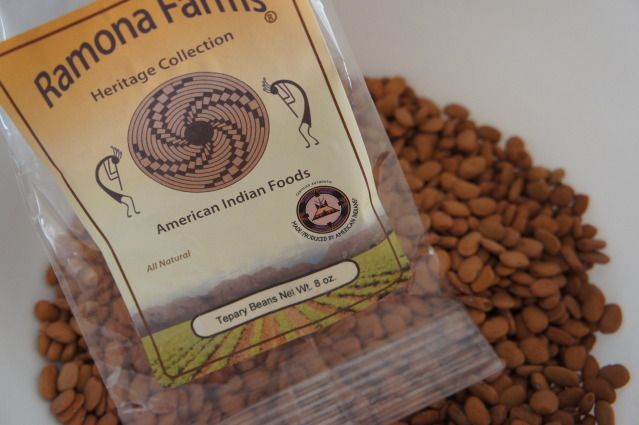
We tried a new food this weekend thanks to our Chow Locally CSA.  A bag of Tepary Beans from Ramona Farms, a local Native American farm.  I looked up Tepary Beans and found that they are native to the Sonoran Desert here in the American Southwest and Mexico.  They come in a variety of colors and are one of the few beans not descended from the "common bean".  They thrive in our desert climate because they are drought resistant and actually do better with less moisture.

Other fun Tepary facts are that they provide more protein, calcium, iron, zinc, magnesium, phosphorus and potassium than the common bean.  And the best fact of all is that they cause less "digestive discomfort" and gassiness than the common bean.

I'm sold!  I adapted a recipe from our CSA to make a (easy) and crowd pleasing recipe for my family's dinner last night.


Tepary Bean, Corn, Chicken and Chips
Ingredients
1 tablespoon olive oil
1 small red onion, diced
1 teaspoon cumin
1 teaspoon chili powder
1 teaspoon coriander
*1 jalapeno, seeded & diced (optional, I skipped)
1 cup corn
2 cups cooked tepary beans
1-2 chicken breasts - cooked and shredded (or 1 can of Trader Joe's chicken)
1-2 tablespoons fresh lime juice
½ teaspoon kosher salt
¼ teaspoon black pepper
corn chips
Fresh cilantro, Parmesan cheese, sour cream and salsa for garnish

Directions
1. Heat olive oil in sauté pan over medium high heat. Add onions, cumin, chili powder and coriander and cook for 3-4 minutes. Add jalapeno, corn, beans and chicken. Cook for another 4-5 minutes. Add lime juice and season with salt and pepper.
2. Garnish with fresh cilantro and shredded Parmesan cheese.  Serve with chips, salsa and sour cream.

Cooking Tepary Beans
Remove stones.  Soak in a bowl of water overnight.  Rinse the beans and put in a pot with water covering them.  Bring to a boil then lower to simmer with the lid cracked so steam escapes.  Simmer for about 90 minutes or until tender.

Friday, September 14, 2012

Fisher Price Friday - Giant Rock-a-Stack

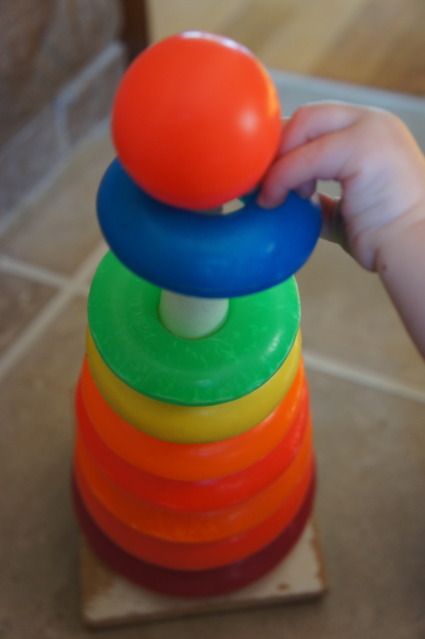
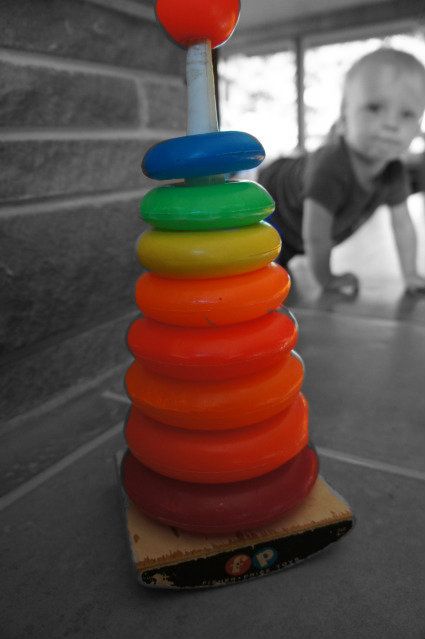
Today's Fisher Price Friday toy is a classic, or at least a version of a classic.  It is the Giant Rock-A-Stack #740.  You may be familiar with the more common #1050 or #627 Rock-A-Stacks, the version still produced today.  This was just a grander and taller version.  The Giant Rock-A-Stack was made from 1961-1990 although there were a few changes to the toy during that time.

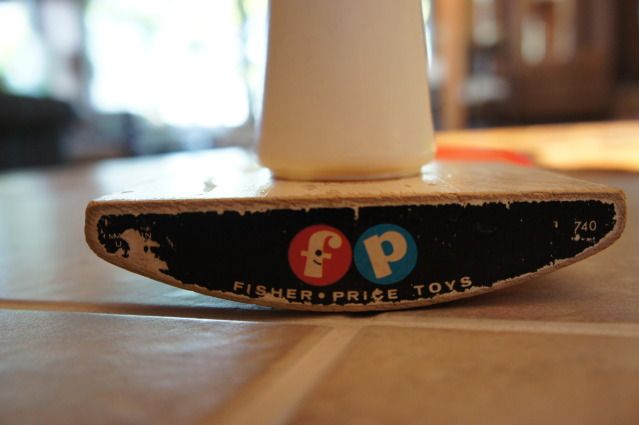
The original 1961 version had a wood base that was painted white, plastic white screw on ball on top and 10 stacking colored rings. Each side of the base had a black paper lithograph with the letters F and P and the words Fisher Price.

In 1962 they changed the ball on top to be red.  This version was made until 1979.  In 1980 they made big changes by decreasing the rings from 10 to 7, making the base plastic and switching the ball on top back to white.  


The ring colors for the 10 ring stack were from smallest to biggest: purple, dark blue, light blue, dark green, light green, yellow, dark yellow, orange, red and dark red.  When they shortened the stack to only 7 rings it switched to: purple, blue, turquoise, green, yellow, orange and red.

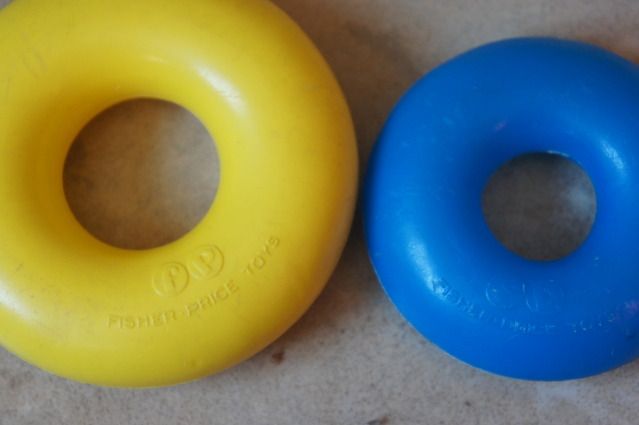
The rings say "Fisher Price Toys" and have the circle F and P letters.

My Giant Rock-A-Stack is not complete.  Not only that but I think I have rings from different Fisher Price ring-toys as my colors don't match up.  I have far too many orange colors. :)  I do however have the wood base and the orange top.  So I know it was made between 1962-1979.  I found my toy at a yard sale for 35 cents so I won't complain too loudly.  I'm still on the lookout for the correct rings, maybe I'll have a complete set before baby-girl grows out of it!

Thursday, September 13, 2012

Chocolate Peanut Butter Ice-Cream Recipe

This ice-cream recipe isn't exactly exotic, it's just a little addition to an already fabulous recipe.  I took my Double Chocolate Ice Cream and added some peanut butter towards the end.  It's perfect when you want a little salty with your sweet. :)


Chocolate Peanut Butter Ice Cream 
Ingredients
1/2 cup peanut butter (I prefer creamy)

Directions
Follow the recipe for Double Chocolate Ice Cream.  When you have finished mixing (and before placing it into the freezer to harden) slowly add the peanut butter a few chunks at a time.  This will make ribbons of peanut butter.  Make sure the mixer is on a slow speed.  Once the peanut butter is mixed in put the ice-cream back in the freezer to harden.

Enjoy!!