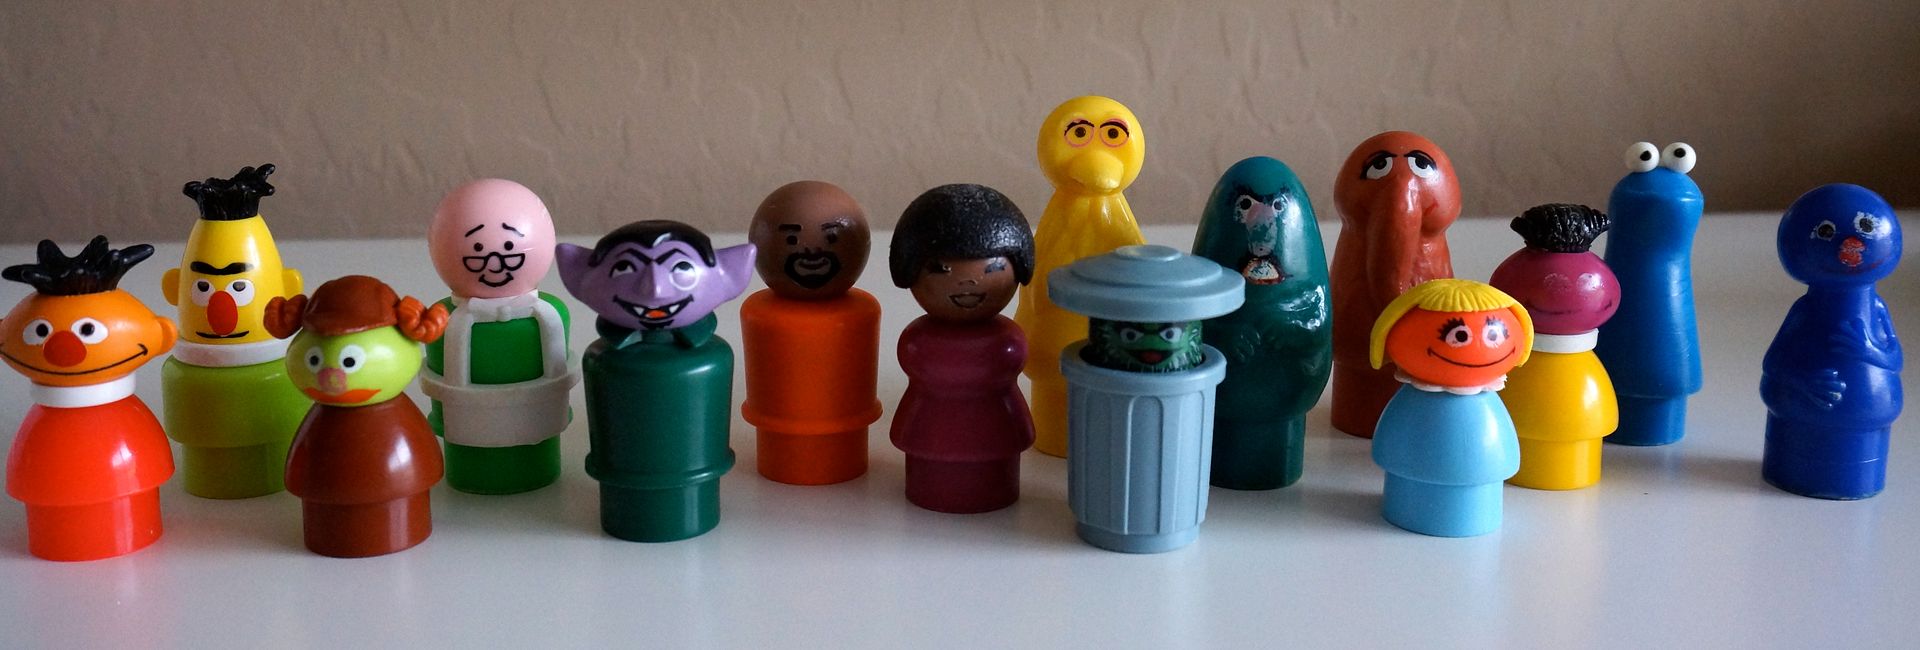
There are two vintage Fisher Price play sets; the Play Family Sesame Street (apartments) #938 from 1975-1978 and the Sesame Street Clubhouse #937 from 1977-1989. Each of these sets came with different Sesame Street Characters. However, there were also two people only Sesame Street sets. All together there were 15 Sesame Street Little People figures, I'd like to talk more about them today on Fisher Price Friday!
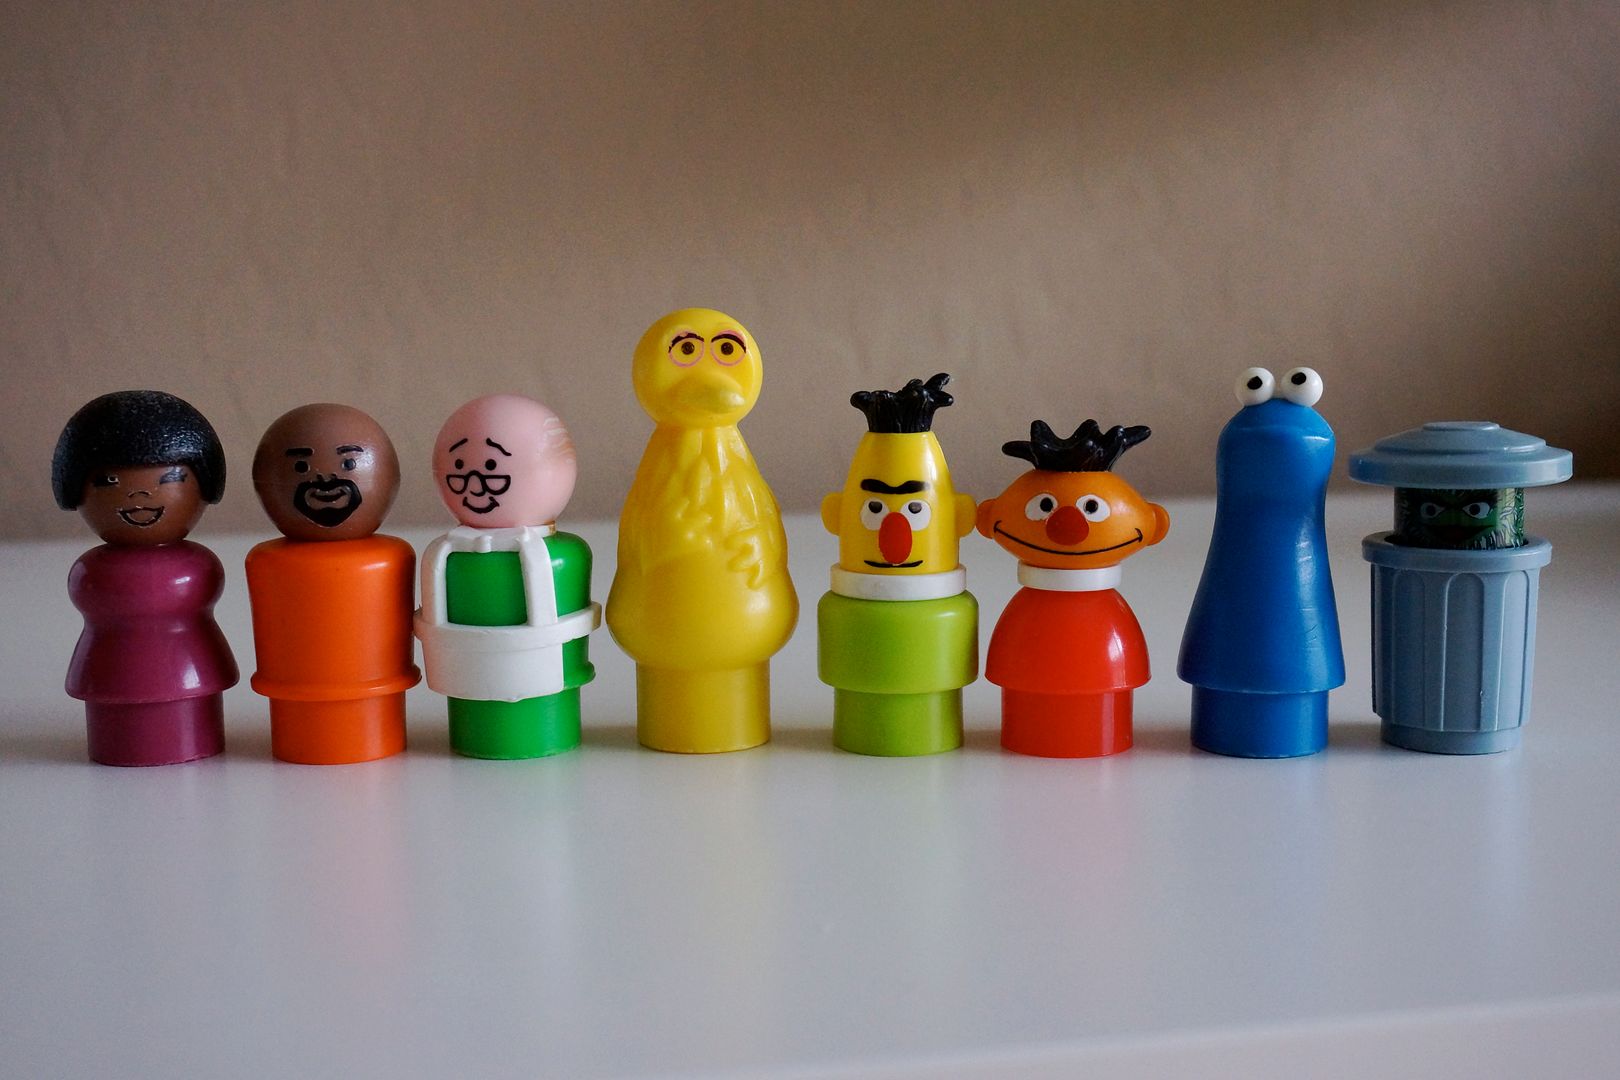
First up, the people from the #938 Play Family Sesame Street. They included from L to R: Susan, Gordon, Mr Hooper, Big Bird (had a brown nest, but only with this set), Bert, Ernie, Cookie Monster and Oscar the Grouch. The exact same people were sold in (character only) set #939 Sesame Street Characters made from 1976-1979. This set was made for an additional year after the #938 stopped production.
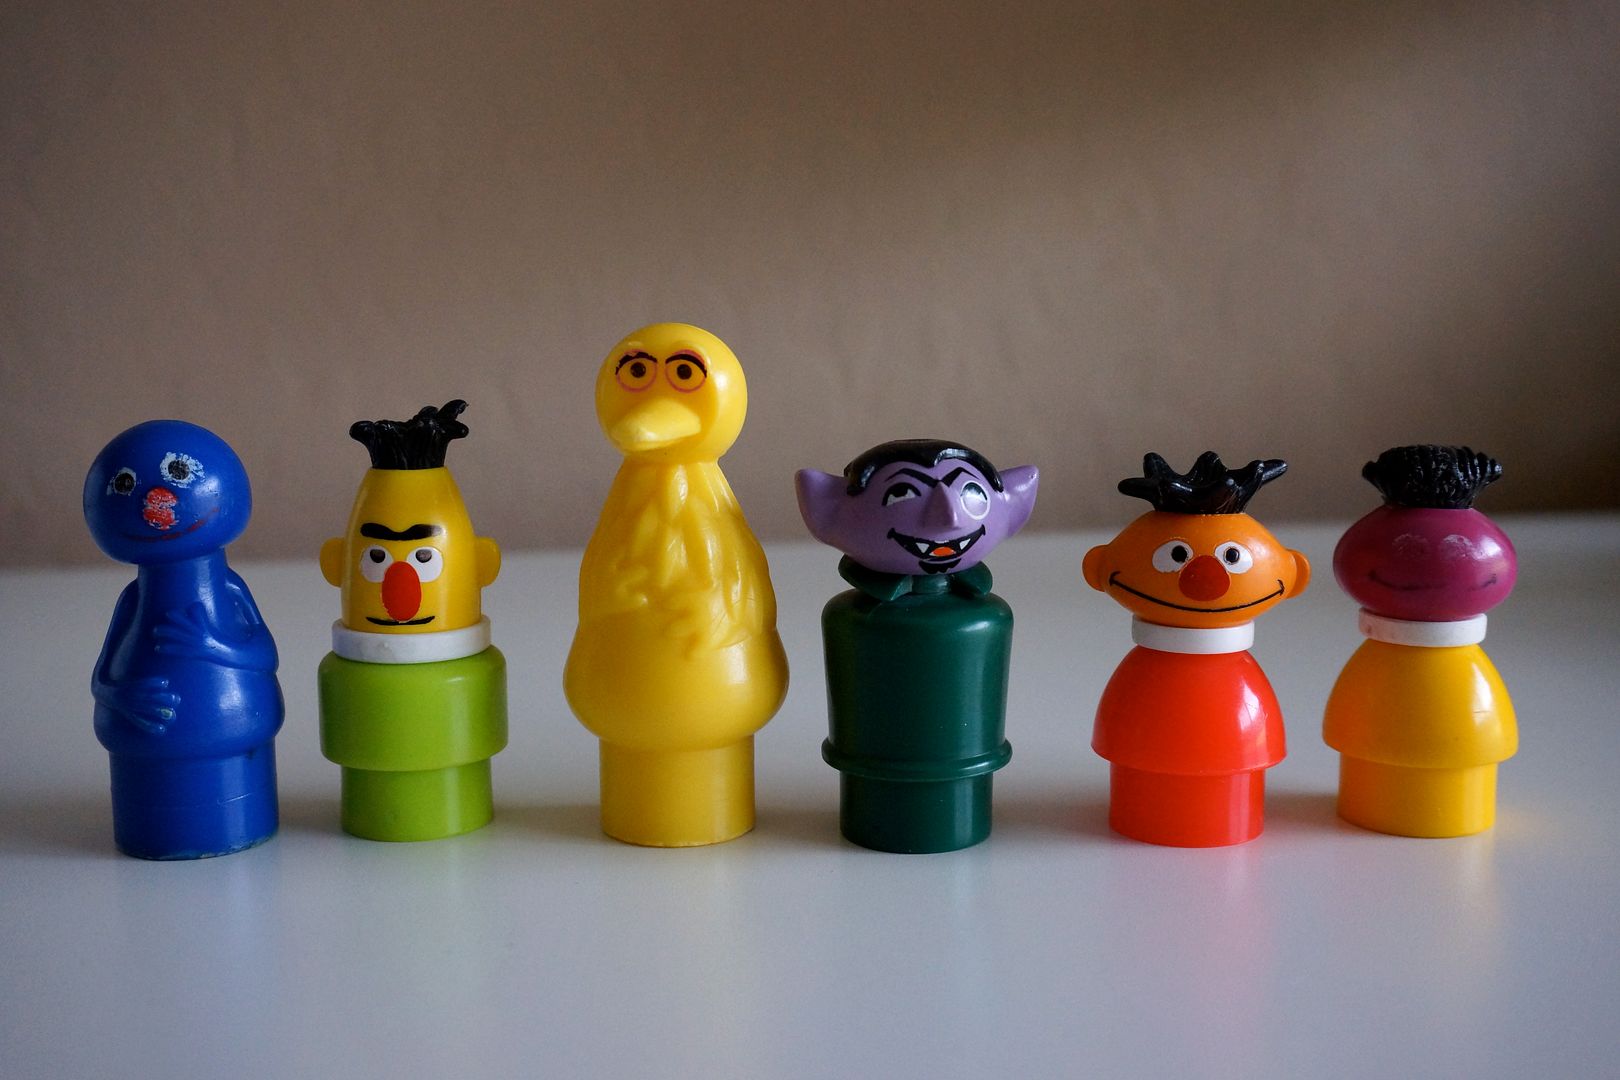
The #937 Sesame Street Clubhouse had a few less pieces than the other set. They included from L to R: Grover, Bert, Big Bird, The Count, Ernie and Roosevelt Franklin.
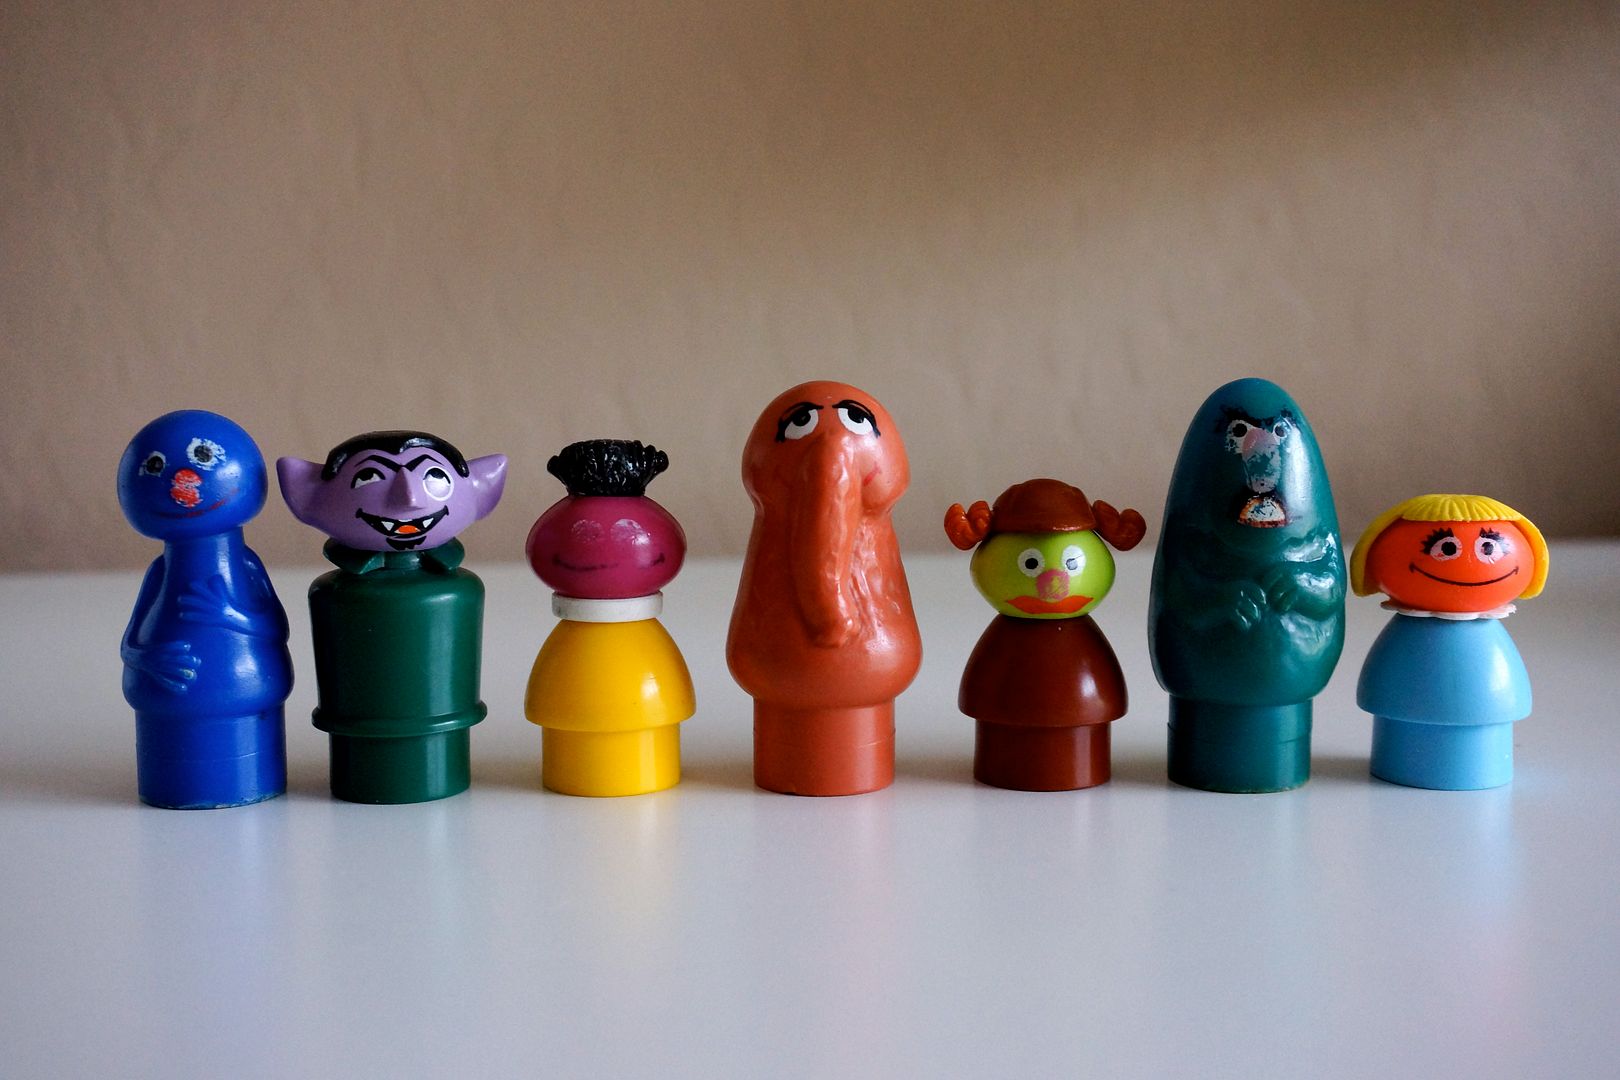
Now last but not least is the second character only set, the #940 More! Sesame Street Characters. This set was produced from 1977-1978 and included a few exclusive people. These exclusives are the more difficult to find and higher priced pieces on the market. The set included from L to R: Grover, The Count, Roosevelt Franklin, Snuffle-upagus, Sherlock Hemlock, Herry Monster and Prairie Dawn. The exclusives being the last 4 characters.
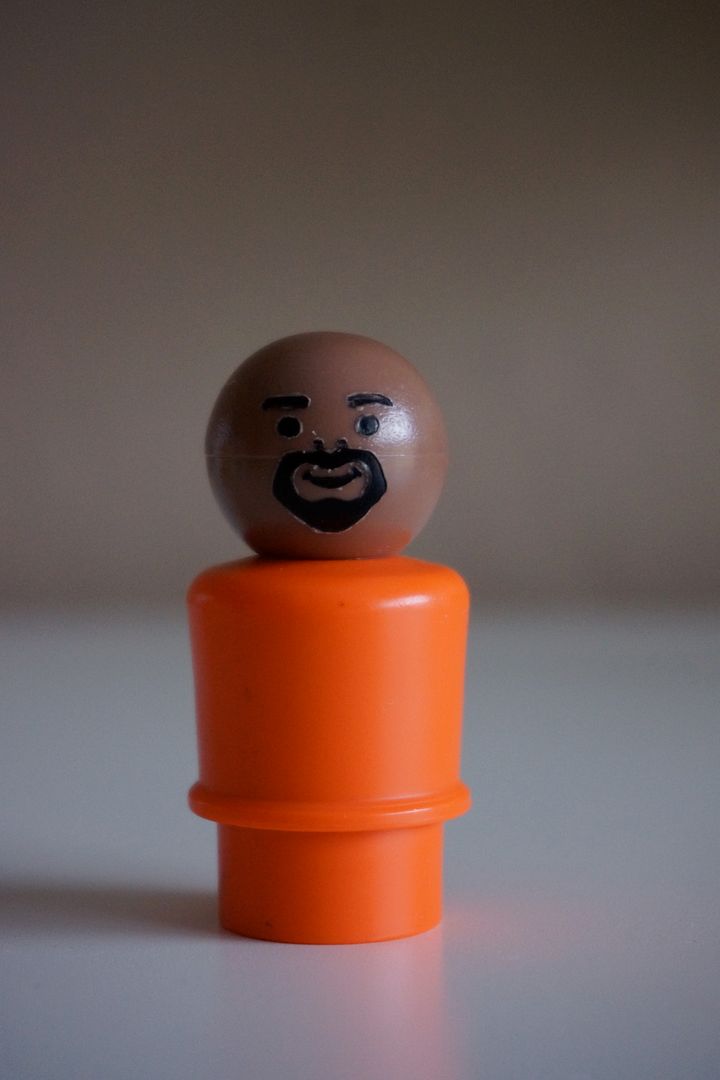
*Note: A few of my pieces are well-loved and so are missing some of their face paint. Roosevelt Franklin for example. He should have eyes and a mouth! :)
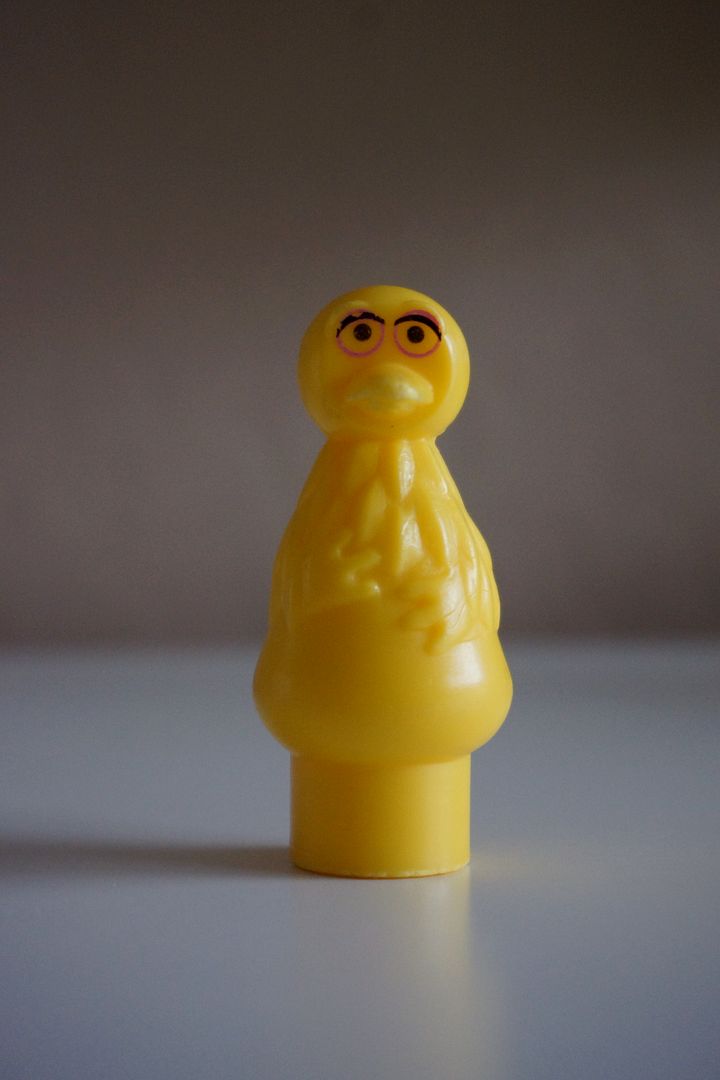
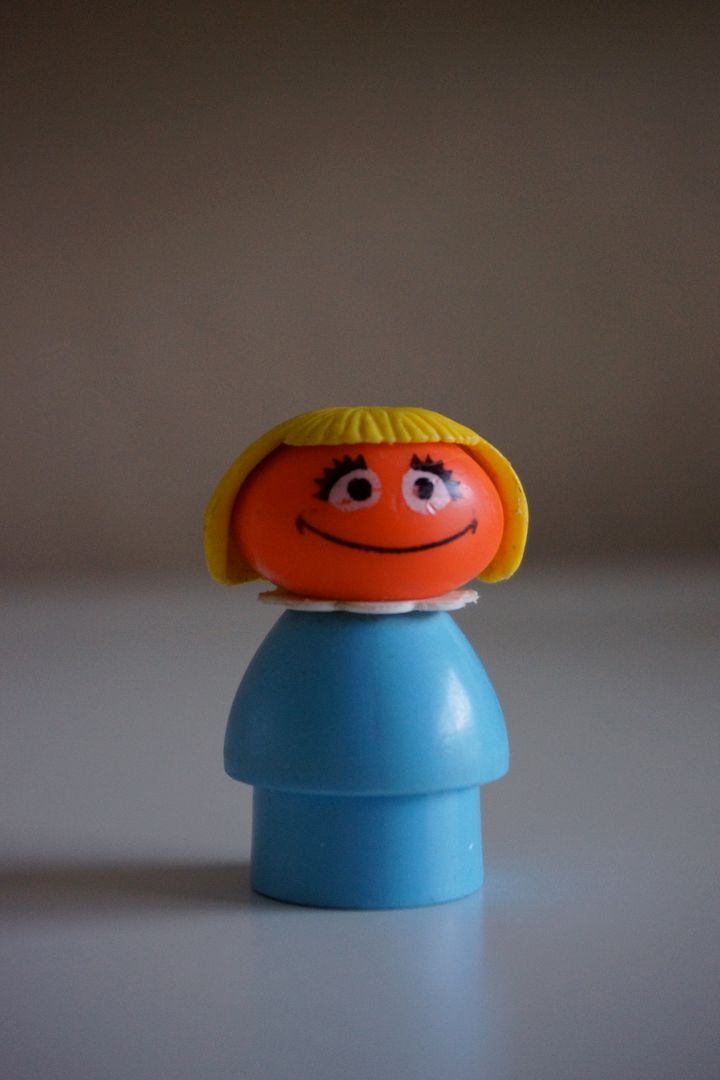
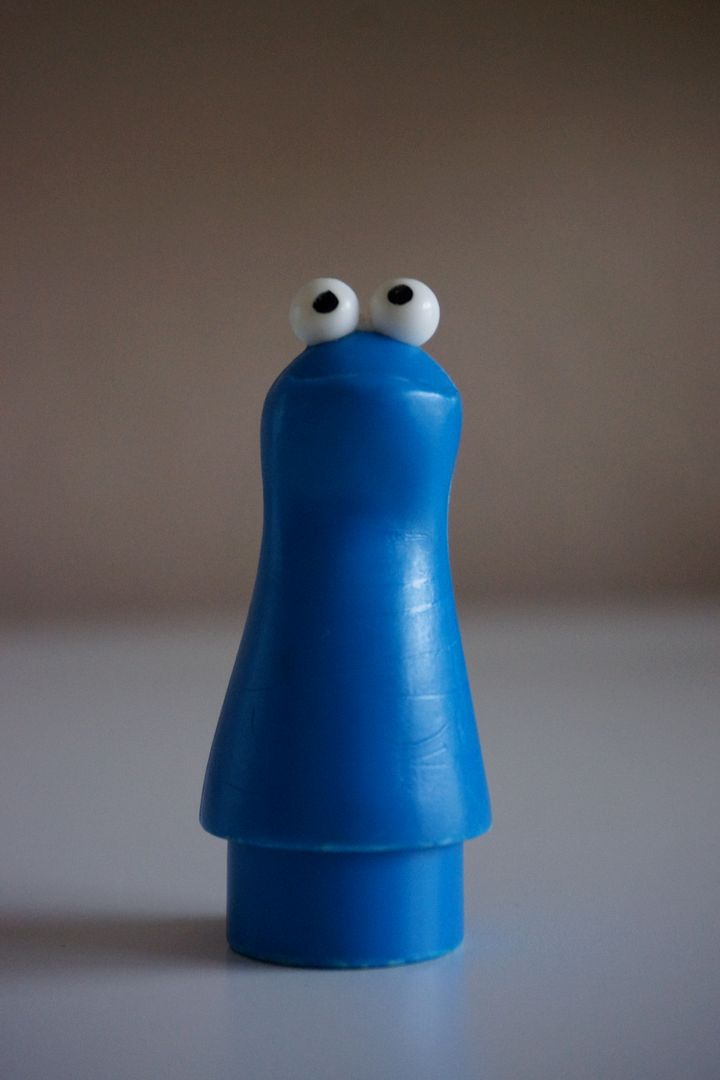
For a closer look here are all 15 of the Sesame Street Little People.
 |
| Big Bird |
 |
| The Count |
 |
| Mr Hooper |
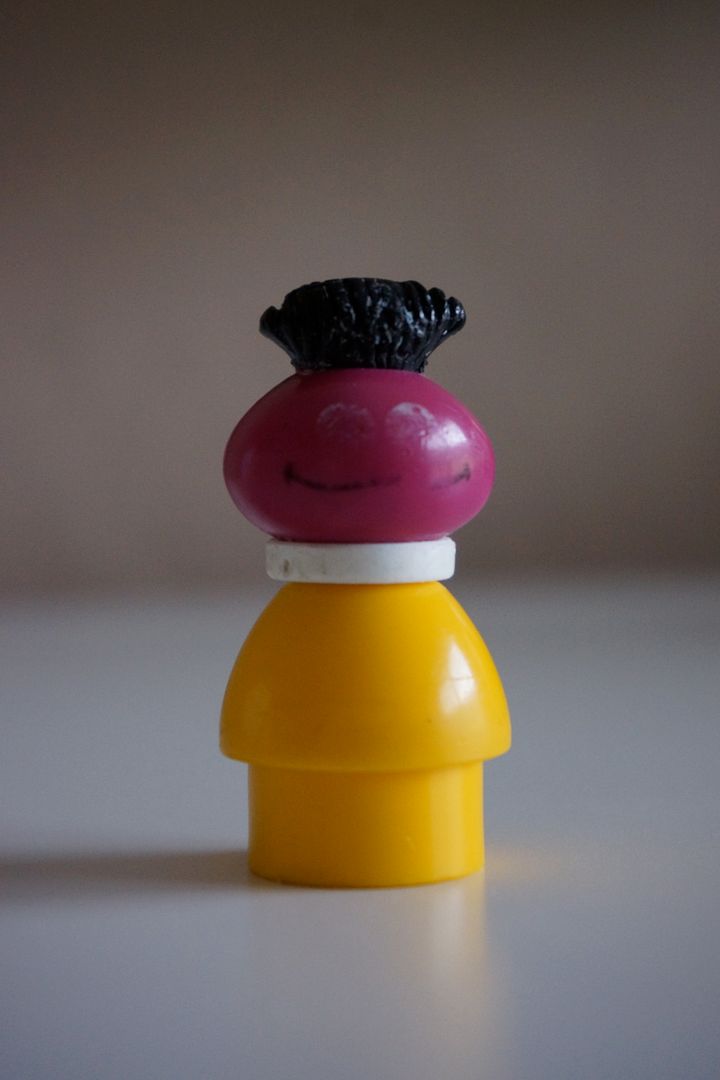
 |
| Prairie Dawn |
 |
| Cookie Monster |
 |
| Sherlock Hemlock |
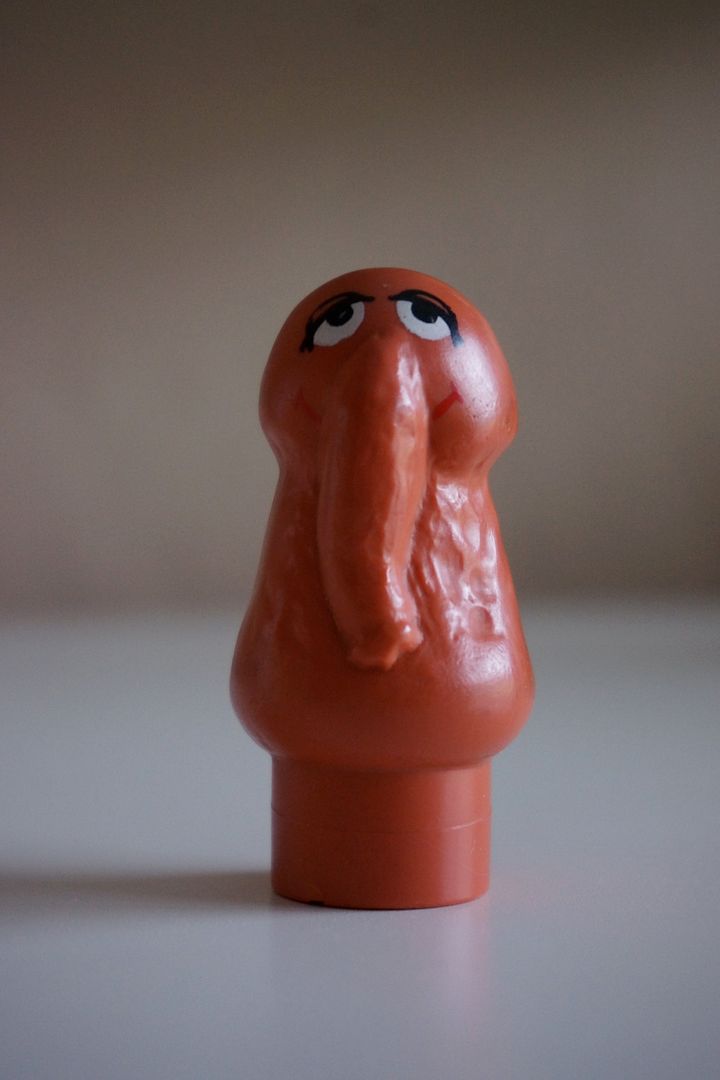
 |
| Snuffle-Upagus |
 |
| Sharon |
 |
| Gordon |
 |
| Herry Monster |
 |
| Roosevelt Franklin |
 |
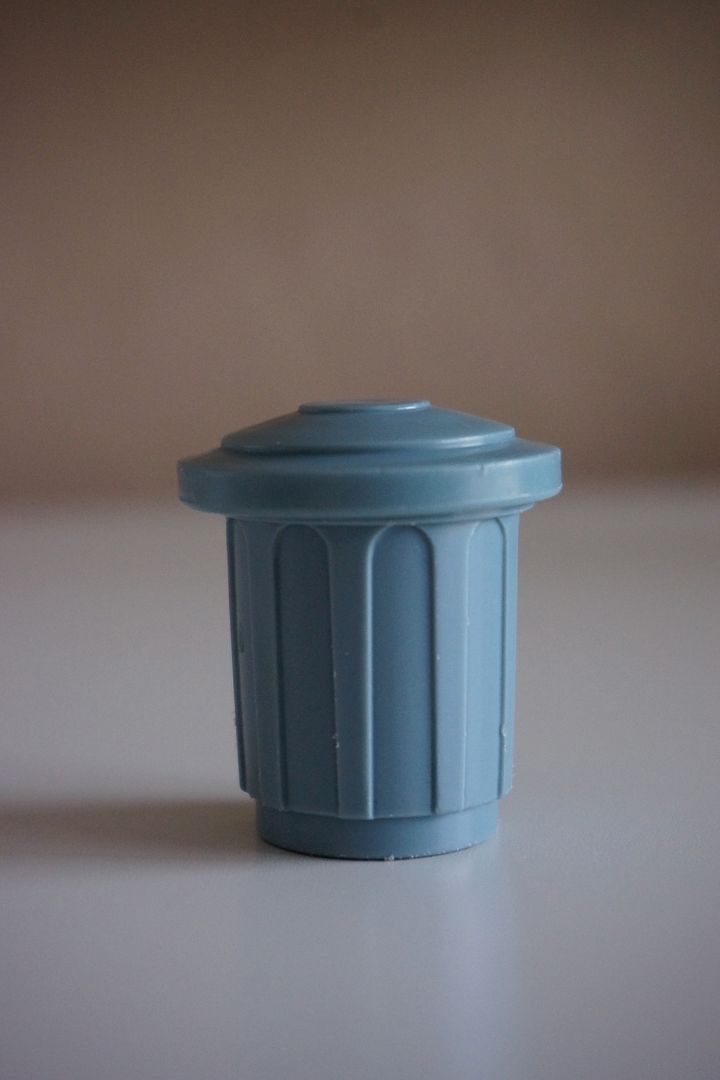
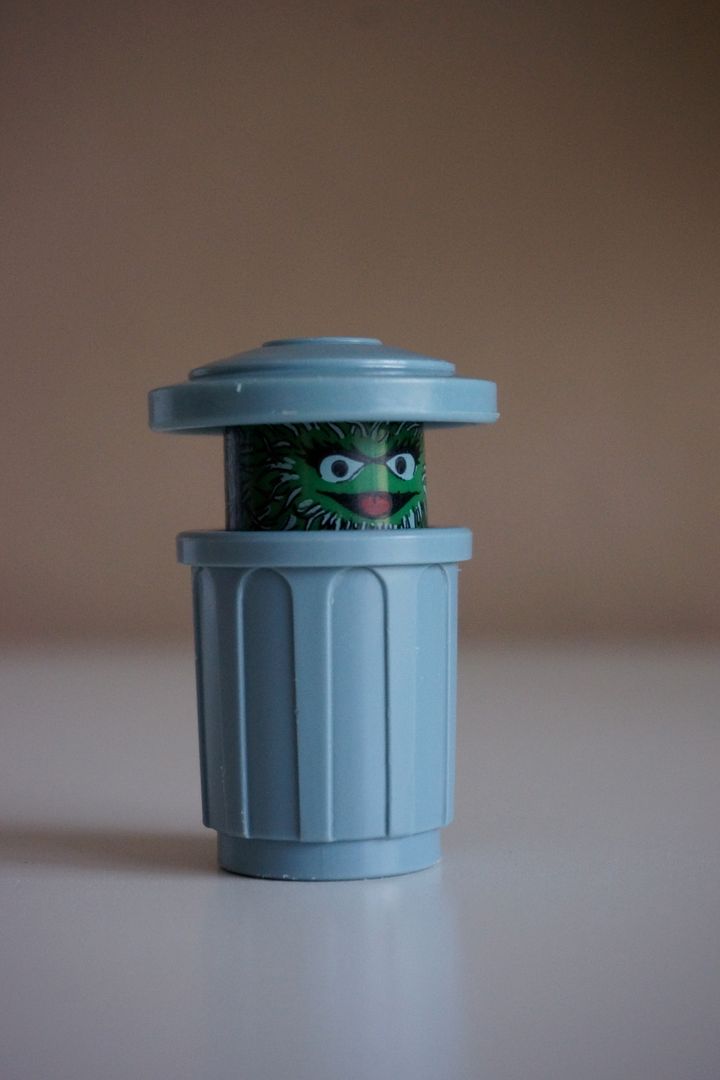
| Oscar the Grouch (closed) |
 |
| Oscar the Grouch (open) |
 |
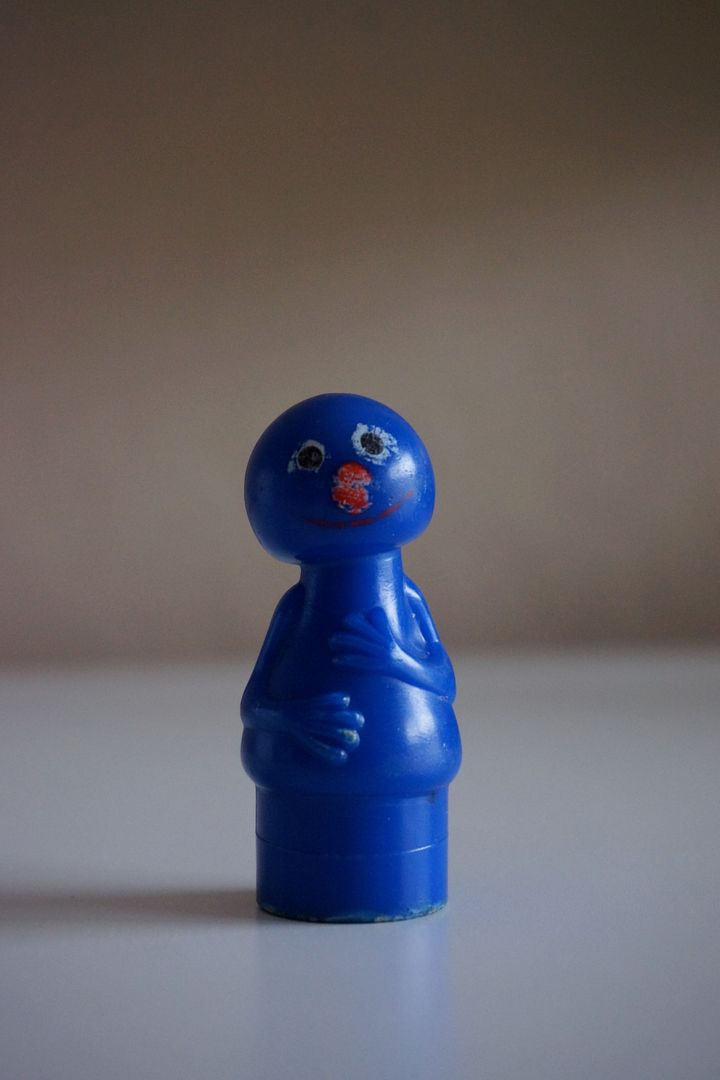
| Grover |
 |
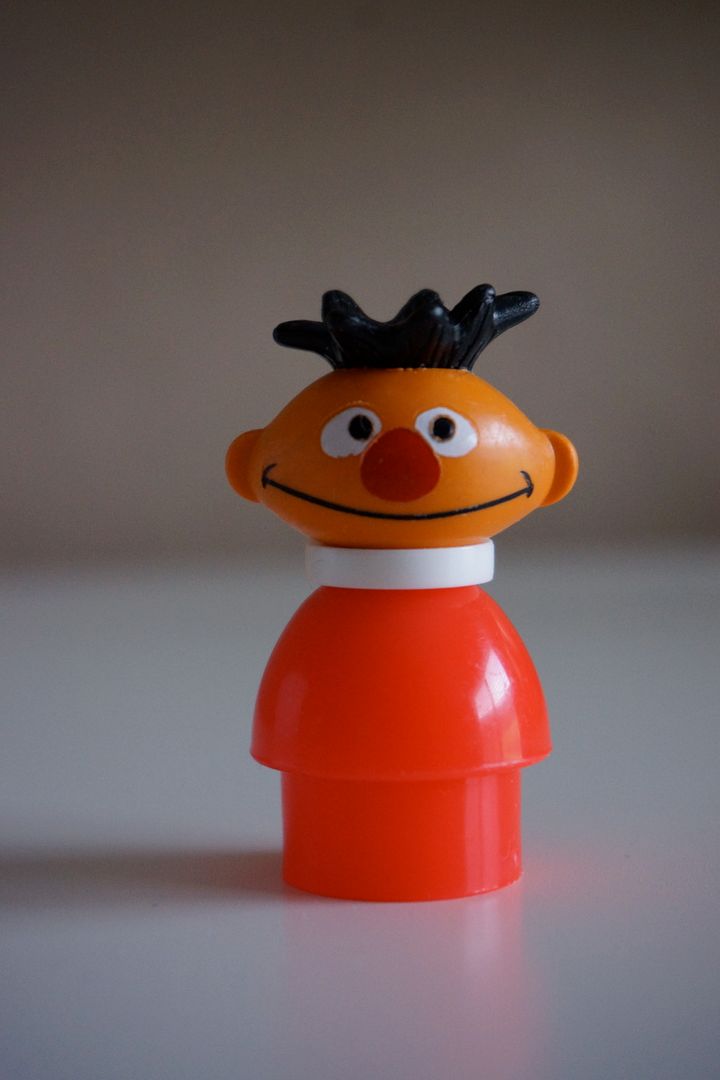
Ernie
|


