HomeVintage Fisher PriceMy Etsy ShopCategoriesAbout

Friday, November 30, 2012

Fisher Price Friday - Little Snoopy


Does this face look familiar?  It's the Little Snoopy #693.  This little dog was made 1966-1989 with only one variation over the years.  In 1990 it was issued again as #2034 but without the little shoe.  Fisher Price made other dog pull toys as well, but this was one of the most common.  Some may argue that the #181 Snoopy Sniffer was more popular, but I'm still on the Little Snoopy side. :)  

Little Snoopy has a wood body, plastic wheels and ears, a metal spring tail with a bead on the end and paper lithographs all over.  He wobbles around when you pull the string and he makes a yip yip sound.  The tail appears to wag and the ears move back and forth.

Snoopy is holding a red string in his mouth that has a yellow wood shoe on it.  From 1984-1989 the shoe was made of plastic.

This sweet little puppy was designed for children aged 1-3 so it's just perfect for my baby-girl.  However, it is a classic addition to any Fisher Price collection. 

The top of the dog says Fisher Price Little Snoopy.


We love ours!  

Wednesday, November 28, 2012

Tomato Basil Parmesan Crock Pot Soup

This is officially my new favorite soup.  You will have to take my word for it a little since the photo doesn't do it justice.  I was trying to catch the light as the sun set and it just isn't ideal.  The soup however is!  It is a crock pot/slow cooker recipe which is a bonus because it makes preparation easier and anticipation higher.  Nothing like a good smelling dinner to fill up the house before a meal.

The recipe is from 365 days of slow cooking I only made a couple changes.  You do a little prep in the morning and then a little more before you finish the soup.  I recommend making some hot fresh crusty bread (I like the 1/2 baked ones from Trader Joe's) to have on the side.

Try it out and let me know what you think.


Tomato Basil Parmesan Soup
Ingredients
2 (14 oz) cans (or box) diced tomatoes, with juice
1 cup finely diced carrots
1 cup finely diced onions
1 tsp dried oregano or 1 T fresh oregano
1 T dried basil or 1/4 cup fresh basil
4 cups chicken broth (1 big box)
½ bay leaf
½ cup flour
1 cup Parmesan cheese (I used shredded)
½ cup butter
1 1/2 cups half and half, warmed
1 tsp salt
¼ tsp black pepper

Directions
1. Add tomatoes, carrots, chicken broth, onions, oregano, basil, and bay leaf to a large slow cooker.
2. Cover and cook on LOW for 5-7 hours, until flavors are blended and vegetables are soft.  If you have an immersion blender use it to blend the vegetables into smaller pieces at the end of your cooking time.
3. About 30 minutes before serving prepare a roux. Melt butter over low heat in a skillet and add flour. Stir constantly with a whisk for 5-7 minutes. Slowly stir in 1 cup hot soup. Add another 3 cups and stir until smooth. Add all back into the slow cooker. Stir and add the Parmesan cheese, warmed half and half, salt and pepper. Add additional basil and oregano if needed.
4. Cover and cook on LOW for another 30 minutes or so until ready to serve.

Tuesday, November 27, 2012

Christmas Books "Advent" for kids


Here is another fun Christmas idea that I read about on Pinterest.  This one is a twist on advent, instead of chocolates each day the kids have books instead.  The dentist would be proud.


It's really quite simple.  You take 25 Christmas or winter themed books and wrap each one up like a present.  Put numbers on each one from 1-25 and that's it!  Of course finding 25 Christmas/Winter books isn't the easiest or cheapest task I realize.  I started a couple months ago regularly checking local thrift stores or garage sales to stock up.

The beauty of this advent is that you can use the same books each year for a few years at least.  In our house we only read Christmas/Winter books in the winter so they are a familiar surprise.  If you don't have 25 right now you could always wrap what you have and then look for Christmas sales.  Or, you could go to my Etsy shop, I have a few Vintage Little Golden Christmas books for sale. :)

It's not too late, you have a few more days till December 1st!

Sunday, November 25, 2012

Diaper Pail Deodorizer - Make Your Own Christmas Gift

My most popular post this last year has been an entry called Make Your Own Diaper Pail Deodorizer.  It is a great DIY project that works for either cloth or disposable diaper pails.  It's simple and effective.  Must be why it's so popular!


I decided to mix it up a little and make a Christmas version that can be gifted to the diaper changing people in your life.  Or you can make a festive version for yourself!

Christmas Diaper Pail Deodorizer 
Ingredients 
Baking Soda
Water
Mint Essential Oil (you can also use lavender, tea-tree, eucalyptus or lemon)
A container to put it in (a large spice container would work great)

Directions 
1. Take a medium bowl and put baking soda in. I used 1 cup b/c that's what my shaker held.
2. Add water slowly until it makes a thick paste.
3. Add a few drops of mint oil. I used about 5-7 drops.
4. Spoon the paste into a cupcake cup until it's about 1/2 inch full.


5. Wait 1-2 days for the mixture to dry out. Mine took only one day but I live in a very dry climate.
6. Break up the disks with a fork so that it is not too clumpy in the container.
7. Put the powder mix into your container.
8. Decorate the container with a Christmas gift label.  I decided to call mine "Mint Diaper Pail Magic".

Then shake in your diaper pail at changes or when needed.

Extra disks can be saved to refill the container or can be used by themselves in the bottom of the diaper pail (or anywhere you want to deodorize).  Another gifting option is to put the mixture into Christmas themed cupcake liners and stack the finished disks in a clear gift bag and wrap with a bow!

For more Info on Cloth Diapering check out:

Diaper Liner Reviews

Friday, November 23, 2012

Fisher Price Friday - 2009 Ornaments


It's beginning to look a lot like Christmas, officially!  We put the kids tree up last night and it is full of all of our lovely and colorful Hallmark Fisher Price Ornaments.  I've already shared a few (9) of the Hallmark Fisher Price Ornaments and I've just got 5 more left.  Today it's the two ornaments from 2009, the Chatter Telephone and the School Bus.  
First up the School Bus.  This cute little bus is the tiny exact replica of the #192 School Bus made between 1965-1990.  This little bus has a driver and 3 passengers.

The right side of the bus has the angry boy looking out (I put the same boy in my big bus).  The door doesn't open and the wheels don't move, but otherwise it looks the same!

The left side of the bus has the blond little girl (with a bob) and the Lucky dog with a red collar. 


No moving eyes or pull cord on the ornament.


Next up the Chatter Telephone.  It looks just like the full size #747 Chatter Telephone which was made from 1962-1989, another classic!  The ornament doesn't have moving wheels but the rotary part of the phone moves around making the familiar whirring sound.


I've seen this ornament on Ebay for as much as $125 if you can believe it.  It is currently the most expensive of the Hallmark Fisher Price Ornaments.  I'm not telling how much I paid. ;) 

Last but not least a bonus Fisher Price ornament.  This one is not a Hallmark Ornament.  It's called the Little People Toboggan and it was a gift from another Fisher Price loving friend! :)

There were a few ornaments in this series and I see them on Ebay.  They have their own Corn Popper  (with a candy cane handle), Snoop 'n Sniff and Rock-a-Stack Snowman.  I've also seen a Chatter Phone with a santa hat on it, School Bus (with garland and Christmas decorations on it) and a Christmas Mini Copter.  I will try to resist collecting these toys too.  We'll see how well that goes, ha!

Before Christmas I'll do one more update with the last 3 ornaments.  They include the Play Family Farm, Zookeeper Says and the Snoop 'N Sniff.  I'll also post a photo of our kid's Christmas Tree in all her glory!

For review here are all 14 of the Hallmark Ornaments:

2007 - See 'N Say
2008 - Play Family Farm
2008 - View-Master
2009 - School Bus
2009 - Chatter Telephone
2010 - Play Family Fun Jet
2010 - Zookeeper Says
2010 - Play Family School
2011 - Music Box Teaching Clock
2011 - Play Family House
2011 - Little People Lil' Movers Fire Truck (not a vintage toy)
2011 - Snoop 'N Sniff - Limited quantity
2012 - Corn Popper
2012 - Two Tune TV


For more of my entries on Fisher Price Ornaments go herehere and here.

Thursday, November 22, 2012

Happy Thanksgiving

Happy Thanksgiving
Little People Pilgrims and one Indian sharing a dinner. :)
Pilgrim mommy and her girls in the wagon (from the Western set).
Bring on the turkey!


Happy Thanksgiving from my family to yours!  And yes, I spent way too much time making those tiny little Pilgrim hats.  Ha!

Wednesday, November 21, 2012

(semi) Wordless Wednesday - Tolmachoff Farms

Today we had a fall pre-school field trip to Tolmachoff Farms.  We went last spring too, but it was a bit different this time of year.  For one thing it was warmer.  By the end it was almost 80 degrees.  Yes, the day before Thanksgiving!

Corn Maze
Huge air jumper (like a trampoline).  I went on it with the baby and she laughed and laughed.


Vegetable picking.  This time we "harvested" cucumbers, zucchini, radishes and turnips.


The favorite activity, the ladybug ride through the fields.

A perfect pre-Thanksgiving field trip.  Thanks Teacher Kathy!

Tuesday, November 20, 2012

Fairy Princess Party - Decorations and Food


My daughter had her 5th Birthday last month and we celebrated it with a Fairy Princess Themed Birthday Party.  I've already blogged about the Cupcakes and the Party Games so I thought I'd finish up by showing the decorations and food.

First up, the invite. Since we had a girl-boy party her invite read: "Princesses and Princes come celebrate with us and wear your favorite Groom, Prince, Princess, Fairy or regular clothes".  This was my daughter's wording, she wanted to be flexible, ha!  Since her birthday is right before Halloween we've had costume parties the last couple of years, this was just a more specific (but still flexible) version of that.

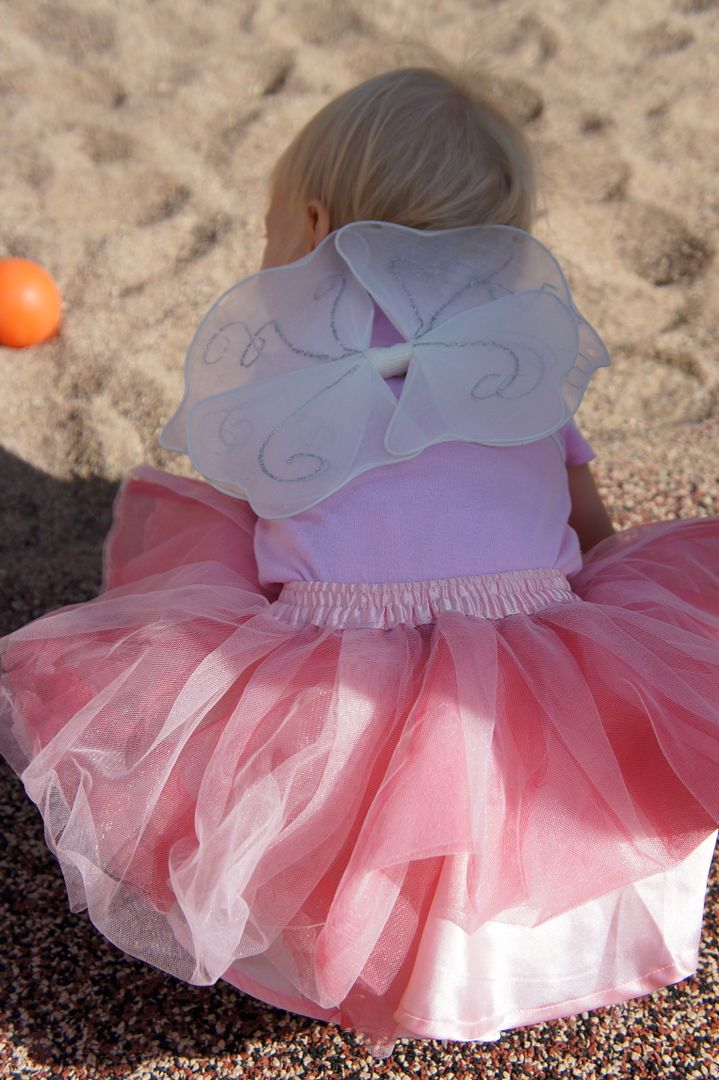
There were many fairies and princesses at the party.  For those that didn't have wings or wands we passed them out as party-favors/game prizes.  Even the little ones had wings or wands!  The boys got superhero capes and masks.

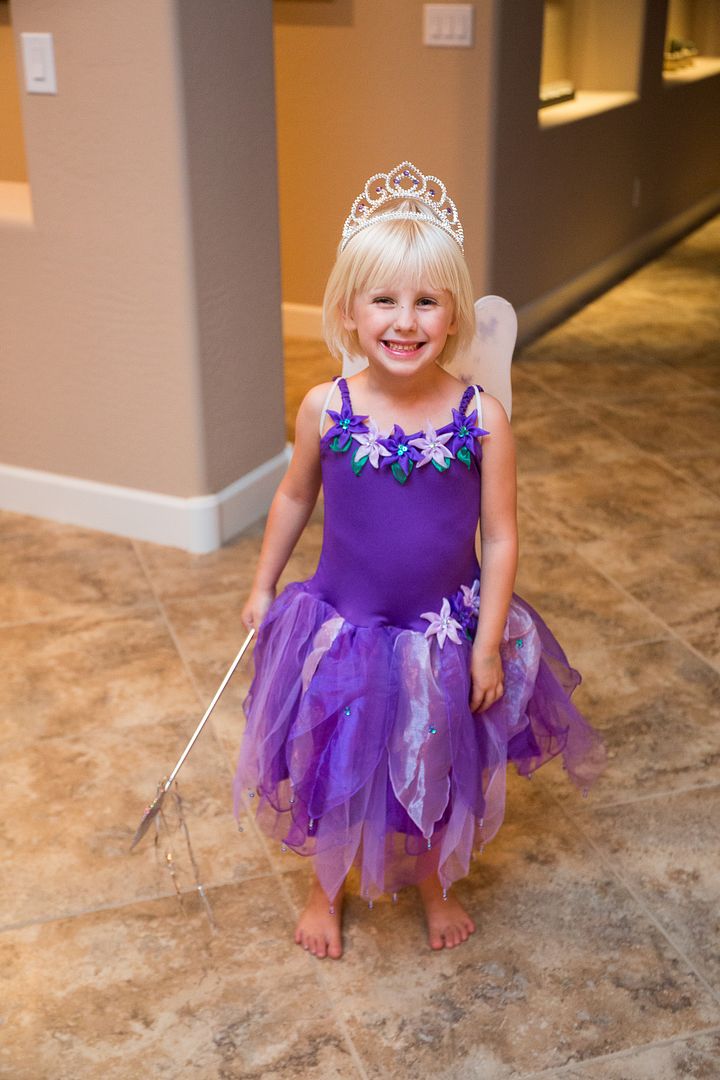
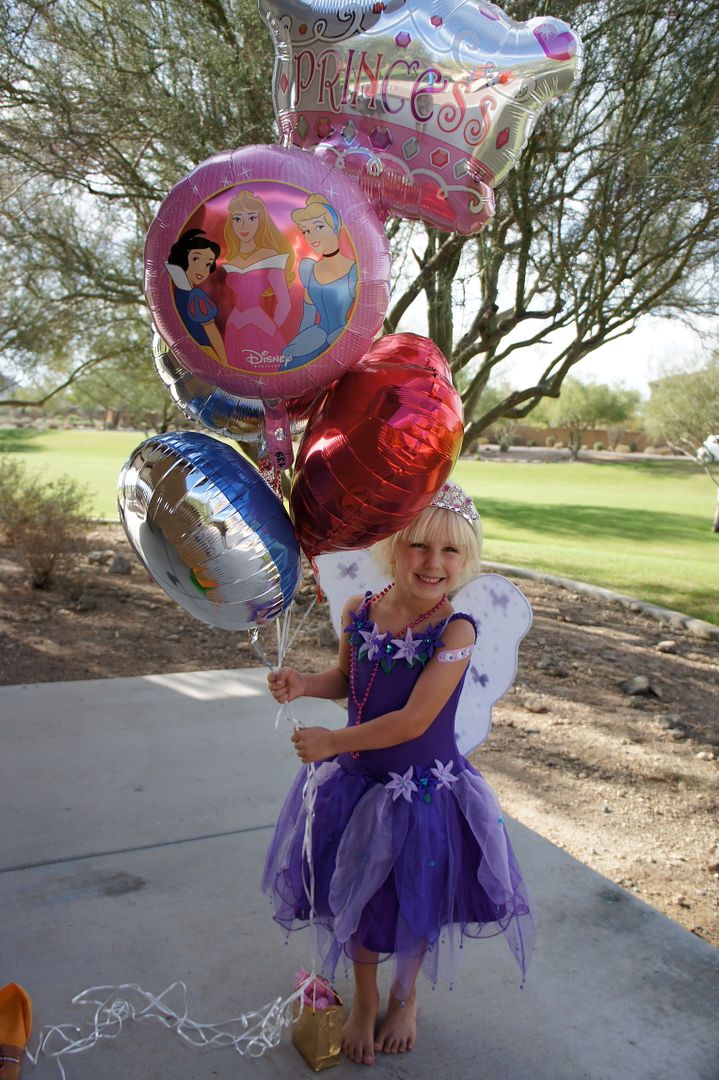
The birthday-girl's outfit doubled as a birthday present.  I bought the fairy dress on Zuilly, the wings and wand were an after-Halloween sale (last year) and the matching tiara was $2 at Target.  She loved it and it is a regular dress-up outfit now.


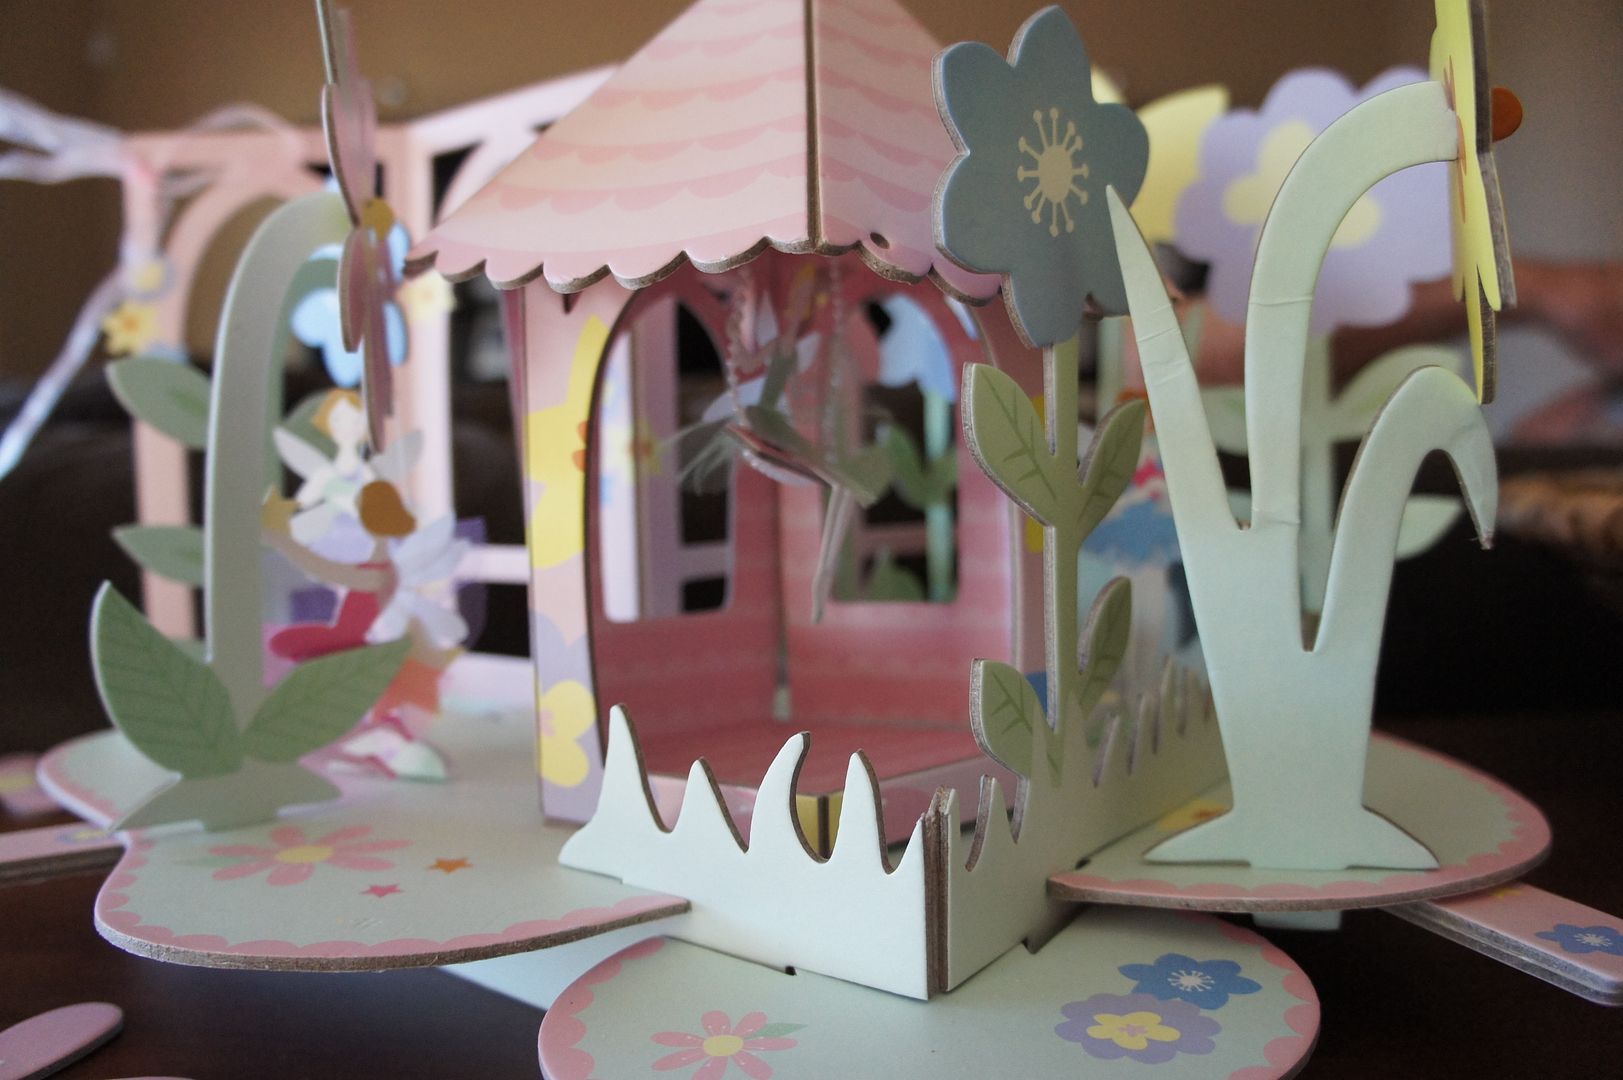
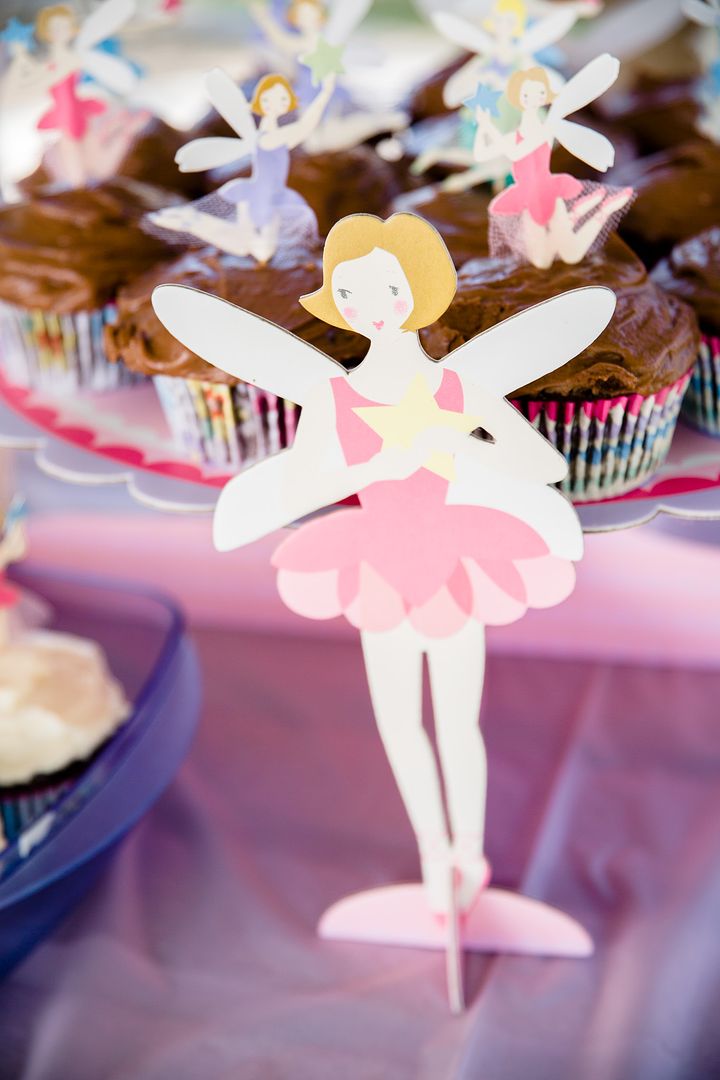
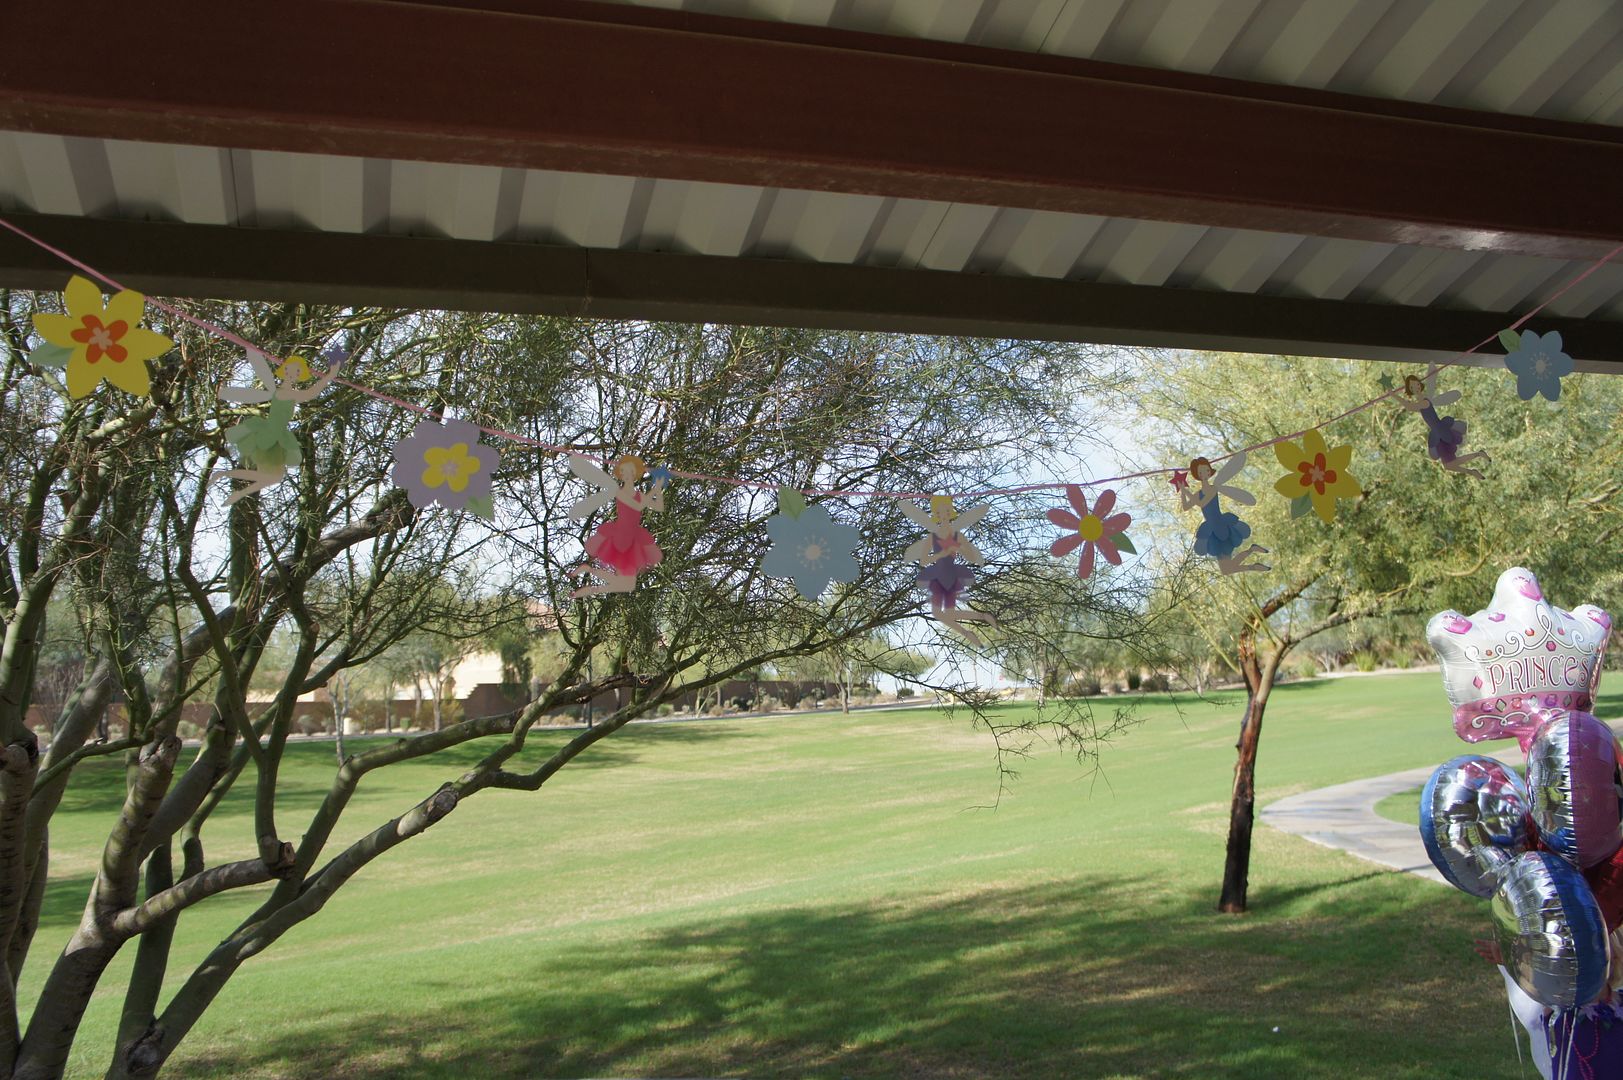
A couple months before the party I found these Fairy-themed birthday decorations at TJMaxx. It included a banner, cake (or in our case cupcake) stand, centerpiece decoration and cupcake toppers.  The centerpiece was a bit tricky to put together but it is so lovely and set the party mood with hanging and moving fairies (they moved via magnets).  The banner can double as a bedroom decoration once I get around to hanging it up.  It was really well made.  The other nice thing about these decorations is that they folded right back up and I can use them for another party or occasion in the future!

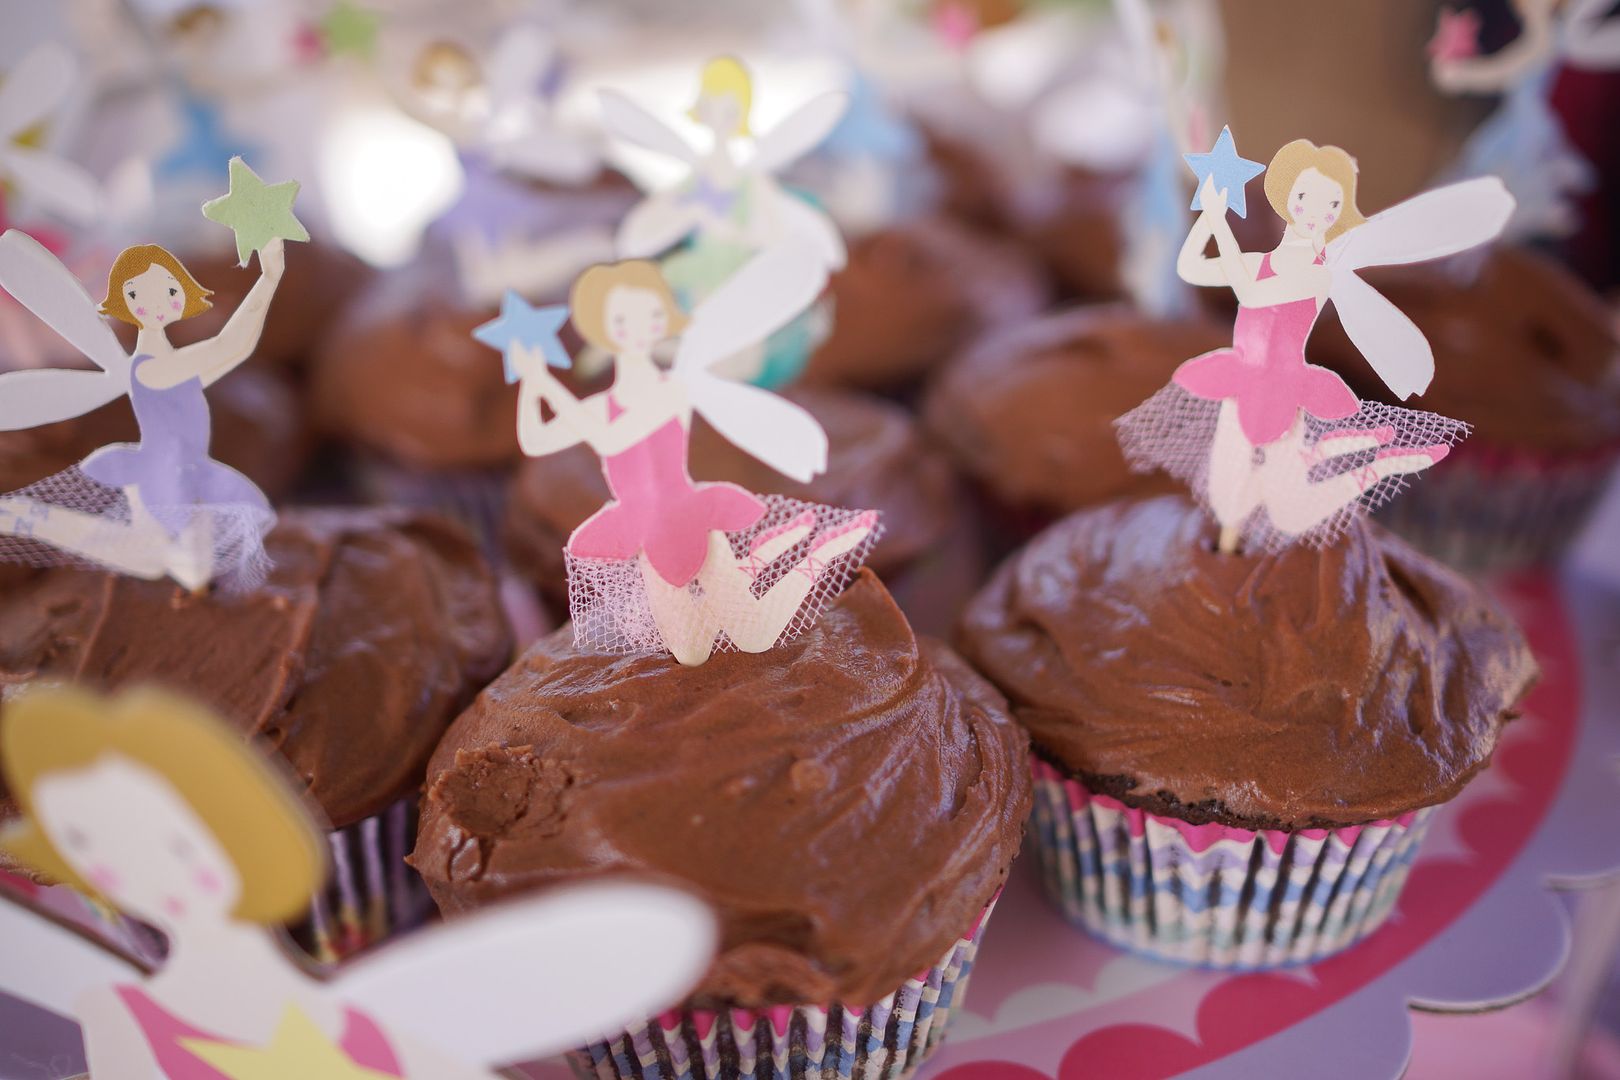
Here is a closer view of the cupcake toppers.  How sweet are they?  Little bits of tulle and everything!

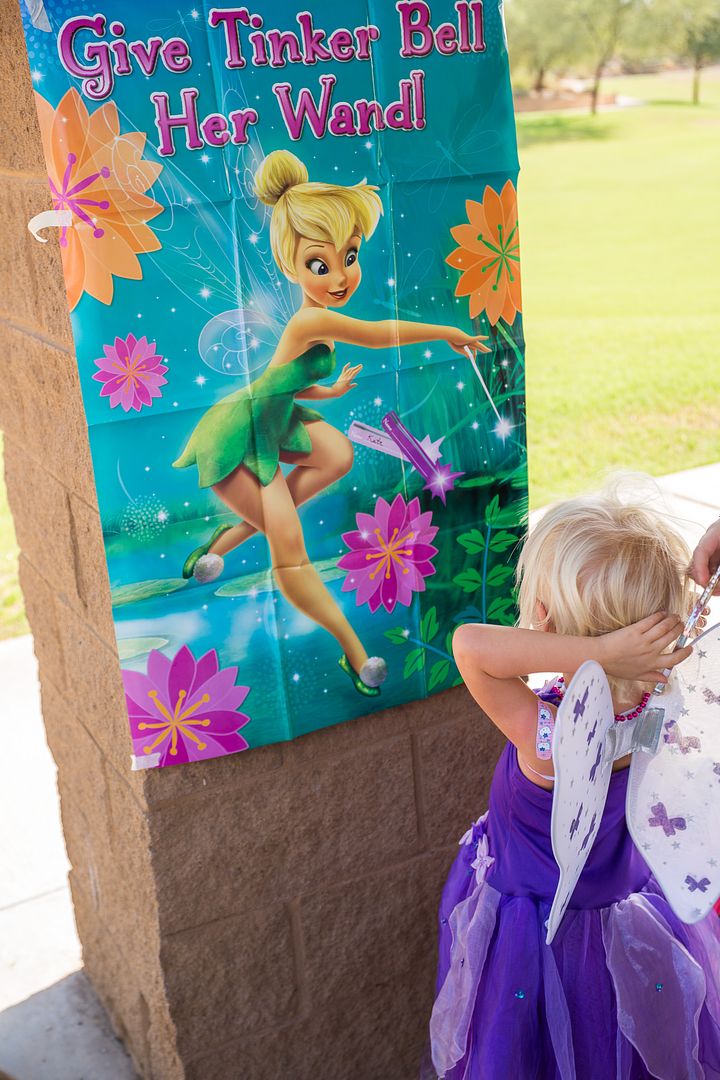
I mentioned the Pin-the-wand on Tinkerbell in my games post, but I wanted to add it here since it doubled as a decoration.  And as I said before it is currently decorating the door in her bedroom!

 
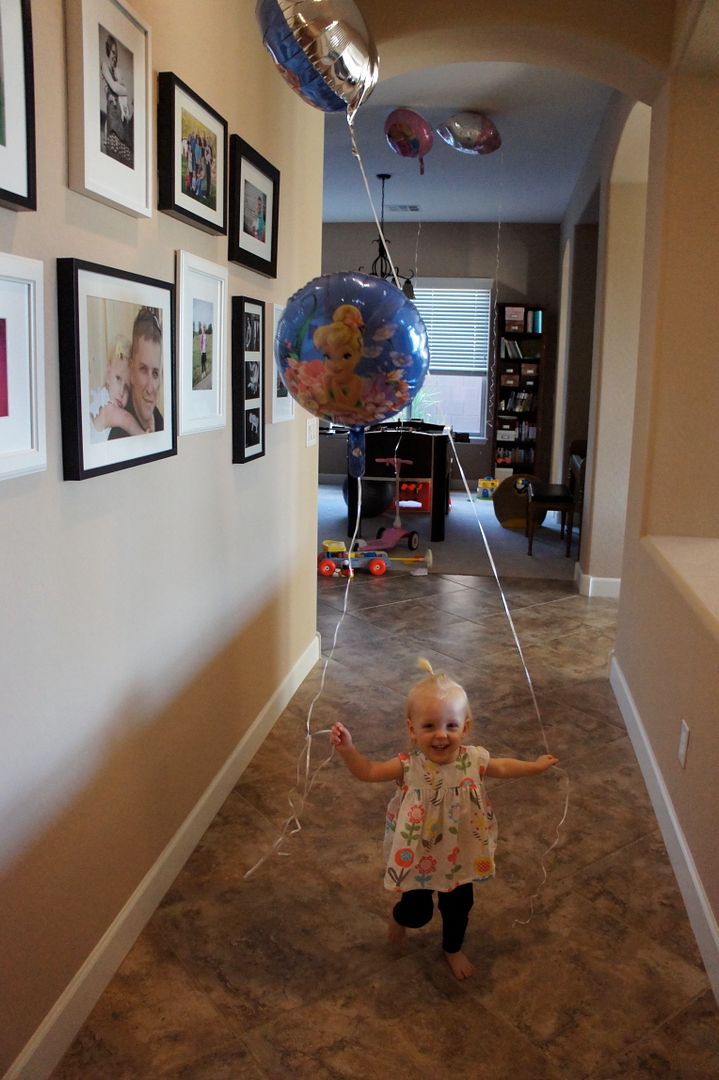
Balloons are an easy (and cheap) way to decorate.  We bought 5 balloons (since she's five) with princesses and tinkerbell on them.  5 for $5 at the dollar store!  They continued to be popular at our house and are still flying around.

The party was from 10-12 so I wanted to have food towards the end.  Instead of having buffet style I made all the kids sack lunches with their names on them.  The bags included chips, applesauce (squeeze so no spoons), juice boxes and a prize (different ones for girls/boys).  I made sandwiches and let the kids pick one (pb&j or meat/cheese, just a fyi they all wanted meat/cheese!).  The lunches were a big hit with the parents and it was much easier for me!  If I could do it again I'd decorate the bags with themed stickers/stamps.  Just to make it a little more Fairy-Princess'ish.

For the chocolate cupcake recipe go here.
For the list of Fairy-Princess Party Games go here.

It was a fun party but I'm relieved to have a few months off now before the next birthday rolls around!