HomeVintage Fisher PriceMy Etsy ShopCategoriesAbout
Showing posts with label sewing. Show all posts

Thursday, December 21, 2017

Sewing Christmas Presents - Not "sew" simple :)

I continue to attempt sewing projects here and there; but am very much still a beginner.  This summer I struggled through making my youngest an easy "20 minute" rubber ducky skirt that actually took hours.  And although it photographed well at her birthday party it was a hot mess if you looked closely. ;) 

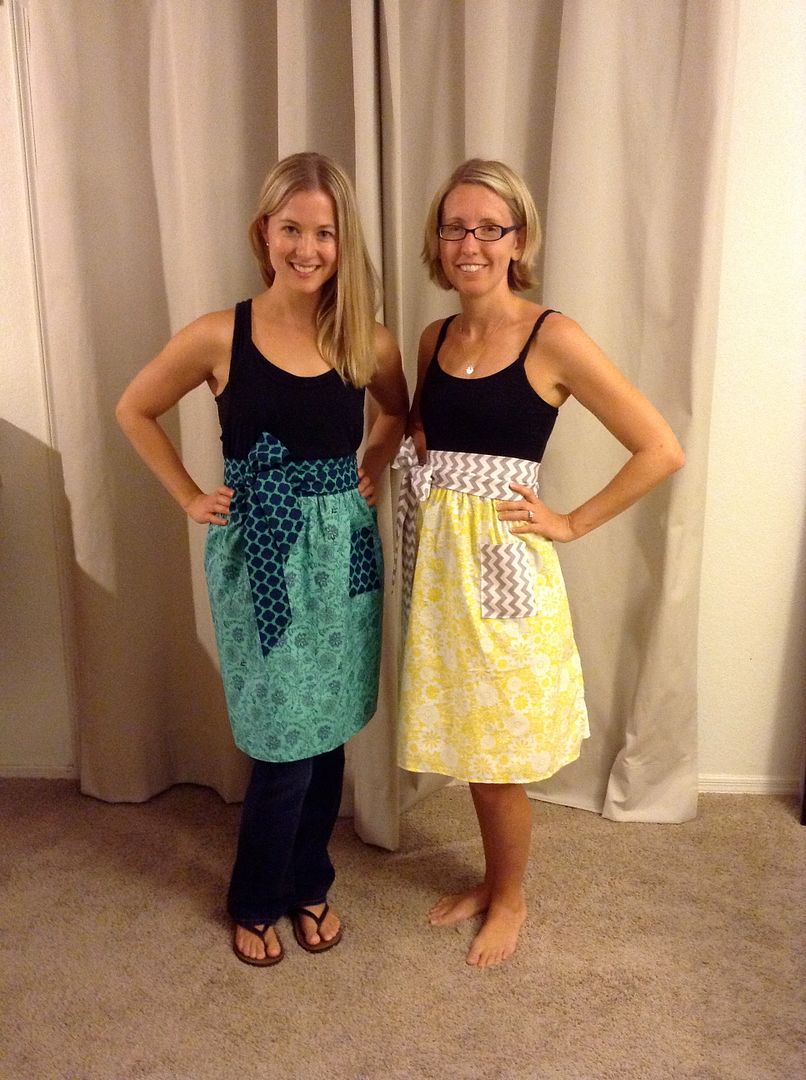
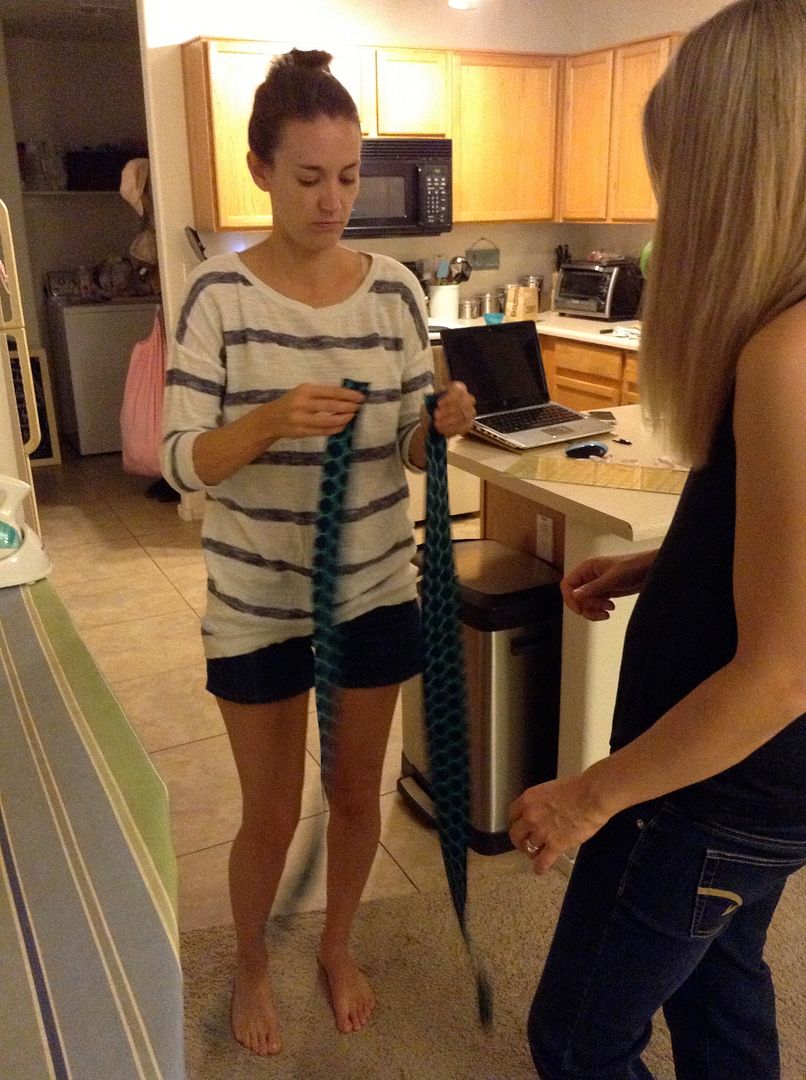
Fortunately I have a friend who was willing to help me fix it and she ripped it all apart and I started over again but with step-by-step instructions.

That skirt repair went so well that I decided to try making another skirt, this one with some 1960s fabric that I brought home from my parent's house awhile back.  This distinctive 60s floral fabric was used in bridesmaid dresses back in 1970.  


Check out those lovely dresses; all sewn by hand. 


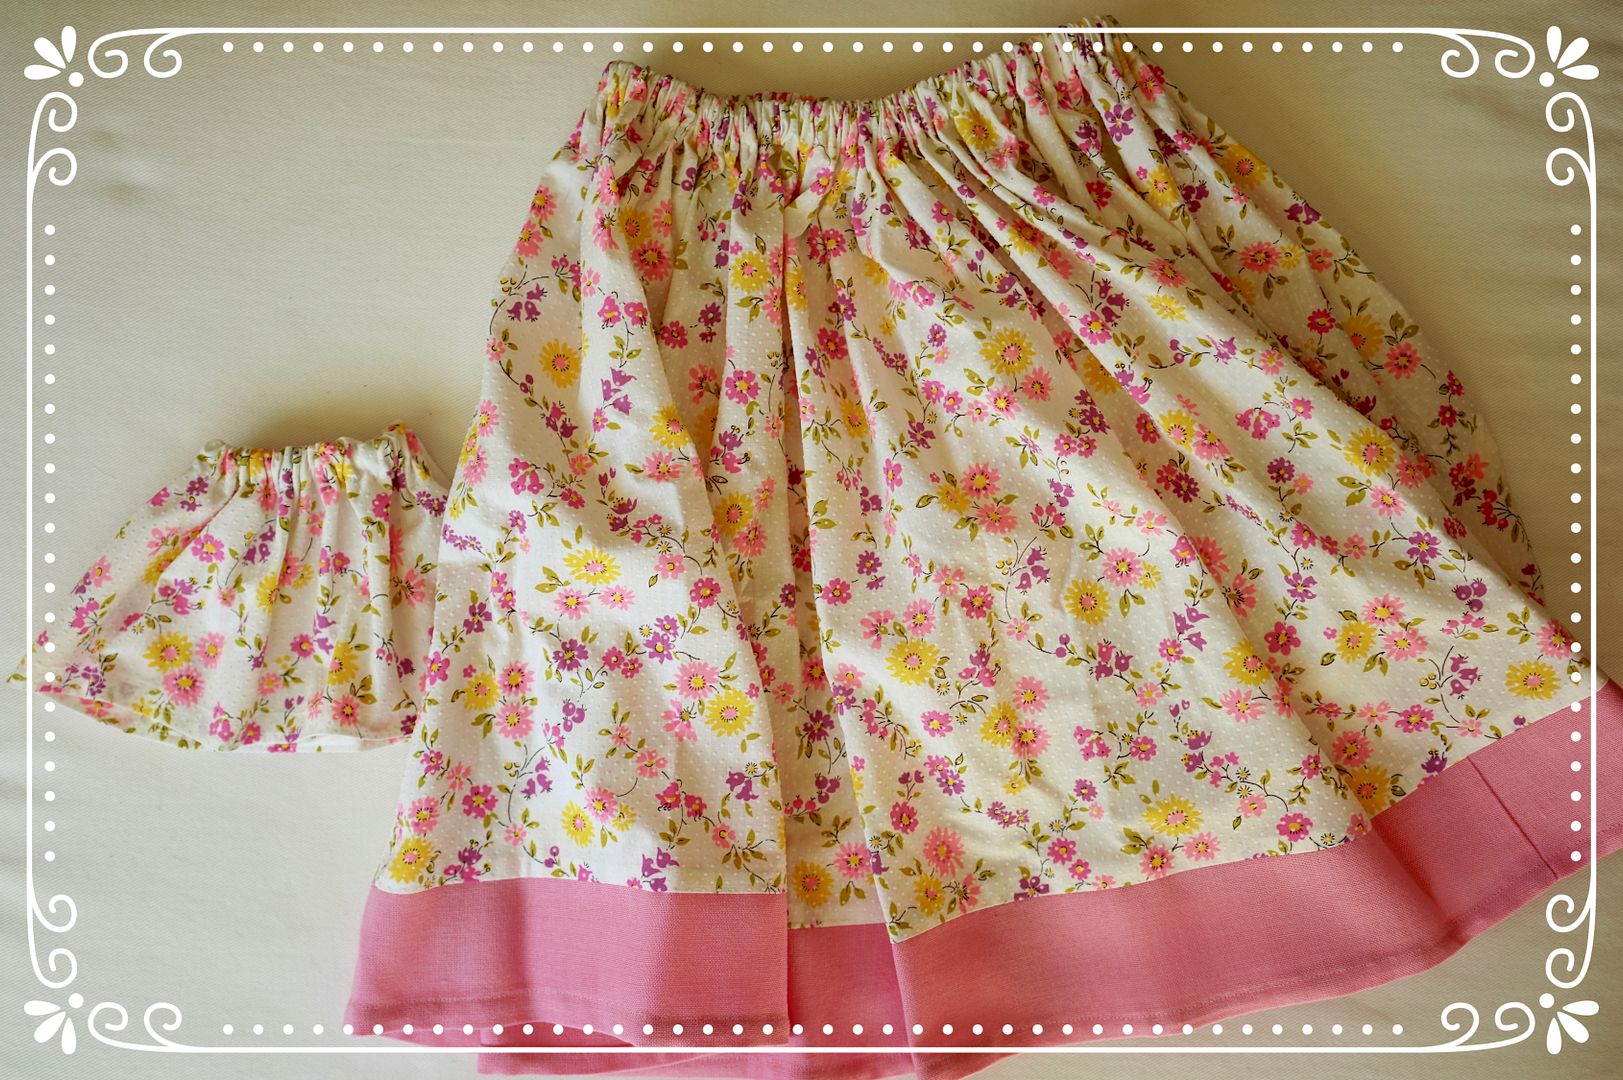
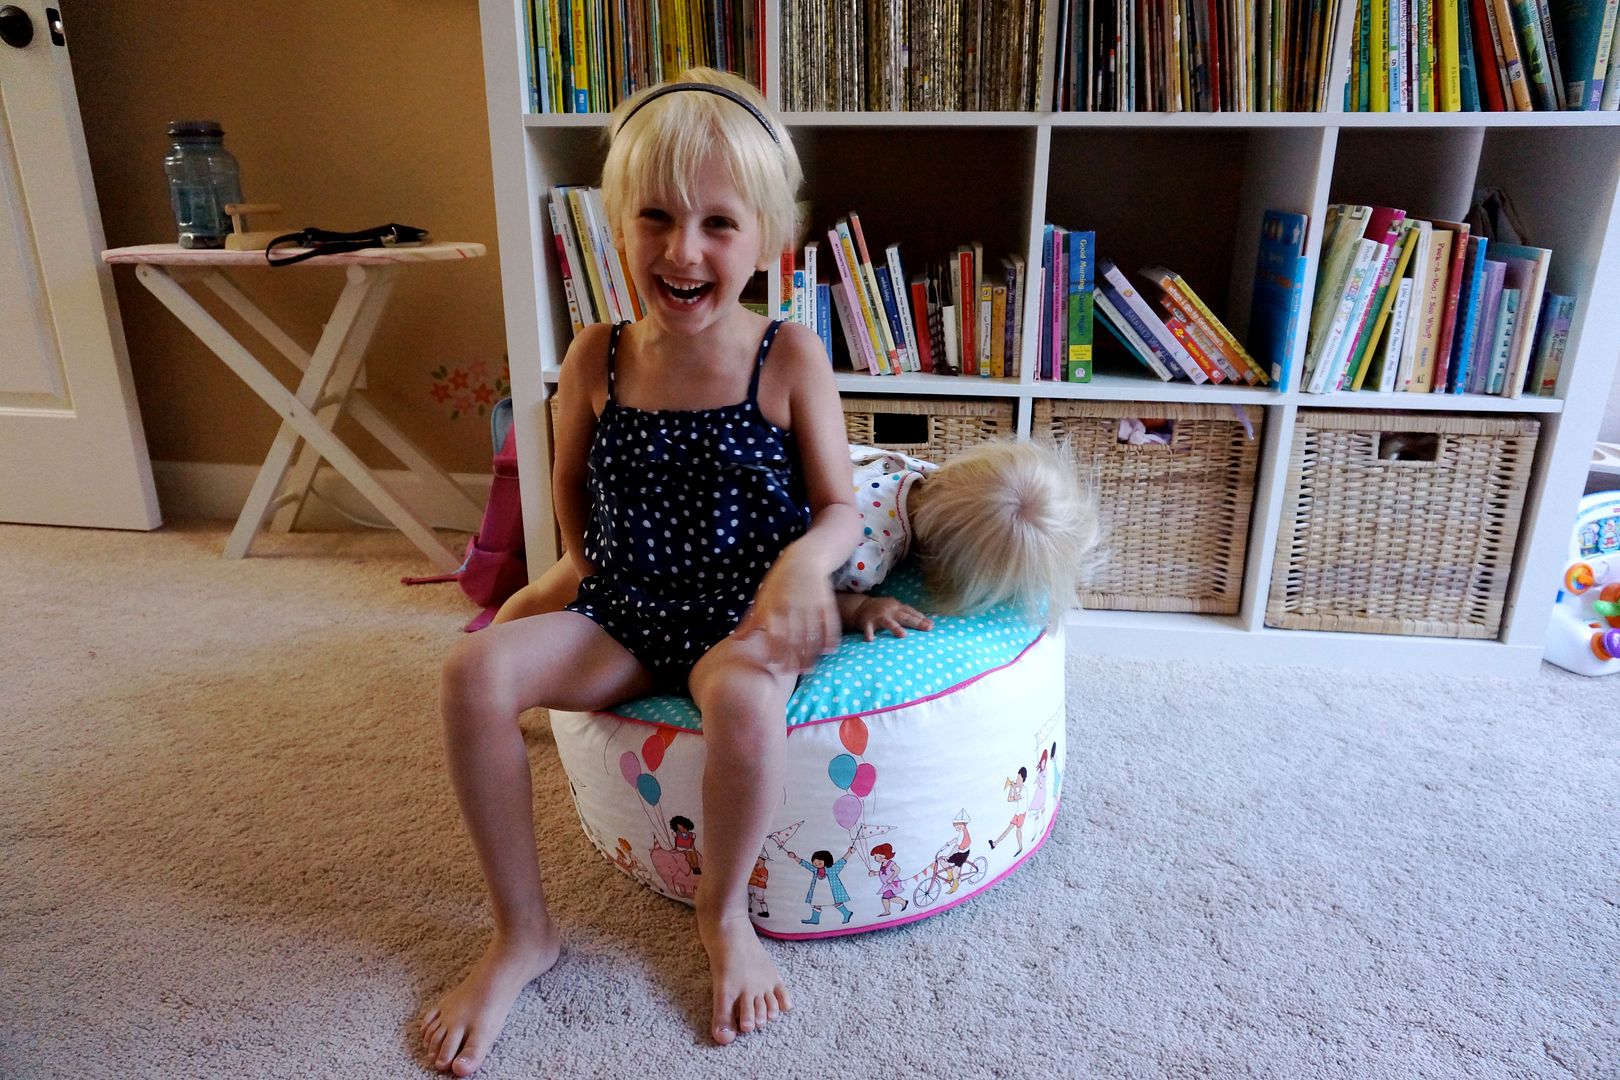
The skirt turned out pretty fantastic if I do say so myself.  Thanks to my friend's patient instruction and assistance. :)  The pink band is made out of vintage linen fabric.  I made the skirt as a Christmas present for my 10 year old and decided to whip up a doll sized skirt to add to her gift.  She is going to freak!


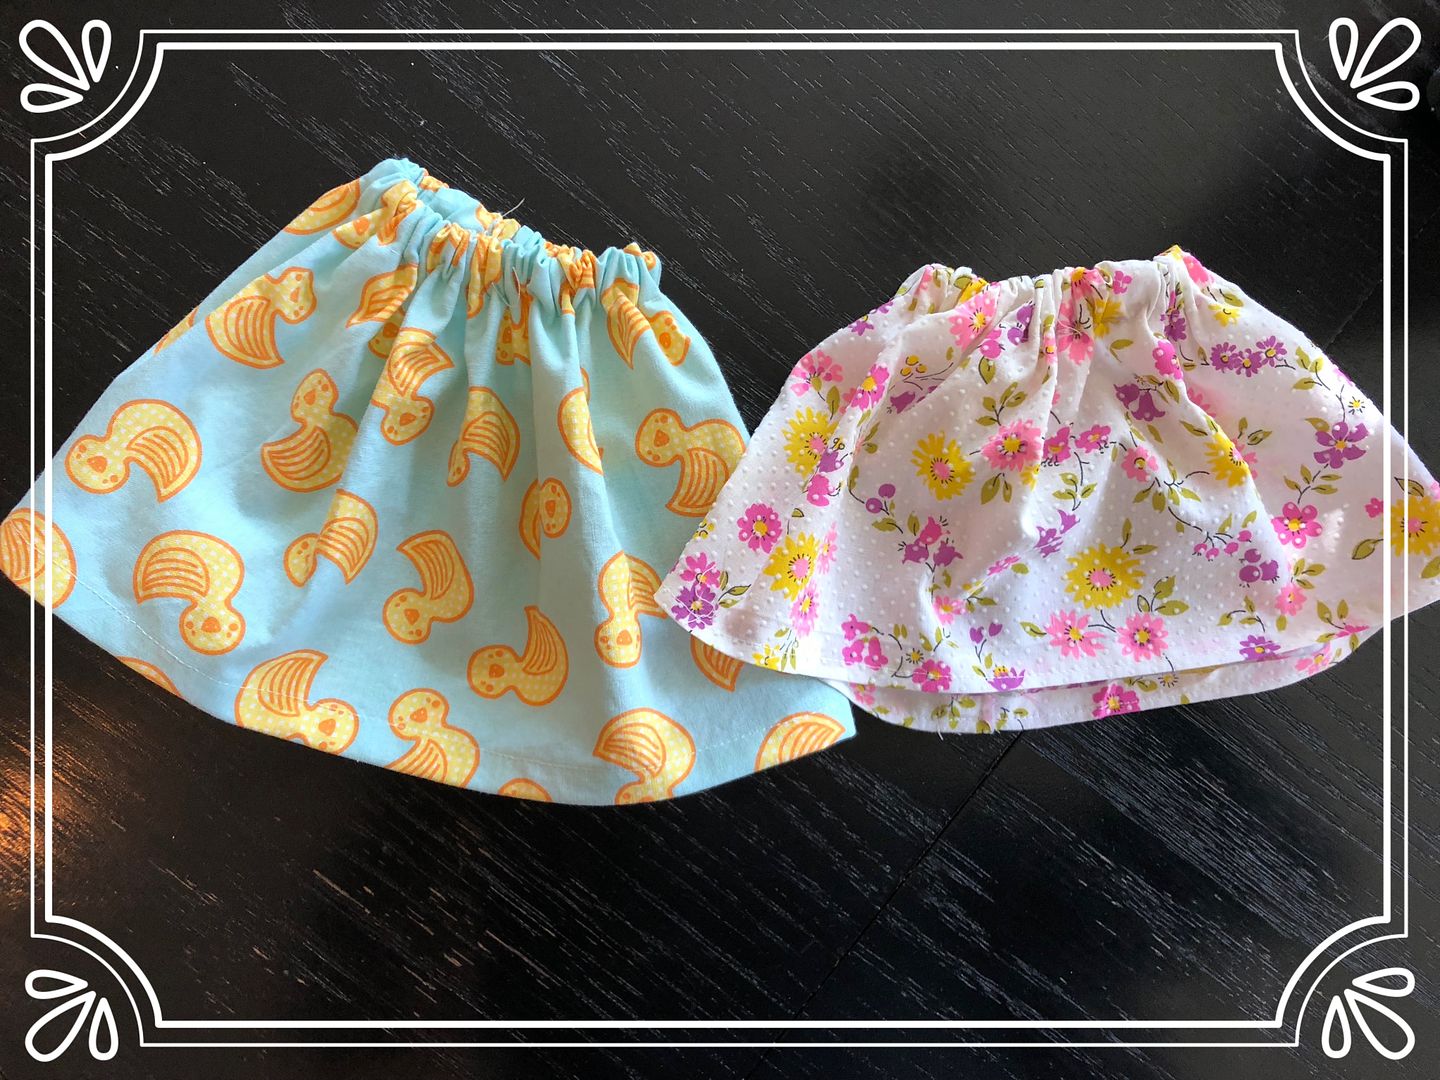
Not to leave my 6 year old out I made her a ducky skirt to match the previously-hot-mess birthday skirt.  


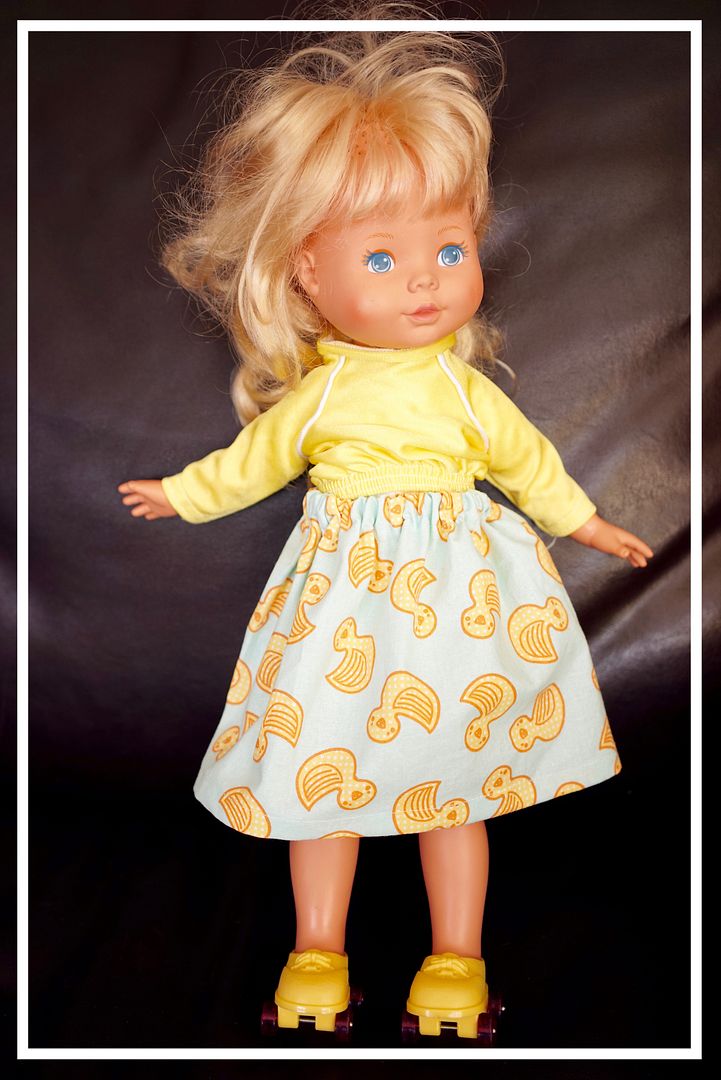
My Friend doll Mandy looks pretty cute doesn't she?  And it matches her roller skating outfit. 

Is it Christmas yet? :) Only 2 more days until we open presents on the 23rd.  Woot woot!

Wednesday, January 22, 2014

Tooth Fairy Traditions


My sweet oldest daughter lost her first tooth almost a year ago at the tender age of five.  I was completely surprised at this event which for some reason I assumed happened to older children!  At the time I quickly researched Tooth Fairy traditions because beyond putting money under the pillow I hadn't prepared anything.

A little googling and some of my own ideas came together and for the benefit of others I'm posting what we did/are doing.  My #1 word of advice is plan ahead before your children's teeth start getting loose!

We were able to use our ideas a few times last year because she ended up loosing (or having pulled) 4 more!  She has another loose tooth right now so I'll be pulling out my "Tooth Fairy" stash soon.

Loosing Teeth/Tooth Fairy Traditions

1. Exchange Tooth for Money - Now this is pretty basic but required a mention. :)  Basically your child puts the tiny little tooth under their pillow when they go to bed.  During the night you exchange the tooth for some money.  We have been reimbursing a $1 for a tooth but you could give any amount that seems reasonable.  Remember they have a lot of teeth to lose so don't start an expensive precedent!

I'd like to make a mention to the creative way my family handled loosing teeth when I was a child.  Instead of putting them under a pillow we put them in a glass of water.  Up on the dresser the Tooth Fairy would replace the tooth with a couple coins.  When I was older the glass was kept on the kitchen counter and change was added to the tooth (b/c I was saving the teeth myself since I knew there was no Tooth Fairy at that point).  My sister and I would keep the glass on the counter until we thought there was enough change in there, ha!  Note I still have a tiny little pink pouch full of all my baby teeth saved somewhere around here. ;)


2. Tooth Holder - If you're not using a glass of water I suggest putting the tooth under the pillow into something as those teeth can be very small and you don't want to be fumbling around behind their bed because it fell!  We used a small plastic jewelry box but if you planned ahead you could order a nice Tooth Fairy box.


After a couple teeth fell out I got my act together and sewed a little Tooth Fairy Pillow.  It's not the prettiest pillow ever but it works.  

3. Write a Tooth Fairy Note - A Tooth Fairy note was an idea that came to me that first night.  I thought a little encouraging message would be appreciated.  I addressed it like a real letter with her name and our address and wrote with a silver colored pen which seemed fairy-like to me. :)  I put her dollar in the envelope with the card and slipped it under her pillow when I took the tooth.


Now, if I'd planned ahead I could have purchased special papers or kits especially for this purpose!  As it is I'm saving the specific stationery that I used so that I have enough for the many teeth to come!

4. Special Circumstances - In an ideal tooth-losing world your child would lose a tooth, put it under their pillow and receive money.  However, sometimes glitches can arise such as a swallowed tooth, lost tooth or pulled tooth!  What to do then?


We've only had pulled teeth here and decided that a pulled tooth deserves double $$ so she gets $2 each for a pulled tooth!  For swallowed/lost teeth I've been told the child can write a special note (or parents can write for them) that explains to the Tooth Fairy about the lost/swallowed tooth.  I don't recommend giving extra $$ for swallowed teeth b/c I think you may find more teeth being "accidentally" swallowed if your child is bright enough to figure out that makes them worth more!


5. Family Celebration - The night of the lost tooth we have a special toast to celebrate the accomplishment.  We chill some sparkling grape juice and pull out the wine glasses.  I think this may be my daughter's favorite part! 

6. Tooth Fairy Books - When their teeth start to get loose I recommend picking up some books about the Tooth Fairy.  There are many to choose from, my daughter especially likes this one The Night Before the Tooth Fairy by Natasha Wing. 

7. Take Photos - Another obvious one but take photos, especially with the first few teeth.  When my daughter lost her first tooth we were at the playground.  We did a little jump up and down, scream/ shout celebration and quickly sent a photo to her dad at work so he could see.  She was SO proud!  


Hey, before we know it they'll be all grown up with adult teeth so enjoy these "firsts"!

Now about keeping those baby teeth.  Some of my friends toss them in the trash but I'm keeping them for now.  I stashed them way up high so that my daughter doesn't accidentally discover them while she still believes in the Tooth Fairy.  Perhaps someday she'll want all her baby teeth if she's sentimental like her mom.  If she's like her dad she'll think that's gross and throw them in the trash.  Only time will tell, ha!

Tuesday, August 27, 2013

Sew Simple Lets Get Cookin' Apron


I took another sewing class last week and the project was a high waisted apron.  It took 2 different fabrics and turned out great!  I have to admit that when I first planned for the apron I thought it would be primarily chevron with a yellow sash, but I forgot to account for the direction of the chevron.  Whoops.  This way works too.  My apron also ended up a bit longer than my friends, most likely because I spend far too much time talking and not enough time paying attention to things like cutting out fabrics.  Ha!


The pattern came from my friend and sewing-guru Amy of This Big Oak Tree.  You can get the free tutorial on her blog here.  It was pretty simple and the only tricky part (for me) was learning how to gather.  


See, sew simple!  Can't wait for next month's project.

For more Sew Simple projects with free tutorials check out:

and a little bit harder

Tuesday, July 16, 2013

Not "sew" Simple Floor Pouf (cushion)

In June I attended another Sew Simple sewing class, this time to make a Floor Pouf aka Floor Cushion.  This one wasn't exactly sew simple however and proved to be a bit challenging for us beginner sew-ers.  Fortunately we had a fabulous teacher who worked double-duty to get us through it. :)


The pillow was a challenge as it involved sewing in a circle, adding a zipper and even piping.  Although one of the hardest parts was stuffing the tiny little styrofoam beads in it afterwords! (You could also use poly filling but I wanted mine to be firmer).

The adorable fabric is from Sarah Jane's Children at Play Collection: "On Parade in Multi" fabric.  I bought it (and the turquoise polkadot) off of Hawthorne Threads.

This pillow is the perfect size for my girls although they are having a hard time sharing it!


Even the dog likes it!

My pillow was from a pattern that Amy at This Big Oak Tree made.  She doesn't have it online right now so here's another link to one that is similar.

I can't wait to show you my next project, an adorable little romper for my not-so-much-a-baby-anymore girl's birthday this week. 

Wednesday, July 3, 2013

(semi)wordless wednesday - Grandma's Buttons


I've been spending hours sorting old vintage family buttons.


They were my mother's, grandmother's and great-grandmother's.  Made of things like mother of pearl, glass, wood, metal, early plastic and rhinestones.  

I can only imagine the many sewing projects to come that these buttons will adorn!

Monday, June 10, 2013

Sew Simple - Throw Pillows!


I had my second sewing class a couple weeks ago.  I'm all official now that I have my own Brother 4000 sewing machine to bring with me.


However, I am still very much a beginner.  This machine is advertised for beginners and even has steps written on the machine to show how to thread, insert a bobbin, fill a bobbin, etc.  Nevertheless I required help to figure it all out and fortunately my friend was able to show me the ropes.


For example, on the right is the bobbin I tried to do myself at home.  And on the left is the bobbin she helped me do.  Same machine, ah, operator error at it's best. :)


This month's class was to make these Simple Throw Pillows.  Aren't they adorable?  The little tie and contrasting fabric make them look more complicated then they actually were to produce.

Want to make your own?  Go to Amy's blog and she has the (free) tutorial right there!


Can't wait for next month's class!

Wednesday, May 29, 2013

(semi) Wordless Wednesday - Sew Excited


Look what the UPS man brought me today.  I am SEW excited to get started on this new hobby/adventure.

I'm very much a beginner.  You can read about my first time using a sewing machine (last month!) here.  Fortunately I have a very talented friend who is a seamstress and she's teaching sewing classes (to friends) every month.  My next class just happens to be this week, can't wait to try this baby out!

Monday, May 13, 2013

Sew Simple Class - Easy Summer Tote

A couple weeks ago I went to my very first sewing class.  I may be in my early mid 30s but I had never used a sewing machine before!  The extent of my sewing knowledge was jr high home economics where I learned to sew on a button (still comes in handy).


This class seemed like a perfect way to try it out, especially since a good friend was the teacher and my friends were the the other participants.


Chevron was the fabric of the night!

However I had a floral fabric picked out by my  5 year old daughter.  We plan to use the bag as our pool tote!

The teacher just happens to be Amy, a popular blogger and oh-so-talented seamstress.  She makes up her own patterns and is always whipping up the most delightful (and enviable) outfits for her little girl.


The first class was to make an "easy summer tote".  It was pretty easy although our group took over 3 hrs to all finish.  This may have had something to do with the constant talking, glasses of wine and the best cookies in all the land distracting us.  Ha!


Well worth the effort though, here are the finished products!

Can't wait for next month's project.  I'm even thinking about getting my own sewing machine!

For more information on Amy visit:
This Big Oak Tree
Her Etsy Shop - This Big Oak Tree
and here is a link to her tutorial for this very bag.