HomeVintage Fisher PriceMy Etsy ShopCategoriesAbout
Showing posts with label food. Show all posts

Wednesday, June 15, 2016

Tips and Hints to help Moms recover after Surgery (or bed rest)

A month ago I had a surgery that required me to take it really easy for a few weeks.  As a result of my recovery it was impossible to do my regular job, you know, parenting two kids and taking care of my household.

Fortunately for me I had a very capable and helpful husband, a mom who flew in to stay for a week and a few amazing friends who did SO much to make things run smoothly.  I also did quite a bit of preparation to make things easier for me (and my family) until I could get back to normal.  It's been 5 weeks now and I'm at about 90%!

I thought I'd pass along my favorite tips for recovering moms, or even for moms on bed rest.

Before surgery do shopping trips to fill your cupboards but also make special care to get items that are heavy (many procedures have weight lifting restriction for days/weeks after).  Things like dog food, bottled water, cat litter, bleach bottles/detergent, soda, etc.  Stock up your pantry and freezer with easy to make or ready made meals.

After surgery you can have these same heavy items as well as regular groceries delivered to your house with services like Safeway Grocery Delivery or Amazon Prime Now (both available in my area).  You can also use Drugstore.com or (regular) Amazon for basics like toilet paper, dog food and other must-haves.


We used Safeway Grocery Delivery two weeks after my surgery.  By that time our stocked up groceries had depleted and my mom had gone back home. ;)  We've been so happy with Safeway Delivery that we've had 2 more orders!  Not only are they super convenient but the delivery charge is very low (I paid $3.95 for my last two orders, the first time was FREE!).

Pros
They bring the groceries where you want.  We had ours brought all the way into the kitchen so I didn't have to lift a thing.
Delivery workers have been very courteous and kind, and you can't tip them, so they're just naturally that way.
Produce has been fresh, no complaints!


Cons
Some items are more expensive, especially produce.
They use dozens of plastic grocery bags (I normally use re-useable grocery bags).  

I normally enjoy grocery shopping so once I'm back to normal I'll probably return to my regular stores (especially to get FREE Starbucks refills!) but....one of the best things about grocery delivery is my cold/frozen items stay that way since they arrive in a freezer truck!  Living in Phoenix where the summer temps reach 120 this is huge.  There are months in the summer where I can't even try to purchase ice cream, it's just not possible to get home without melting.  So I might just keep getting deliveries for all things frozen until it cools down out there....sometime in November. ;)

Now moving on to other non-food helpful hints. :)

Bedroom/Bed rest Tips:

The first couple of weeks I spent most of the day in bed and I found ways to make it more comfortable and kid friendly.  Here is what worked for me.

For your bed/bedroom:

1. Make sure you have extra pillows and a Boppy if you still have one.  That pillow worked great to keep me more upright the first few nights!
2. Folding bed table tray - This was a lifesaver, I used it for my laptop, dinner tray and iPad (while watching shows).  My daughter also used it as a table to color on.
3. Lined Notebook Pad/Pen - Keep one on your bedside table to keep track of medications/times and other random notes.  Trust me, if you're taking enough meds you won't remember unless you write it down!
4. Water Pitcher - I took the pitcher from the hospital but you could use your own.  Hydration is super important and the easier it is to get water the better!
5. Last but not least - Snacks!  Fill up a bedside table drawer with snacks like saltine crackers, chocolates, protein bars, etc.  That way if you need food without getting up it's right there!  If you don't have drawers then try a shoe box next to the bed.

For your Kids:

Preparing ahead for the kids was key, since there were days where my little one (4 year old) would spend hours with me while I was resting/sleeping.  She's a great kid but I still did some prep to keep it interesting for her.  The upside is that my kids wanted to be in my room with me!
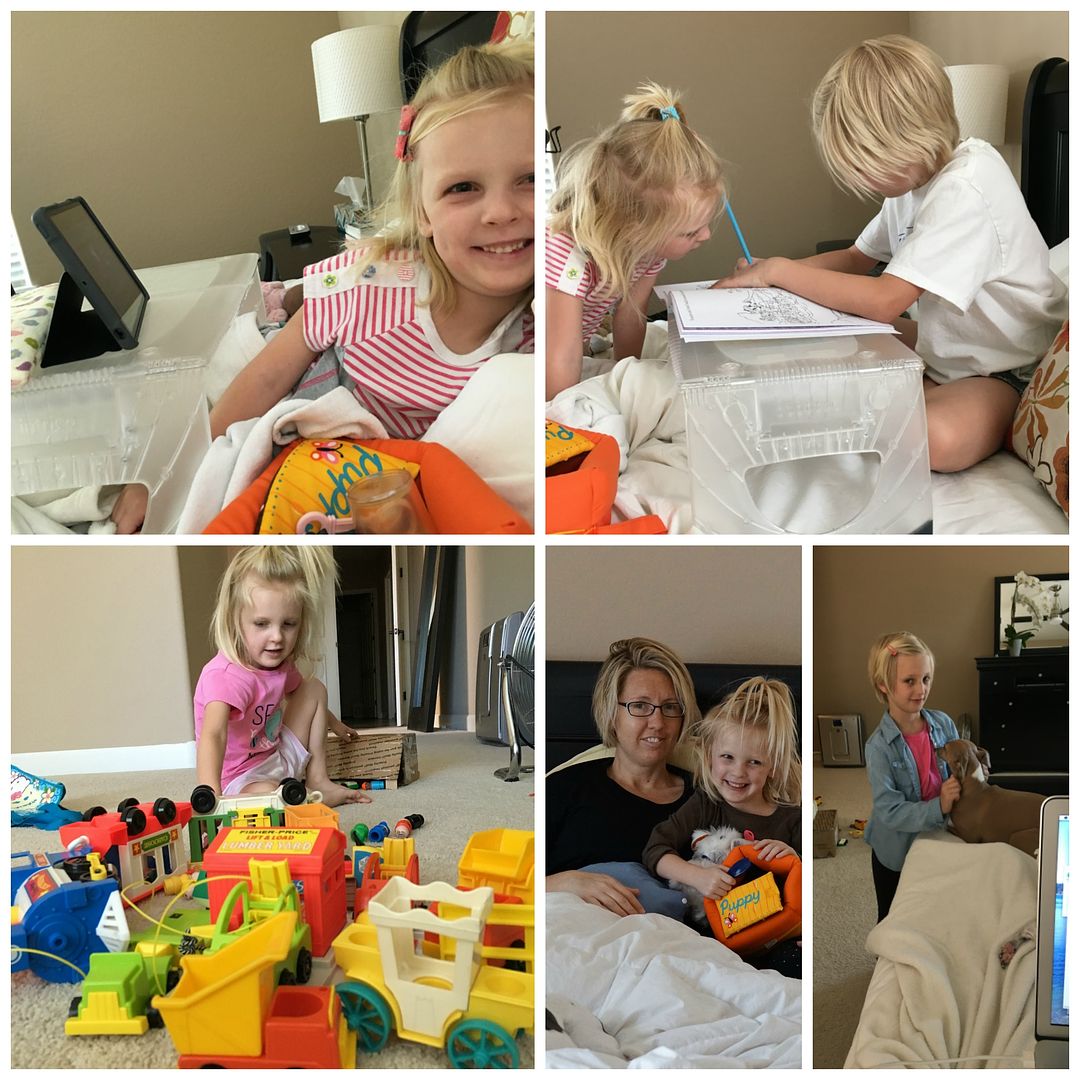


Before my surgery I bought a variety of special activity books (w/coloring pages, stickers, make your own book, etc) that they could only work on while in my room.  I included a bag of colored pencils (pens/crayons would have been messy on my white sheets!!) that stayed in the room with me.  

I also bought some new-to-them toys (vintage Fisher Price of course) that stayed in my bedroom (put away in a bottom drawer when not using).

Last but not least I had my mini iPad loaded up with kids apps, so if I absolutely needed to rest I'd give her my iPad/earphones and she was in heaven. :)

Those are my tips!  My family survived and thrived during my recovery and it went much more smoothly thanks to a little preparation and of course lots of help from friends and family!

Saturday, June 4, 2016

Donuts Donuts Donuts

Thanks to National Donut Day celebrations yesterday I've got donuts on my mind.  Fortunately for me not all donuts are calorie laden. :)

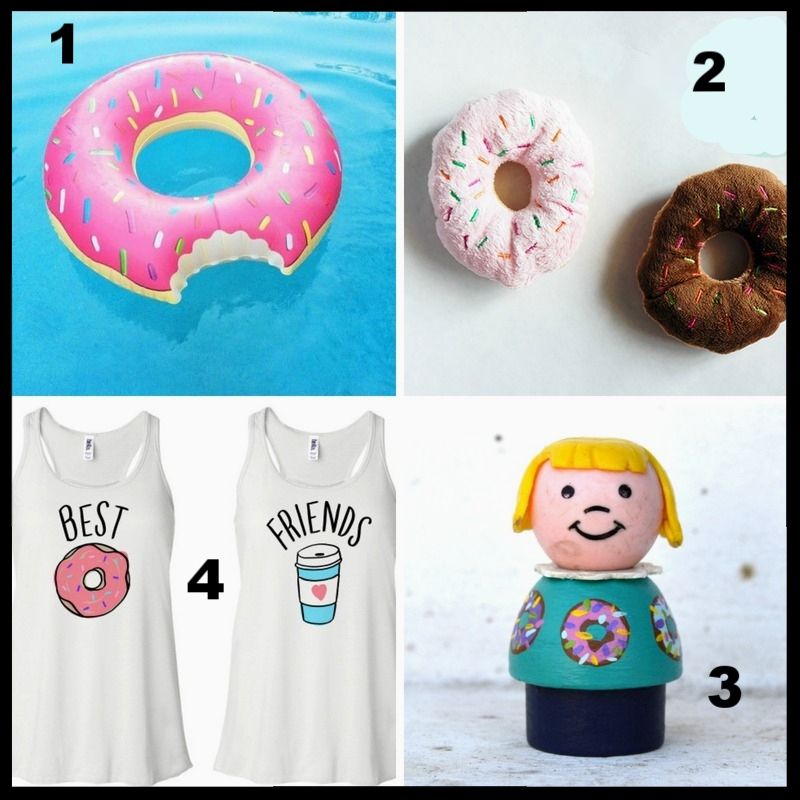
Here are a few of my current donut favorites, a little something for everyone!


1. I am obsessed with this donut pool float and intend on getting one for the pool this summer.  I LOVE the little bite cut out, perfection for hanging your feet over the side.  You can get one on Amazon for only $19.99 delivered right to your door (my plan).

2. I found these little stuffed donut dog toys on Etsy at Shopawsitive for $6 (plus s/h).  They come in either pink or chocolate and with each purchase the shop donates to animal shelters.  I think my Italian Greyhounds would love them! (they're recommended for dogs under 25 lbs). 

3. Of course I am eying a Fisher Price Little Person figure, personalized with donuts on her dress.  How sweet is she? This cutie is from the Etsy shop thatmakemejoy.

4. Last but not least these matching tank tops are on my favorites list, one of these days I'm going to get one for me (the coffee) and one for my BFF (donuts).  So fun!  These tanks are from the Etsy shop TeesAndTankYouShop ($15.99 each plus s/h). 

If it's *actual* donuts you are looking for try my easy at home recipes!


Contemplating donuts. :) By the way if you missed National Donut Day yesterday don't fear, you'll have another chance to celebrate come November.  That's right, in the USA we have not one but two National Donut Days. 

The more official (and long standing) celebration is the first friday in June, first celebrated in 1938 to recognize the volunteers (Salvation Army) that served donuts to military in WWI.

The second Donut Day was added in recent history in addition to many many other food days, basically as a way to sell more food/donuts!

But I don't mind the reasons behind the days, I'm all about celebrating treats here and there, especially if I can get them free. :)

Wednesday, March 25, 2015

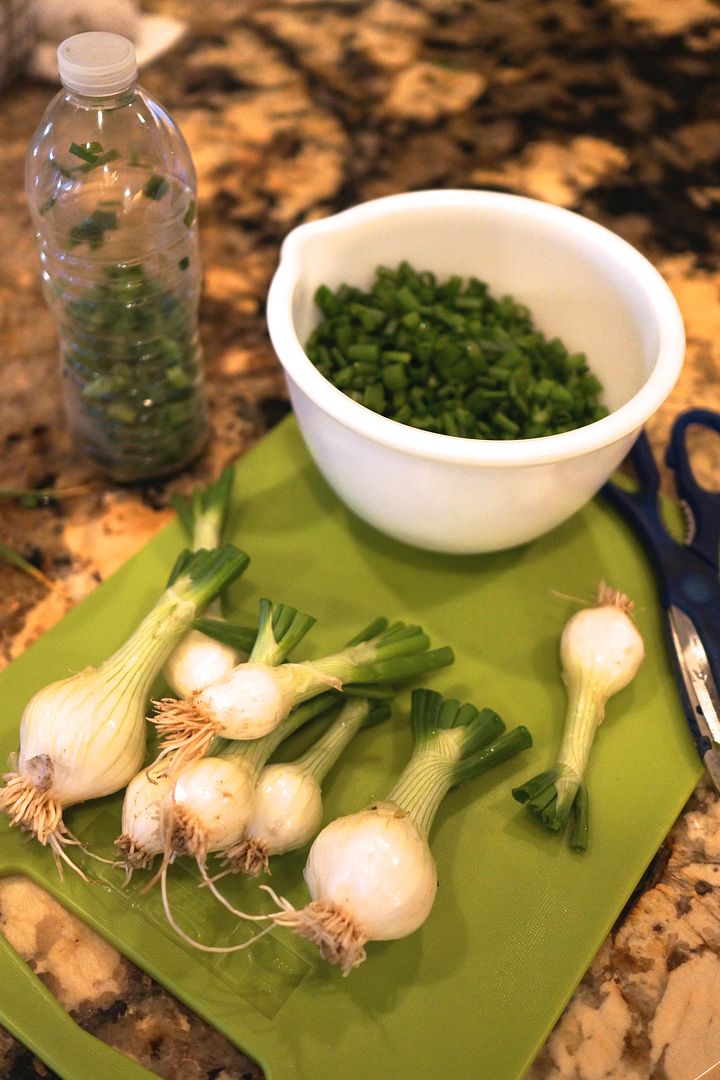
Prepare Ahead Spring Onion "Chives" for Recipes


A couple weeks ago my youngest had a field trip to a local farm.  The kids picked vegetables, pet goats and rode on a "train" made of old metal barrels pulled by a tractor.  You know, typical farm stuff. ;)

One of the vegetables that we picked to take home were spring onions.  Spring onions are a relative of the green onions are wonderful in so many recipes.  The onion base can be used like a scallion or onion in cooking and the tops can be used in similar ways as chives (as long as they aren't too tough and big) although they do not have as strong a flavor.  My family likes them on top of baked potatoes, in soups and on salads.  

I rarely have fresh ones on hand however, I found an easy way to have spring onion "chives" ready to go at any moment.  This recipe can be used with spring onion tops or regular green onions.

It's so simple.  I just wash and then cut the onion stems into tiny pieces with a scissor.  I scoop them into an empty water bottle (or use a funnel) and place them in the freezer.  


When I need green onions for a recipe I simply shake out the amount that I need.  They thaw very quickly and taste fresh!

This particular day I also sliced up the onion bases and put them in a container in the refrigerator.  The next day I used them in a soup recipe, so easy!

So there you go, a simple way to always have green/spring onions on hand.

To grow your own spring or green onions at home (on your counter!!) go here.

Wednesday, July 2, 2014

Thimbleberry

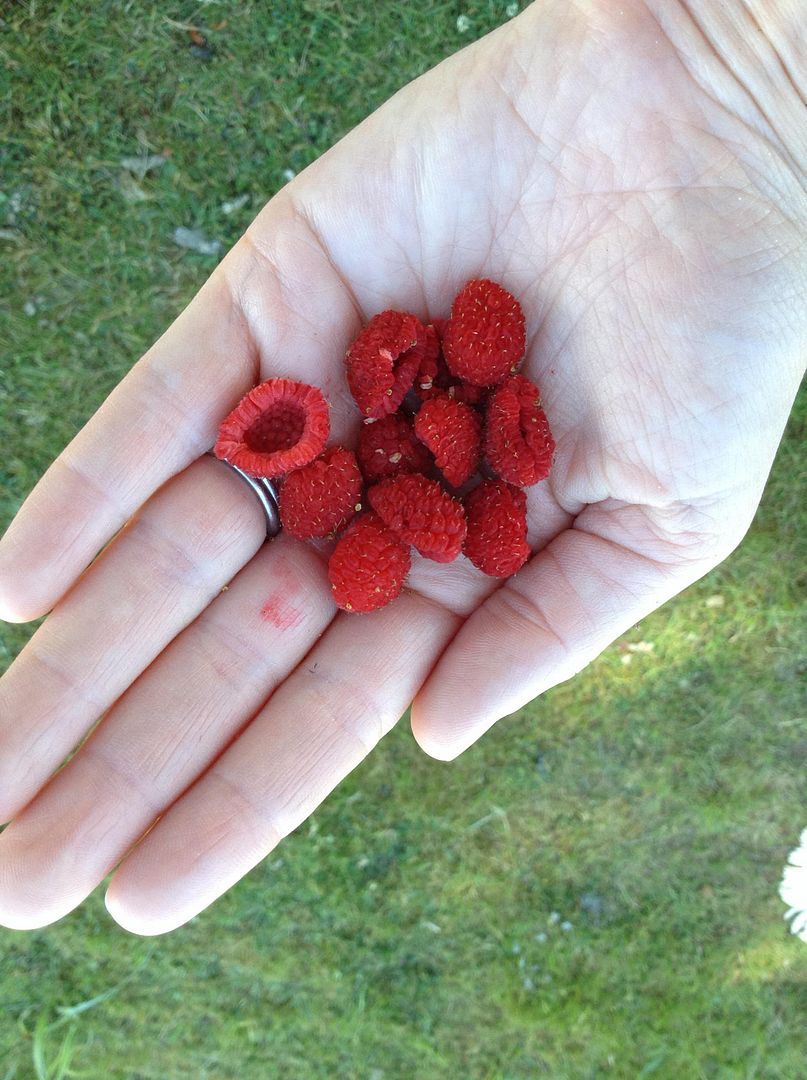
Have you ever tasted a Thimbleberry?  Or perhaps I should start by asking if you've ever heard of a Thimbleberry?


Beach Park where the Thimbleberries grow wild.
Thimbleberries are a relative of the raspberry, but much softer and a bit less sweet.  Although I grew up in the Pacific Northwest I didn't really discover the loveliness of thimbleberries until last summer.  They grow wild at a local park near my parent's home and were a perfect little treat during our day at the beach.


I was thrilled to see them again this summer and they were once again a welcome snack.

I looked up the Thimbleberry last night and learned that they are high in vitamin C and antioxidants.  The leaves can be brewed into a tea to relieve stomach aliments or used as a poultice for wounds and burns.  If only the sunburned beach goers yesterday would have known! :)  

The plant flowers can be eaten in salads, tea or by themselves.  The root of the plant can be boiled and used in a tea to help with stomach ailments (like the leaves).


The actual berries ripen quite quickly.  You may see a white (unripe) berry one morning and by the afternoon it's bright red and ready to eat.  

Last but not least the young stalks of the Thimbleberry bush can be used as a vegetable.  They can be peeled then eaten raw or cooked like other normal vegetables (broccoli or asparagus).  Can you imagine?  Next time we head to the park I'm bringing back leaves and stalks!

So there you go, if you see a Thimbleberry bush this summer make sure to give them a try.

Tuesday, February 18, 2014

How to Make Fancy Ramen

True confession time, I haven't been cooking new recipes much lately.  I think I'm in a bit of a rut.  I start my days strong with healthy vegetable fruit smoothies but by the evening I'm phoning-it-in with tried and true/easy recipes.

There have even been afternoons where I've "gasp" pulled out Ramen.  Now in my defense we are still eating special authentic Ramen, the kind you purchase in Japan rather than the kind college kids eat at midnight while cramming for exams.  But it's still fried noodles. ;)


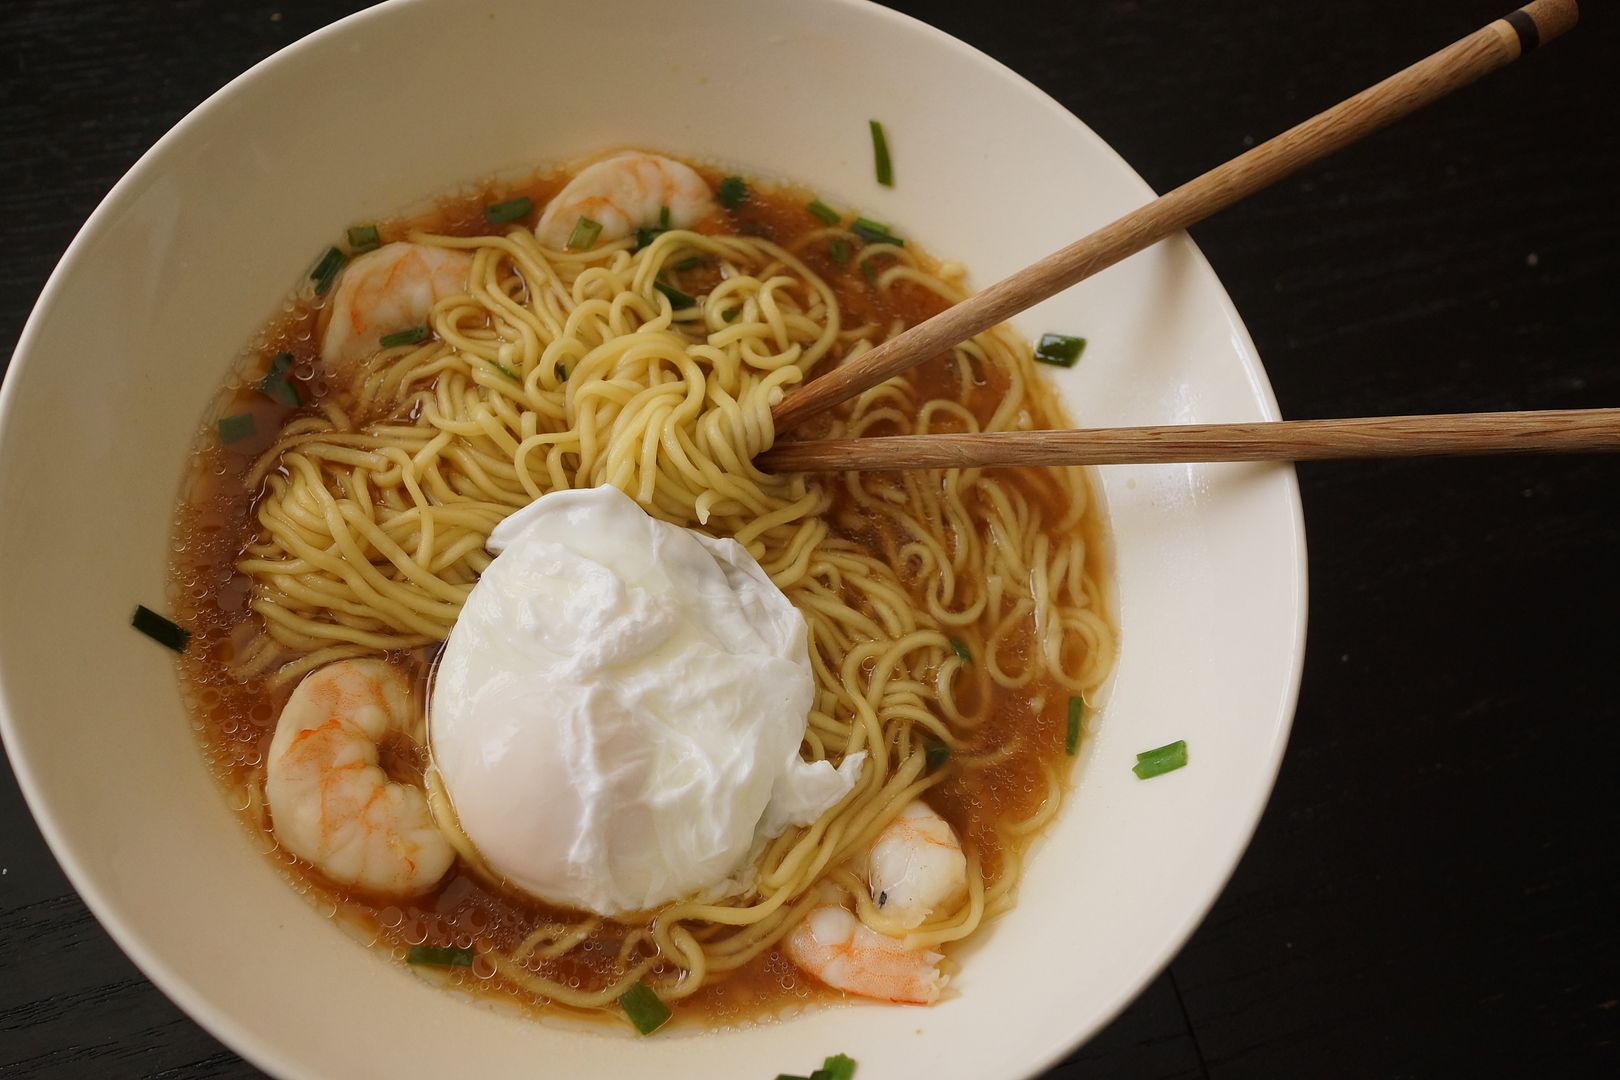
I decided to fancy up my Ramen and make attempts to have it at least look a bit more healthy, you know with veggies and protein.  It's pretty simple, here's what I did.

Step 1: Boil water in 2 different saucepans; one for the noodles and one for your egg/shrimp.

Step 2: In pot #1 as soon as the water is hot and almost boiling put the shrimp in.  Cook until pink then remove and put into the bowl your soup is going in.

Step 3: In pot #1 now add a raw egg, oh so gently and make sure the water isn't boiling too hard.  Use a spoon to keep the egg together.  You'll cook it for about 5 minutes, depending on how soft you like it.

Step 4: Meanwhile start cooking your noodles in pot #2.  

While everything is cooking add some green onion pieces to the bowl (where the shrimp is hanging out).

Step 5: Add the completed noodles/broth to the bowl and carefully place the egg on top.  Ta-da, you have Fancy Ramen.

Feel proud, perhaps take a photo and put it on Instagram.  I won't judge you! 

Thursday, February 13, 2014

Italian Tomato Chicken Noodle Soup


I have a fabulous new slow-cooker recipe to share with you.  In most of the country I realize that it is still cold cold cold and a warm crock-pot soup would probably hit the spot right about now!  I will try to avoid rubbing it in that we are having a little warm spell here with temps in the 80s.  Yes that's right 80s.  I had to break out the sunscreen and flip-flops for this morning's park play-date.

But enough about me, back to the soup.  I found the recipe on Mix and Match Mama's Food Blog (she's the big sister of previous-Bachelor now married man Sean Lowe!!).  She's hilarious and I love both of her blogs.  I adapted the recipe a bit to make this more of a soup and less of a casserole but you can find her original recipe here at mixandmatchmama if you want to compare.

Italian Tomato Chicken Noodle Soup
Ingredients
1 pound of chicken breasts, I used 2 breasts (can be frozen)
1 (28 oz) can diced tomatoes
32 oz (1 box) chicken broth 
2 tablespoons of Italian seasoning 
3 cups short-cut pasta (I used orecchio)
Shredded Parmesan Cheese to garnish 
Salt to taste

Directions
1. Put chicken, diced tomatoes, 1 cup of chicken broth and Italian Seasoning in the slow cooker.  Cover and cook on high for 4 hours (or 7-8 on low).
2. About 30 minutes before serving remove the lid and shred the chicken in the cooker using two forks.  Stir in the uncooked pasta and the rest of the chicken broth.  Put the cover back on and turn the heat up to high.  Cook for about 30 more minutes or until the pasta is ready.
3. Ladle into bowls and garnish with Parmesan and salt to taste.

This recipe is so easy and kid friendly!  I found it even better the next couple of days as leftovers.  I even had some today for lunch!
Tuesday, January 28, 2014

I hopped on the Kombucha train

I finally worked up enough bravery to try Kombucha.  Do you know what it is?  It's basically fermented tea and it's been around for over 2000 years but is just recently taking off in popularity here in the US.


I'd seen it in stores, read a bit about it and watched my BFF drink it but took awhile to actually try it.  I was put off by the fact that it is fermented, alive and has bits floating around that resemble some sort of a fungus (not actually a mushroom).  However, I finally gave in after reading about the many nutritional qualities the primary being that it's a probiotic.  Probiotics help with digestion and producing nutrients.  Other Kombucha claims (not proven yet) include: immunity boosting and illness fighting (everything from cancer to baldness).  Now I'm not saying it's a miracle drink, but I figured the probiotic benefit alone was worth giving it a try.

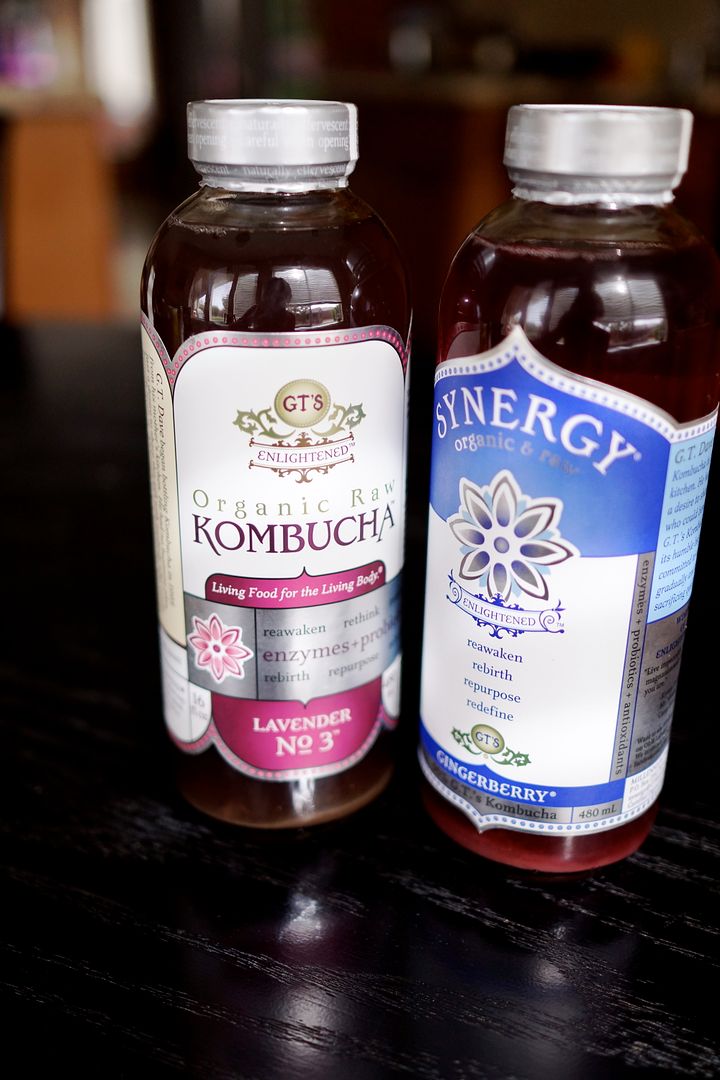
I bought 3 flavors to start, all recommended by my BFF.  The bottles are 2 servings so the first time I poured the Citrus flavor into a glass (keeping the slimy stuff safely in the bottle) and bravely took a sip.  Much to my surprise it actually tasted good!  Like a ginger ale/orange soda combo.  It has the fizz of soda and the crispness of ginger ale.  It smells a bit like vinegar.

The next flavor I tried was the Lavender and I liked that one just as well.  Hooray!  I was a little braver with that bottle and actually drank some of the sludge from the bottom.  It was just fine.  Last but not least is the Gingerberry flavor which I am drinking this very minute.  It has a lovely pink color but of the three is my least favorite flavor.

So how did I feel?  I thought that it worked as a probiotic and I had much more energy than if I'd had a typical soda or fizzy juice drink.  At over $3 a bottle I'm not sure if I want to drink it everyday but I can see how people would choose it over say, Starbucks for an afternoon pick-me-up.

I'd love to learn to make my own Kombucha and perhaps that will be my next do-it-yourself adventure.  Anyone have a scoby starter I could have a "baby" from? ;)

Wednesday, January 15, 2014

4 Reasons I Love IKEA

I've had a love affair with IKEA since I was in my early 20's.  I remember the first time I went to one (in Seattle) and I commented to my mother "This is like Disneyland for Adults".  I'd never seen anything like it.  Over the years my love has shifted to other furniture stores but I still have a fondness for IKEA and find organizing or kid items from time to time.

We have an IKEA in our area, close enough to tempt me but not close enough to make regular visits.  Oh how I would love to have weekly play-dates/mommy get together there!  Let me tell you a few reasons why:


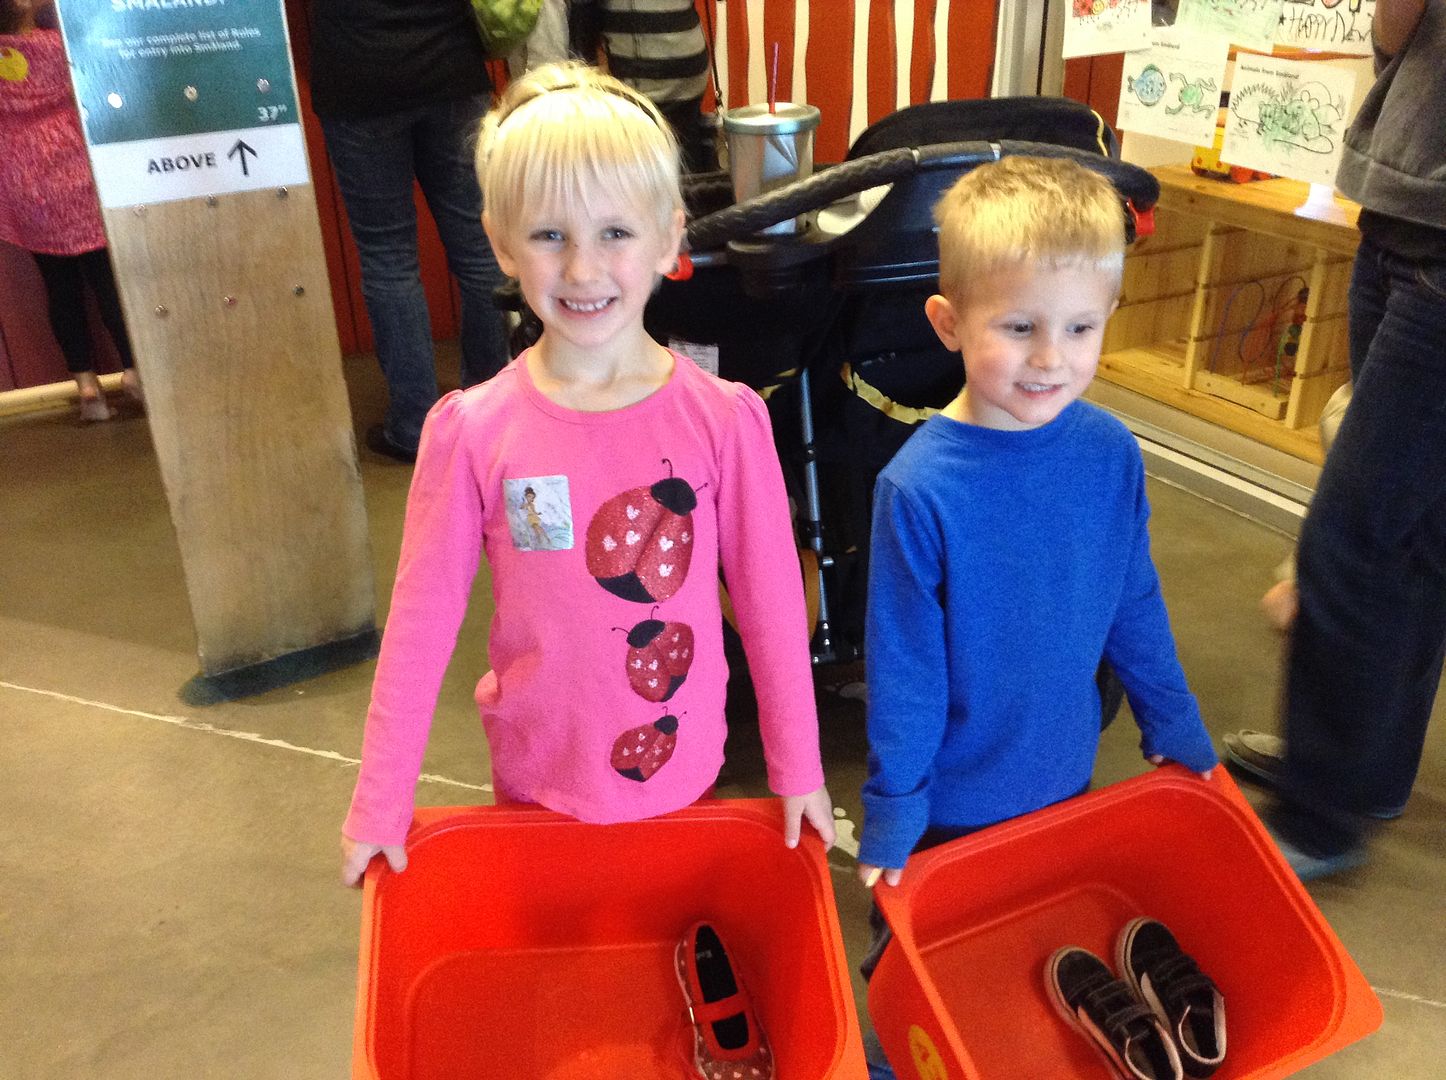
1. Smaland!  For 60 minutes our bigger/potty trained kids (37" - 54" tall) can play in a wonderful place called Smaland.  Our IKEA has a ball pit, loft with movies playing, play kitchen area, a place to draw and color and a bunch of other fun things to do.  


2. Ice Cream Cones - Our littles were sad about not getting to go to Smaland but were quickly calmed after receiving ice-cream cones.  Only 99 cents!  What a deal.


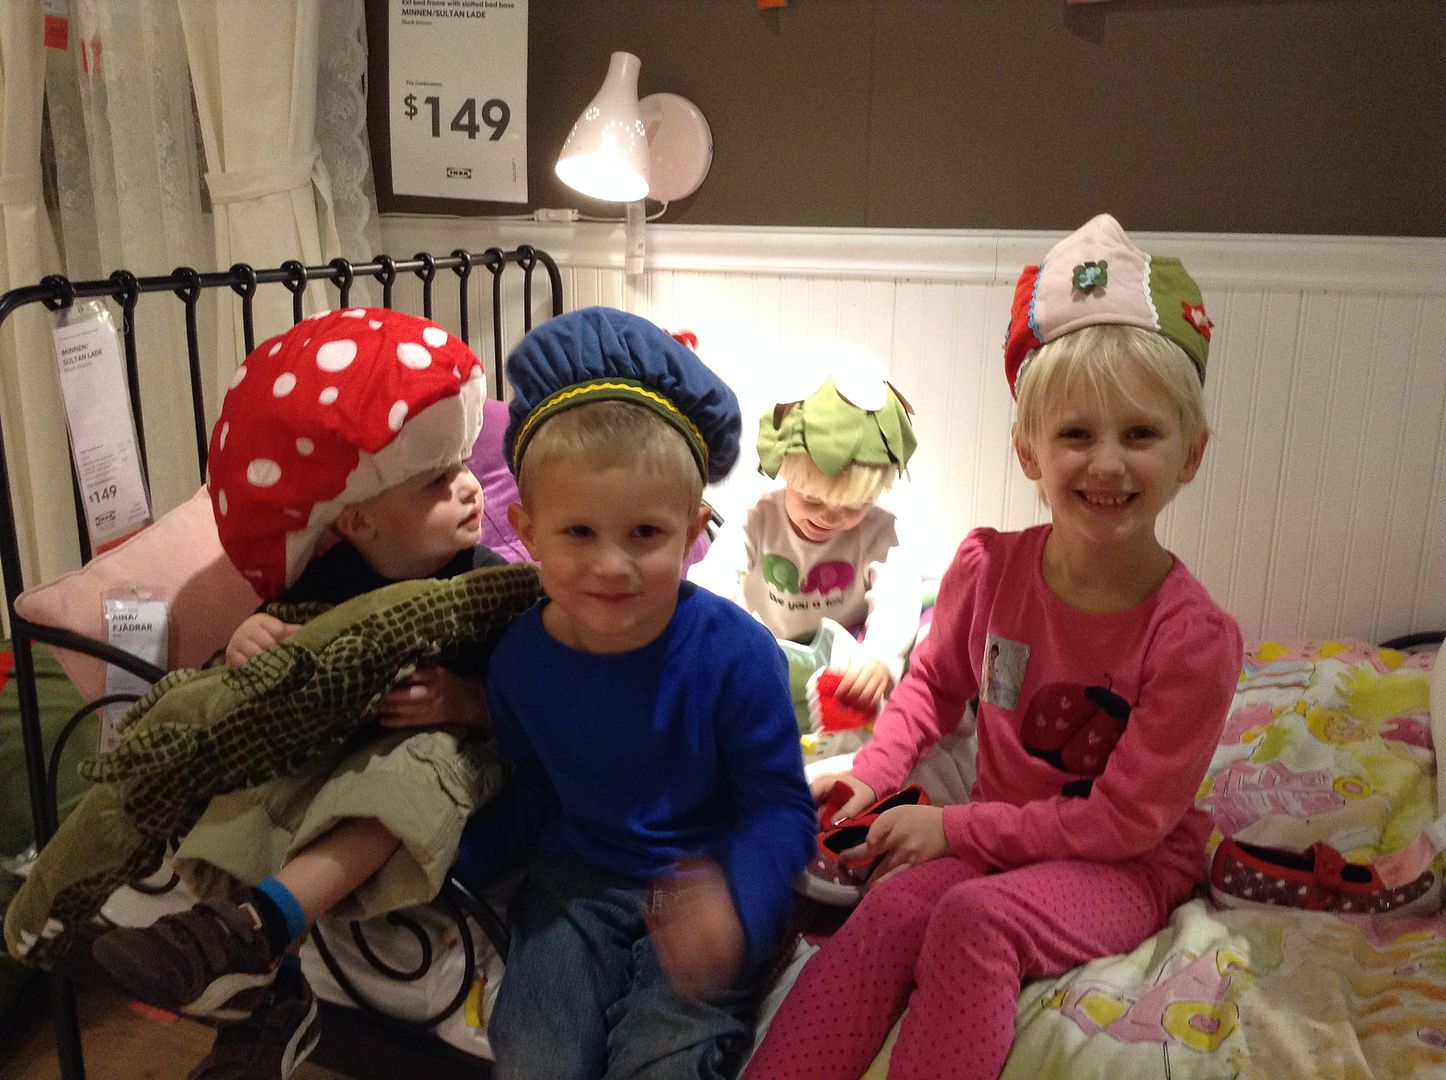
3. Kids can play on the furniture. - After their 60 minutes in Smaland were up we took the kids up to the Children's Furniture area to play.  They have bedrooms set up that kids can explore (ie - play on and around).  Those crazy hats were on sale that day, only $2.50 each!

Last but not least:


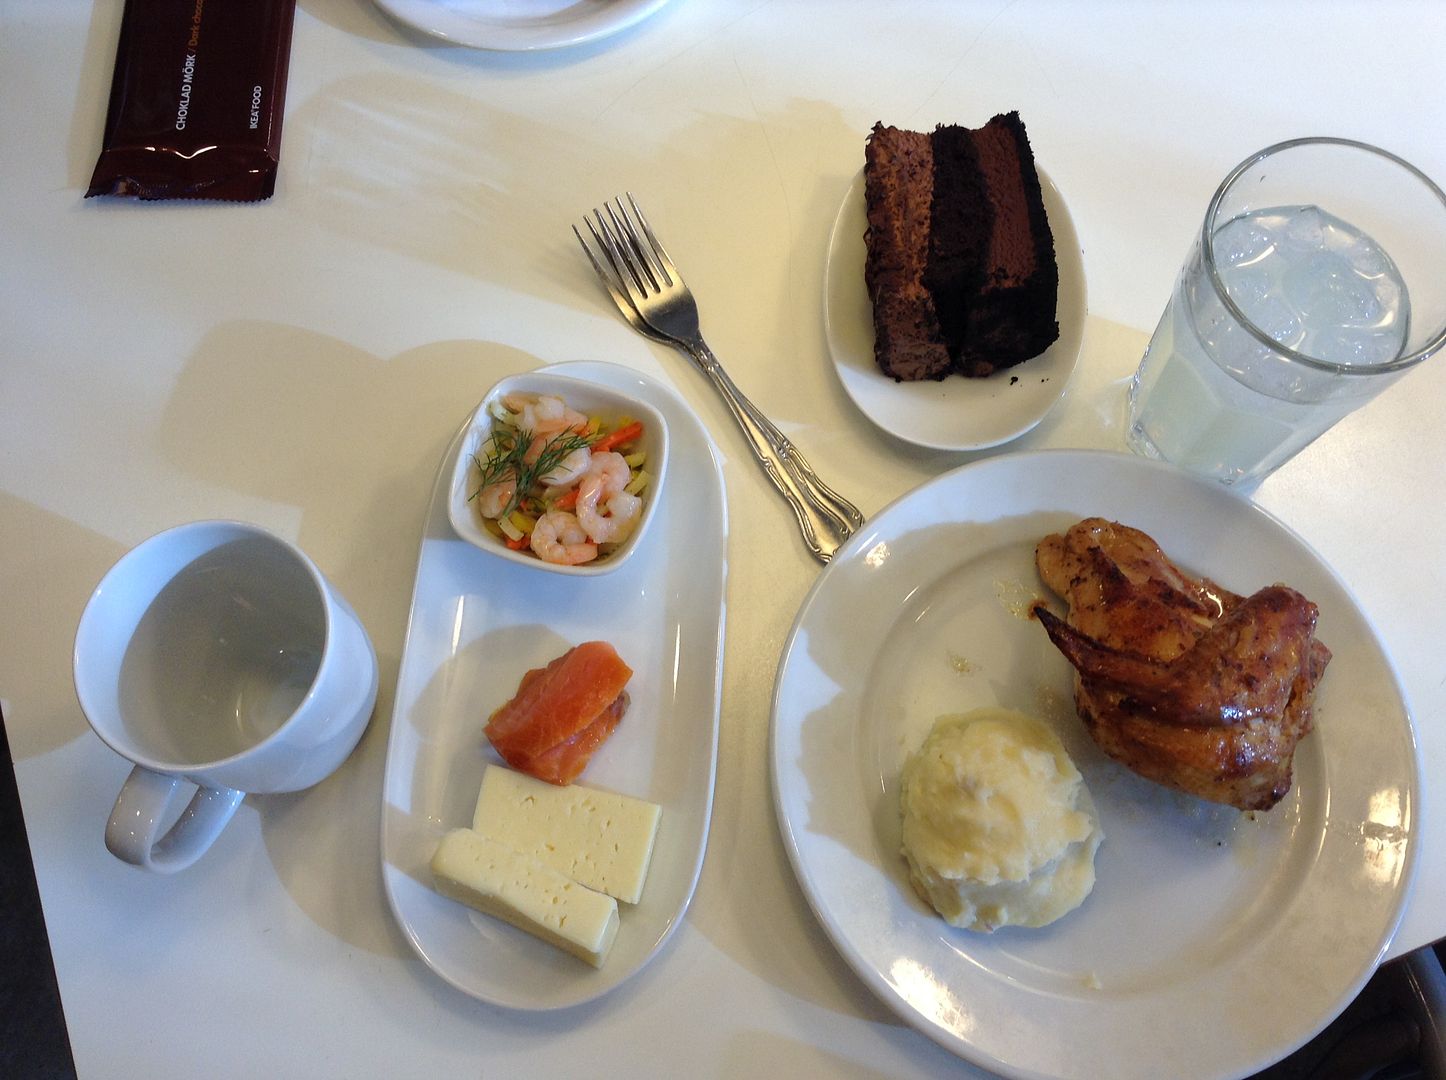
4. The Food!! - IKEA has a lovely little cafeteria with very reasonably priced food.  Many of it exotic Swedish options. :)  We went on a Thursday so I had the special, only $1.99 for roast chicken and mashed potatoes.  $1.99 people!  They have other specials, on Tuesday kid's eat free and on Wednesdays you can feed a family (2 adults and 2 kids) for only $9.99.  Regular kid's meals are only $2.99 and there are many kid-friendly options.

The day I went I got a Swedish "tapas" as a side.  It had shrimp/carrots, cheese and smoked salmon.  YUMMY!  We all split the chocolate cake you see and I also got free coffee since I'm a Ikea Family member.

I wish we lived closer because I'd go every week!  I've been known to spend 6 hours there with a friend and our kids before (breakfast and lunch there, score!).  What do you love about IKEA?

Monday, December 2, 2013

Trader Joe's Holiday Meal

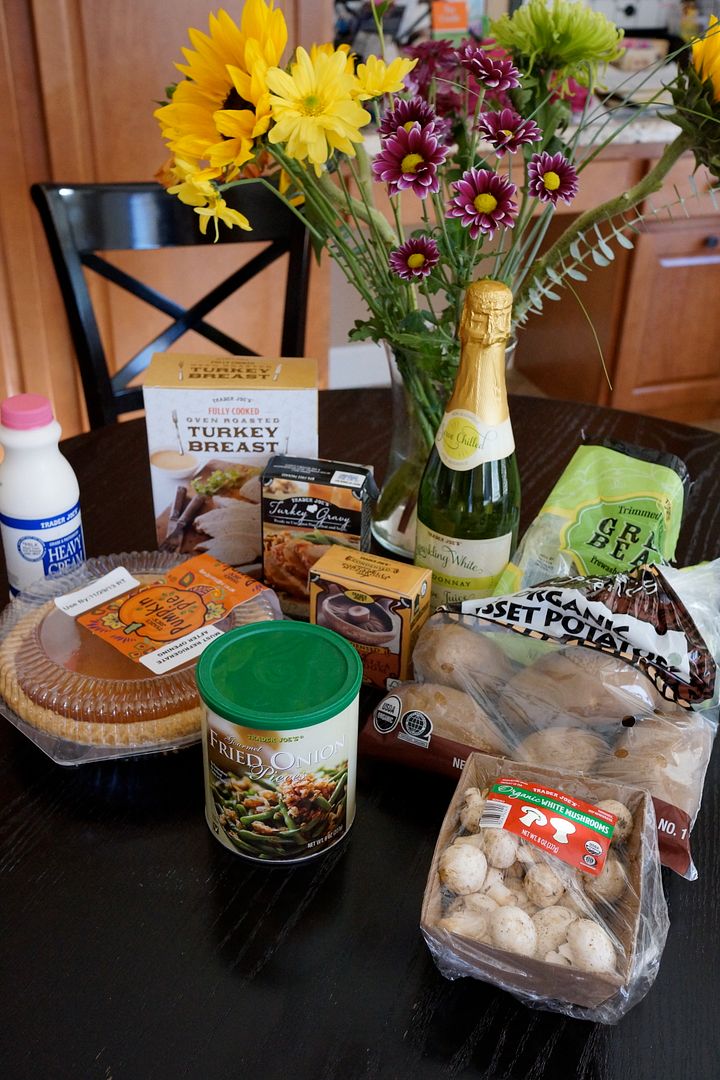
I have a little confession to make.  After we finished Thanksgiving dinner last week I realized that every. single. thing. from our meal was purchased at Trader Joe's.  Yes, it is possible that I am a bit too reliant on that store!  However, it was a lovely meal so I thought I'd share in case you're looking for an easy Holiday meal from there!


I've learned over the years that my little family does not appreciate all of the typical holiday/thanksgiving fixings.  So I skipped stuffing, rolls and cranberry sauce this year, although they had those at TJ too. 

We had turkey, mashed potatoes w/gravy, (fresh) green bean casserole, pumpkin pie with fresh whipped cream, sparkling grape chardonnay (juice) and even a beautiful flower bouquet.  This all cost under $50.  Plenty of leftovers and 4 happy family members = success!

I have to give a little shout-out to their Portabella Mushroom soup.  This stuff is the best and is only available this time of year.  It is the perfect condensed soup for recipes or even on it's own.  No other mushroom soup can compare, trust me!  So go stock up while you can.

Monday, November 18, 2013

House Party - For the Love of Foam Gevalia Coffee


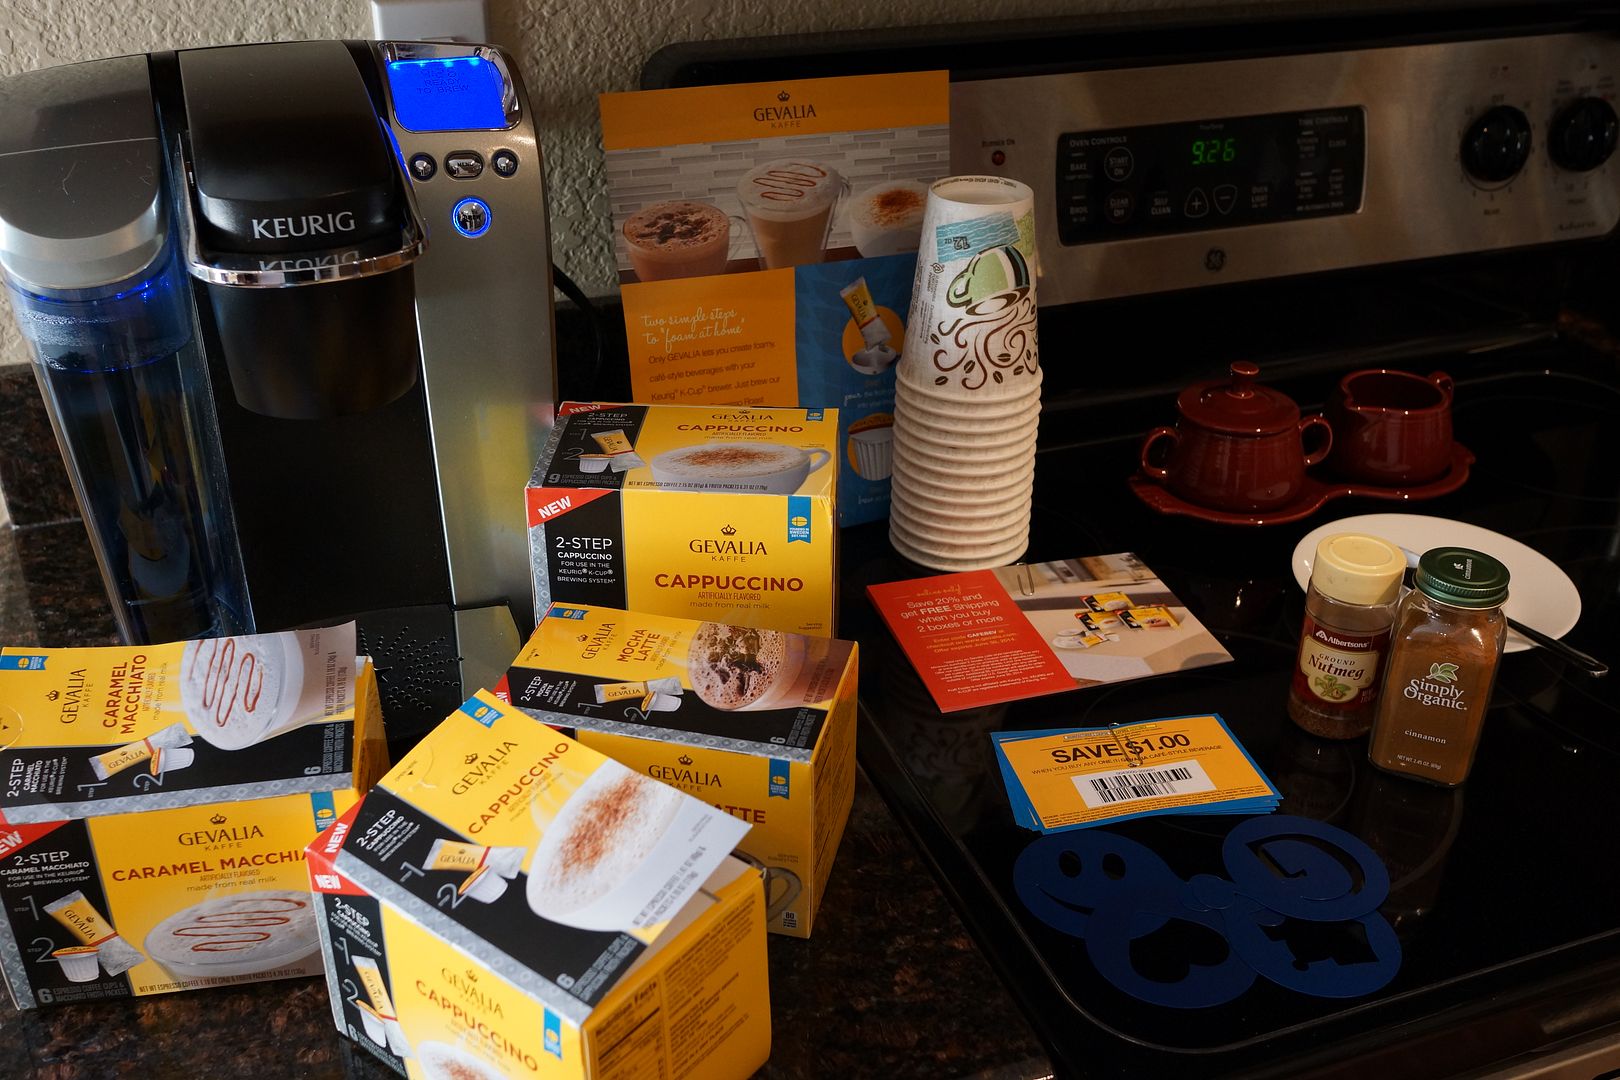
I hosted another House Party this last week.  In case you're keeping track it's my 3rd this year!!  It was (another) Gevalia party, this time for their new foam K-cup coffees.  It was called For the Love of Foam and had samples of their new Cappuccino, Mocha Latte and Carmel Macchiato flavors.

A week before the party I received my FREE box of samples.  Also coupons and goodies for the party.  I was supposed to try out the samples before the party to make sure I knew how to do it.  I was happy to comply! ;)  


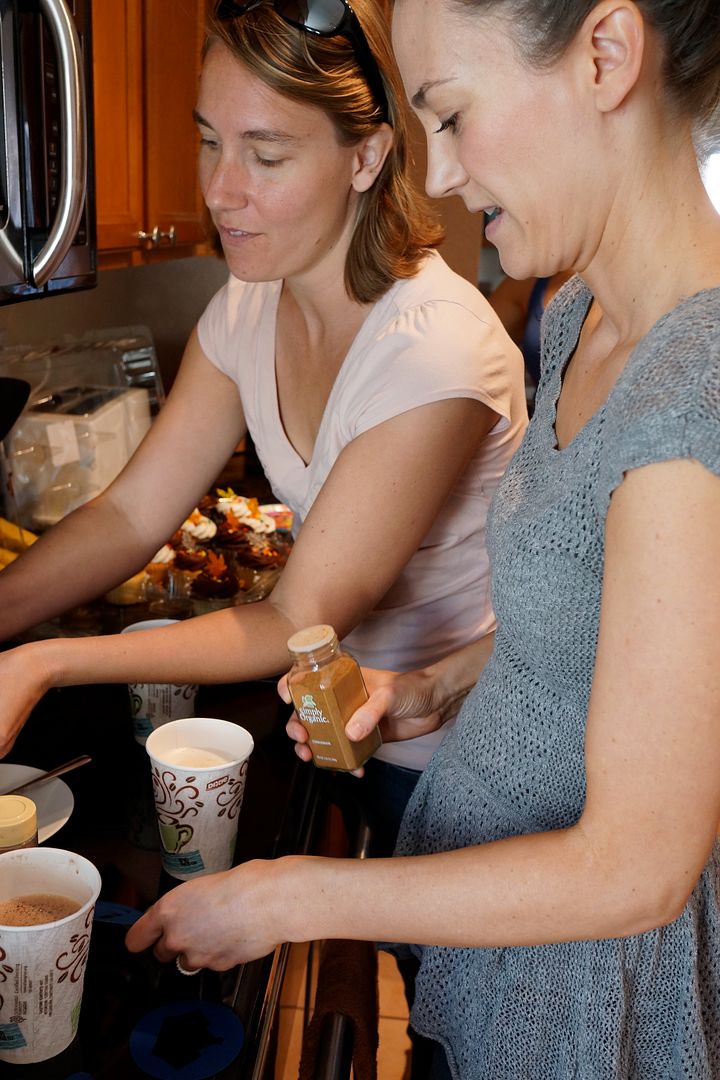
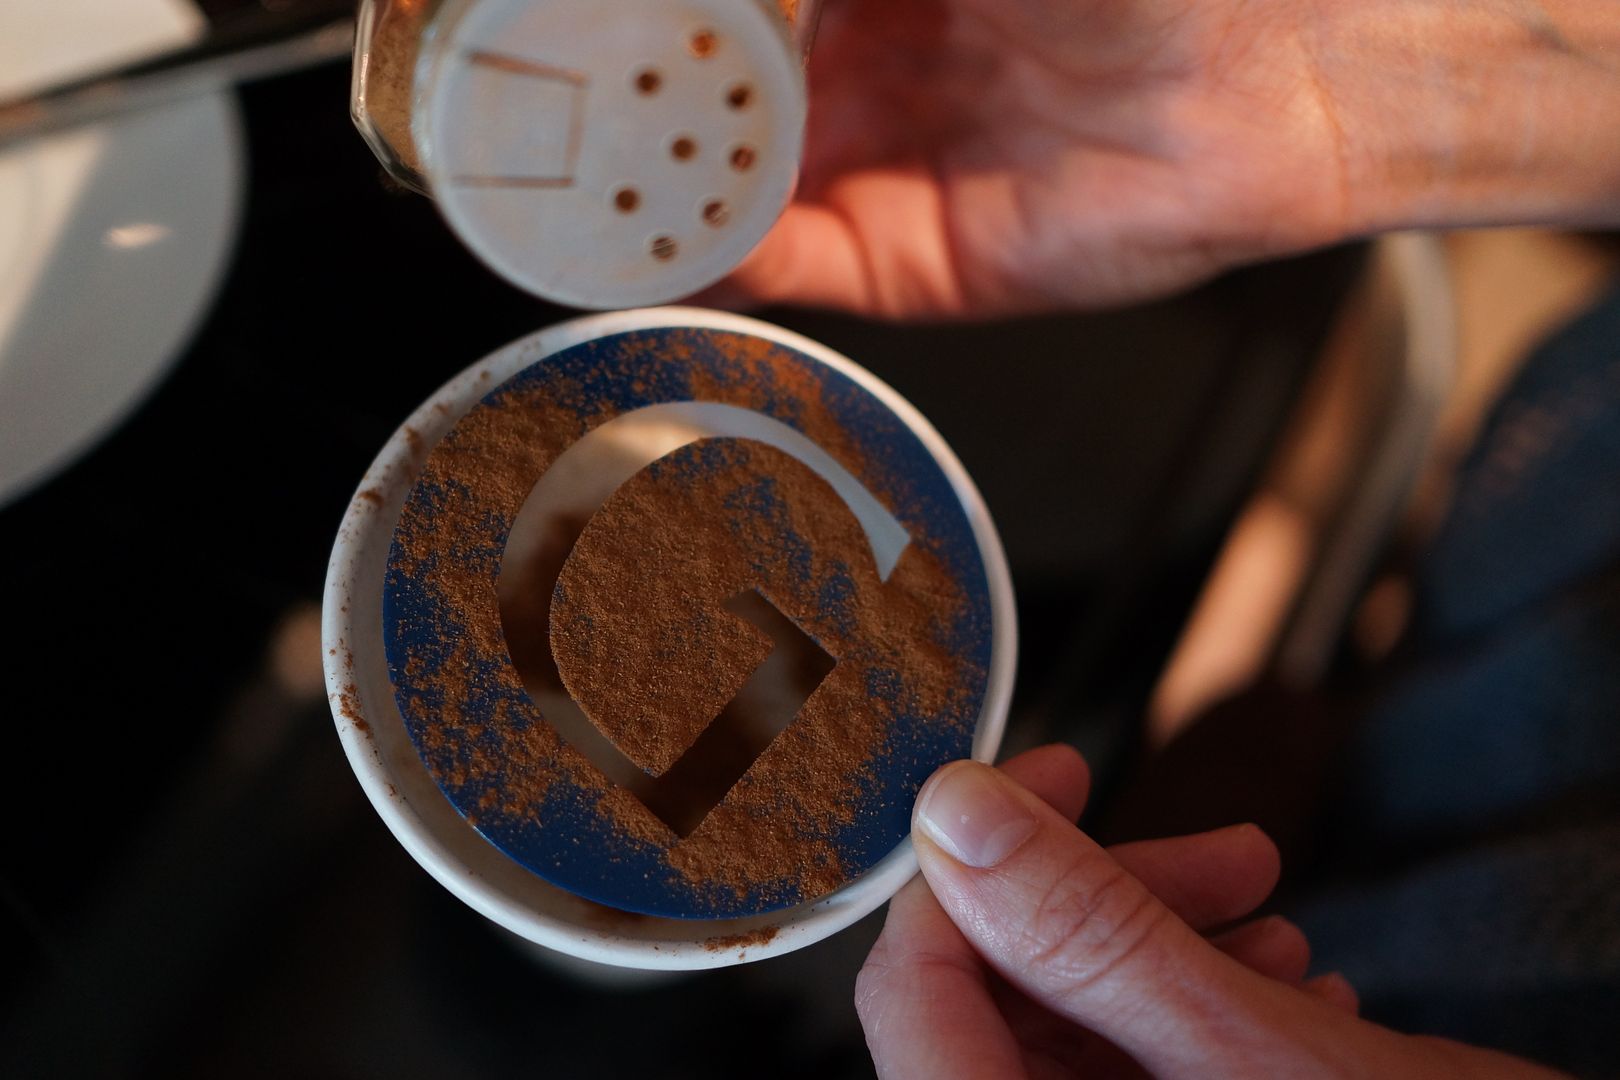
It's pretty easy though.  The coffee comes in 2 steps; Step 1. Open the foam packet and put in the bottom of your cup.  Step 2. Brew the k-cup (8oz only).  Add sugar and cinnamon/nutmeg, etc on top and voila!

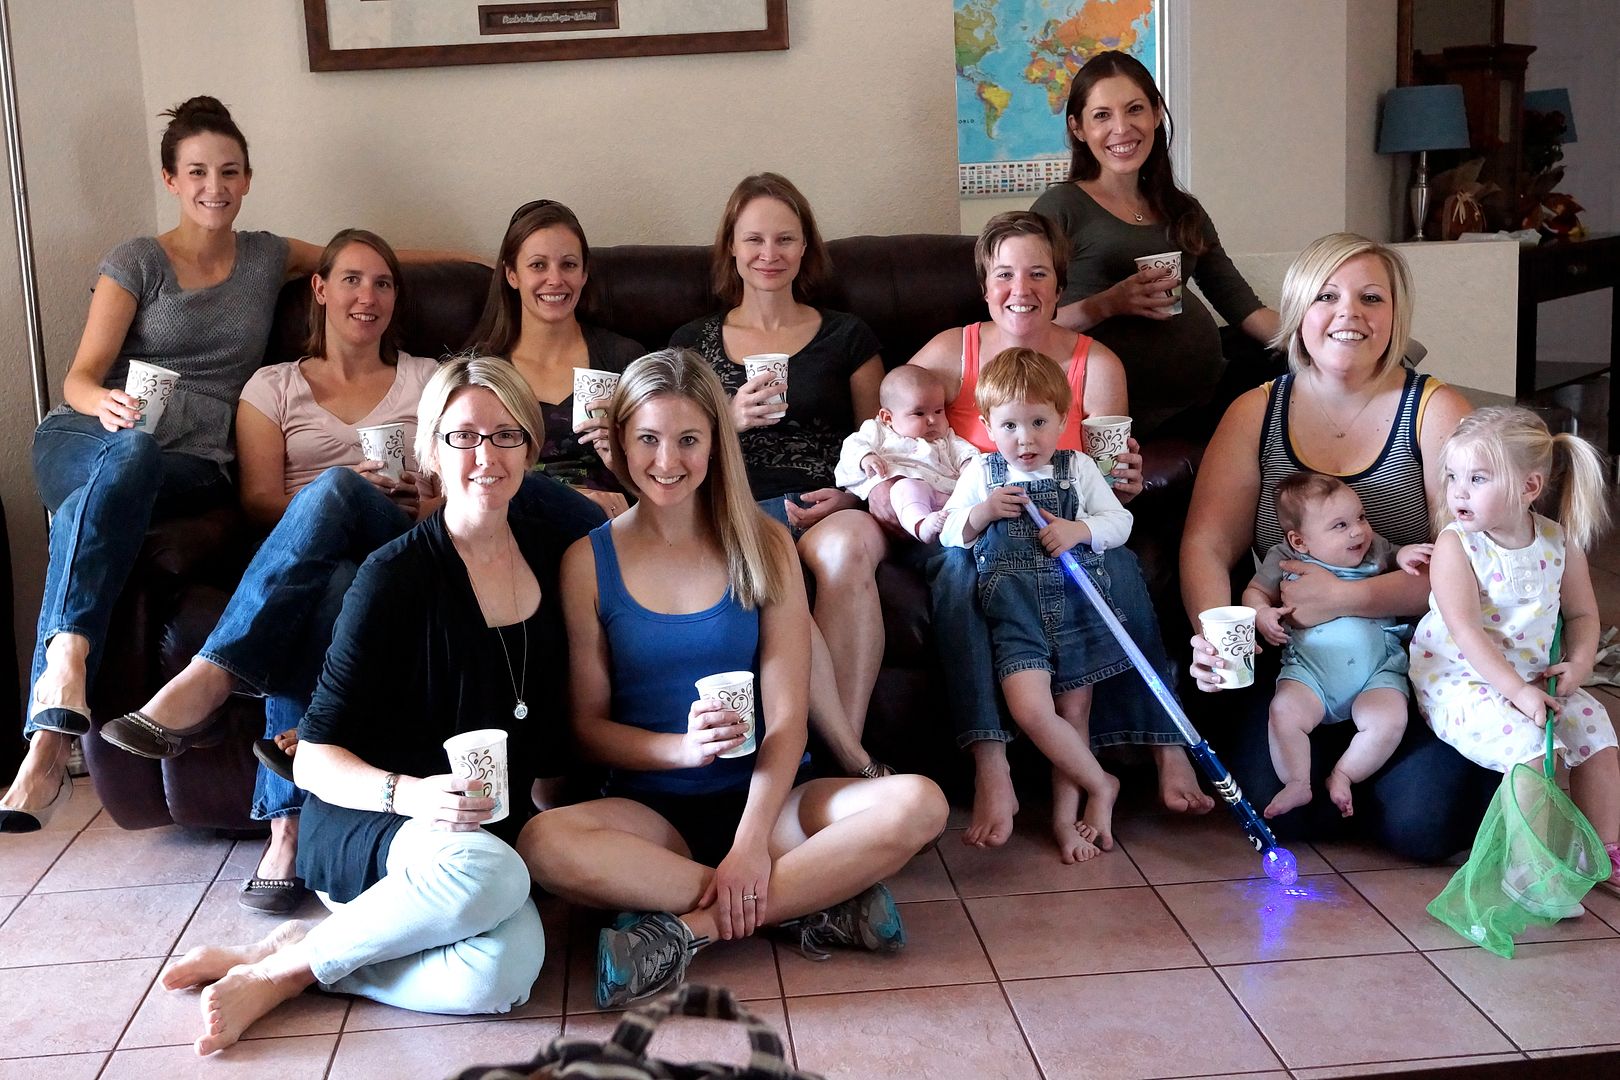
I hosted the party at my BFFs house and it just happened to be her birthday week so we celebrated with some cupcakes!  A little sweet with coffee is just fine with me, although all our littles just may have had a bit of a sugar high.  
The Birthday Girl!

Having little babies means lots of coffee!  

Especially my friend who has twin girls!

To be honest I only liked the Cappuccino flavor.  The Mocha Latte had sucralose in it which is a no-no in my house (that and I hate the taste).  The Carmel Macchiato was a bit too fake-flavor tasting to me and reminded me of gas station coffee (brutal I know).  However, the cappuccino was just right!  Especially with a dash of cinnamon on top.  Yum!

I'm still a fan of old-fashioned foam-milk-yourself but in a pinch or when in a hurry this is a yummy alternative.


Thanks to my friends for coming and to Gevalia for sharing the Love of Foam!


Other House Parties I've Hosted Recently


*Note: I do not get paid to talk about House Party, I just like them!

Monday, October 28, 2013

Fry Em'up at the AZ State Fair!

We went to the Arizona State Fair this weekend.  Here in Phoenix we do things on a different schedule, which means we have the fair in October/November instead of the summer.  Perhaps because the summer wouldn't be very fun with the 115 degree temps!  Although, this weekend's toasty 90 degrees was a bit hot too!

I haven't been to the AZ State Fair for about 6 years but we decided to give it another chance and to show the kids.  We packed up the little red wagon, the kids, my parents (in town visiting) and made the trek into central Phoenix to the fairgrounds.  We parked in the $5 lot and got in for $2 each ($2 before 2:00pm deal).

Now I grew up in a town that had the State Fair and when I think of fairs I think of food, FFA and pig races.  This fair was all about fried food, rides and more fried food.


This fried-fair-food thing has gotten a bit out of hand don't you think?  When I was a kid they had fried funnel cakes and a couple novelty fried items.  Today it seemed to be all we saw!  

I'm talking:

fried butter sticks
fried twinkies, oreos and snickers (it was a combo deal)
fried bacon (some were then dipped in chocolate)
fried watermelon 
fried cactus pads (that might have been good)
fried lasagne
fried pb&j

Just to name a few!  I was intrigued and repulsed at the same time by most of these! Also bacon flavored root beer?  And krispy kreme hamburgers? Say what?!?


Now if you can't get enough of these delicious treats I suggest you head over to the fair this friday.  There is one more chance to go to "Foodie Friday" where you can "taste the fair's signature items for $2 each".  Now that's all well and good but I've got to laugh because I really don't think "foodie" should be used where a pickle and a butter stick deep fried is considered food.  Ha!

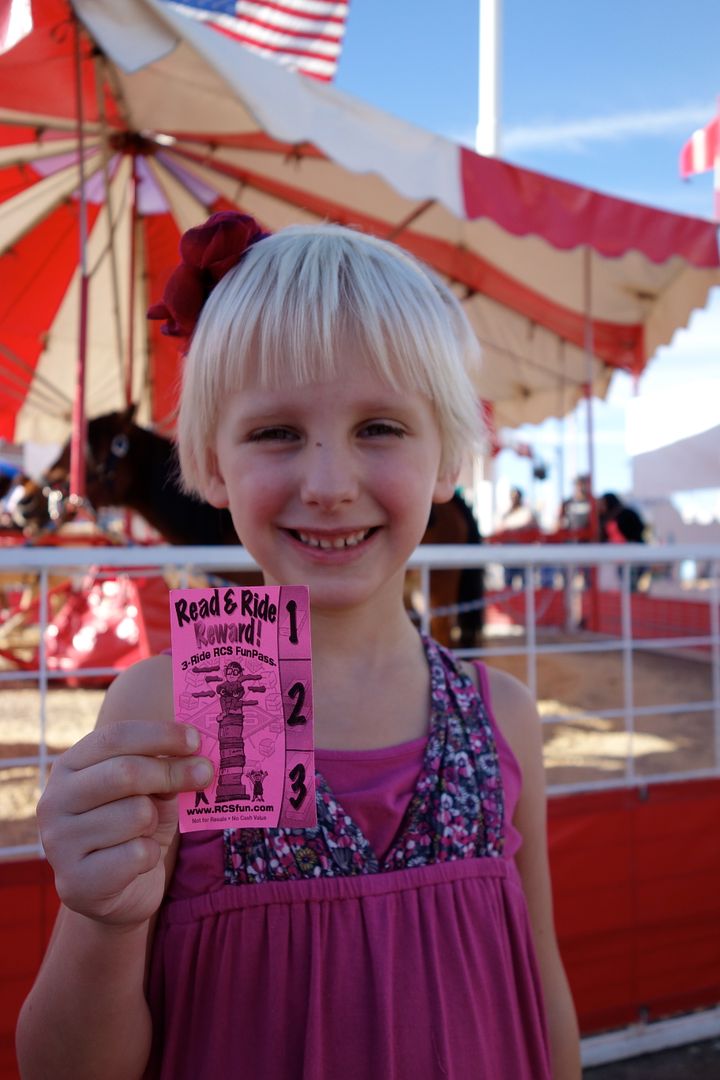
Although we didn't go nuts with the fried foods we had a great time at the fair.  My daughter got to go on 3 rides for free!  Just by participating in Read and Ride.  If you have a child age 5-14 have them read 3 books and fill out the paper.  If they're under 6 they just need to draw a picture for each book.  Then you exchange it at the fair for a 3 ride pass.  


Good times!

Wednesday, September 25, 2013

Lots of Vitamix Love Around Here


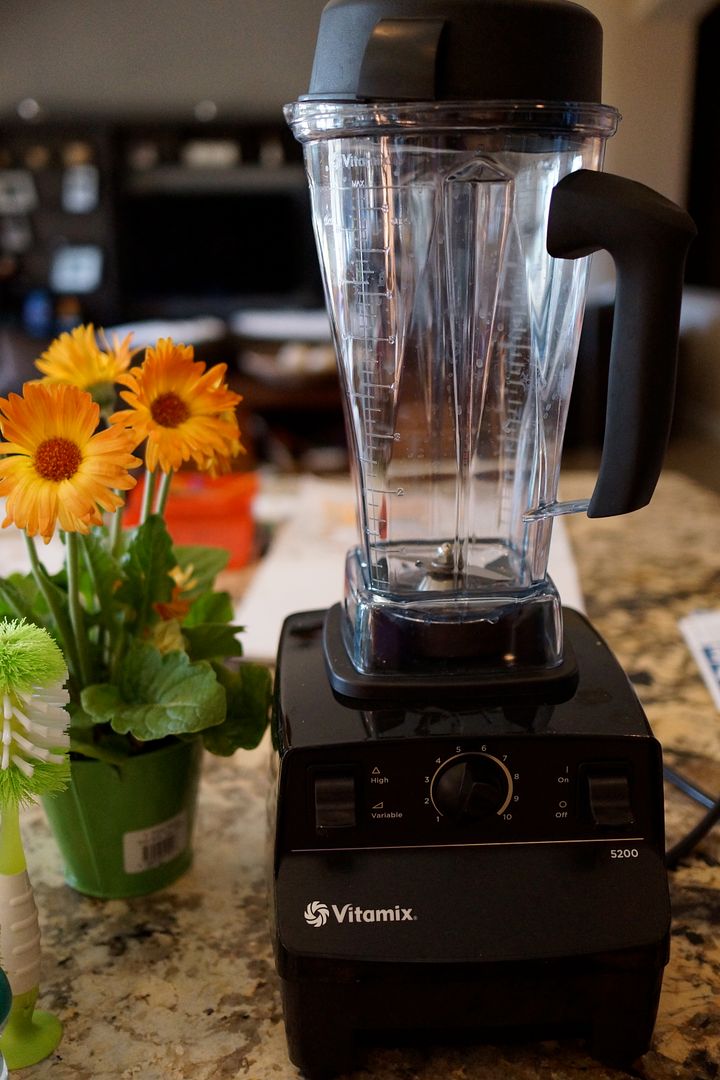
This pretty little lady joined our family this week.  It's the Vitamix 5200S and I picked her up at Costco.  It's more than a blender this is a little smoothie hurricane maker!  To say I'm in love is an understatement.

Day 1 - I made 2 smoothies and a soup.  It cooks hot soup in the blender, people!

Day 2 - 2 more smoothies.

I'll be sharing my favorite Vitamix recipes with you, have to share the love after all!

Sunday, May 5, 2013

Nopales (prickly pear cactus pads) and Onion Saute


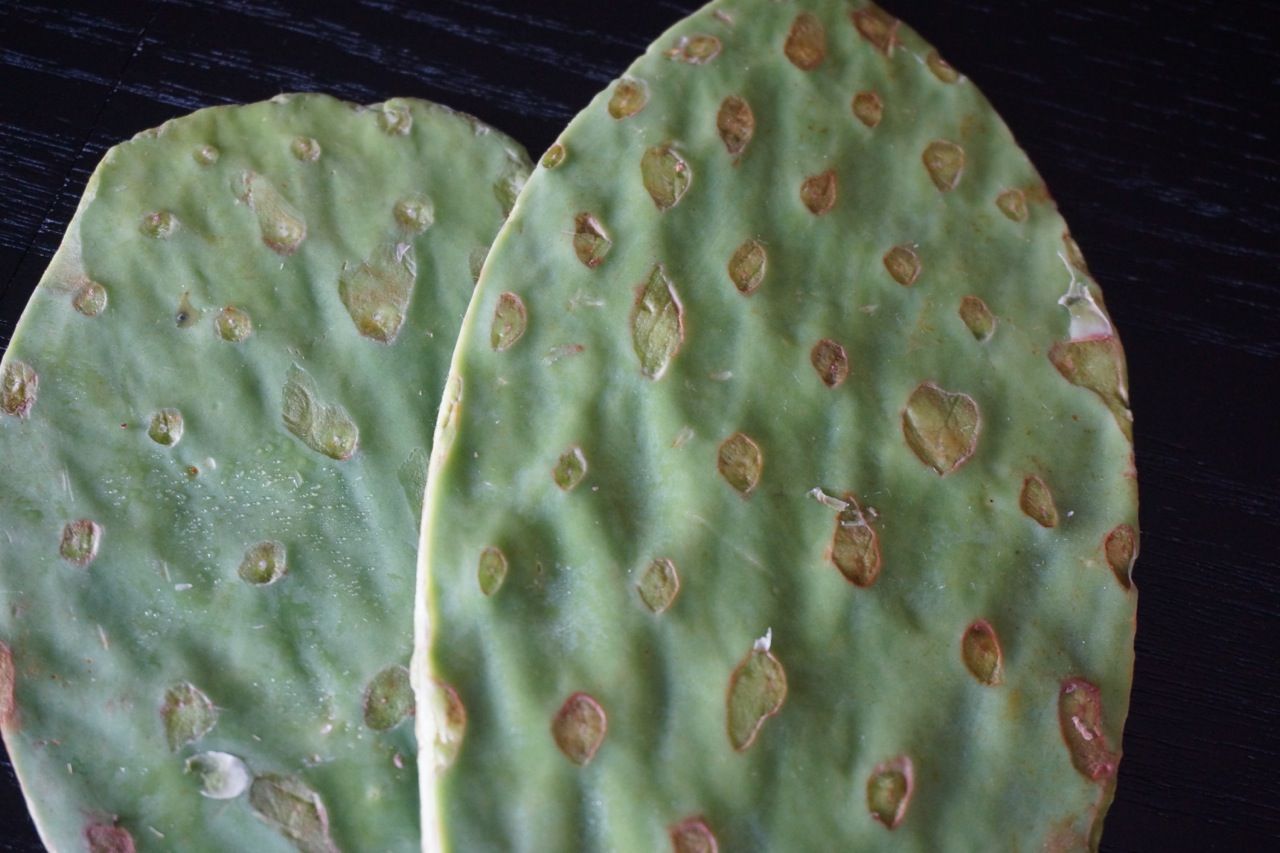
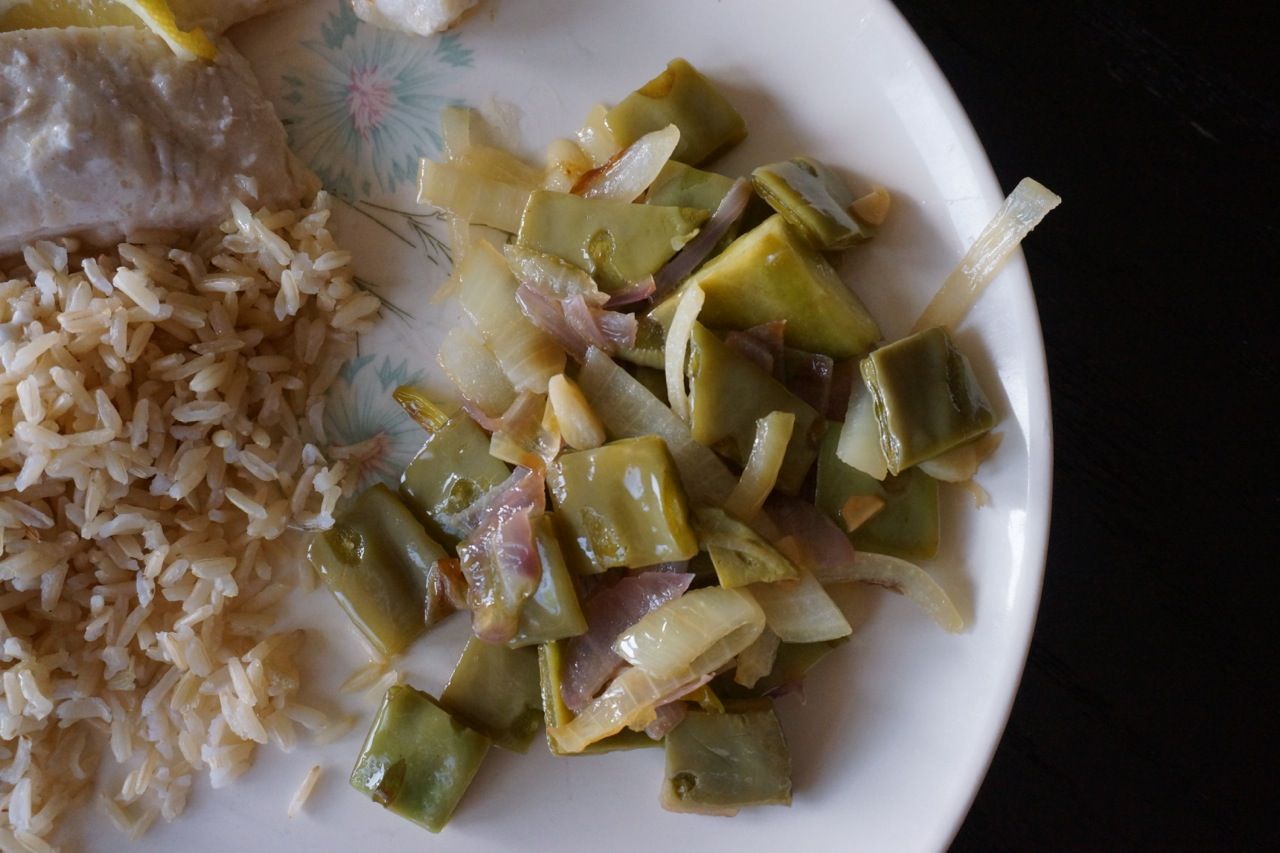
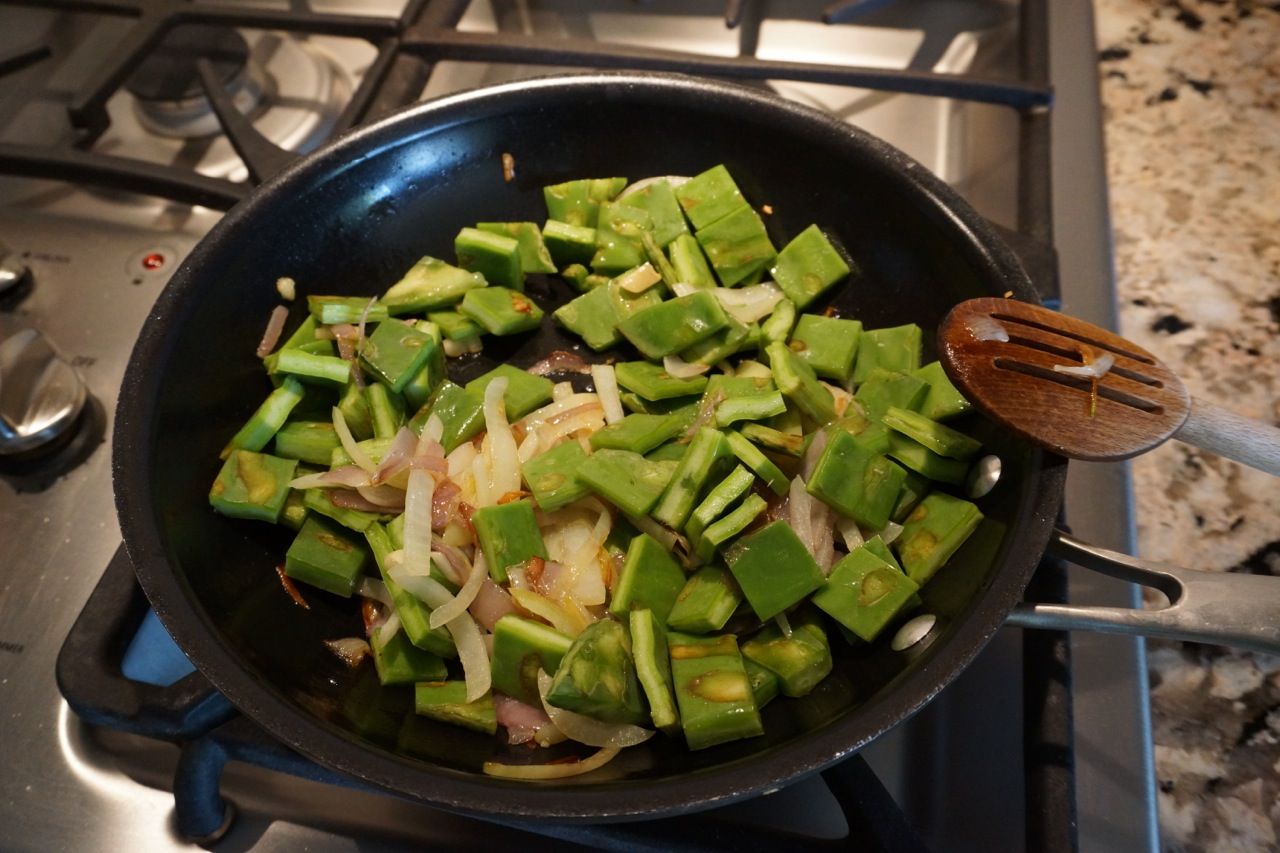
Do these look familiar?  They are nopales, also known as prickly pear cactus pads.  I am very familiar with seeing them on the side of the road all around the dessert that I live in.  But not in my kitchen!  These lovely and somewhat dangerous leaves (remove the spines first!!) appeared in my CSA box the other week.  I had no idea that they were edible, did you?  They said that they had a light, tart flavor like green beans and a crisp mucilaginous texture (think okra).  

I decided to saute them with some garlic and onions.  They had such a unique flavor that I wasn't sure how to describe it.  My husband, daughter and I decided that:

nopales = green beans + lemon + okra


Nopales and Onion Saute
Ingredients
2 nopales
1 1/2 tablespoons olive oil
1/2 red onion, thinly sliced
1/2 yellow onion, thinly slice
2-4 garlic cloves, sliced or minced
Salt, to taste Pepper, to taste

Directions
1. Remove any additional spines or needles from nopales by scraping off with a knife. Cut into ½ inch pieces and set aside.
2. Heat olive oil in saute pan over medium high heat. Add onions and garlic and cook for 6 minutes, stirring occasionally.
3. Add chopped nopales and saute until nopales are slightly soft, about 3-4 minutes. Remove from heat. Season with salt and pepper and serve.

In case you are curious about these prickly cactus pads here is some information I found online about them:

Health benefits of nopales 

  • Nopales are one of very low calorie vegetable. 100 g of fresh leaves provides just 16 calories. 
  • Its modified leaves (paddles) have many vital phytochemicals, anti-oxidants, vitamins, and minerals that can immensely benefit health. 
  • The succulent paddles are rich sources of non-carbohydrate polysaccharides like pectin, mucilage and hemicellulose, which help reduce LDL-cholesterol, diabetes, and weight reduction. This rich fiber and mucilaginous content aid in smooth pass through of digested food particles and relieve constipation condition. 
  • In addition, the juice extracted from these pads has been suggested to have immune-booster, and anti-inflammatory properties. 
  • Cactus pads feature moderate amounts of vitamin A with 100 g fresh pads provide about 457 IU of vitamin A, and 250 µg of ß-carotene. ß-carotene convert into vitamin-A inside the body. Studies found that vitamin A and flavonoid compounds in vegetables help to protect from skin, lung and oral cavity cancers. 
  • In addition, nopal pads contain small levels of B-complex group of vitamins such as thiamine, riboflavin, niacin, vitamin B-6 (pyridoxine), and pantothenic acid those are essential for optimum cellular enzymatic and metabolic functions. 
  • Fresh pads contain average levels of vitamin C. 100 g provides 9.3 mg or 15% of this vitamin. Vitamin C is a water-soluble, natural anti-oxidant, which helps the body protect from scurvy and offer resistance against infectious agents (boost immunity), and help scavenge harmful, pro-inflammatory free radicals from the body. They contain small amounts of minerals, especially calcium, potassium, magnesium and iron.

from http://www.nutrition-and-you.com/nopales.html

Sunday, February 10, 2013

Cooking Wheat Berries - Perfect Salad Topper


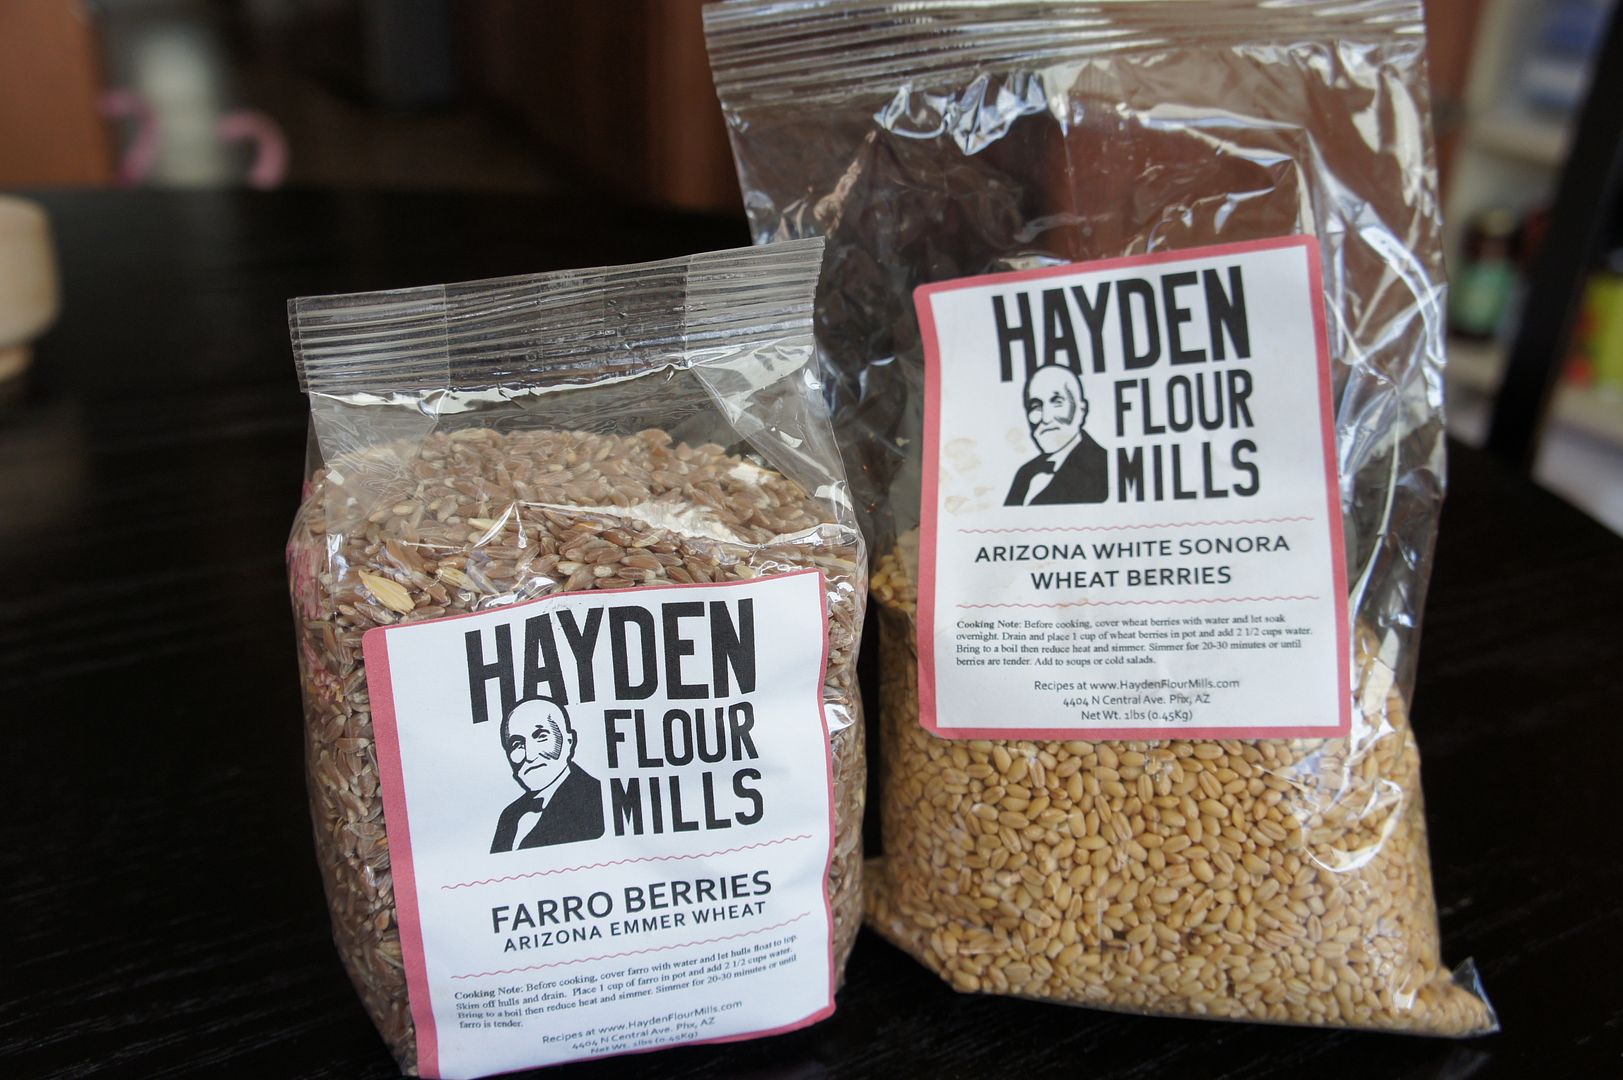
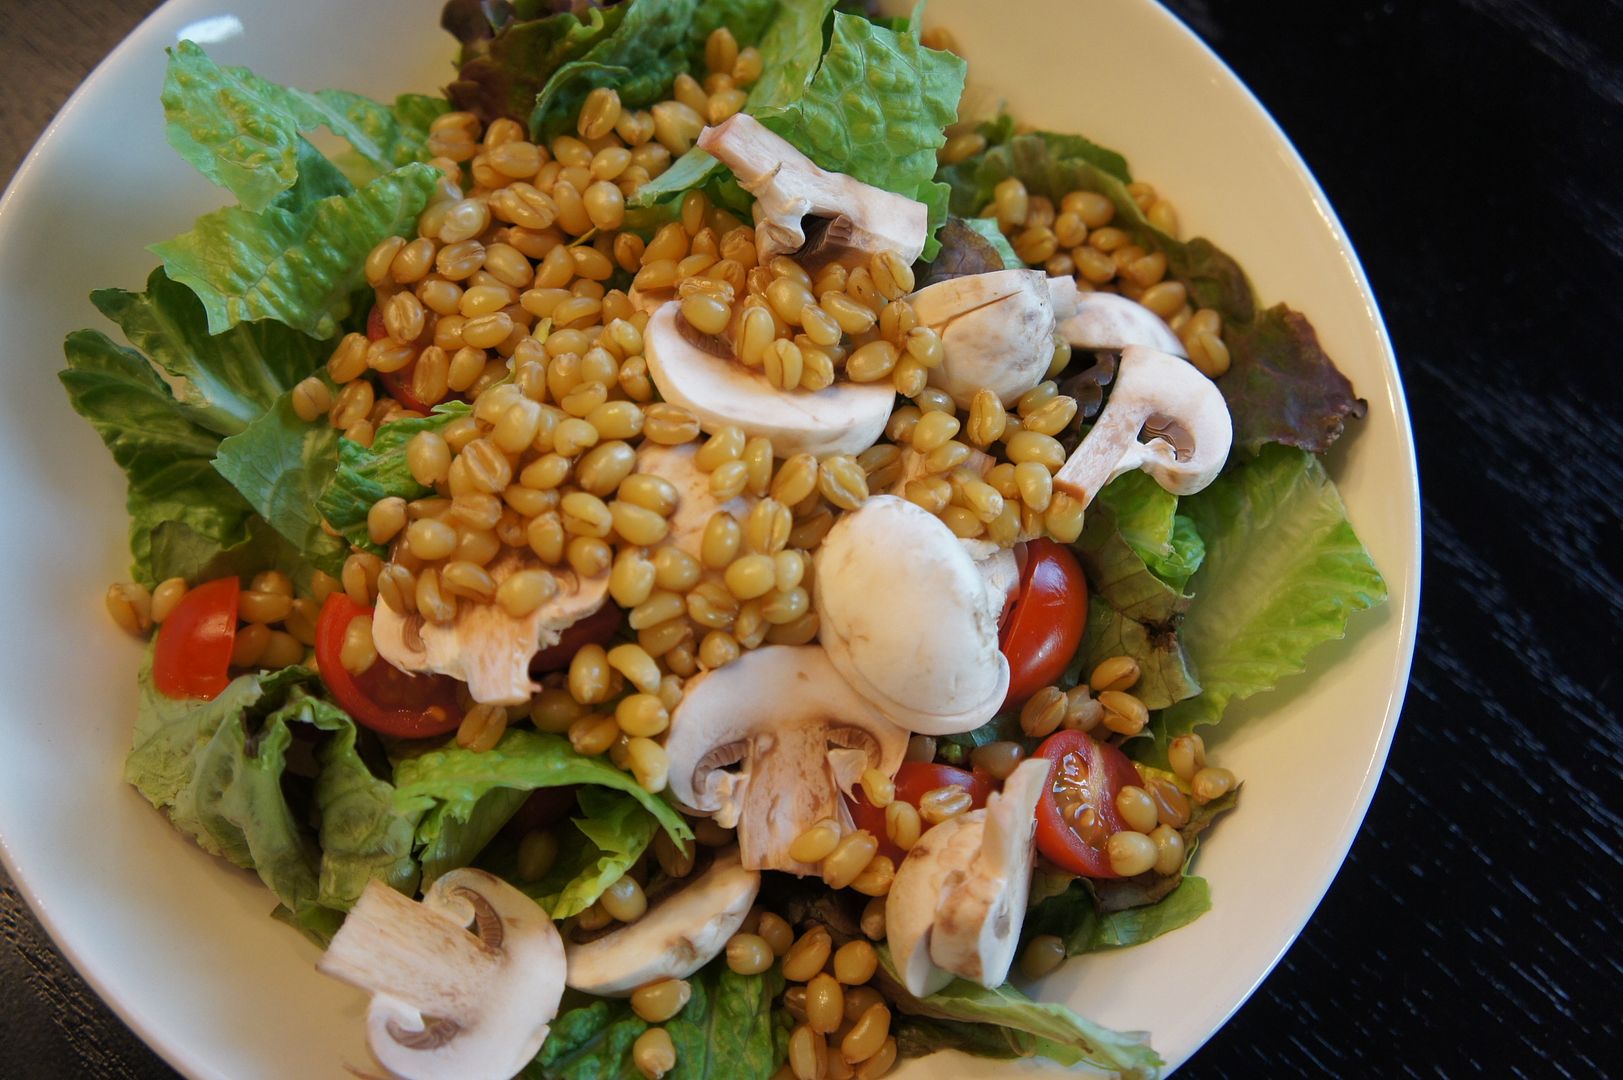
Remember wheat berries?  Well we've had more local wheat berries pop up in our CSA boxes and I wanted to share my current favorite way to use them.  It's pretty simple, just soak/cook and then add to salads.  I also froze some to use later.  If you are detail oriented you may have noticed that one of the bags says "Farro Berries" not wheat berries.  I looked up Farro Berries and found that they are from the ancient grain Spelt, which some say is the best grain of them all.  It has higher nutrition than wheat flour and digests easily (works as a wheat alternative - low in gluten).  I haven't cooked mine yet, I'll let you know how the taste compares to the wheat berries.

Cooking Wheat Berries:
Soak wheat berries overnight (crucial!).  Drain and place 1 cup of wheat berries in a pot and add 2 1/2 cups of water.  Bring to a boil then reduce heat and simmer for 20-30 minutes or until tender.  Drain and serve warm or refrigerate for use later.  


I cooked 1 lb at a time so that I could measure out 1 cup servings to freeze for later.  You can use wheat berries by itself as a snack, in salads or soups.  They are a great alternative to brown rice or barley.

Another Recipe Option is Wheat Berry and Bean Salad.

Tuesday, January 29, 2013

Cibo Urban Pizzeria Cafe

A couple days ago I told you about our fabulous date-night to the Amazing Arizona Comic Convention.  After hanging out with Superman, Spiderman and some pink furry people we built up quite an appetite!  We first tried walking to nearby restaurants downtown.


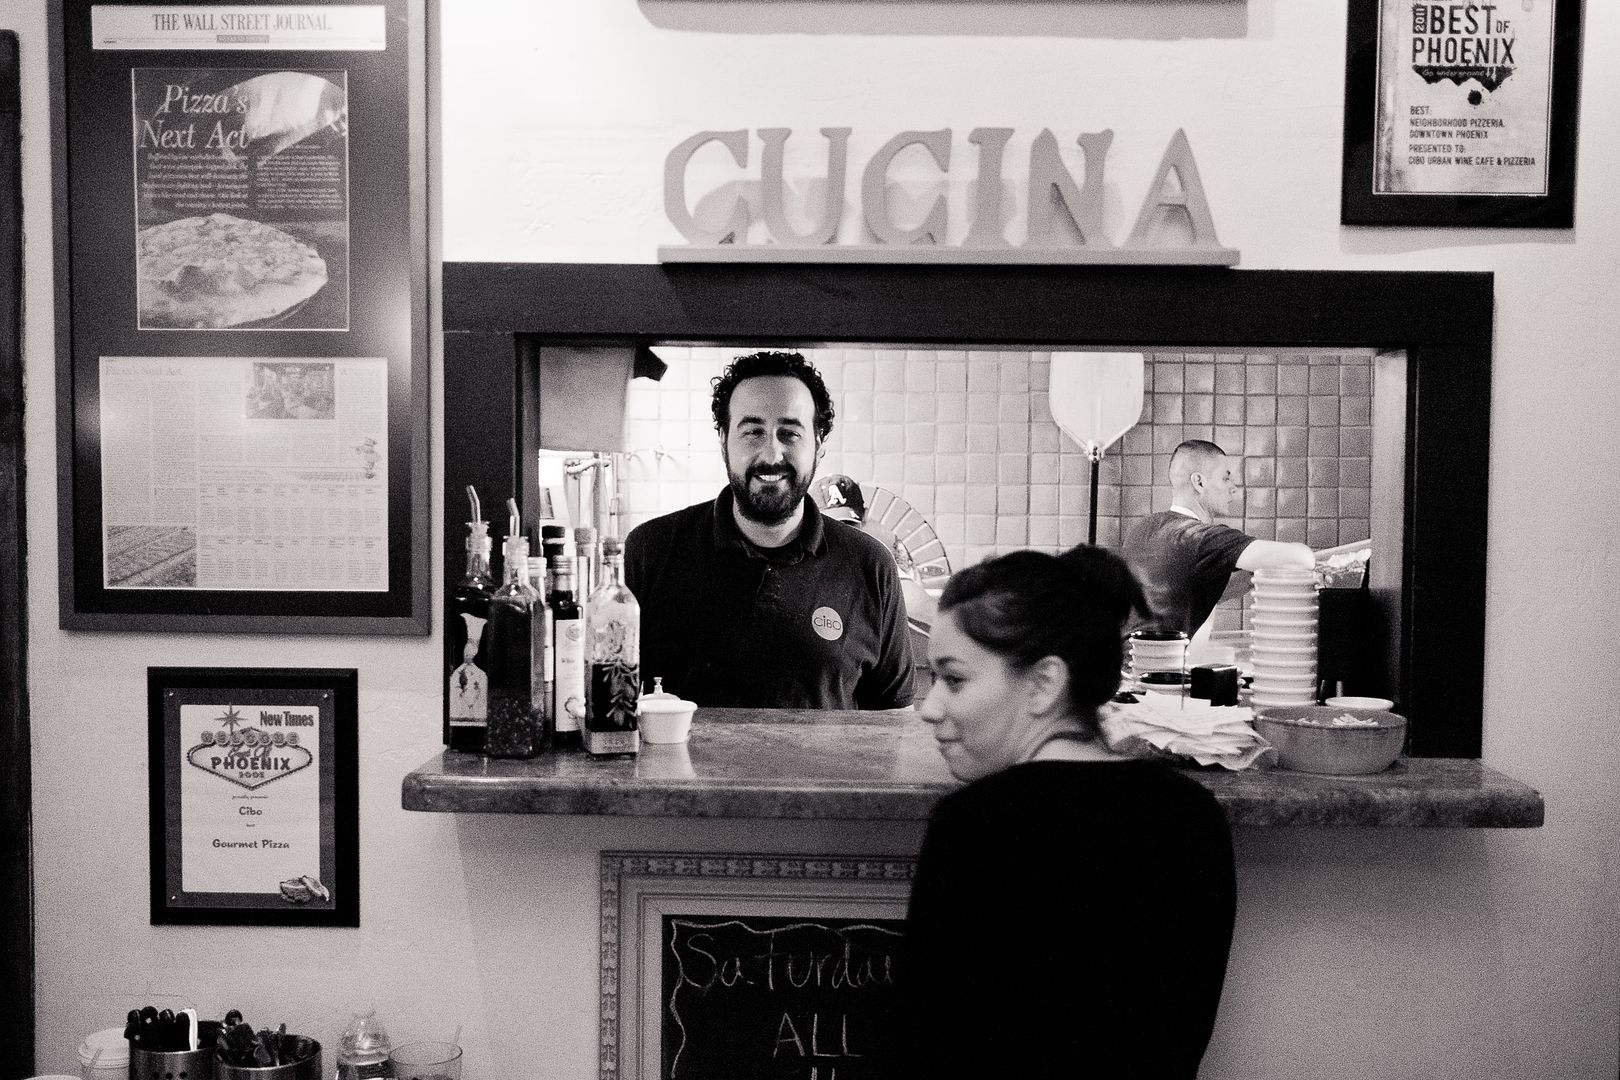
There are a few restaurants next to each other in Heritage Square.  We wanted to eat at Pizzeria Bianco but the wait for a table was 1.5 hrs!  Since we wanted to eat before 10pm that seemed like a bad idea.  We went back to our car and drove over to Cibo instead.  Set in a restored 1913 bungalow Cibo is a fabulous pizzeria.  They are known for their romantic ambiance, artisanal pizzas and "beautiful" salads.  They even have crepes for dessert!  


A perfect date-night dinner location.  The only hardship was deciding what to pick for dinner.  This is my concentration face. :)


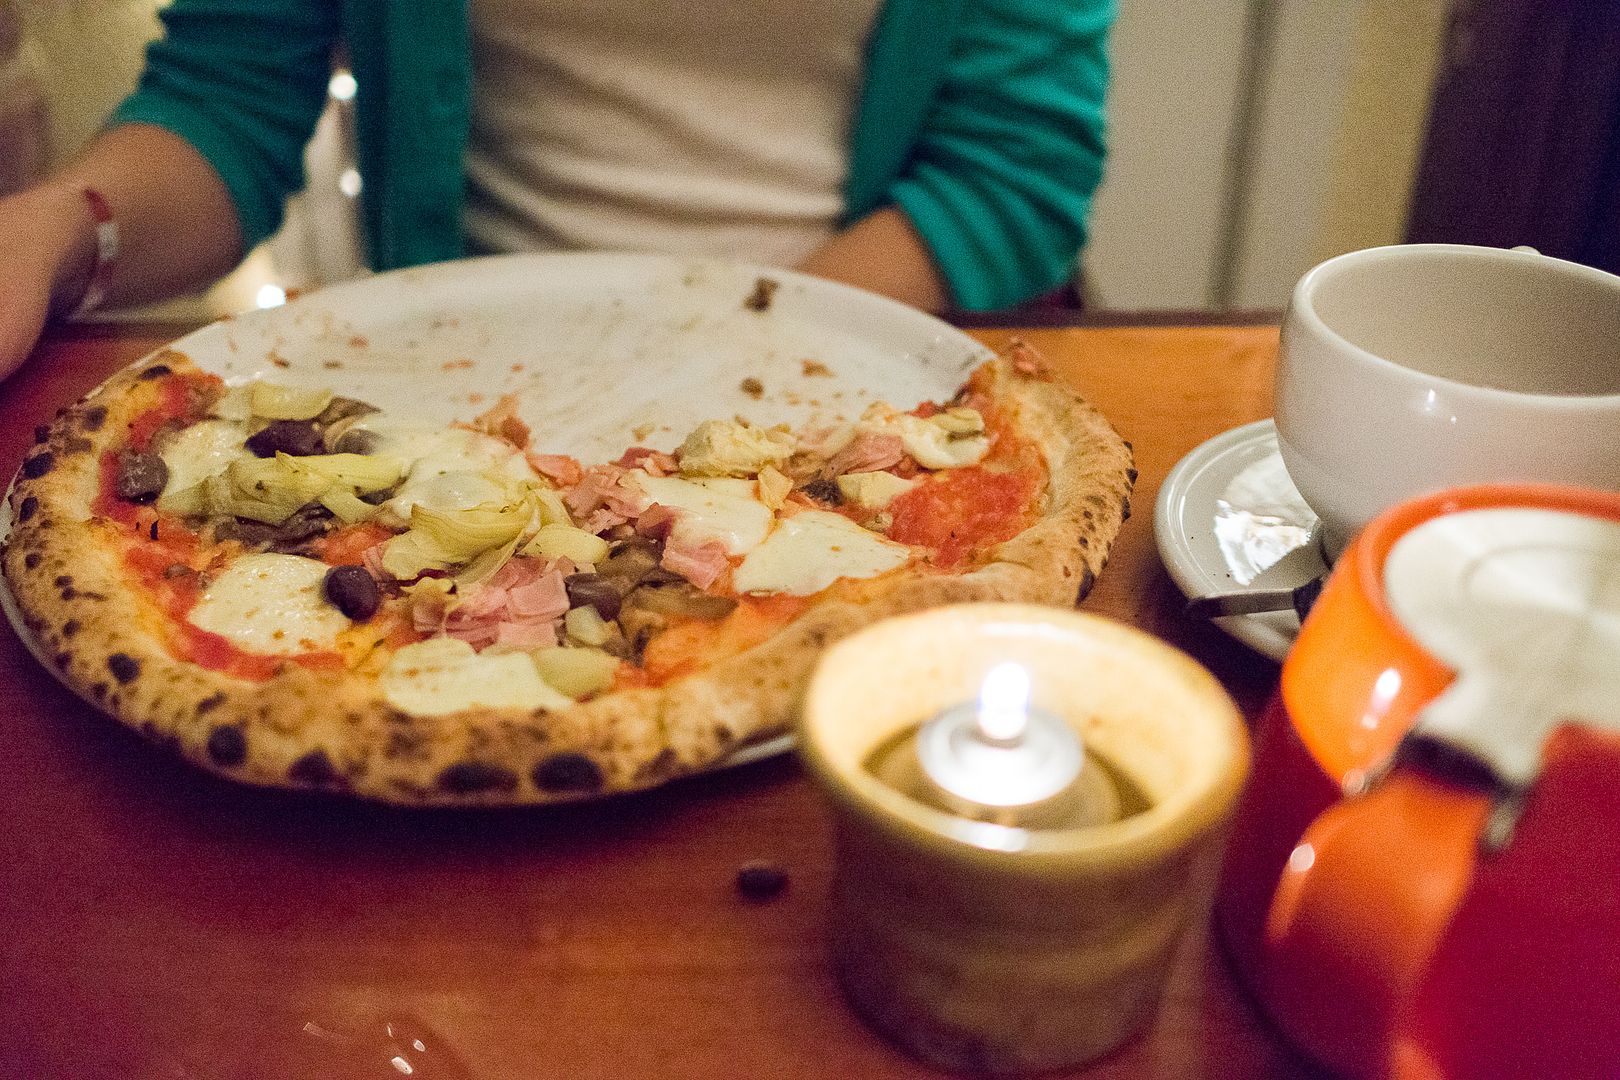
The food is so good that I was half-way through my dinner before remembering to take a photo.  I had the Capricciosa Pizza which had tomato sauce, mozzarella, artichoke, prosciutto cotto, mushrooms and black olives.  Delish!  I also had tea and was happy to see it was loose leaf, no baggie!

Next time you're in Phoenix I highly recommend this little pizzeria.  They're also open for lunch and you don't want to miss their salad selection.

Cibo
603 N 5th Avenue
Phoenix
http://www.cibophoenix.com/

Saturday, January 26, 2013

Date Night - Comic Con


Guess where we went last night?

Yes it's true, we went to the Amazing Arizona Comic Convention for our date night last night.  It was absolutely out-of-the-box for us (we're more the dinner/movie type) but it was SO FUN!  I had the best time checking out and taking photos of costumes, talking to the exhibitors and attendees and looking for souvenirs.

I met a lovely artist named Hanna Nance Partlow.  She had colorful drawings and beautifully lettered stickers (she's a "letterer").  She said she could draw "almost anything" for $5 so I had her make me into a superhero.  She also has a facebook page here.  Can you tell I am a fan?


What do you think?  We loved it so much that I had her draw the 5-year-old as a fairy (a current favorite lately).  So fun!

We picked up a couple more souvenirs and it was time for the convention to close for the night so we went off in search of dinner.


More on that later.

Such a fun night!  The Amazing Arizona Comic Convention runs through the weekend.  Tomorrow (Sunday) they're open from 10am-6pm.  

Sunday, January 20, 2013

New Vegetable - Flowering Rapini


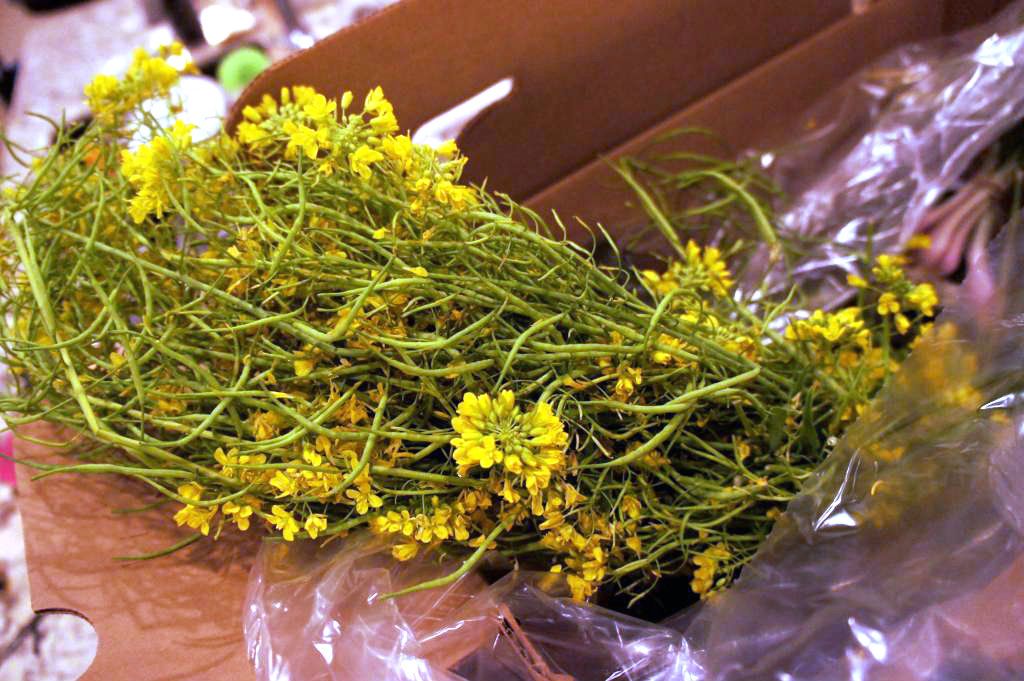
Flowering Rapini, have you heard of it?  It is a new vegetable to me thanks to this week's CSA box.  It looks like a bouquet of wildflowers but is actually a vegetable.

I read that the rapini is a relative of broccoli, which means it is both pretty and healthy.  It is a source of vitamins A, K and C as well as potassium, iron and calcium.

Last night I added the flowers to my salad and thought that it added a peppery radish type flavor.  Tonight I'm going to saute the leaves, stems and flowers with some fresh garlic.

Who knew that flowers could be so yummy?

Thursday, October 18, 2012

How to Bake a Pumpkin (it's easier than you may think)

I have something to confess.  Until this week I've never ever "made" a pumpkin before.  Until now pumpkins were strictly for decoration and if I needed pumpkin for a recipe I'd just get a can from Trader Joe's.  Am I the only one?


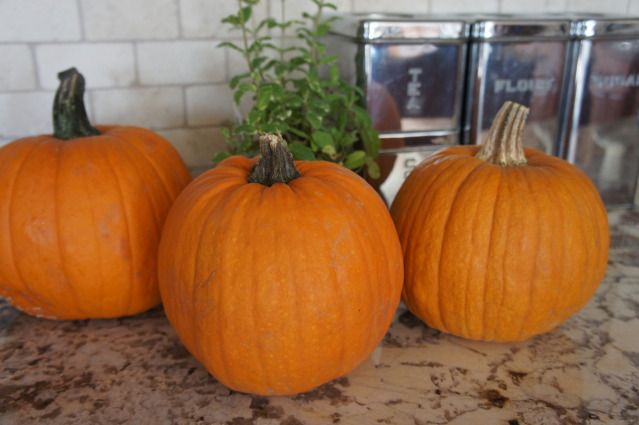
Well, after receiving 3 lovely baking pumpkins from our CSA box last week I decided it was time to figure out how to make pumpkin from scratch.  Instead of my usual google search I decided to ring up my mom.  She just happened to contribute to a cookbook back in the 70's on this very subject!  She gave me the following directions that worked quite well.  All in all it was a much easier process than I'd expected and I ended up with something extra that you cannot get from a can. Pumpkin seeds!

Flipped over after they finished baking.  

Pumpkin Baking 101

Wash pumpkin(s).  Cut in half (across the middle not top to bottom).  Scoop out and save seeds.  Place in a large shallow baking pan.  I recommend putting some parchment paper on the bottom first as it makes clean up easier.  Bake uncovered at 350 until flesh is very tender (about 1 hour).  Cool for a few minutes then scoop out the flesh.

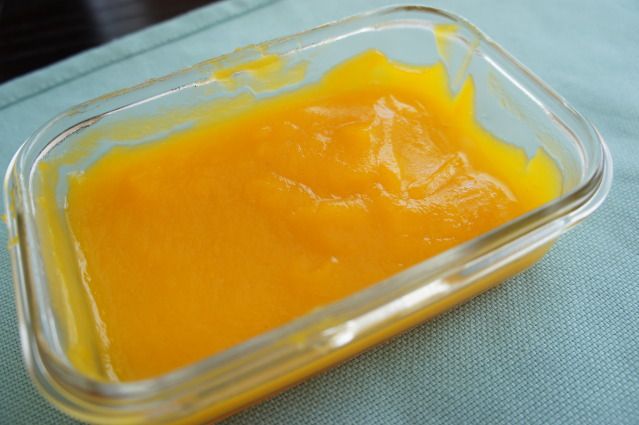
Puree the pumpkin in a blender or food processor.  Add a little water if it is too thick to blend.  Measure out and put 1 cup servings in individual plastic bags.  Freeze and you're all set for recipes!

I set some of the puree aside for my baby who LOVED it with a little cinnamon and yogurt (plain) added.

Lovely pureed pumpkin!

Other ways to cook Pumpkin

If the oven isn't for you here are two other ways to cook pumpkin.

Microwave - Pierce the pumpkin with a knife or fork several time.  Cook on high for 6 minutes or until tender.  Cut in half and scoop our the flesh. (note: this part was not included in the original 70's cookbook as there were no microwaves back then, ha!).

Stove  - Cut the pumpkin into 3-4 inch chunks.   Don't peel off the skin as it will fall off on it's own. Add a little bit of water and bring to a simmer.  Simmer until tender about 50-60 min.

So there you go, three different ways to cook up a pumpkin.  Looks easy right?  I'll be back with some recipes to use all of the lovely pumpkin puree soon.

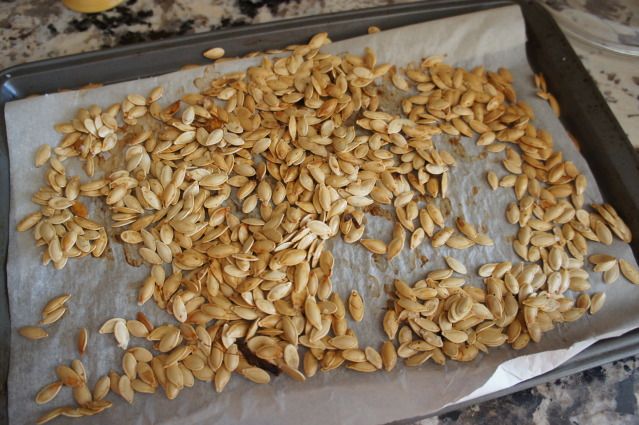
The pumpkin seeds from just 2 of those medium pumpkins!
Pumpkin Seeds
But wait, we can't forget the pumpkin seeds!  They are easy to make, especially if you are baking the pumpkin.  Just separate from the pulpy strings, rinse a little (be careful, they're slippery little buggers) and place on a baking sheet.  I prefer to use parchment paper on the sheet to minimize clean up.  Spray with some olive oil and sprinkle sea salt on.  Bake for about 45 minutes in the same oven as the pumpkin (350 degrees).  Remove from the oven and let cool a little bit.  Try to resist eating them all at once! 

Tuesday, August 14, 2012

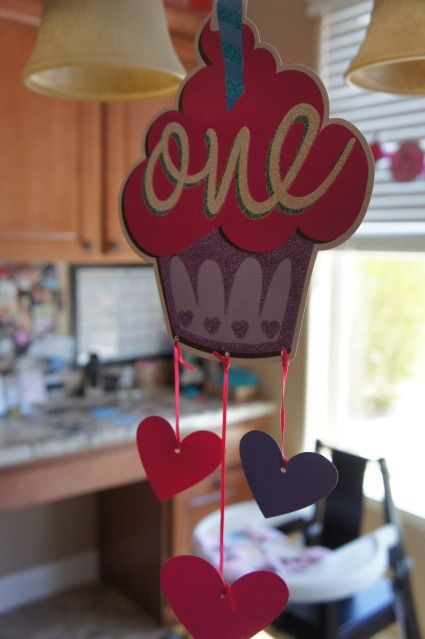
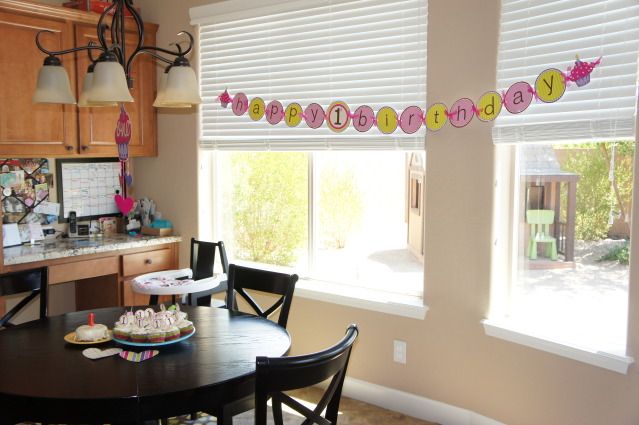
Baby Girl 1st Birthday Party - Pink Sweet One theme

My baby girl turned one last month and I threw her a simple Pink Sweet One themed party.  It was a small party with friends but I still had fun planning the menu and decorations.


The decorations were from Hobby Lobby.

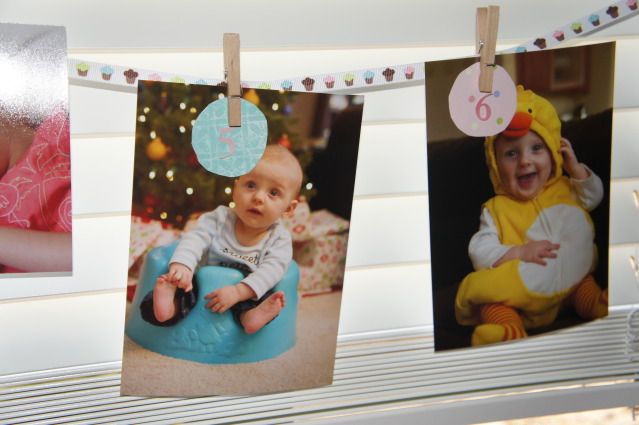
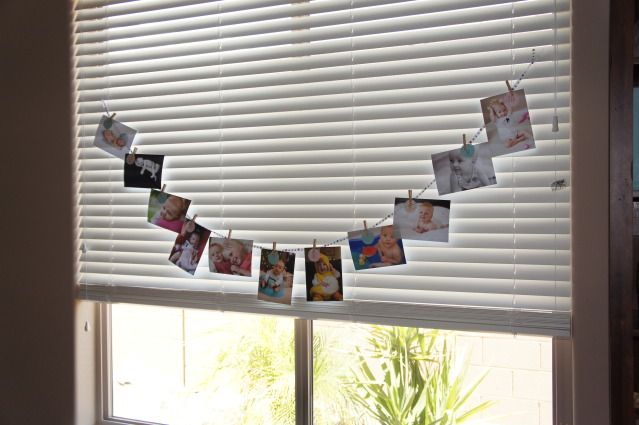
I made a photo banner with photos from each month of baby's first year.  I cut out pretty paper circles and used number stickers to label each month.  I attached them to a cupcake ribbon with small wooden clothes pins.


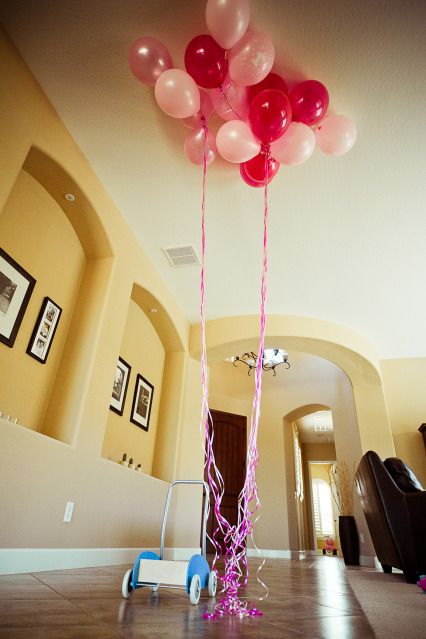
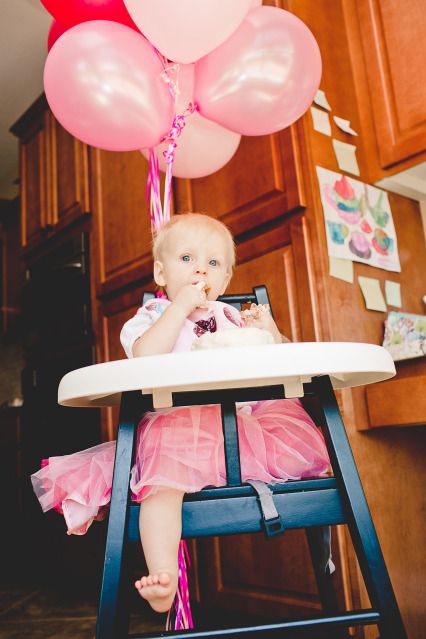
I bought 18 balloons in different shades of pink.  They were used as decorations, played with by little children and the next day props for a pink balloon photo shoot!

The birthday girl wore a pink tutu and t-shirt from gymboree.  They were her big sisters but she only wore the t-shirt once or twice. ;) 

Love these two!

I went a little nuts making the menu from scratch.  I made two kinds of ice-cream, cupcakes, ranch dip (with veggies), salsa (with chips) and gluten free brownies.  My good friend brought homemade zucchini hummus.

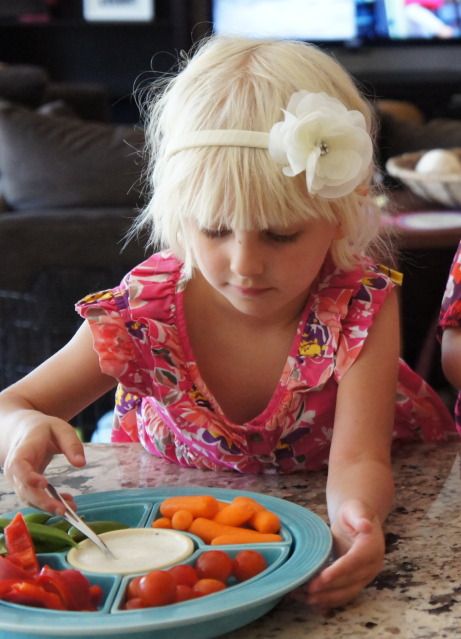
Big sister trying out the ranch dip and veggies.  Notice my beautiful vintage fiesta relish tray was put to good use. 


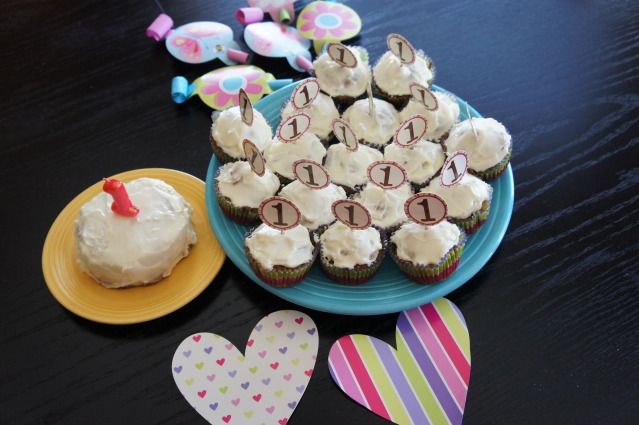
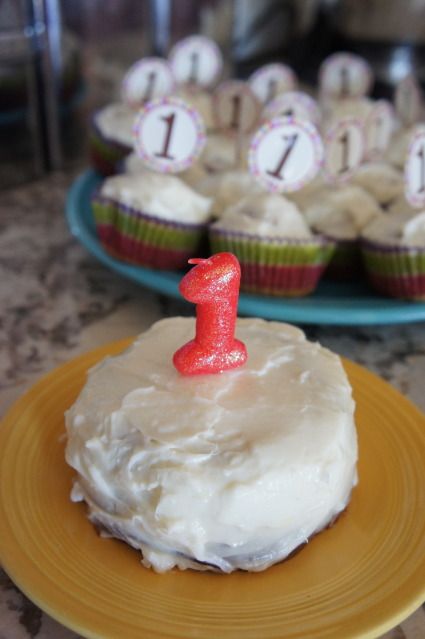
The cupcakes were healthy and tasted good.  I knew baby girl would like them since I'd first made them a couple months ago for my birthday.  I made a little smash cake for baby girl to devour.


She was such a dainty little eater.  She massaged her cake a bit but never threw it all over or stuffed it in her face.  Her sweet cupcake bib was a hand-me-down from her big sister.  I bought it from Colby Lane Designs on Etsy.

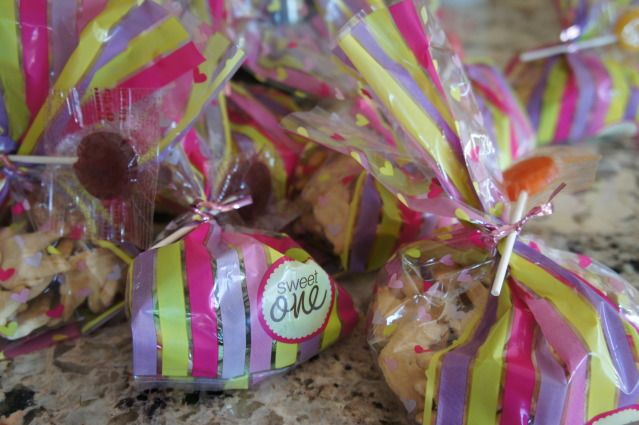
Since our little guests were mostly other 1 year olds or the pre-school set I sent them home with goodie bags (also from Hobby Lobby) with animal crackers inside and organic lollies on the outside. 

It was a lovely party for the sweetest little One year old around.

Menu