HomeVintage Fisher PriceMy Etsy ShopCategoriesAbout
Showing posts with label craft projects. Show all posts

Sunday, May 28, 2017

Sunday School Teacher Thank-you Gift


This time of year means lots of thank-yous.  When thanking teachers don't forget your Sunday School teachers!  Our kids promoted to the next school grade this weekend so I had the kindergarteners make this project on their last Sunday before promotion.  Then I dropped it in the mail for their teacher as a sweet surprise.

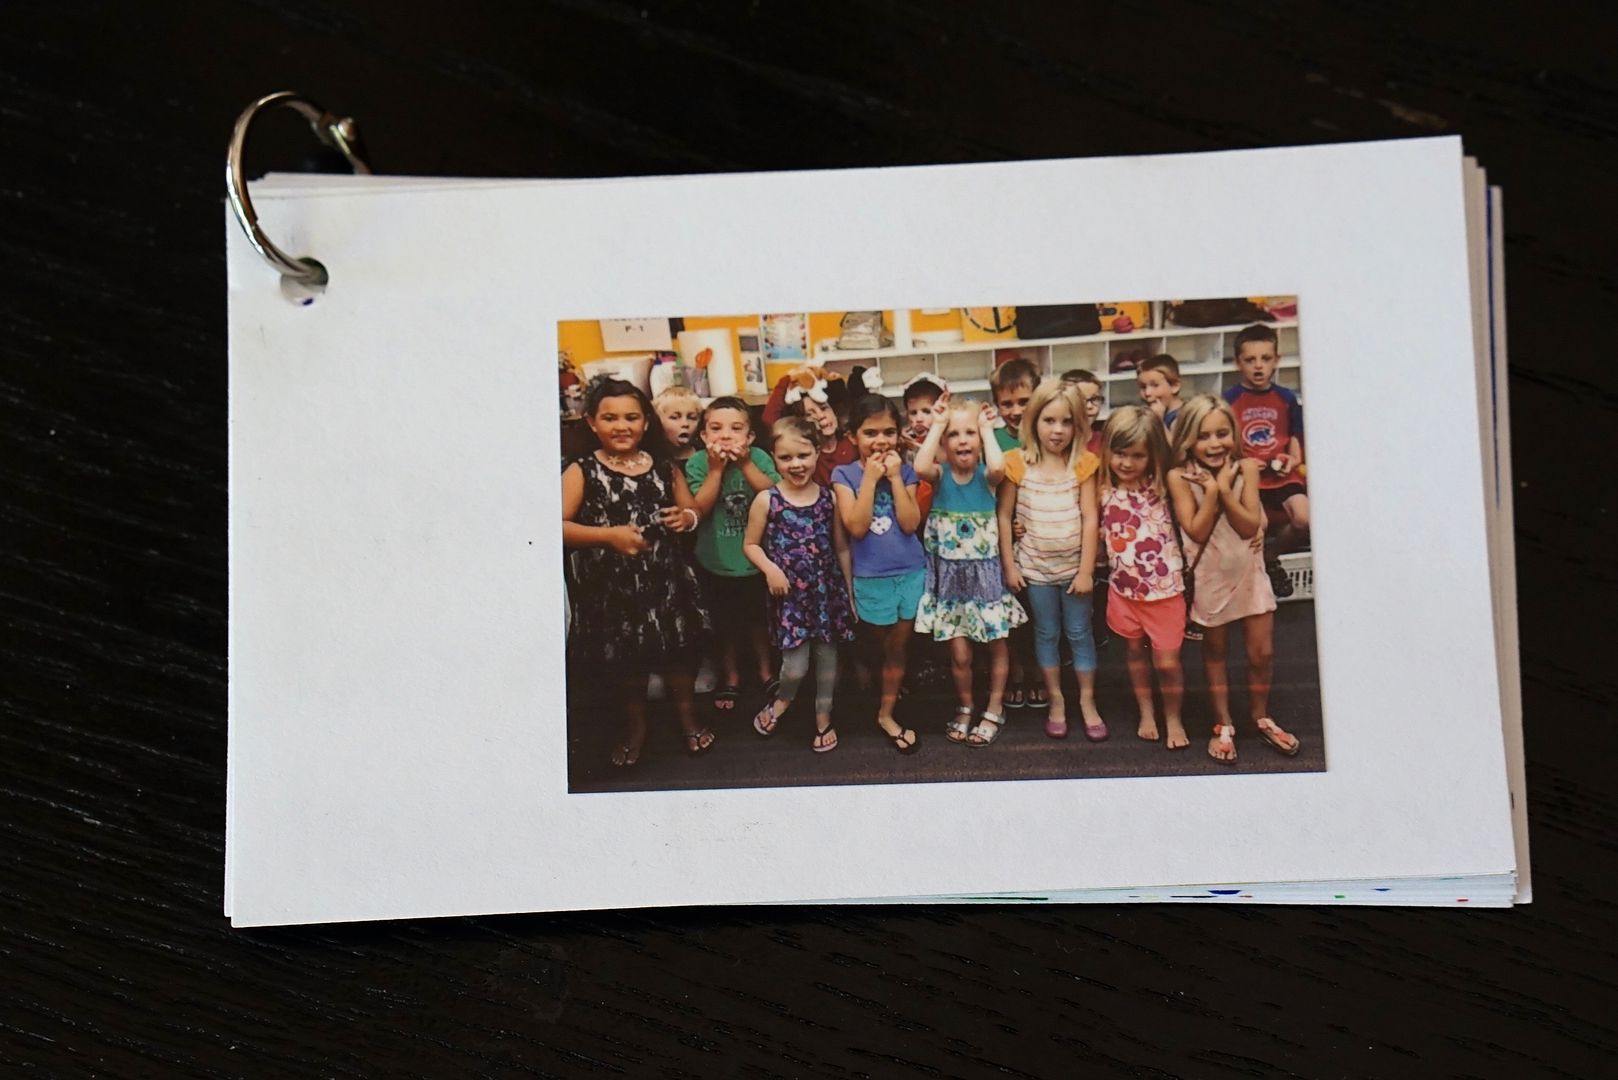
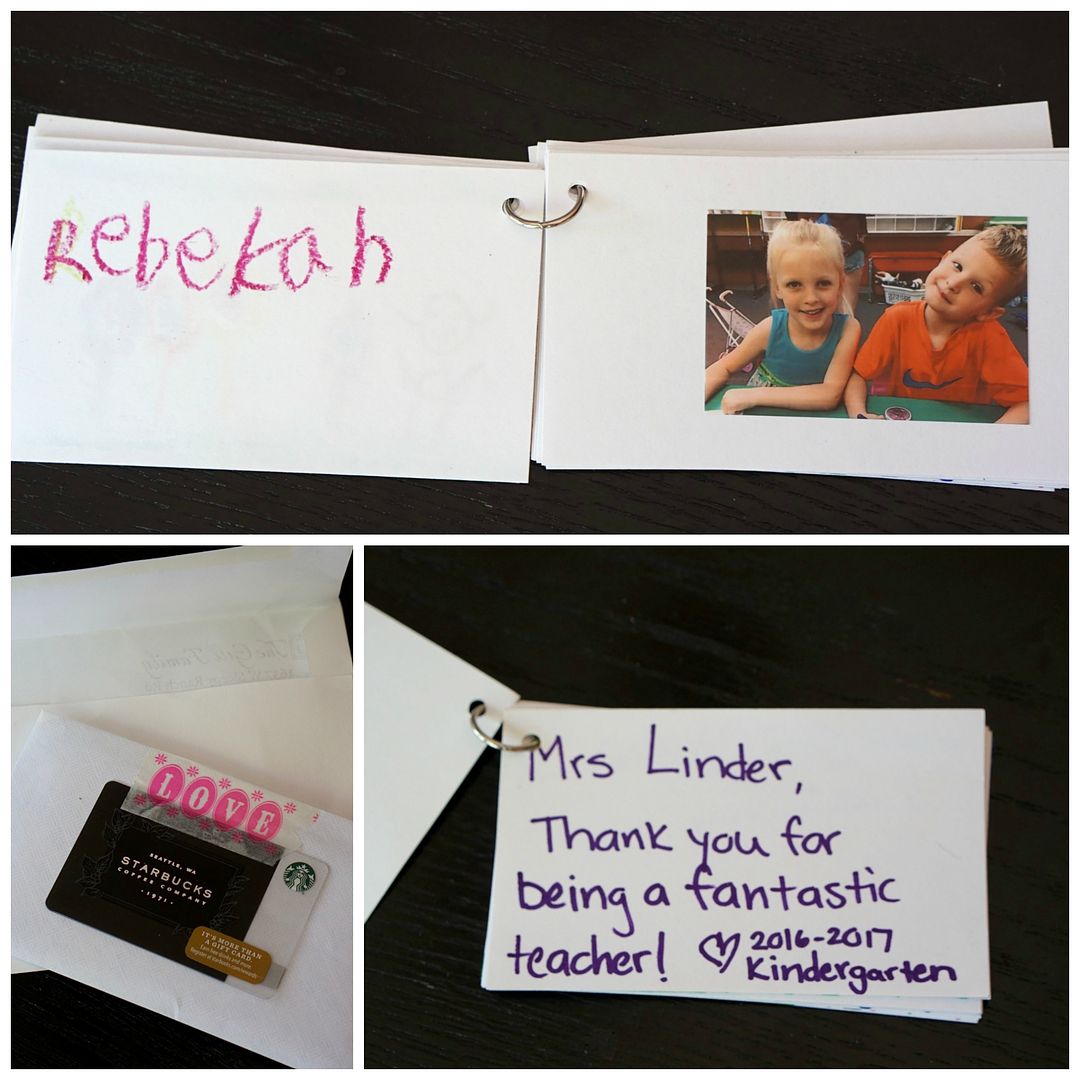
I had the kids each write on a 3x5 card a note, drawing or thank you for their teacher and then sign it.  I took a few photos of the kids including a funny group shot.


When I got home my daughter and I picked out a few photos and made copies on our super cool Polaroid Zip Mobile printer (LOVE that thing)!  We added a few sheets with photos, punched a hole in the pages and added a ring.  (You could print regular photos out as well)


Voila a cute (and easy) teacher appreciation gift!  


*You could also add a gift card, art supplies and/or flowers.  

Monday, May 22, 2017

End of the Year Teacher Gifts - Pinterest for the win!

Ah Pinterest, I have a bittersweet relationship with you.  Projects look so shiny, beautiful and easy.  Teacher Gifts are so clever, complicated and...time consuming.  Yet your siren song calls me year after year.

That said I decided to improve on a past Pinterest Teacher Gift by making it bigger and better.  Sigh.  I thought I'd take my go-to "Thanks for Helping Me Bloom" gift (don't judge it's a classic) and fancy it up with some extra decorations and pizazz.


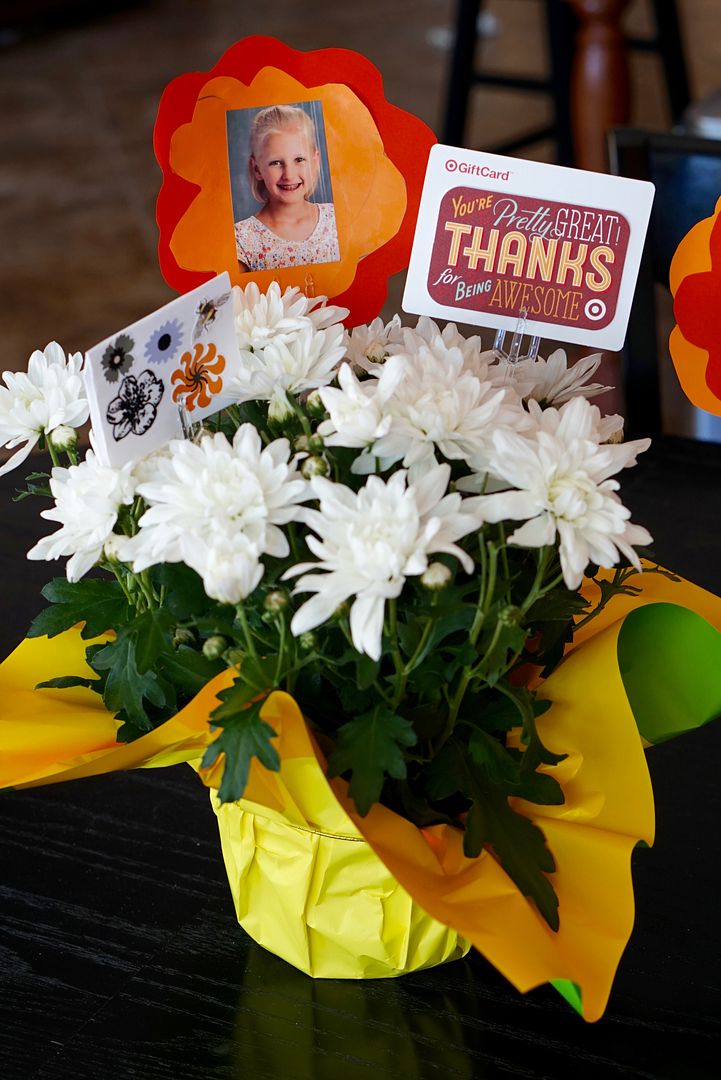
Here's how it ended up looking.  I think it's a Pinterest win and it was actually pretty easy!

This is what we did:

1. We bought a potted flower/plant (kids picked out) and asked the florist for a few extra floral sticks.
2. Had the kids make flowers out of construction paper and stuck on a photo of them (from my nifty Polaroid Zip - coolest toy ever!).
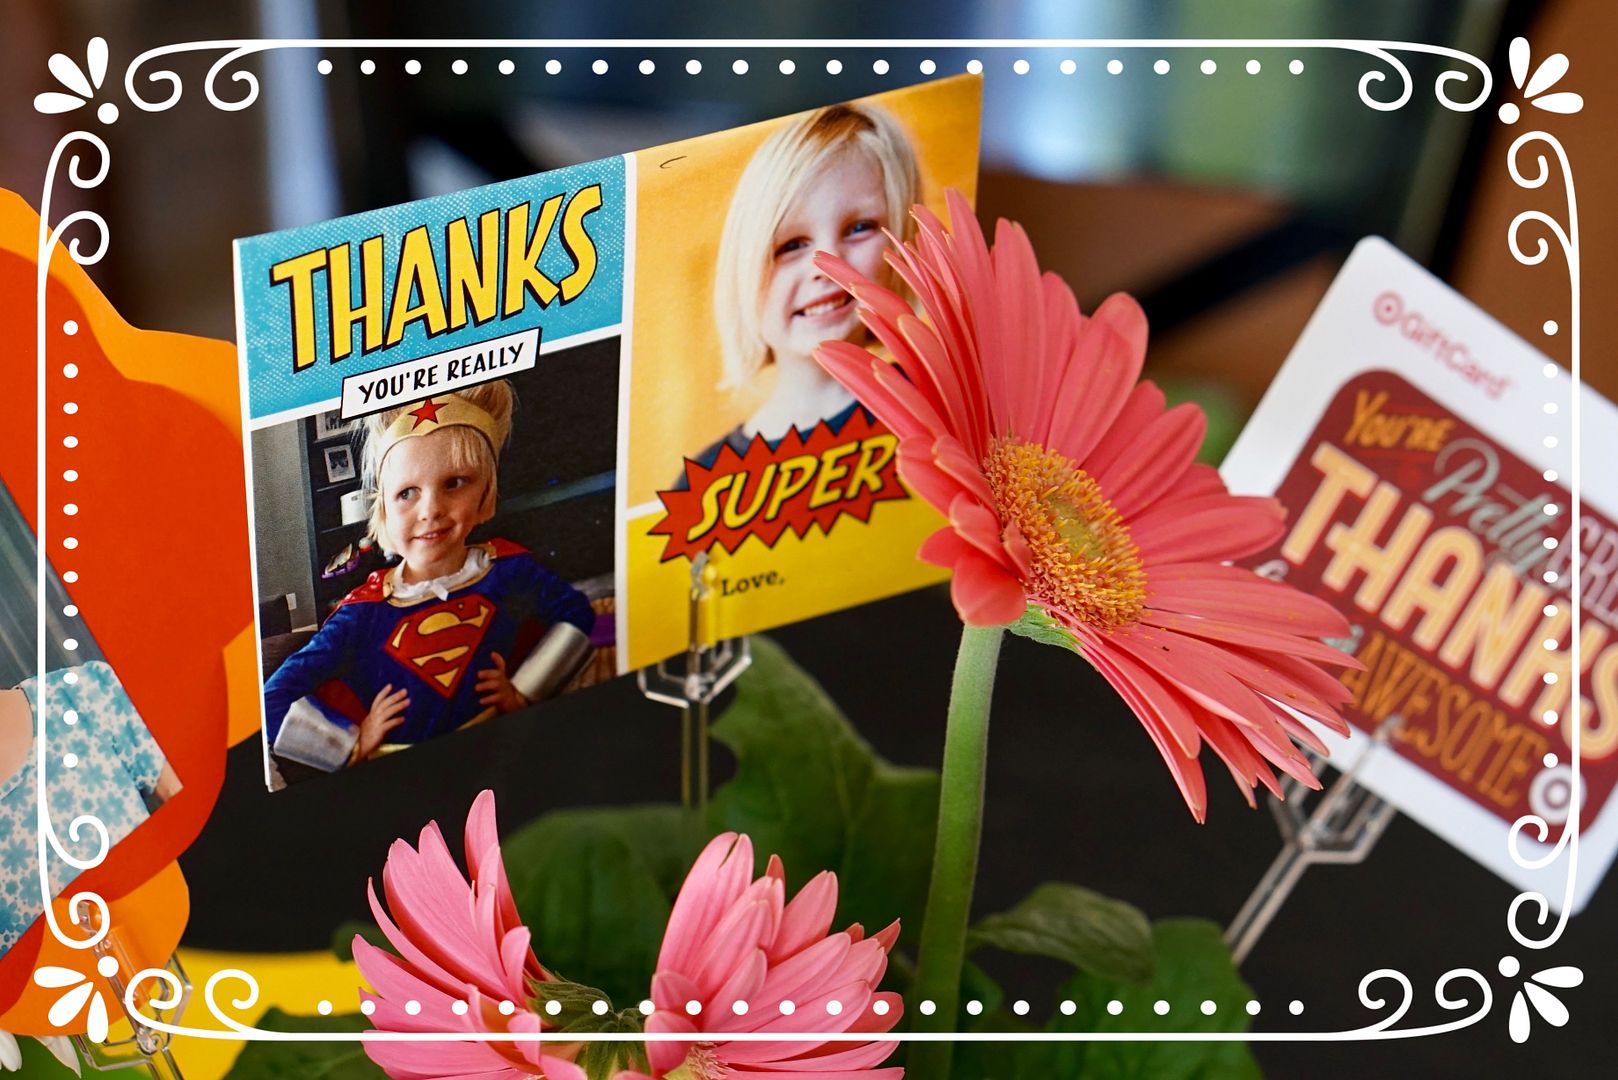
3. Added a gift card (or 2 or 3 depending on how challenging your kid was this year) on another stick.

4. Had the kids write thank-you cards and stuck those on sticks too.  Bonus if your cards are personalized like my daughter's (from Shutterfly, how cute are they???).

5. Have the kids fill out an adorable "my favorite" fill in the blank form for their teacher.  My girls LOVED doing this.  I found 2 different sheets since I had a K and a 3rd grader.  Fold them up and put it on you guessed it, another stick.

6. Don't forget to add a parent thank you note too!  I wrote my notes on the back of the construction paper flowers.

7. Last but not least add a pretty bow, or decorate the actual pot for extra credit, super special Pinterest Parents have their kid's hand prints painted on the side, just saying.

Voila, a lovely end of the year gift!

What do you think?

Sunday, October 30, 2016

Lego Friends Birthday Party - Soap Favor

My oldest daughter turned 9 yesterday.  I can't get over how quickly my kids are growing and these birthday parties are getting easier and more enjoyable as they grow.

She decided on a Lego Friend's party theme this year and invited a few of her girlfriends over to the house.  I'll have more details on her party soon but first I want to show you how we made her super cute favors.

I had the idea to give the girls Lego Friend's figures which are the tiny little characters from the Lego Friend's sets.  They are also the stars of the Lego Friend's tv show that is their favorite choice on Netflix.

Since these pieces are so very tiny I thought it would be better to put them into a soap and the idea for soap favors was born.  My daughters were able to help me make them so it was a fun family project.

Here's how we did it:


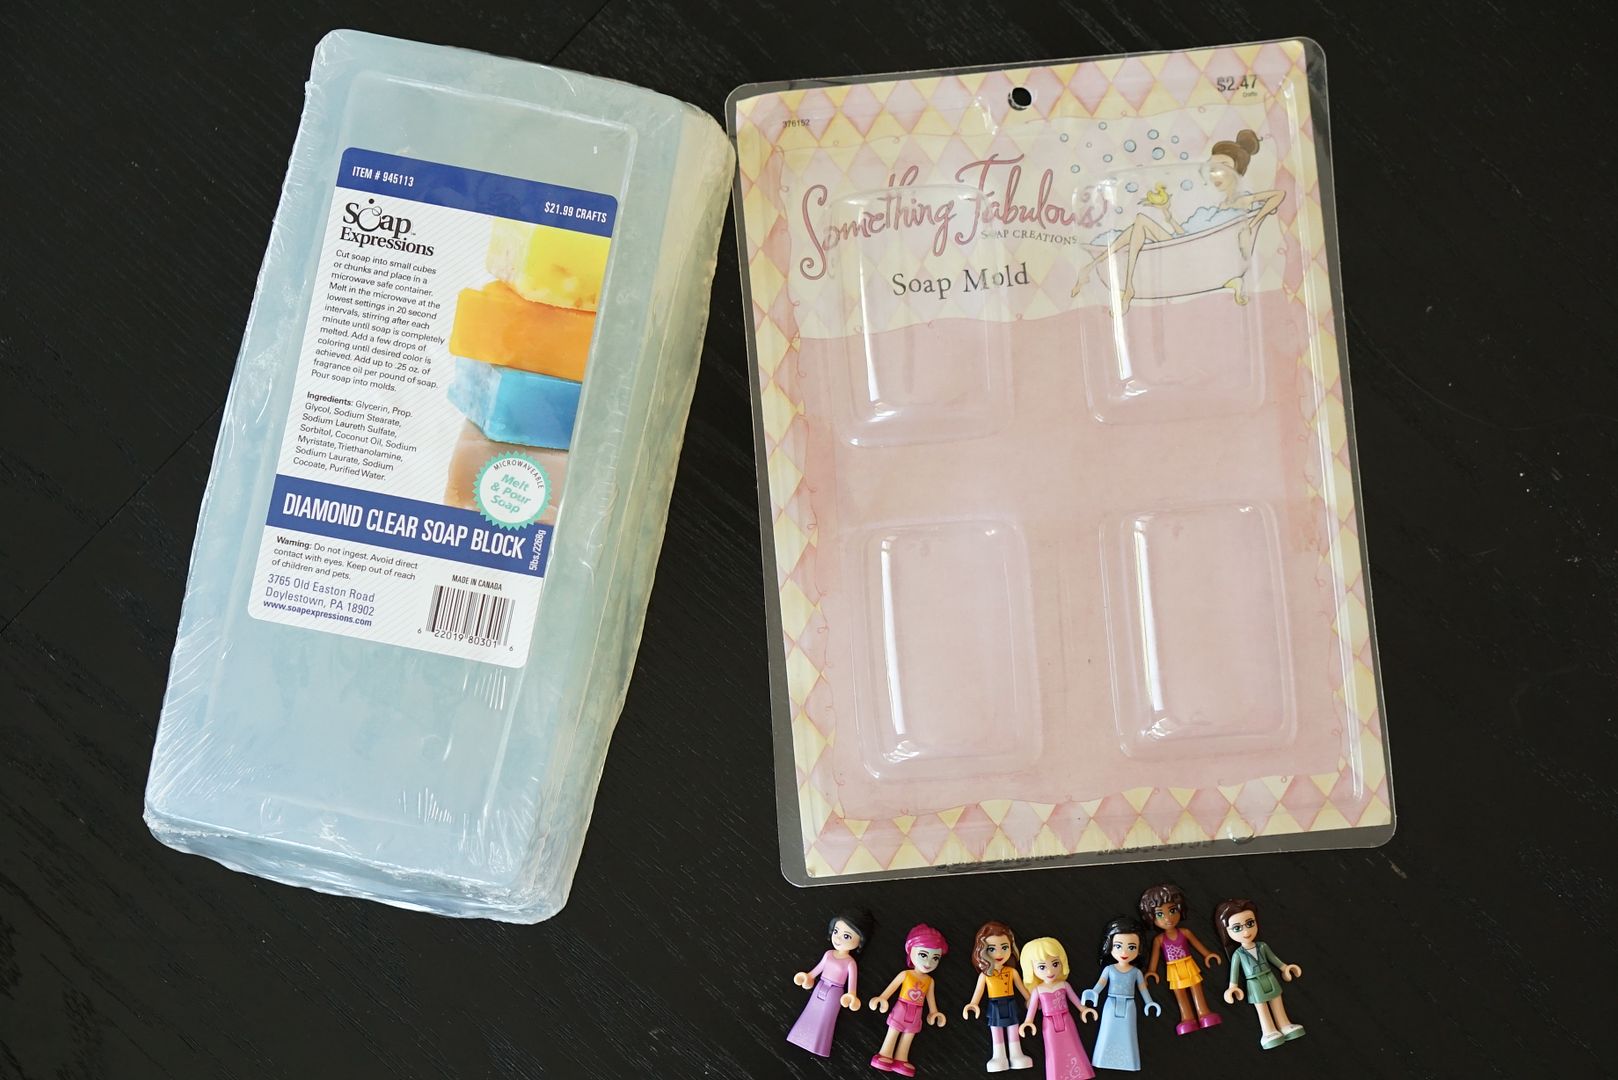
I purchased the big soap block and a soap mold from Hobby Lobby using a 40% off coupon for $16 (total).  I only used about 1/2 of the block for our 8 soaps so I have plenty for another soap-making-adventure.  

The Lego Friends figures were from eBay and cost about $2 each.

After melting a slice of the soap on the stove (in my stainless pot) I added a few drops of Orange or Lavender essential oil.


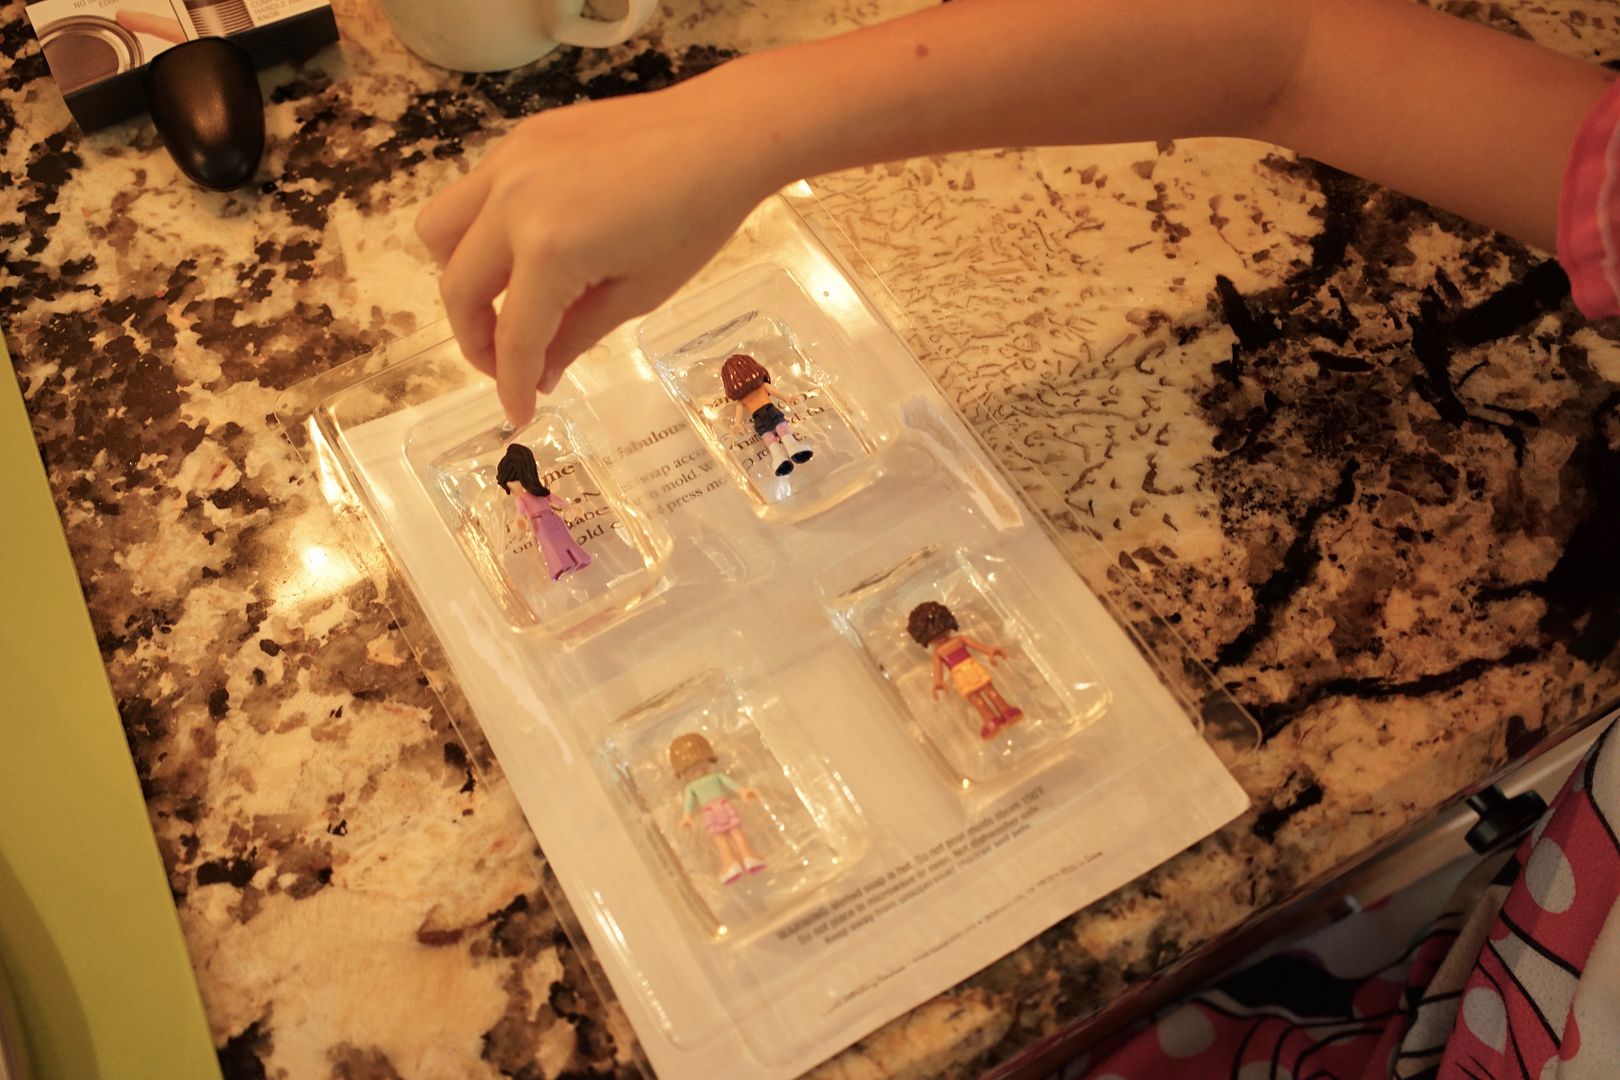
The hardest part for us was getting the figures to stay in the middle of the melted soap.  After a little trial and error we found it best to fill 1/2 of the tray, place the figure and then add the other 1/2 of the soap.   We used a toothpick to push down any of the floating figures.  


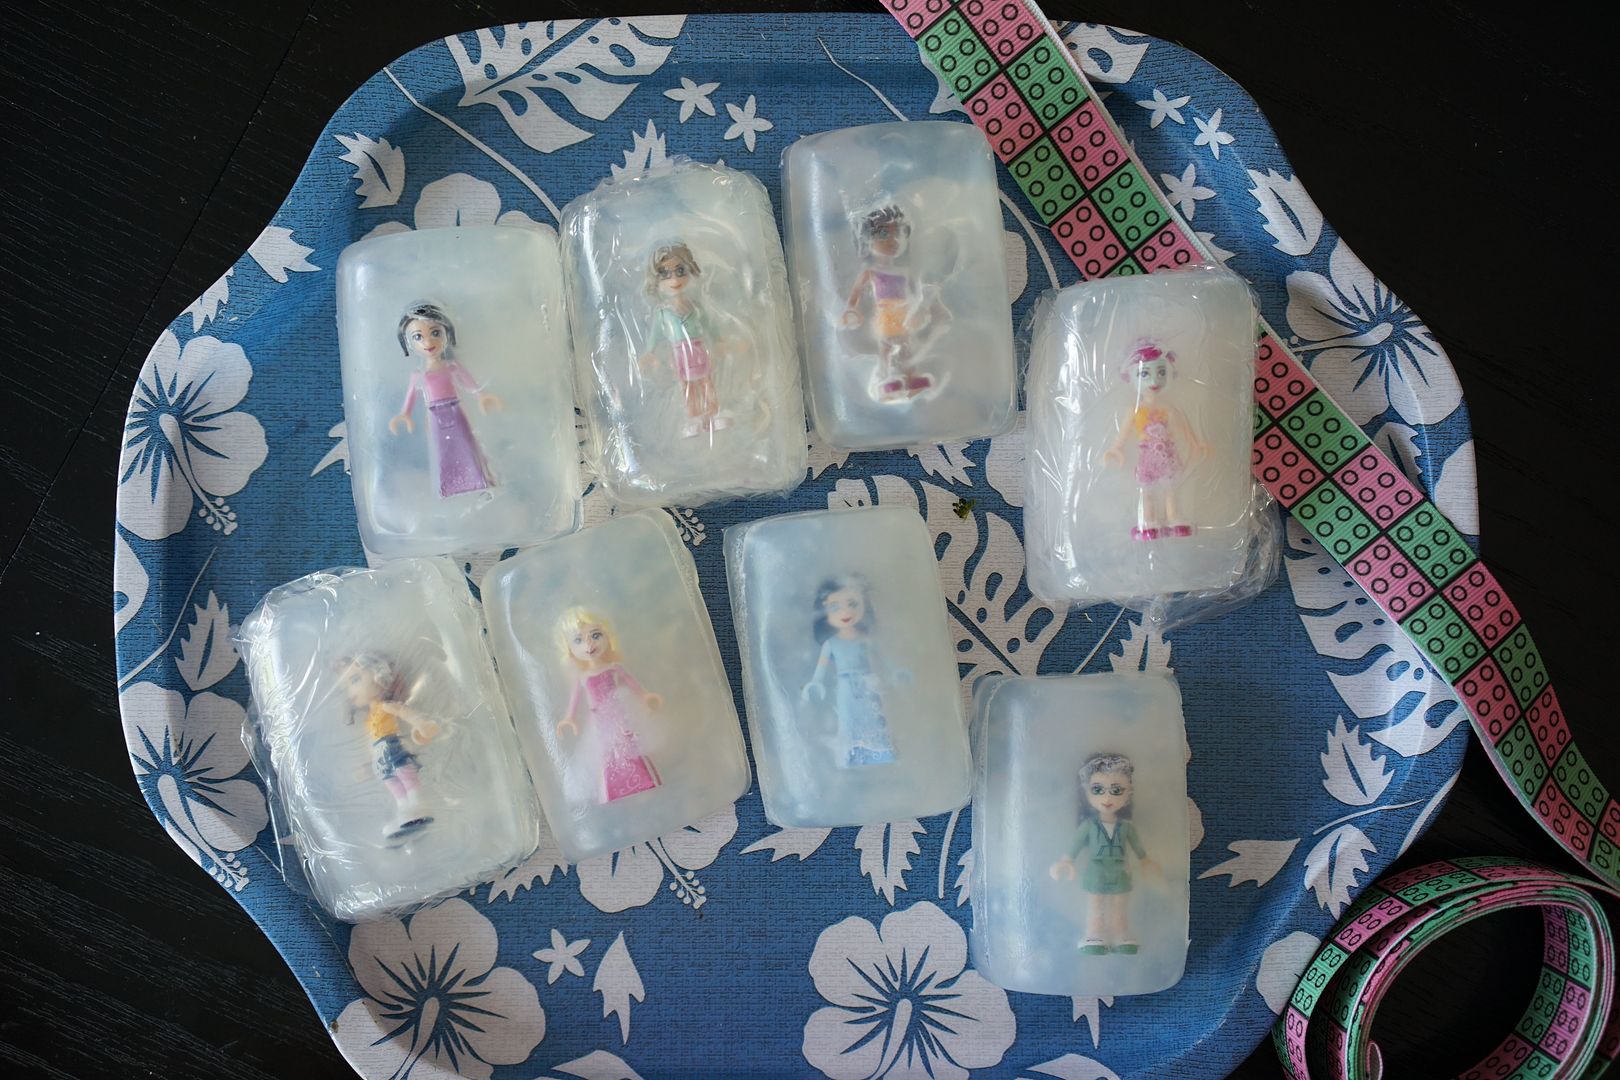
They turned out pretty good for a first attempt!  We wrapped the soaps with plastic wrap after they were cool.

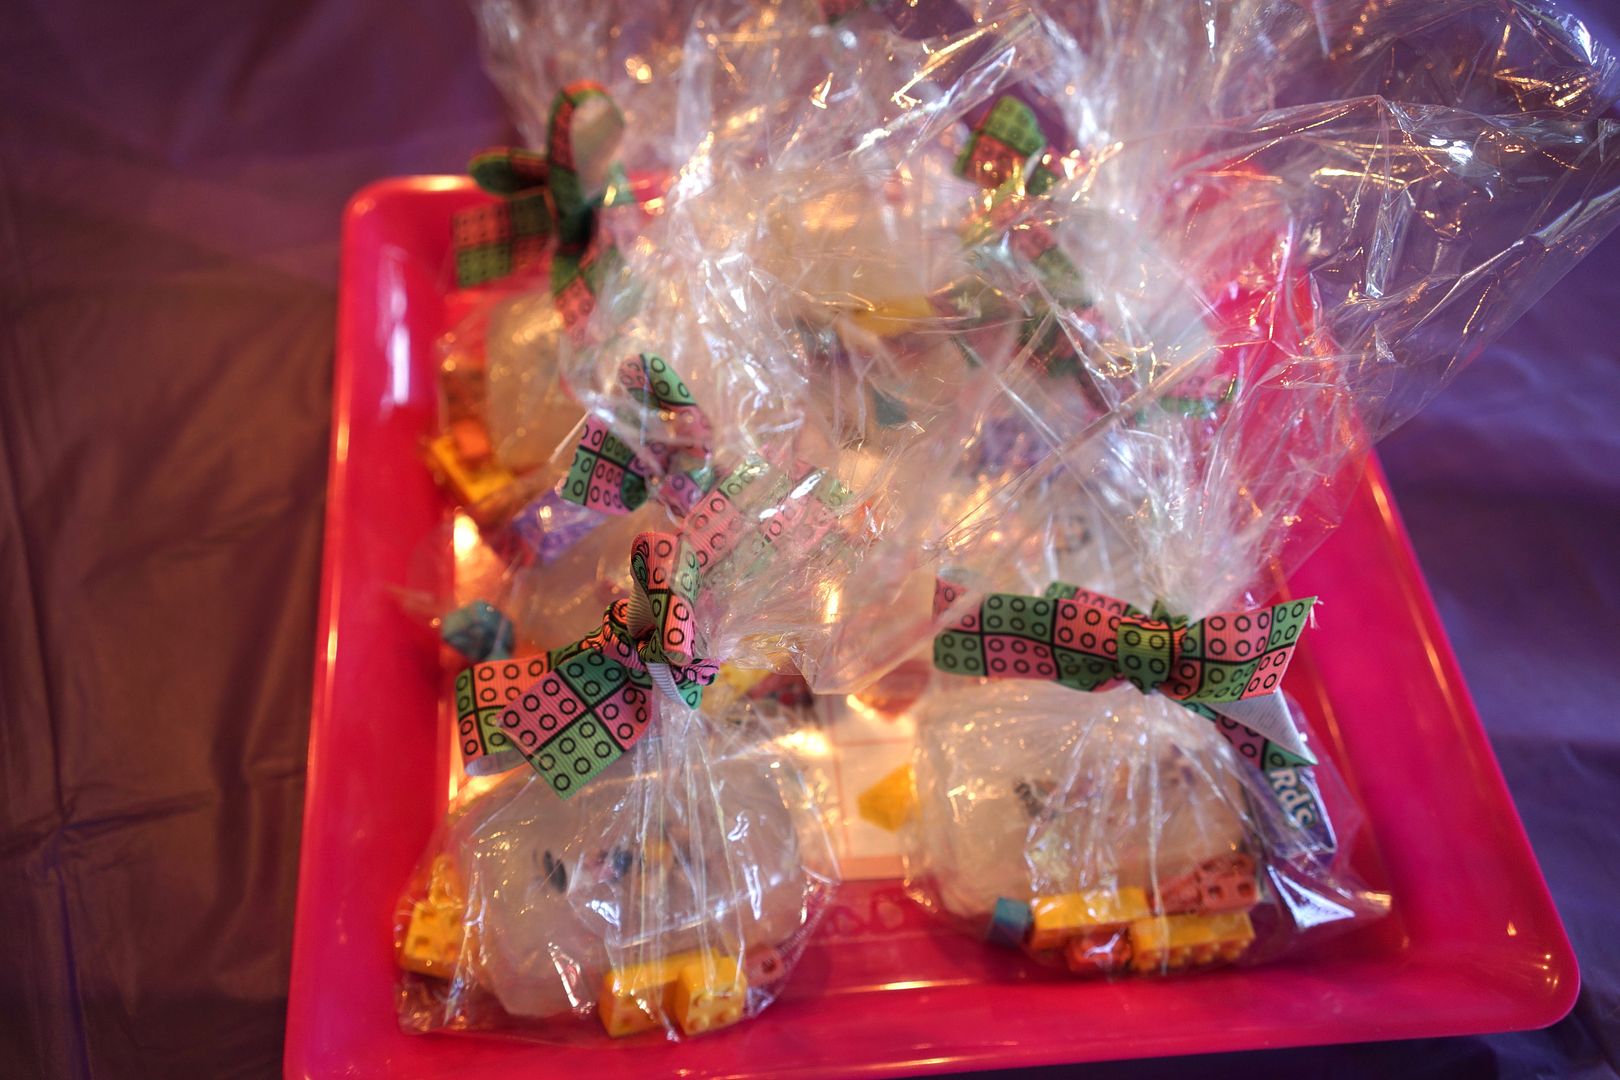
We put the wrapped soaps into a plastic treat bag and added some candy blocks that look like Legos.  Last but not least we tied the bags with ribbons that look like pink/green blocks.


The favors were a hit and we're pretty proud to have made them ourselves. :)

For more information:

1 inch Pink/Green Block Ribbon from TheFabFind on Etsy.
Lego Friends Mini Figures from Ebay.

I'll have more Lego Friend's party theme details soon including invitations, decorations and games.

Friday, October 21, 2016

Photo Books of Kids Art


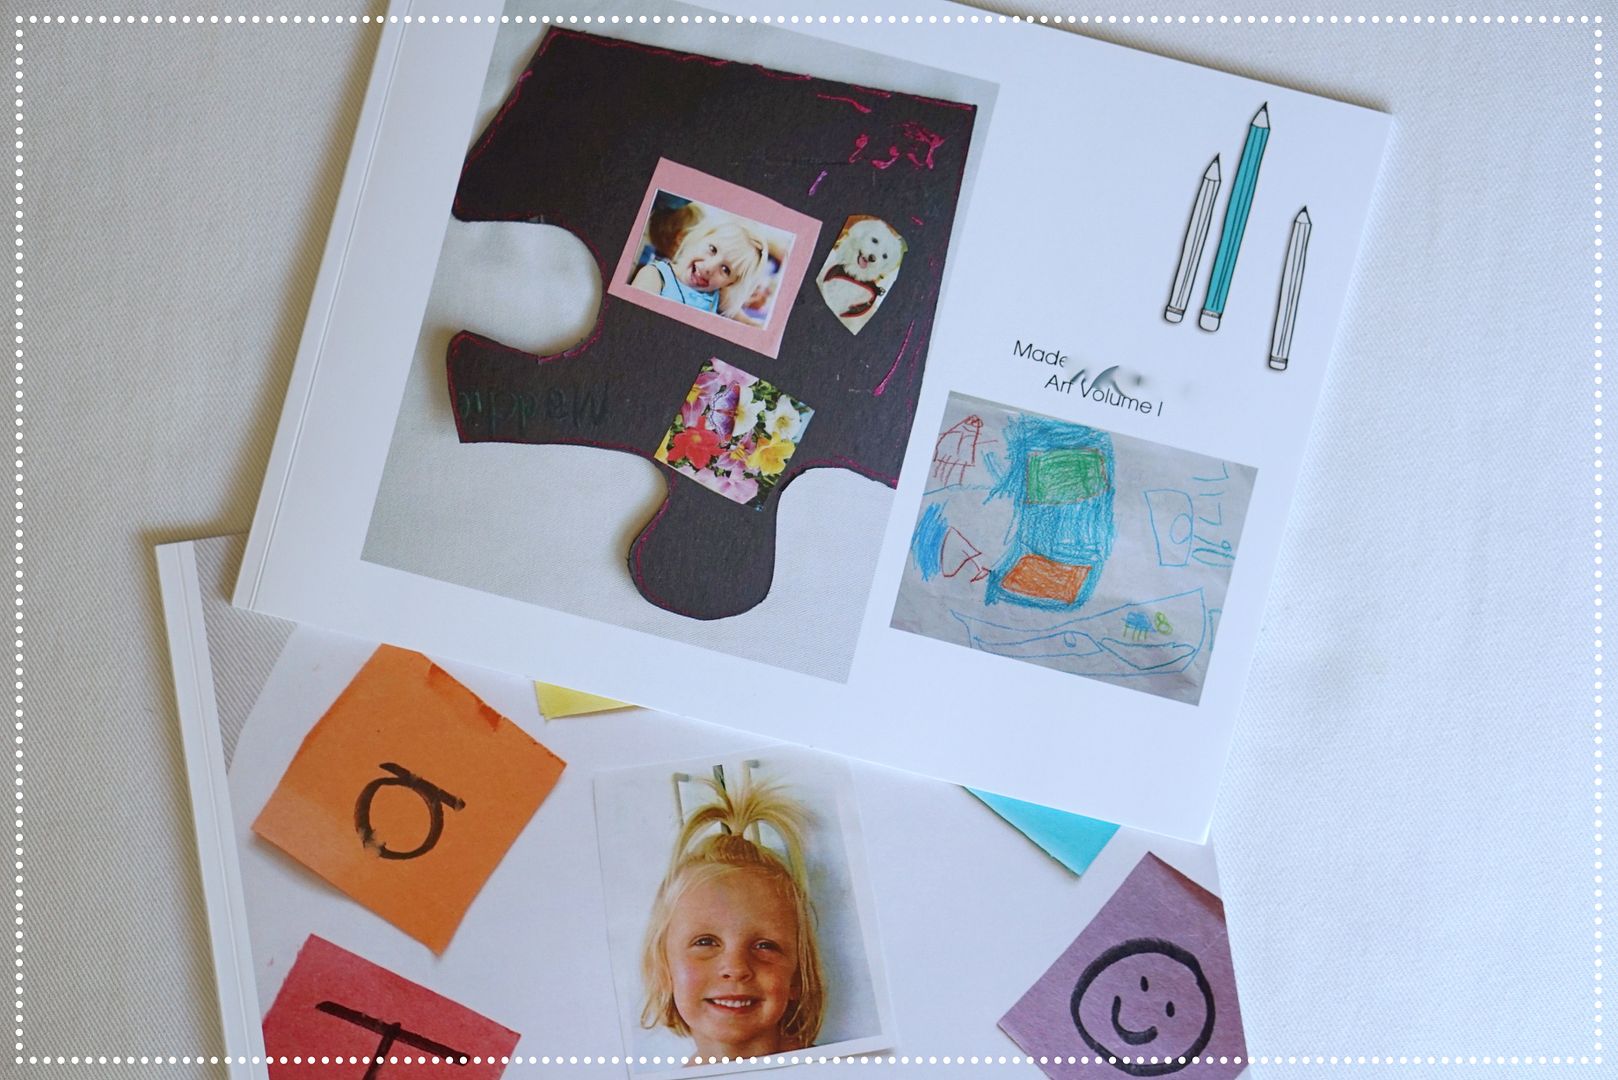
Today I have to show off our super cute Art Photo books that I made for each girl.  I am a pretty sentimental and as a result I save everything from baby clothes to lost teeth to kid's art projects.  However, I am trying to do better/save-less and found a pretty easy way to downsize the kid's art.

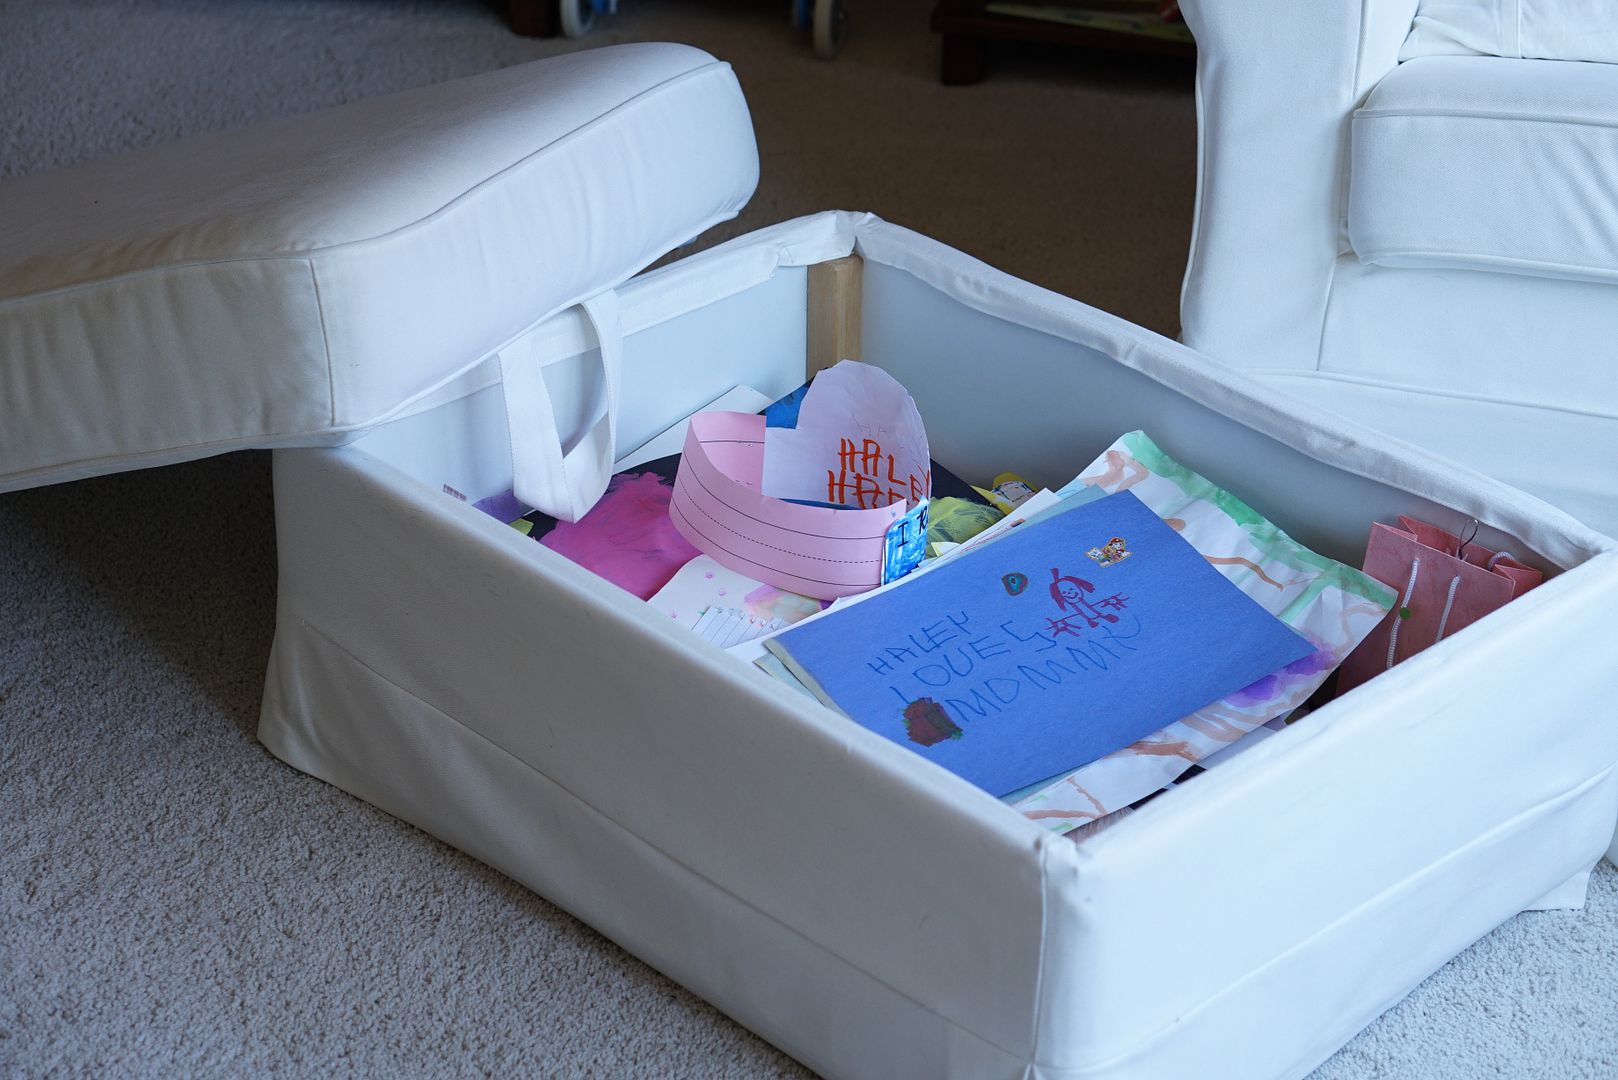
Since my oldest was a little I've used our ottoman to store her art.  It was pretty under control until we added a second artist.  This summer I decided to do something about it so I sorted, labeled and then photographed their best/favorite pieces.

I ended up with 3 garbage bags of recycling when we were all done.  It was freeing and I didn't feel the loss since I had photos!

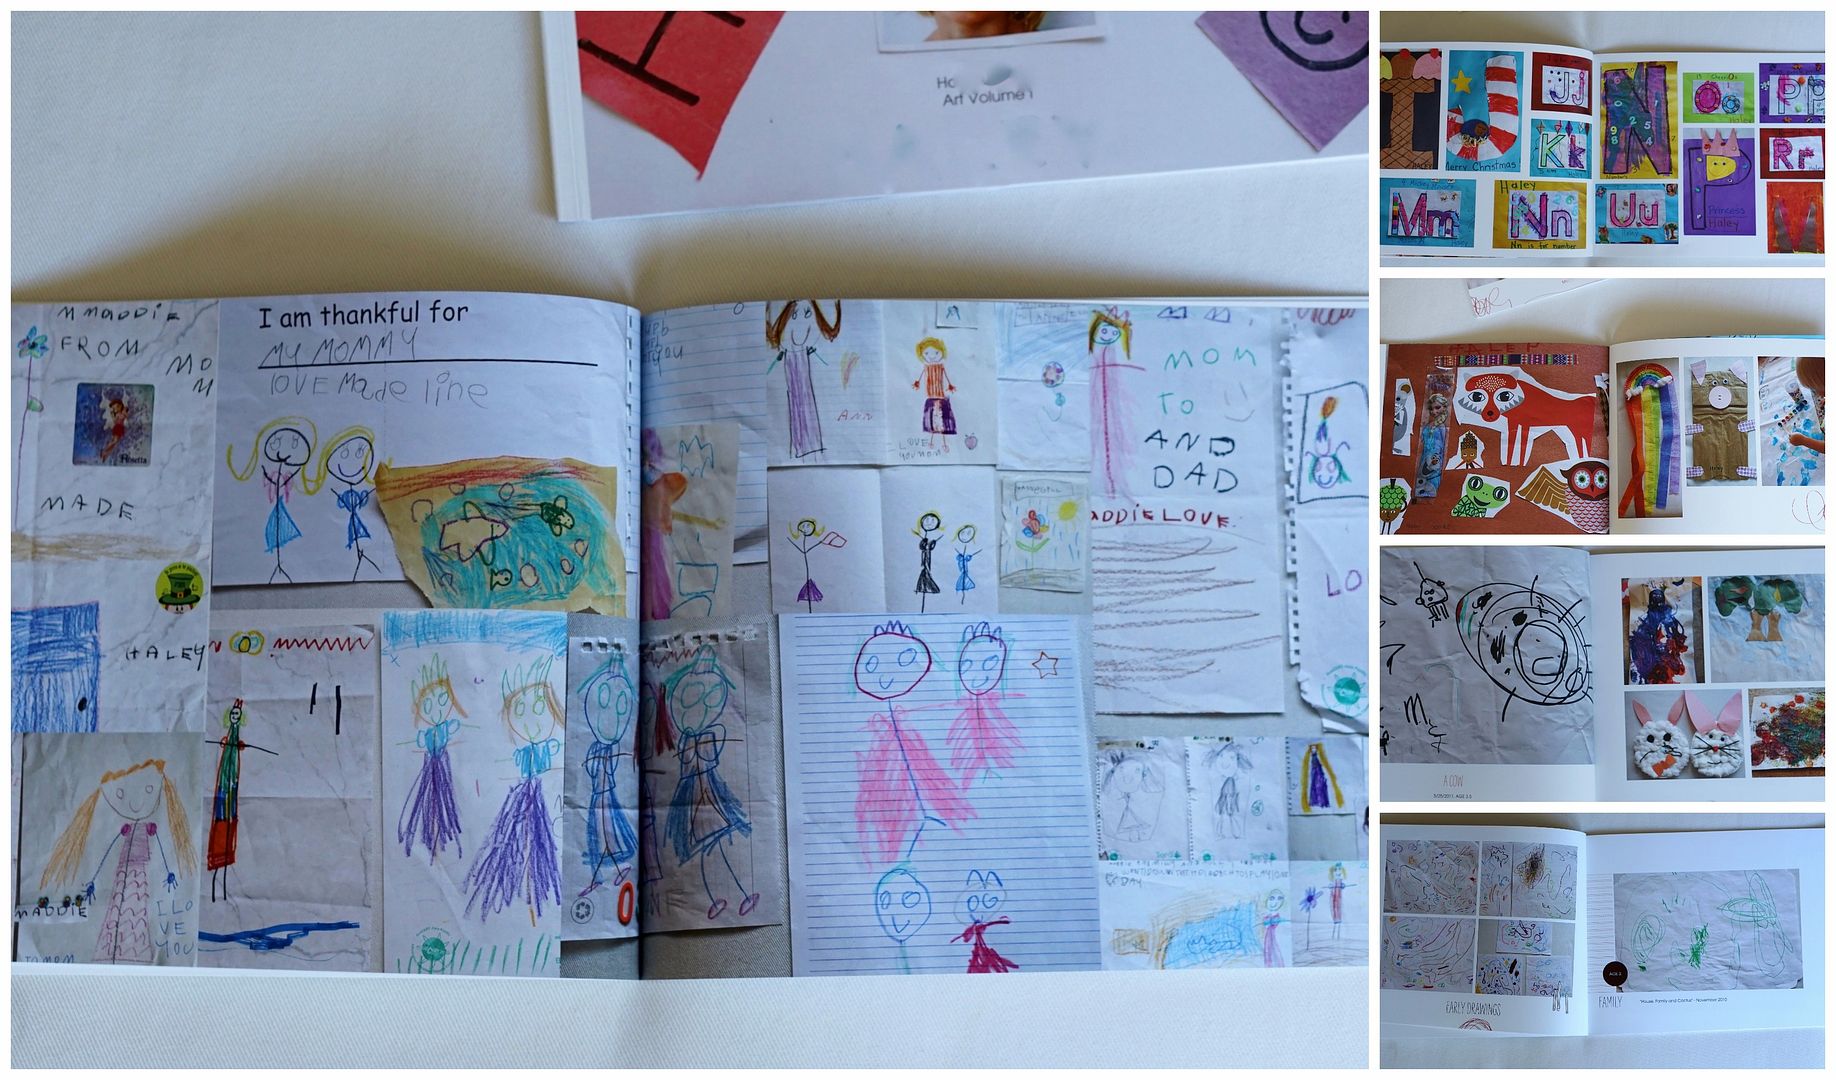
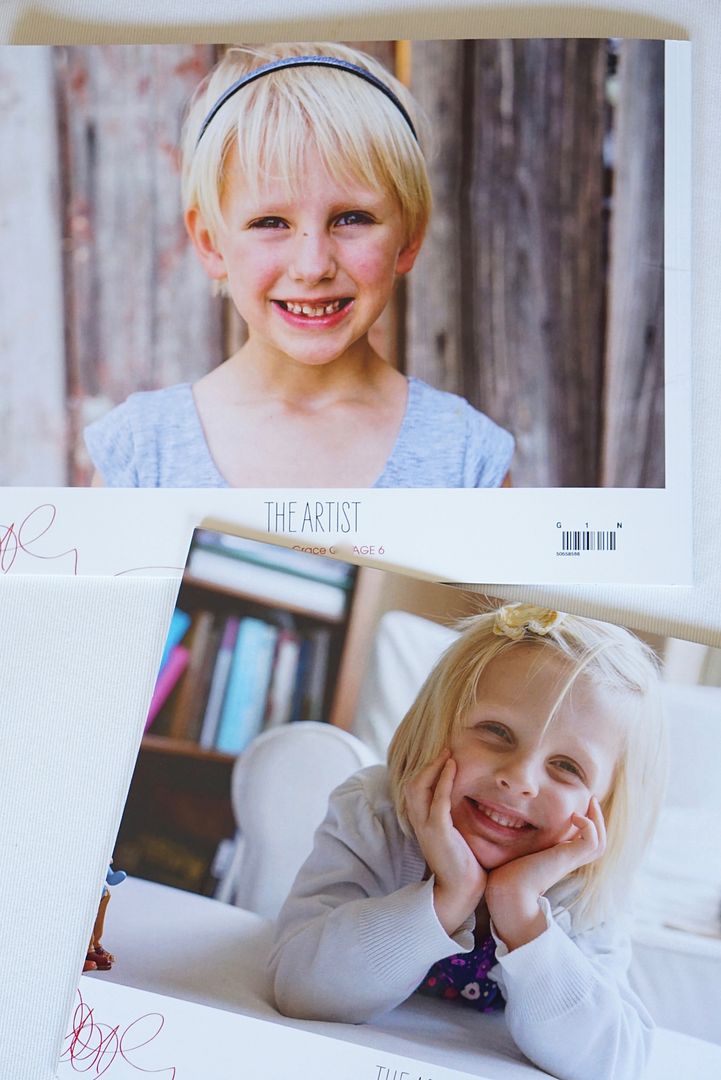
After uploading the photos to Shutterfly I made an 8x11 photo book for each girl.  I called them each "Volume 1" since I'll be making more of these in the future.

Both photo books were practically free (just shipping) as I waited to order them until Shutterfly had a free book promotion.


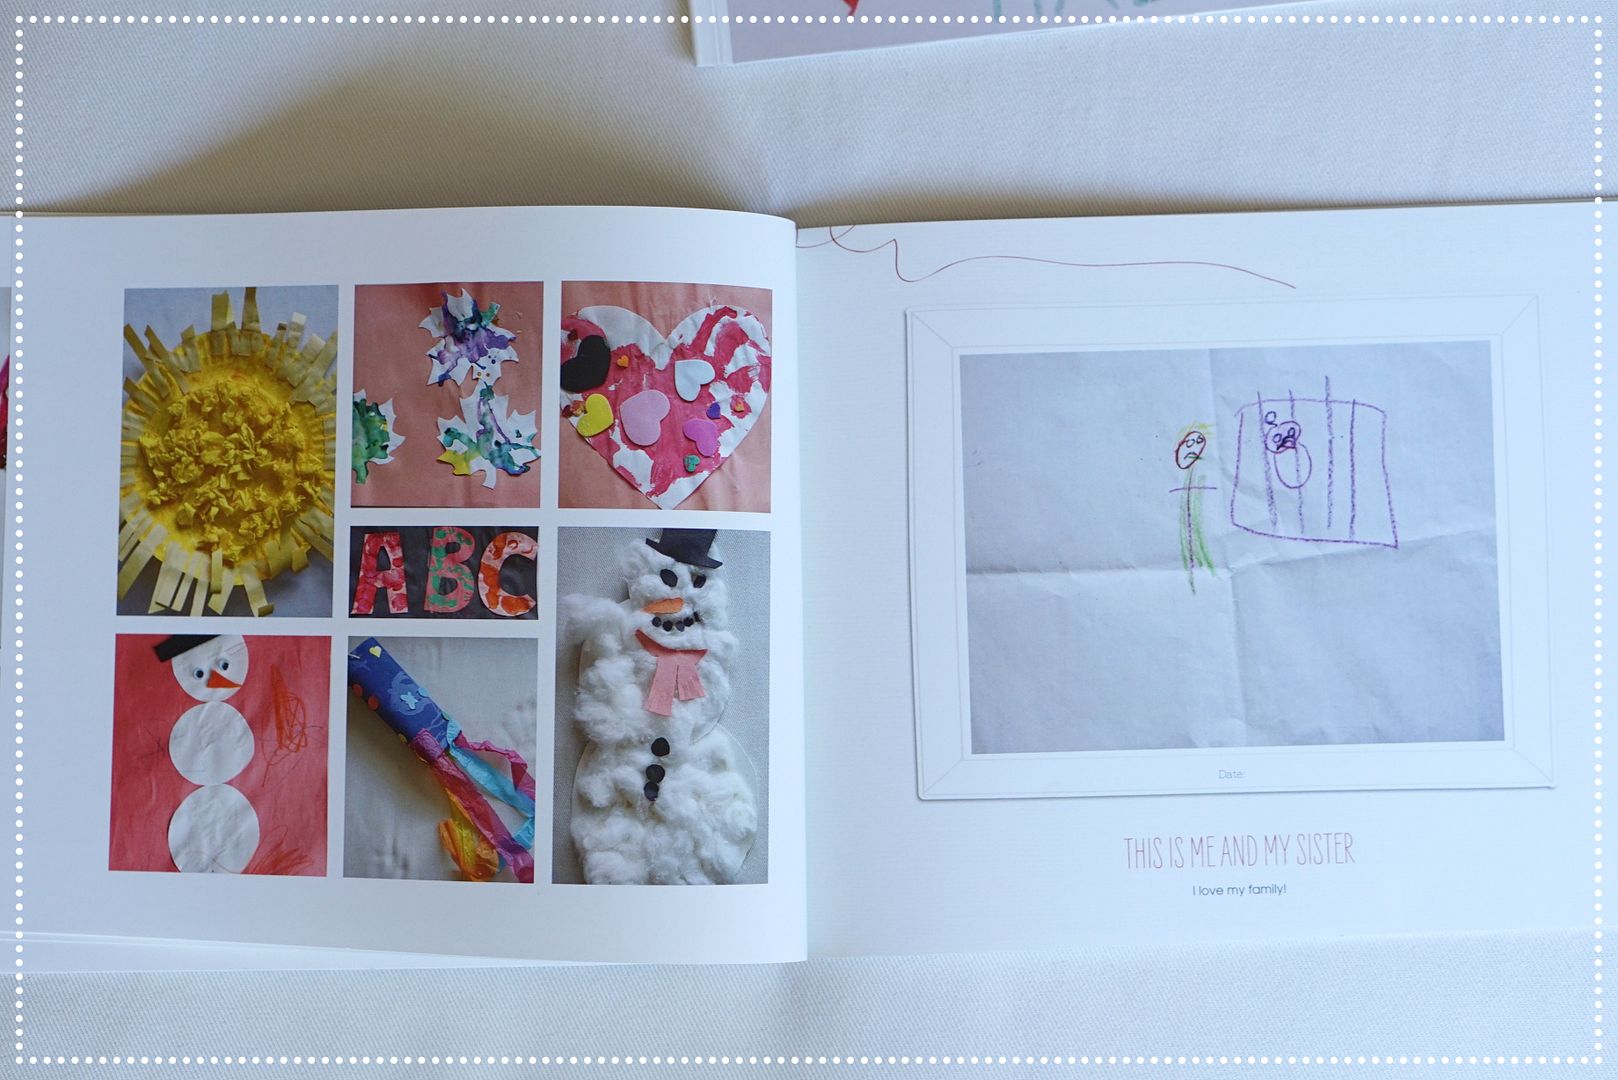
Shutterfly already had a template for little artists so it was very simple to slide in my photos and use the existing embellishments.  I also added a few photos of my artists in action.  

I recommend using the full page layout feature when possible as it makes a big impact visually.


And don't forget to take photos of other forms of art, not just paintings/drawings.


On the back of the book I included big photos of my cuties.


The ottoman is already starting to fill up again, looks like I'll be making another volume before I know it. :)

Tip: As projects come home from school take photos before recycling them.  I'm also taking photos of dioramas (for social studies) and science projects.

Shutterfly often has great promotions on photo books especially around the holidays.  Until November 14th if you're a new customer you can get a free 8x8 book using this link.  It will only cost a little to upgrade to the more art friendly 8x11 size.

For more of my Shutterfly projects check out:


Thursday, June 30, 2016

Hot Wheels Pool Party for a big 5 year old!


My youngest has a summer birthday (mid July) which can make birthday parties a challenge, especially here in Phoenix with temperatures of 100+.  The other big challenge is picking a date where friends are in town since we all tend to try to get away from those hot hot temps!  Lets just say Phoenix in July is often very very empty.  
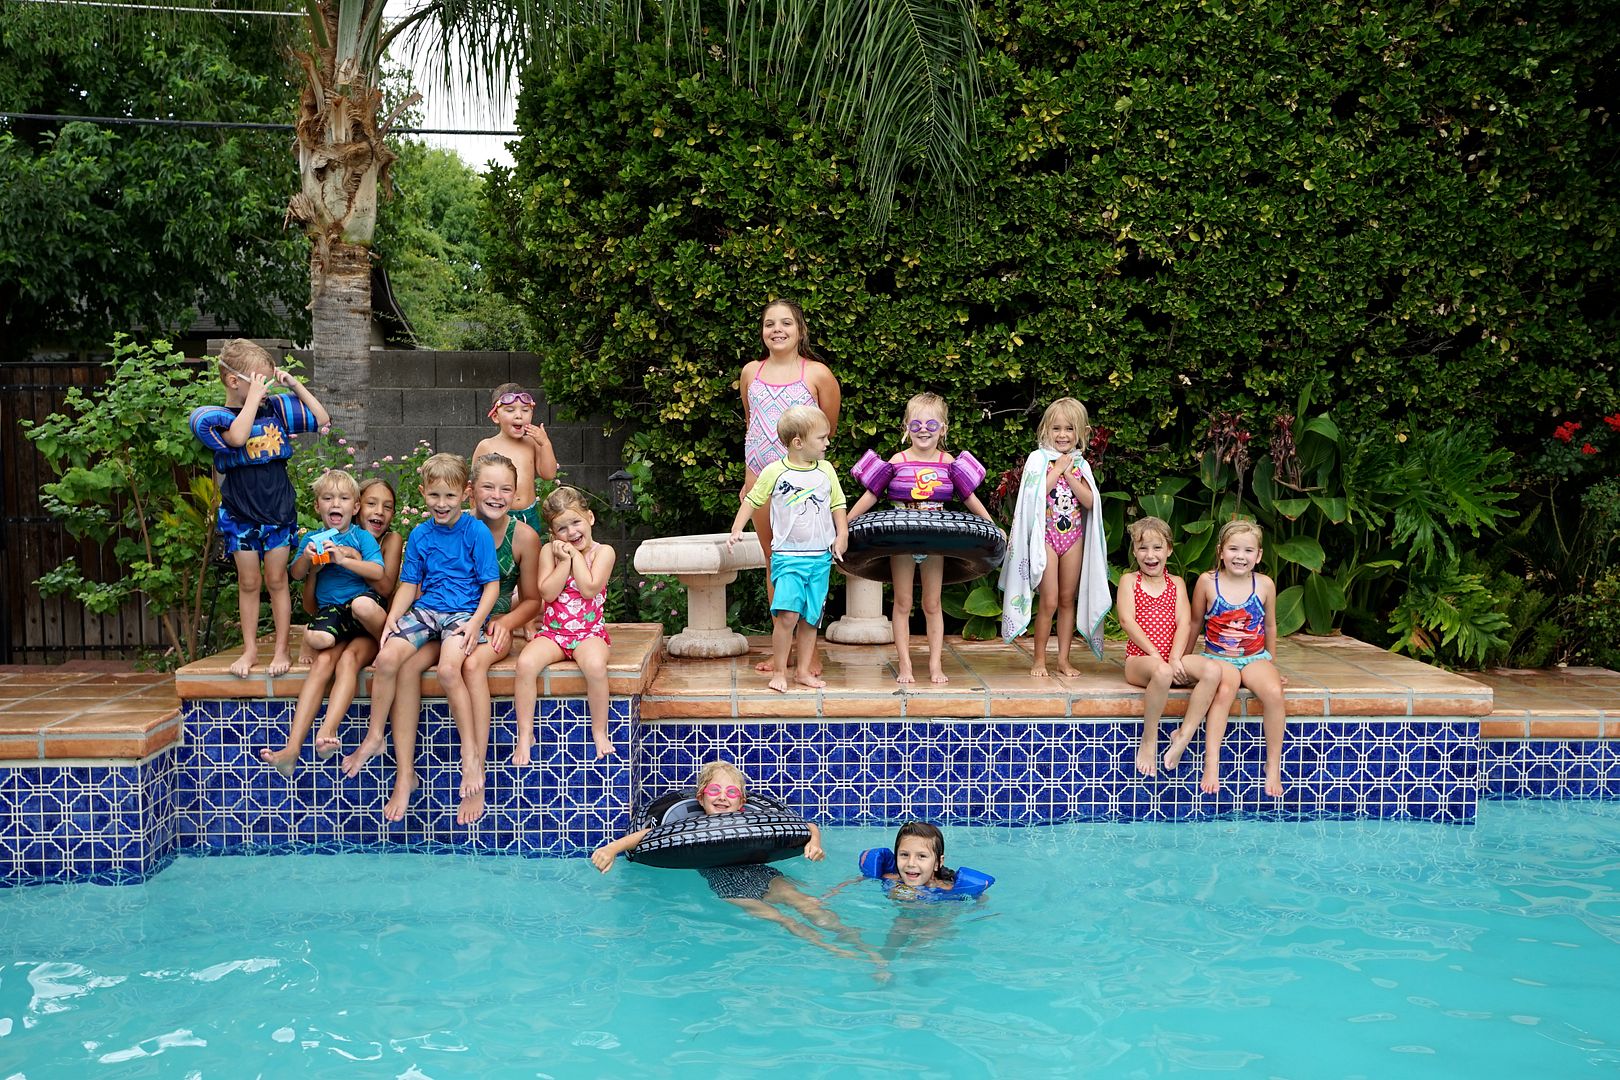
This year I got creative and borrowed a (really generous and kind!!) friend's pool and picked an earlier date before everyone left town.  My soon-to-be 5 year old chose a Hot Wheels theme (so so fun) and we made it a Hot Wheels Pool Party!

Since it was a pool party on a summer morning my prep was pretty easy, but I still wanted to make it fun and memorable.  


Theme- Hot Wheels/Pool Party

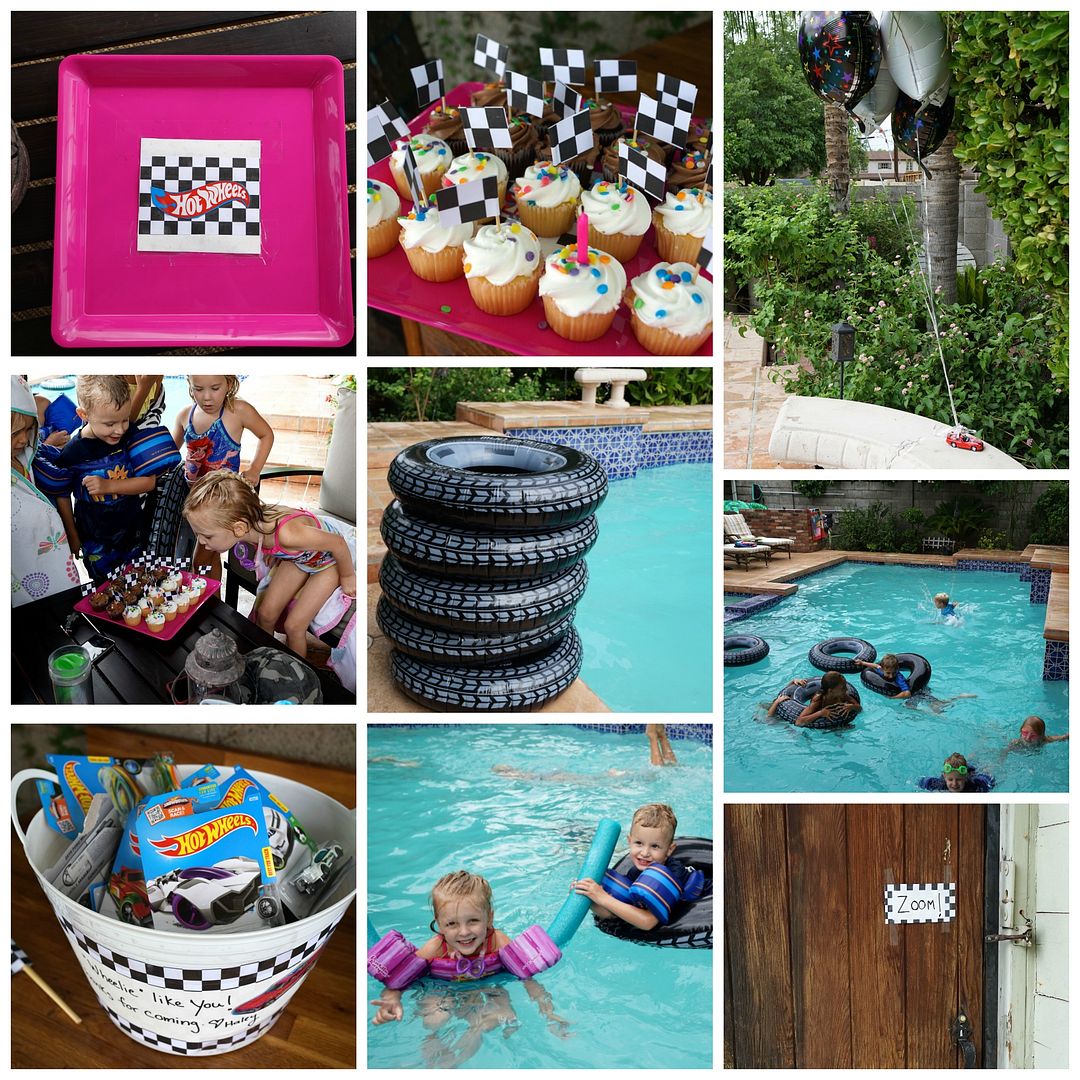
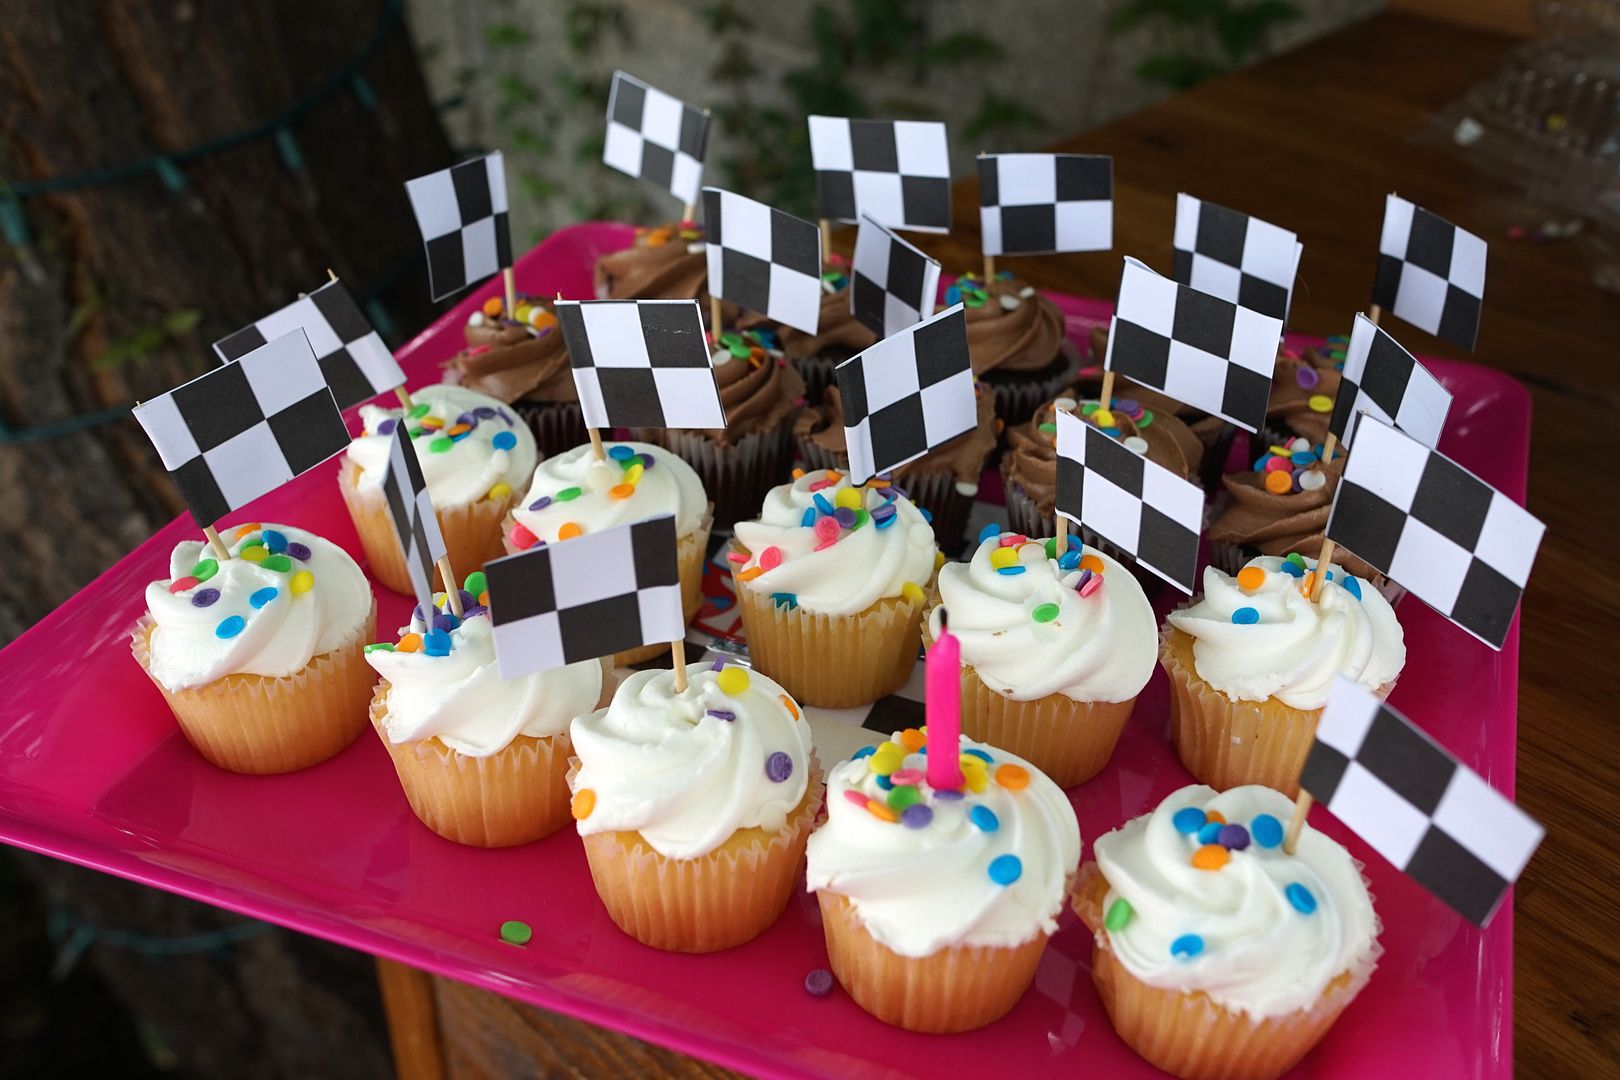
Food - Small cupcakes with checkered flag decorations.  The tiny cupcakes meant we didn't need napkins or plates and less waste from tiny people that only eat the frosting anyway (anyone else have a kid that does that?).  


The flags were made by cutting out checkered flag paper and putting glue on it (glue stick) then folding it around a toothpick.  Super easy!

I got a pink tray from the Dollar Store (daughter's color choice) and taped on a checkered flag/Hot Wheels sign that I made.  The "Hot Wheels" came from a car package.

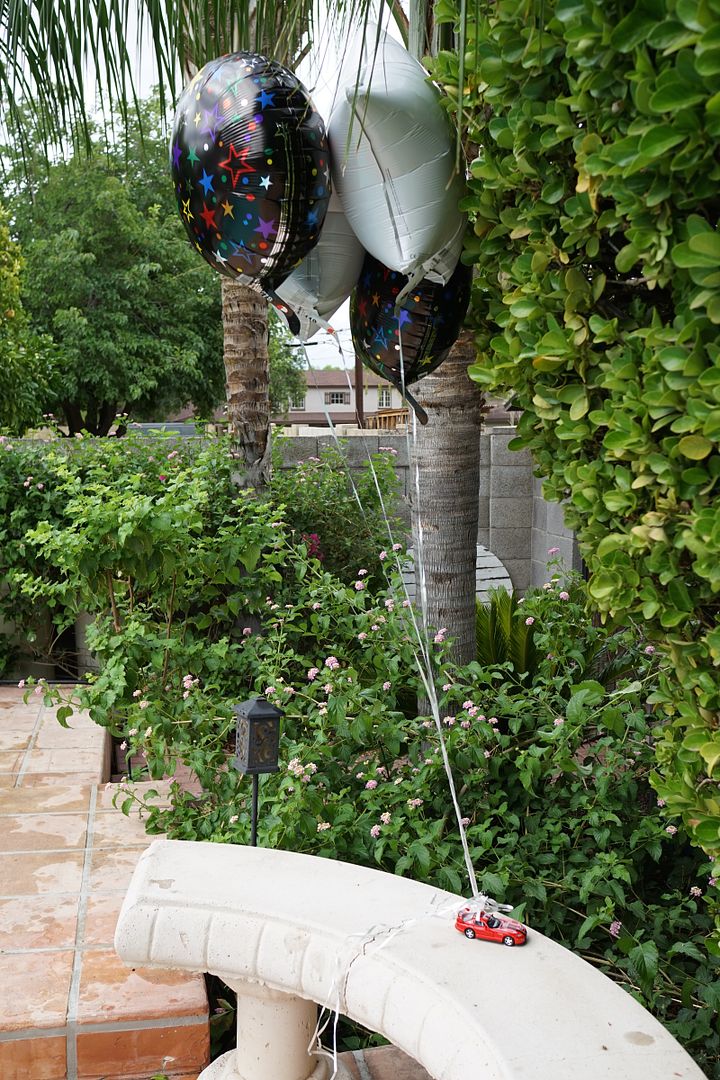
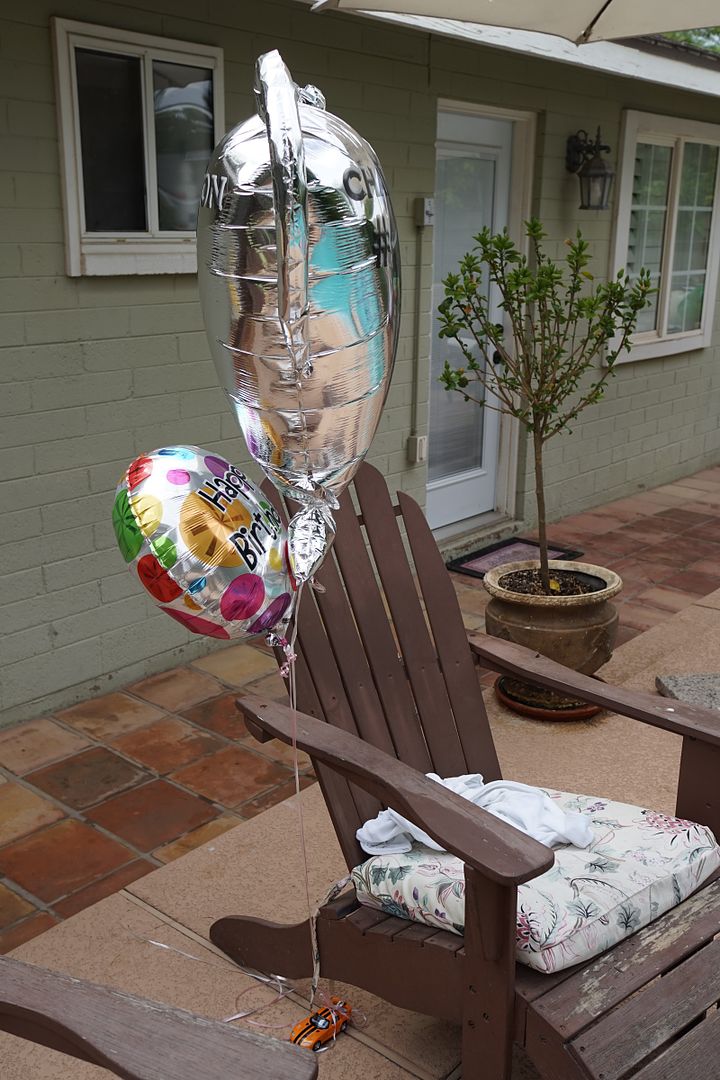
Decorations - Balloons with a car/racing theme.  My daughter chose a BIG trophy balloon over the car options at the store but we added black and white balloons to bring in the car theme.  We anchored the balloons by tying them to larger (metal) cars.  Super big hit with the little ones!


I also had a few checkered signs, the party favor bucket and of course the tire pool floats were decorative too.


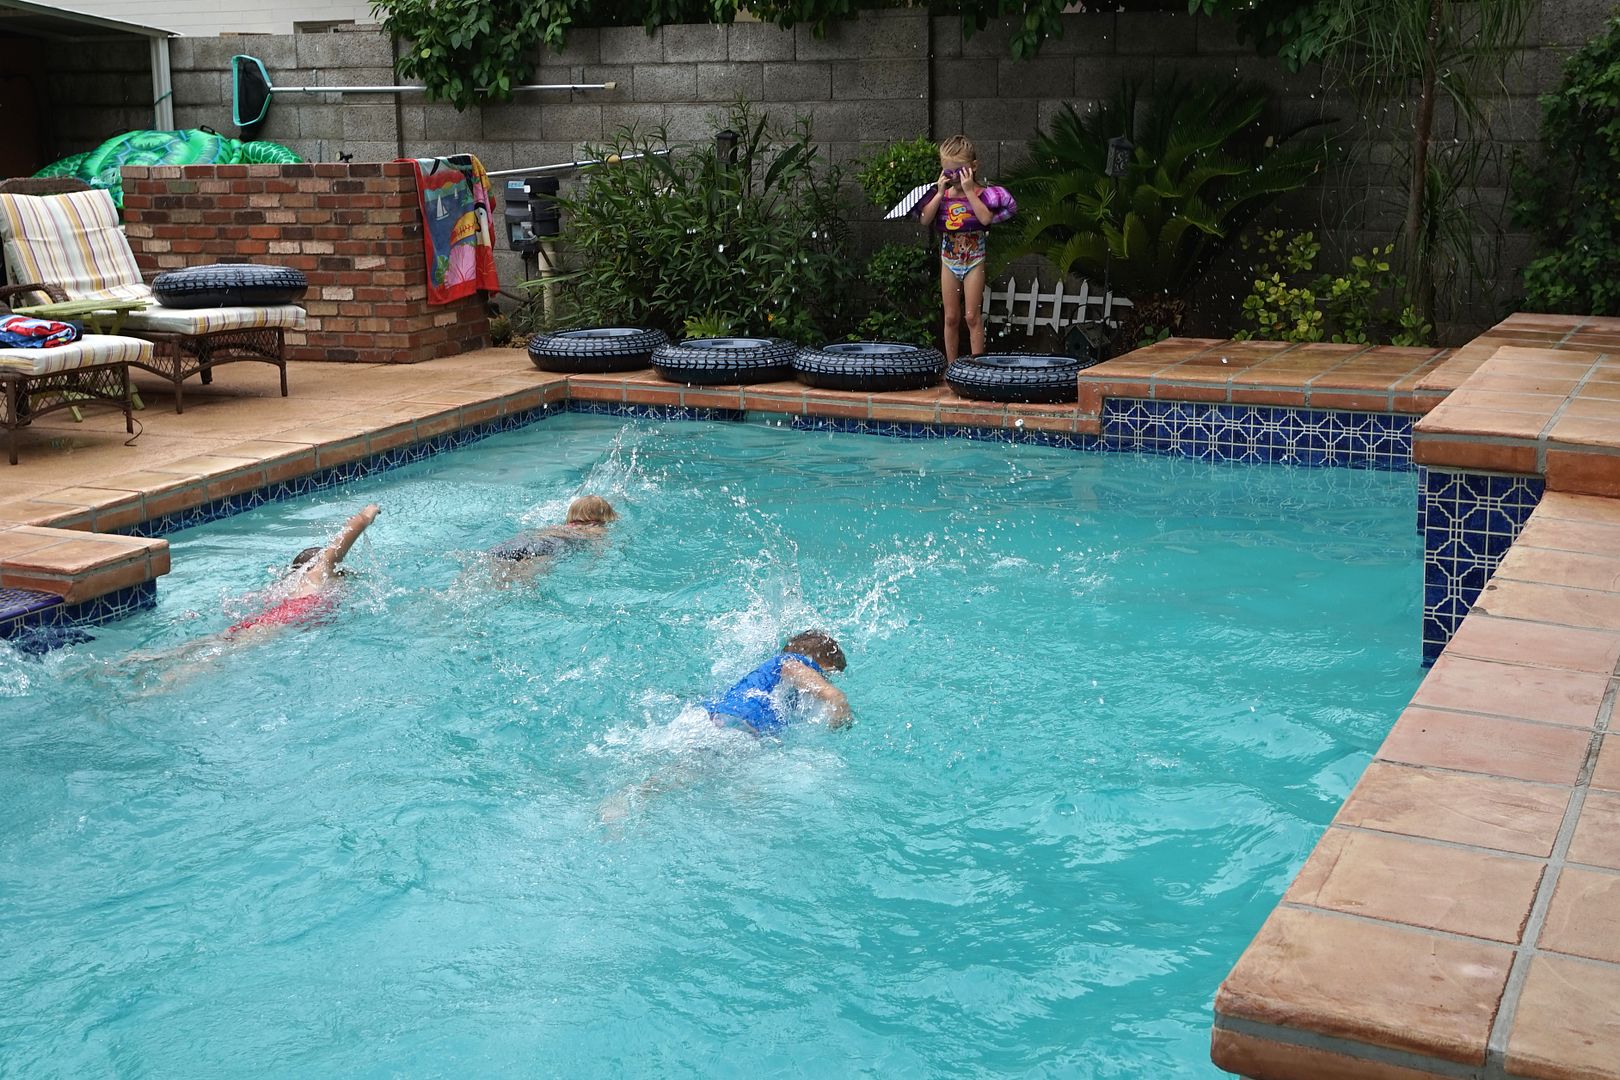
Games - We brought 5 tire themed pool floats (from the dollar store).  The kids did pool relays and swim races using the floats, so fun!  The prizes for the race winners/participants were to take one of the floats home.


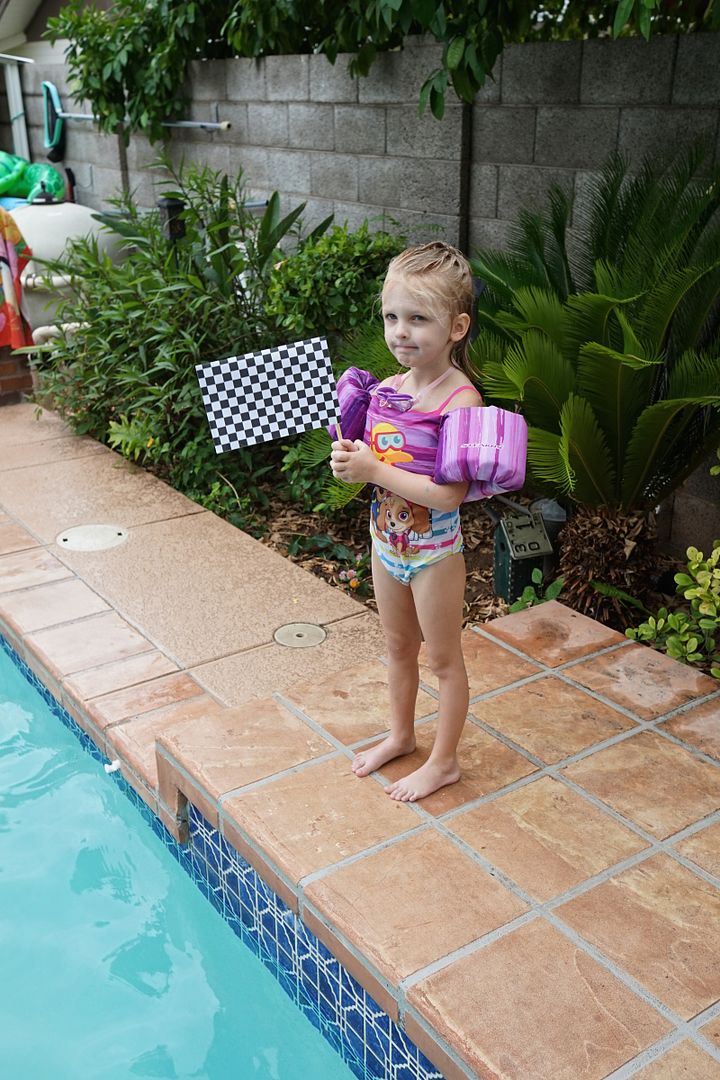
I made my own checkered flag to start each race (my daughter's favorite part) by folding over a checkered flag paper and taping it to a paint brush.  Super easy!

We also did "diving" (jumping in) contests looking for the silliest, prettiest and biggest splash.  So fun!


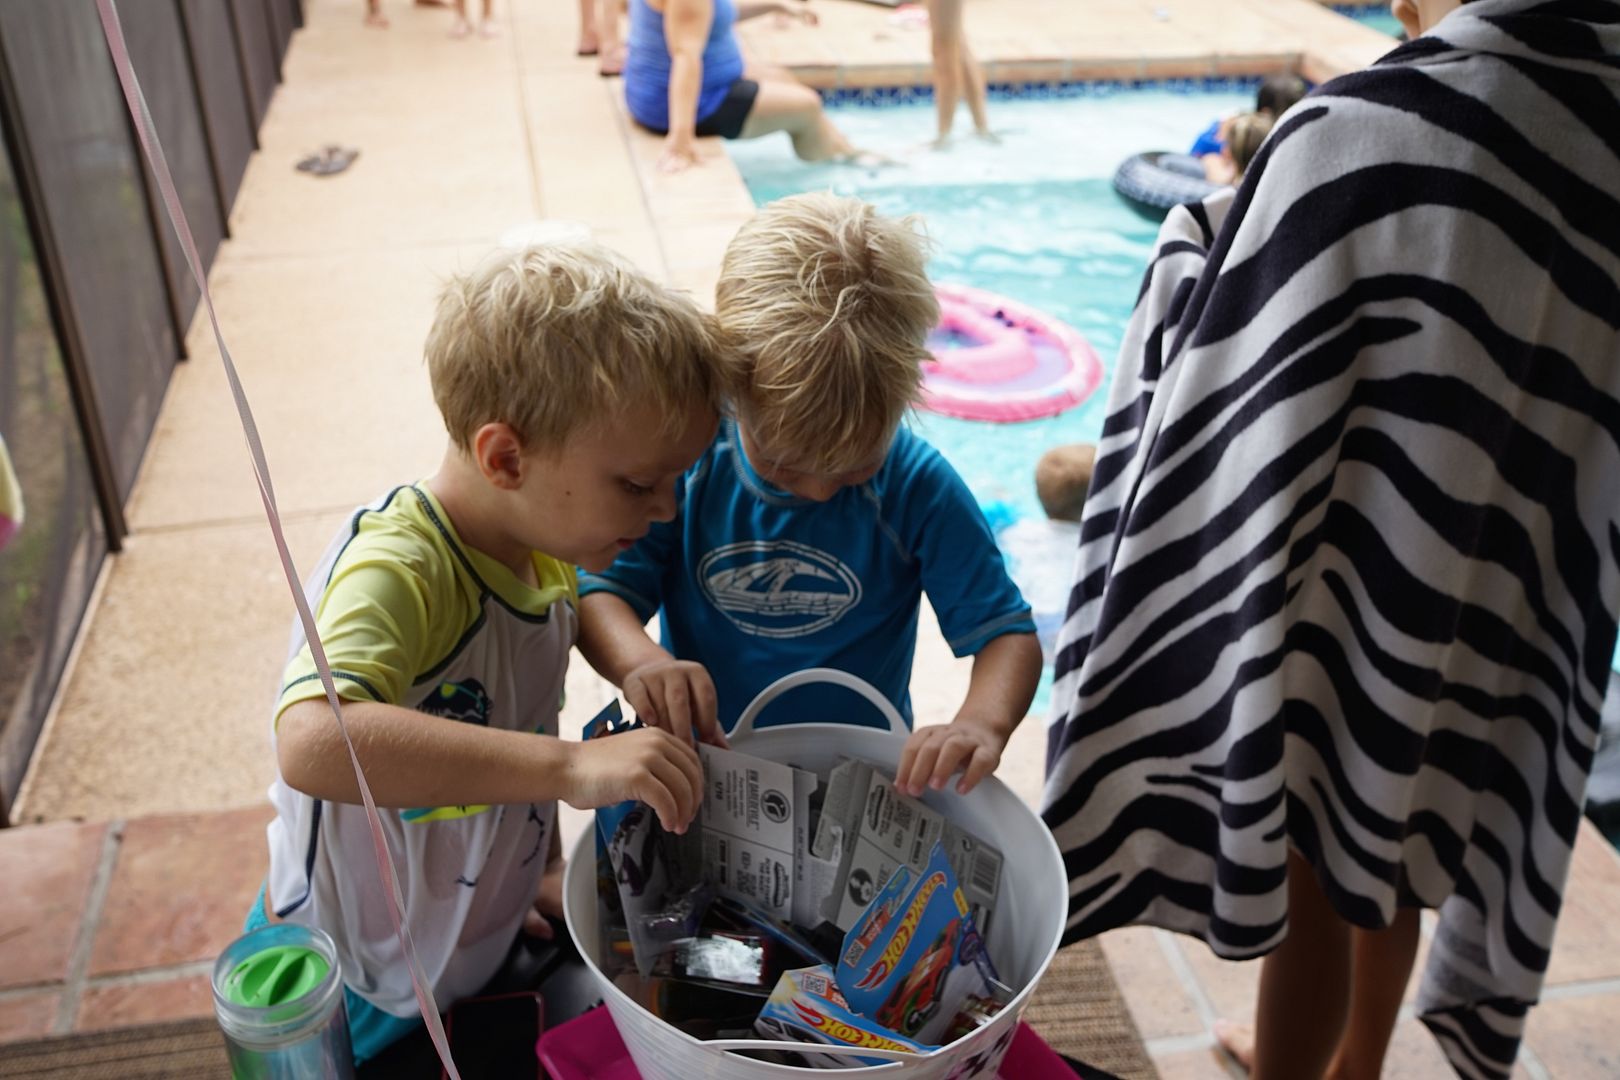
Favors  - Each child got to chose a Hot Wheels car before going home.  I had a bucket filled with cars that had a sign on it saying "I Wheelie Like You, Thanks for coming".  I cut out a picture of a Hot Wheels car (from a Hot Wheels package) to add to the sign.


Easy and fun party!  I love that the theme was gender neutral and also worked for a variety of ages so friends and their siblings could come and have a good time.

My costs:

4 dozen (small) cupcakes = $14
6 helium balloons = $16
5 tire pool floats = $5
Misc decorations = $12
Hot Wheel Cars = $25 (I bought 25, can return the extras)

Total = $72


Thursday, December 24, 2015

Cinnamon Christmas Ornaments


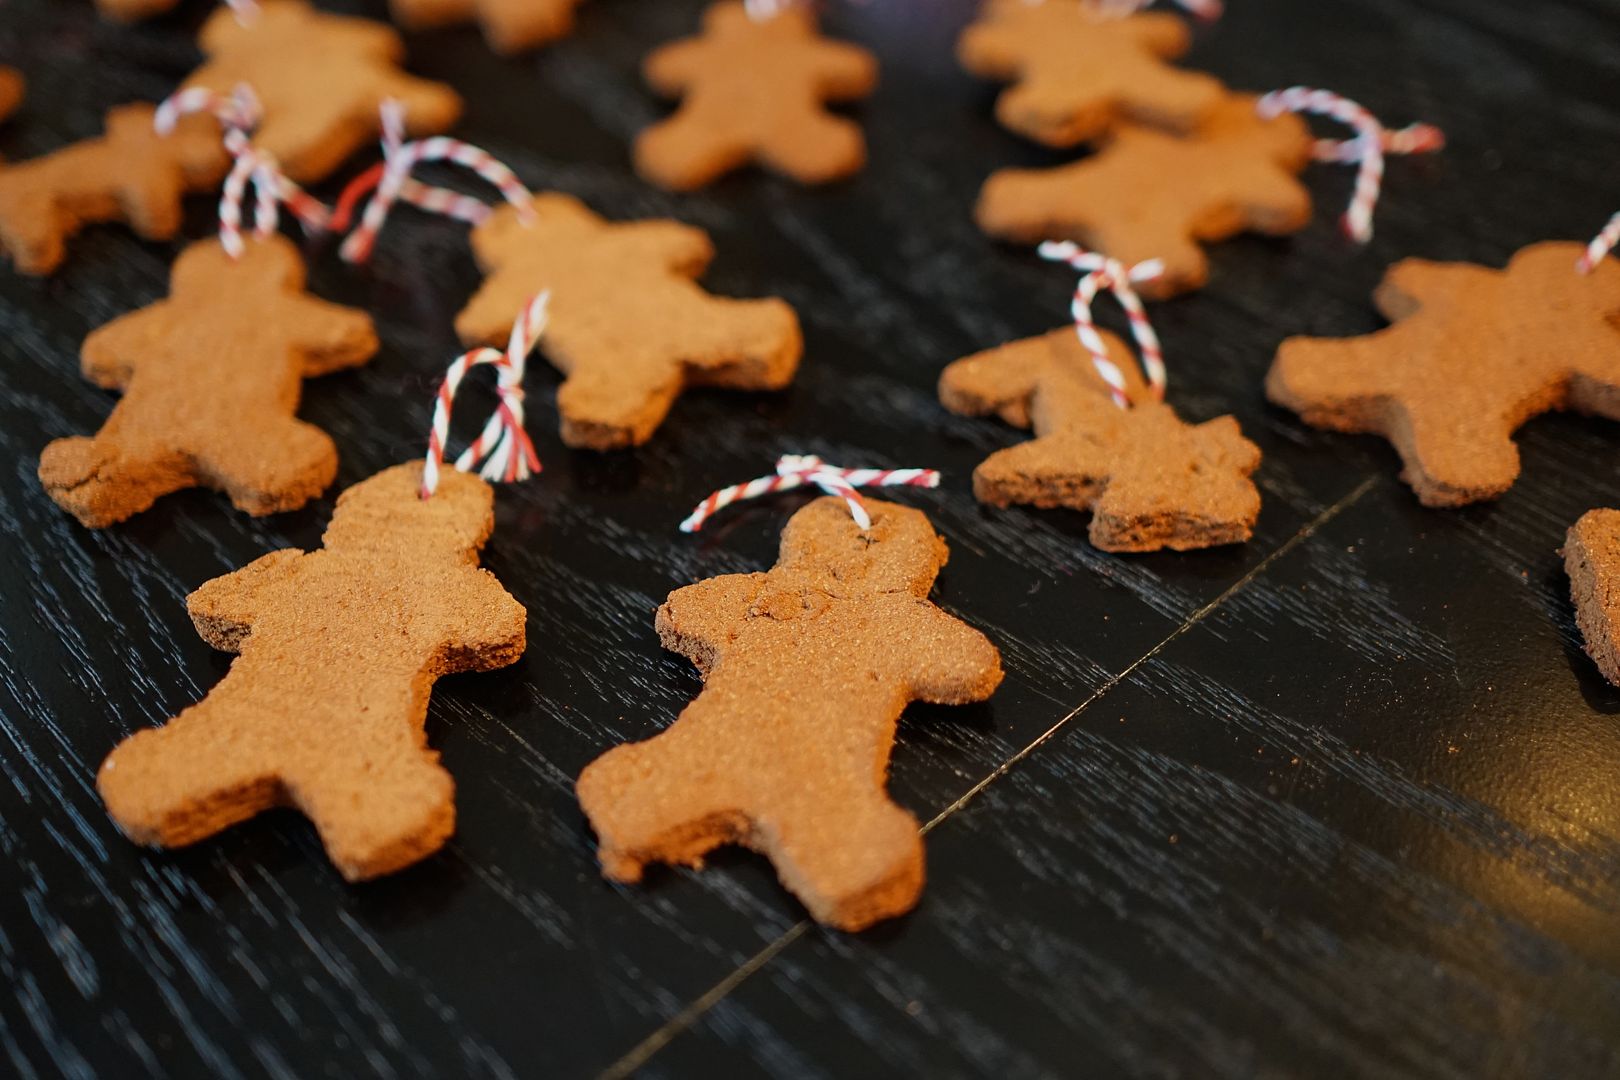
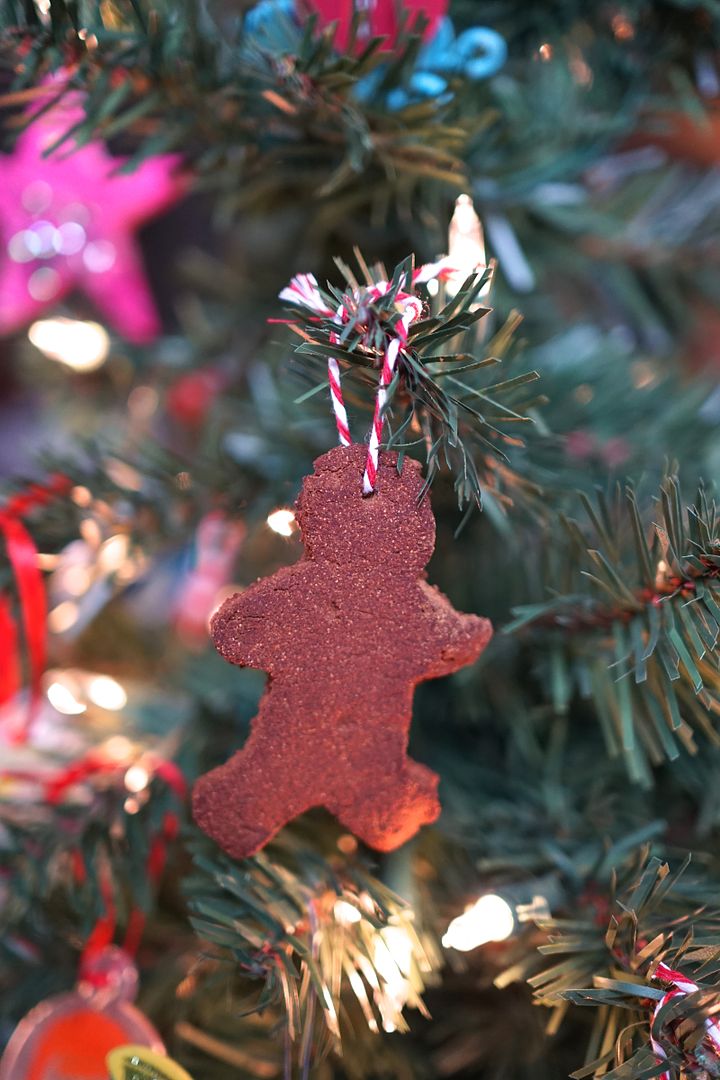
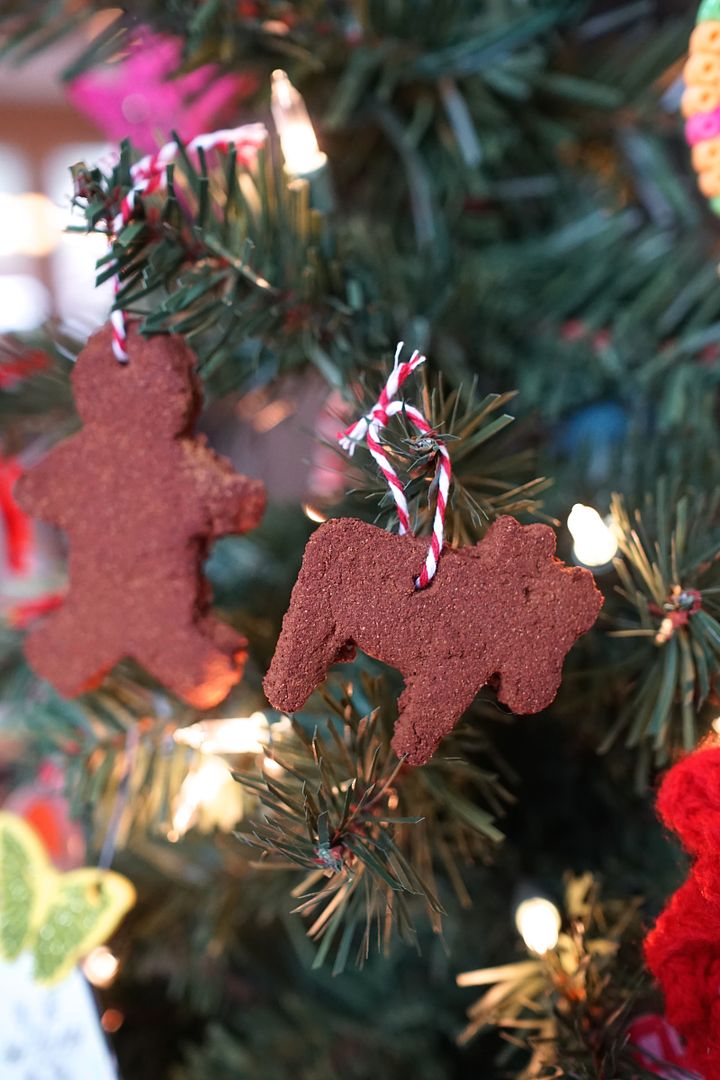
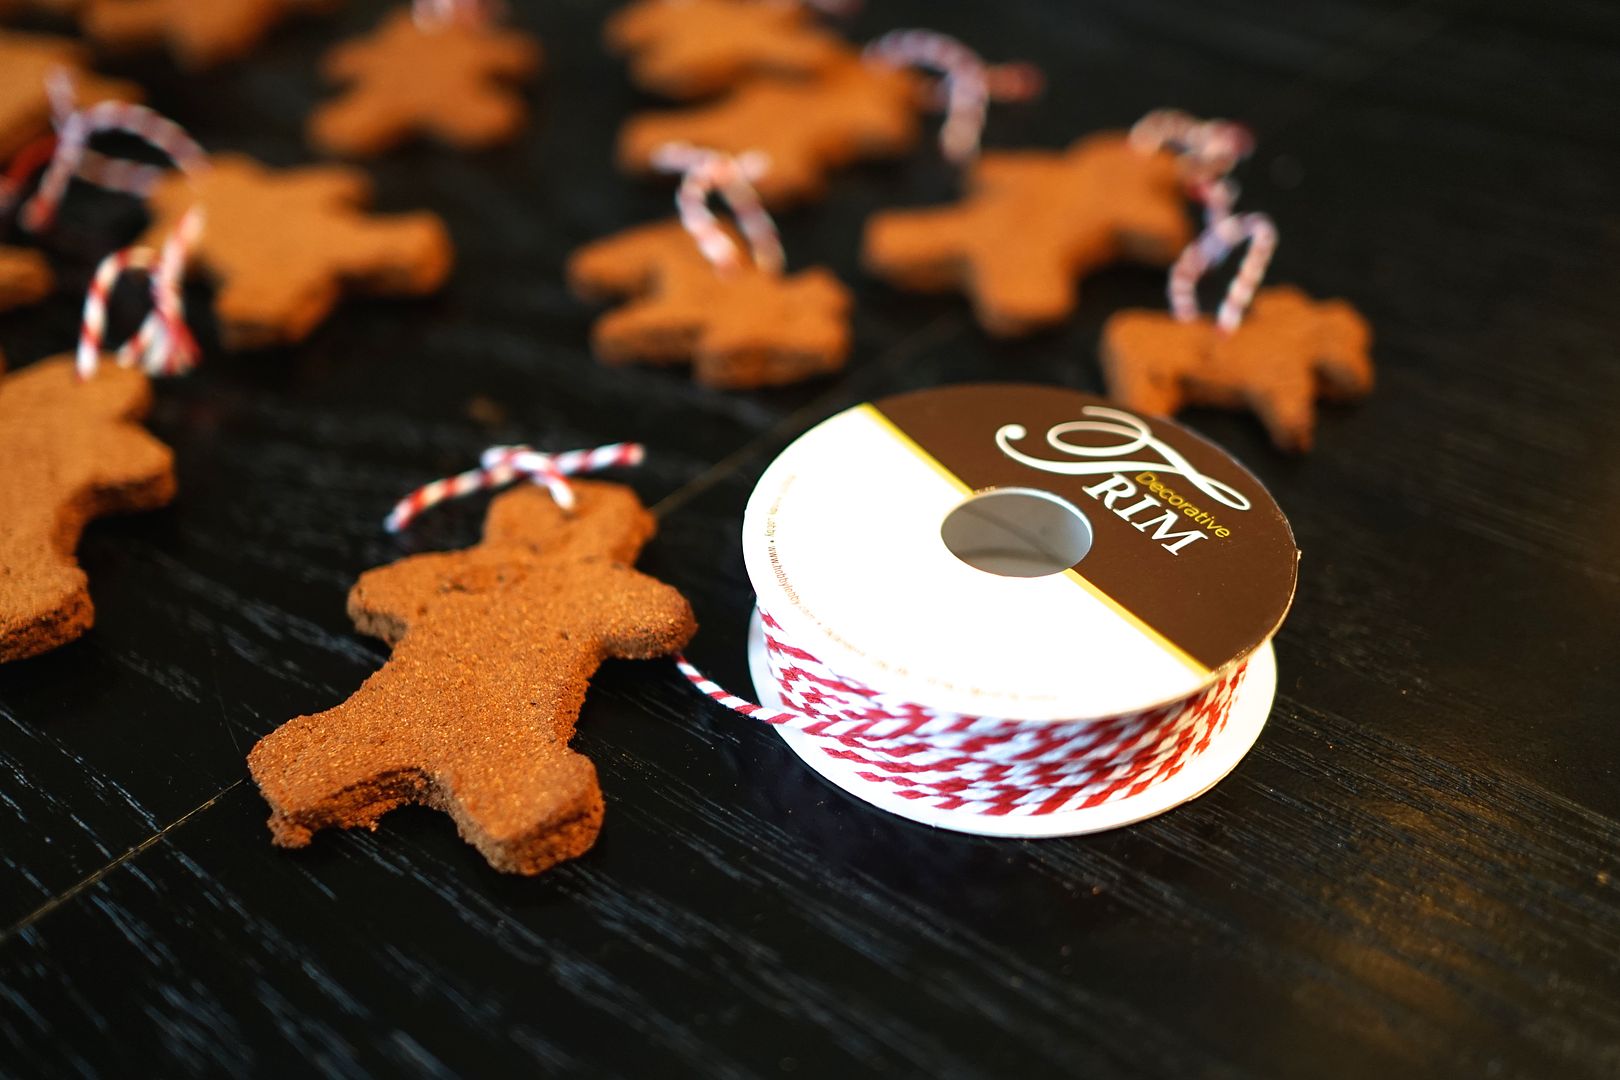
This year my girls are once again decorating our main family tree with homemade ornaments.  Most of our ornaments this year (and last) were made from purchased kits that I picked up at Target and Hobby Lobby.  I decided that we should branch out and make something from scratch from the many many pins I had been accumulating on Pinterest over the years. :)  These Cinnamon ornaments looked perfect for making and giving.

However...in the interest of full disclosure I will admit that it was a much more involved and sticky mess than I'd anticipated.  As a result I ended up making them while the children silently watched as I became more and more frustrated with my "dough".  Let's just say the rolling out portion of the project is a bit more difficult than your typical cookie.  They also took longer to "cook" (dry) in the oven than I'd anticipated.  I'd say I cooked them for closer to 2.5 hrs.  And finally, this is both a pro and a con but the house smelled of cinnamon for hours.  Which is nice but after awhile my family was complaining.

They turned out darling though so I'll let you decide if it's worth the effort!


Cinnamon Christmas Ornaments
Found the recipe here 

1 cup of applesauce 
1 1/2 cups cinnamon (I got mine for cheap at Costco.) 
cookie cutters in different sizes (I used a gingerbread man and a moose)
string for hanging 

Directions
Mix 1 cup of applesauce with 1 cup of cinnamon in a large bowl.  Add the additional 1/2 cup of cinnamon and continue to incorporate. If it’s too wet add more cinnamon, too dry add more applesauce.  You'll need to use your hands and keep mixing, mixing, mixing.

Scatter some cinnamon (like if you were rolling out cookies with flour) and roll out applesauce/cinnamon dough to 1/4″ thick. If the dough is too wet it will make a huge mess and stick to your rolling pin. 

Use your cookie cutters to cut out shapes. 

Preheat your oven to 200 degrees Fahrenheit. Place the shapes on a cookie sheet (I put parchment paper down first). The shapes can be really close together but not touching; they won’t rise in the oven. Using a skewer carefully make a hole through each shape towards the top, but not too close. Stick the ornaments in the oven for an hour or more. The juice from the applesauce needs to evaporate. The range in cooking time depends on your house, humidity and climate. Once they are done cooking leave them in the oven overnight. They should be rock hard. If they’re not, give them some more time in the oven. 

The next day loop a string through each of the holes to hang on the tree.

Monday, December 21, 2015

Pinecone Christmas Tree Craft - Nailed It ;)


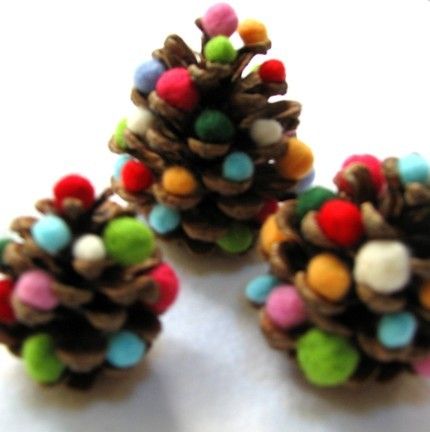
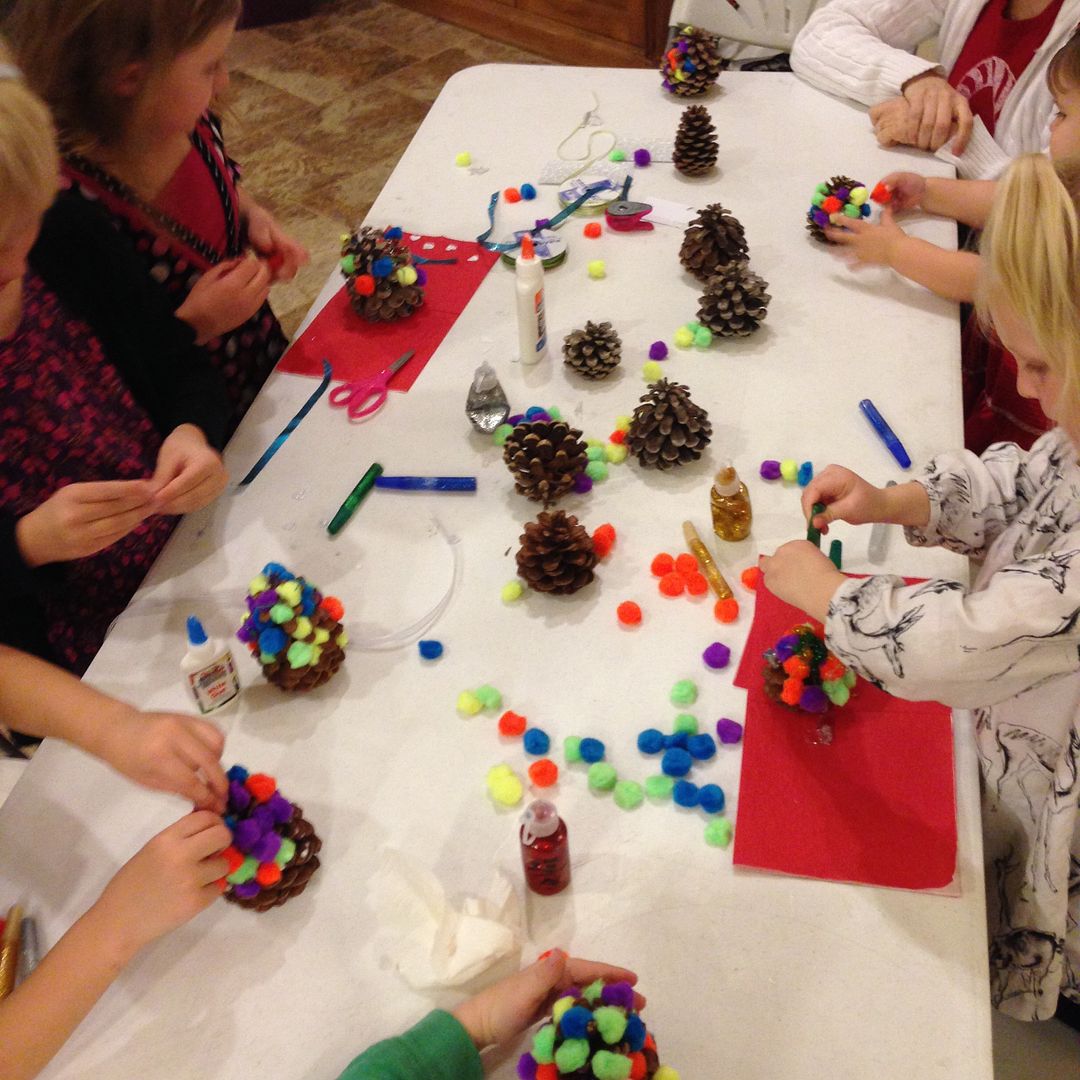
I saw this cute pine cone Christmas craft on Pinterest and decided to try it at our home group Christmas party this year.  The kids range from toddler - school age and I figured it was a craft they could all do.

Nailed it ;)

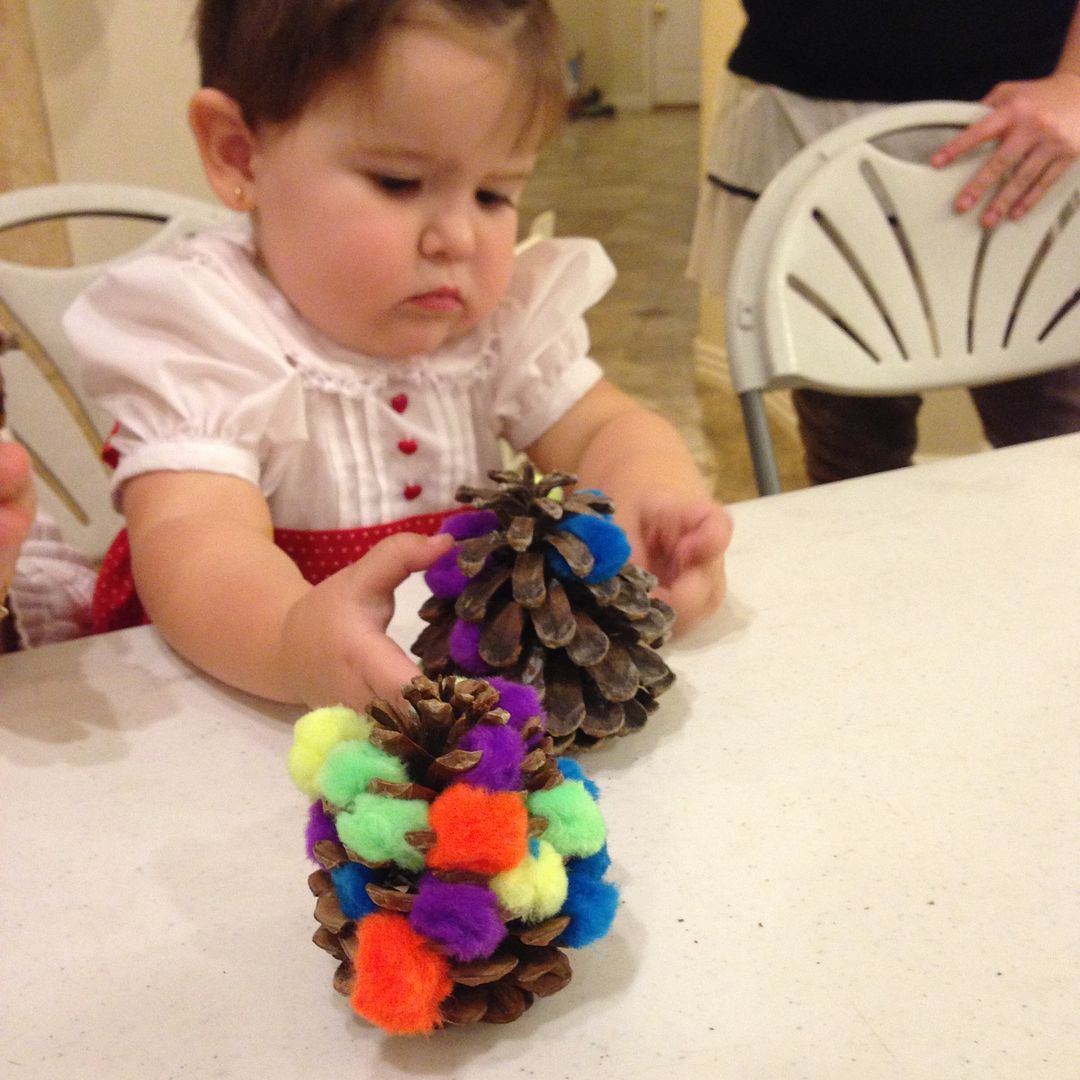
I might have underestimated the potential to overuse glitter glue a tad bit, ha!  But seriously the kids had the best time.  I collected pinecones from a friend's yard and brought pompoms, glitter glue, silver paper (for stars) and pieces of ribbon.


Interestingly the youngest kid's pinecones looked the most like the inspiration photo since they didn't use the glitter glue.  Pushing in pom poms kept the little 2 year olds busy for quite a while.  This was a great toddler activity (just don't give them glue)!

Sunday, December 6, 2015

Advent Calendar Ideas for Kids

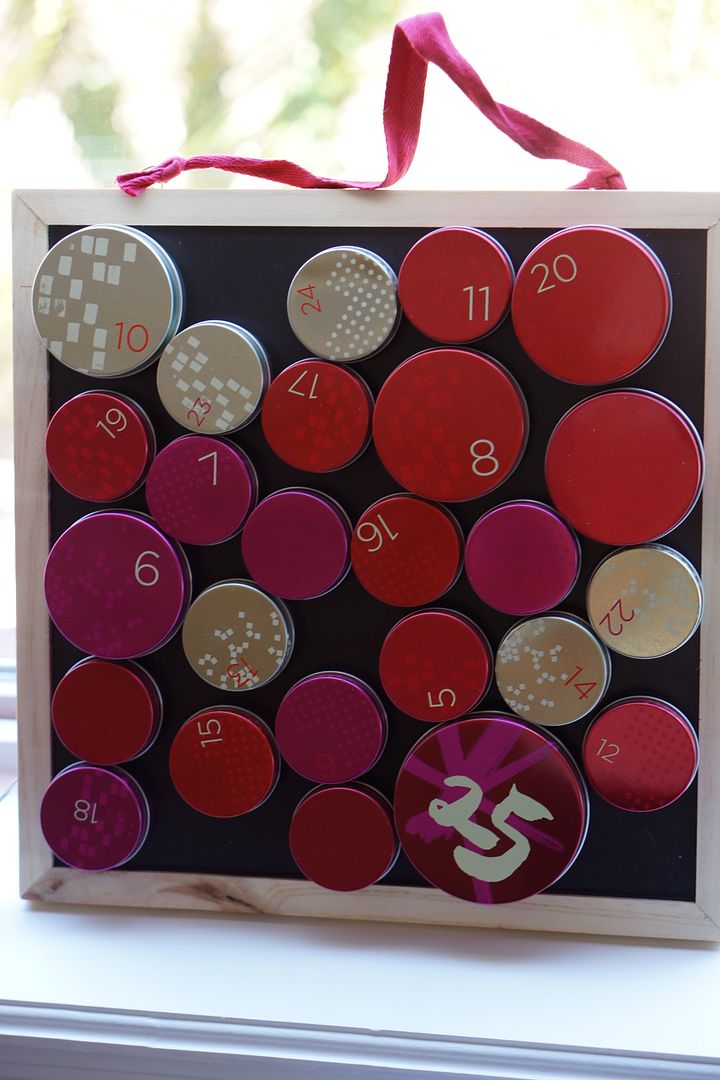
When I was growing up we always had an advent calendar, usually the pretty paper kind where you open a different window each day.  With our own children we've had the chocolate advent calendars (from Trader Joe's mostly), plus the paper kind of my childhood.  Last year I branched out and purchased the Starbucks advent calendar made of 25 different tins full of chocolate graham crackers that stuck to a magnet board.  


This year I decided to get my act together and put family activities and surprises in the tins each day instead of more candy.  Well, they sometimes get candy too (m&m's or Dove chocolates so far) but the big thing is the activity written on a small piece of paper.

We're only 6 days in but the kids are loving it and excitedly open the tins each day (usually after dinner).  Here are the activities I've come up with for the month.  The beauty of this type of advent is that I can change the papers if needed before they open the day, so I'm not locked into anything.  And...we already had fun activities planned (Zoo Lights, Christmas Tea) so I just put those down and will keep our plans secret until they open that day.  

Advent Calendar Ideas:

1. Take down the Christmas Books and read one together.
2. Take out the wooden nativity set and take turns setting it up.
3. New Christmas Socks! (from the $ section at Target).
4. Watch a Christmas movie together.
5. Attend Christmas tea. (this was at church but you could make your own tea party at home)
6. Make a Christmas craft together. 
7. Special NEW Christmas tales book. 
8. Christmas Puzzle (from the $ section at TRU)
9. Make play dough snowmen
10. Zoo lights tonight!
11. Draw a Christmas picture/write a letter to a family member to mail.
12. Make and decorate donuts.
13. Christmas shopping for family (kids pick out for parents and sister).
14. Watch a Christmas movie together.
15. Take a walk around the neighborhood to see lights.
16. Make a Christmas craft together.
17. Read the Christmas Story out of the bible together.
18. Small Group Christmas Party.
19. Make Christmas Cookies.
20. Go see the Nutcracker ballet! :)
21. Go to the Zoo and Ikea.
22. Make hot chocolate and read Christmas books together.
23. Drive around and look at lights and get frozen yogurt treats.
24. Set up luminaries in the neighborhood and our front yard.
25. Christmas! 

Other activities that I may switch out as needed:

  • Wrap gifts 
  • Decorate Gingerbread House
  • Breakfast donuts and then play at the park
  • More neighborhood walks/hot chocolate 
I love this time of year and I have to admit that so far doing these activities is even better than just eating chocolate. :)

My pearl wearing blond beauties at the Christmas Tea yesterday. 

Wednesday, December 31, 2014

Frozen Castle Kit

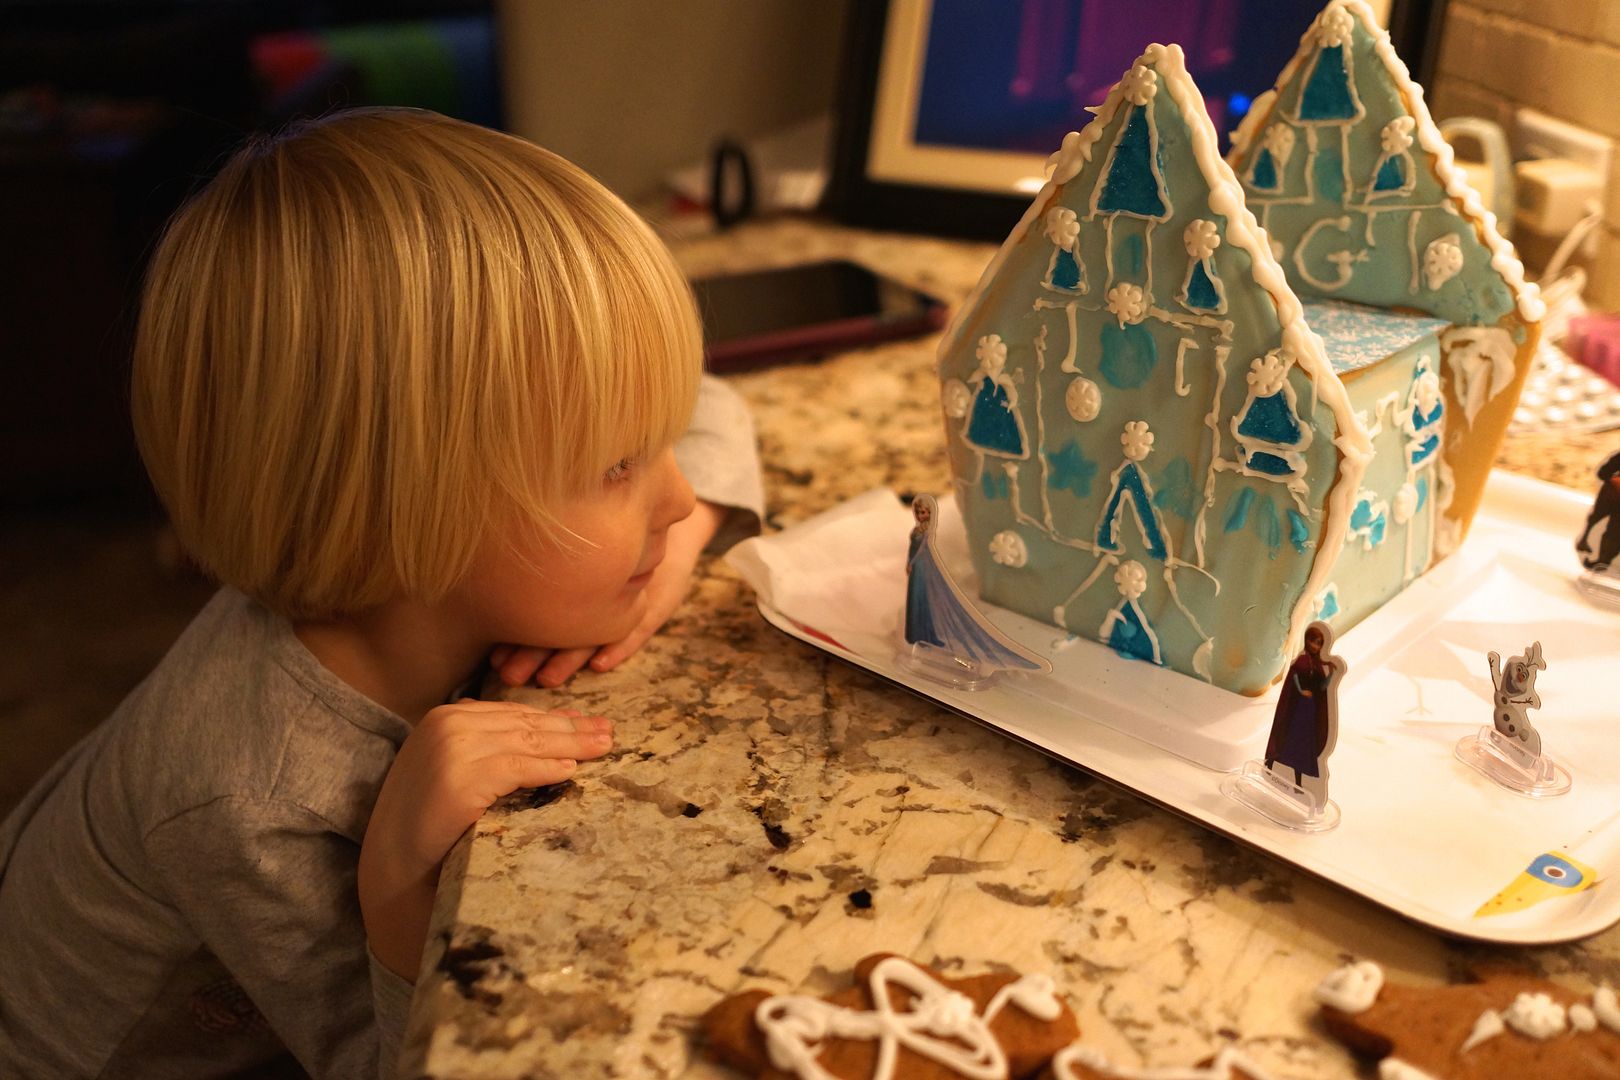
Christmas is over and we didn't get around to making our "gingerbread house" until Monday night.  However, it's perfect this year because we bought the Frozen Castle Kit which basically can be used anytime in the winter, am I right? :)


Look what we made! Isn't it beautiful?

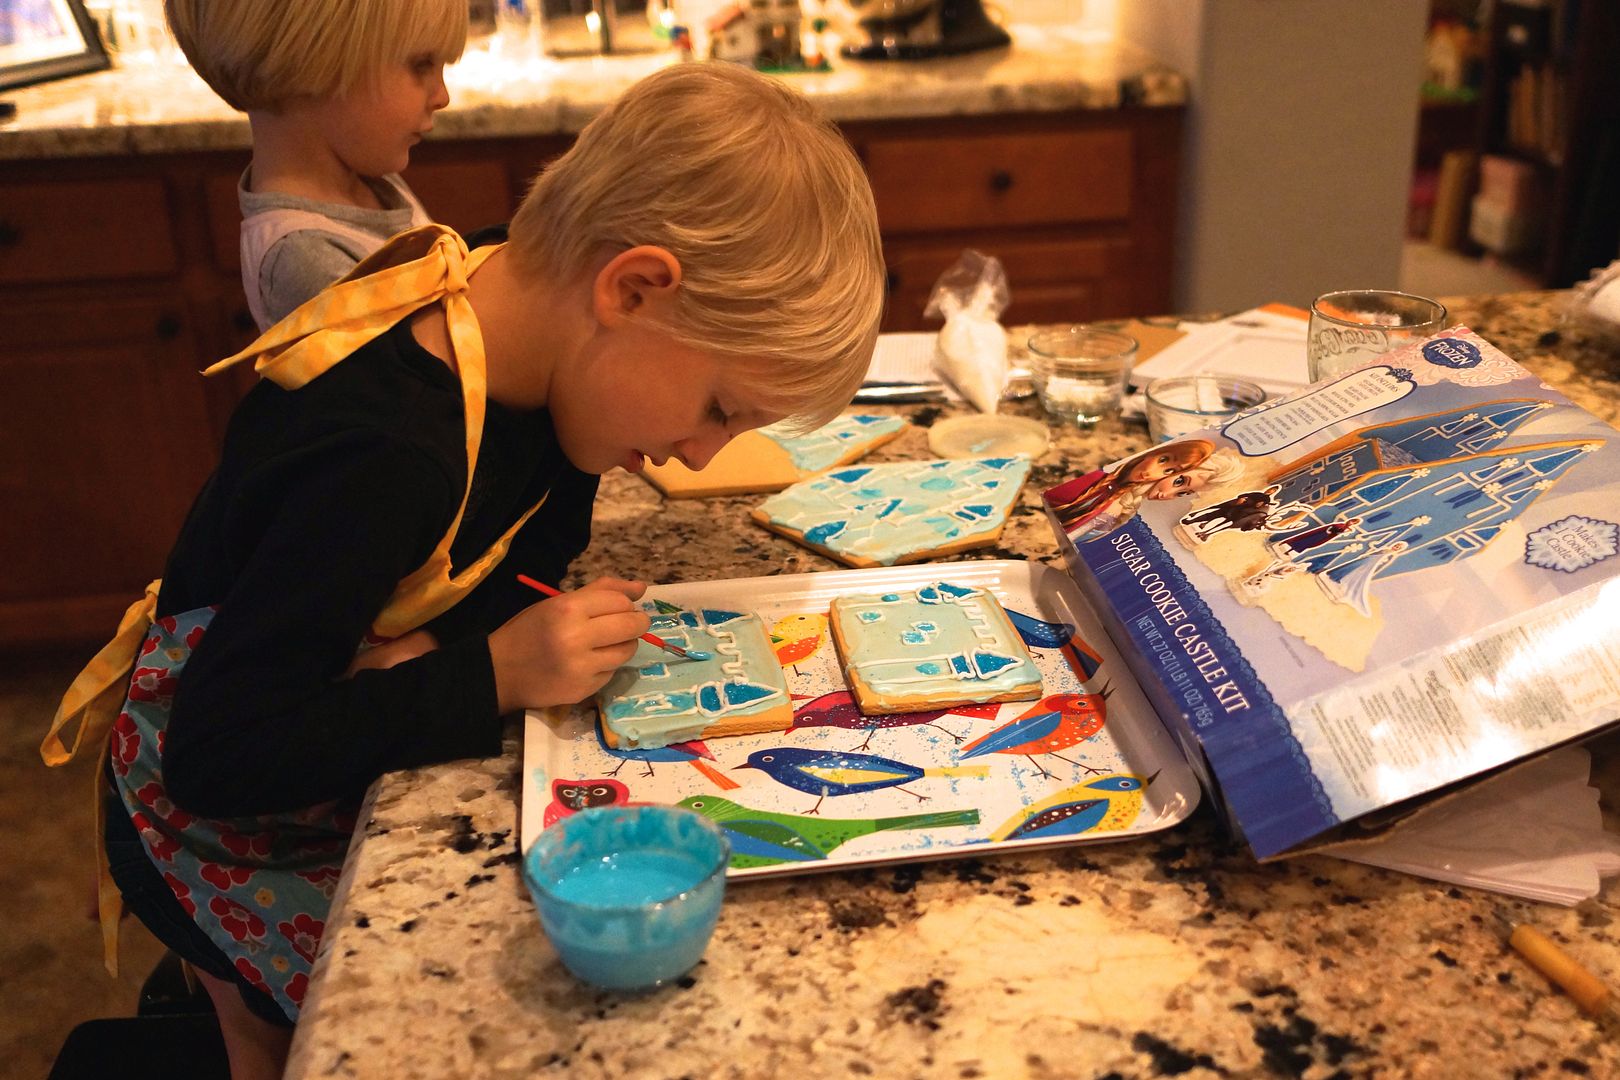
It was a pretty easy kit but did require adult and child participation, which is perfect for my 3 & 7 year olds.  We frosted, "painted" (using an included paintbrush and frosting) and decorated.  


Good times.

And it turned out pretty well if I do-say-so-myself. :)  I believe it's edible (huge sugar cookies) but I'm not sure if it will taste good after a few days on our counter.  I'll let you know.


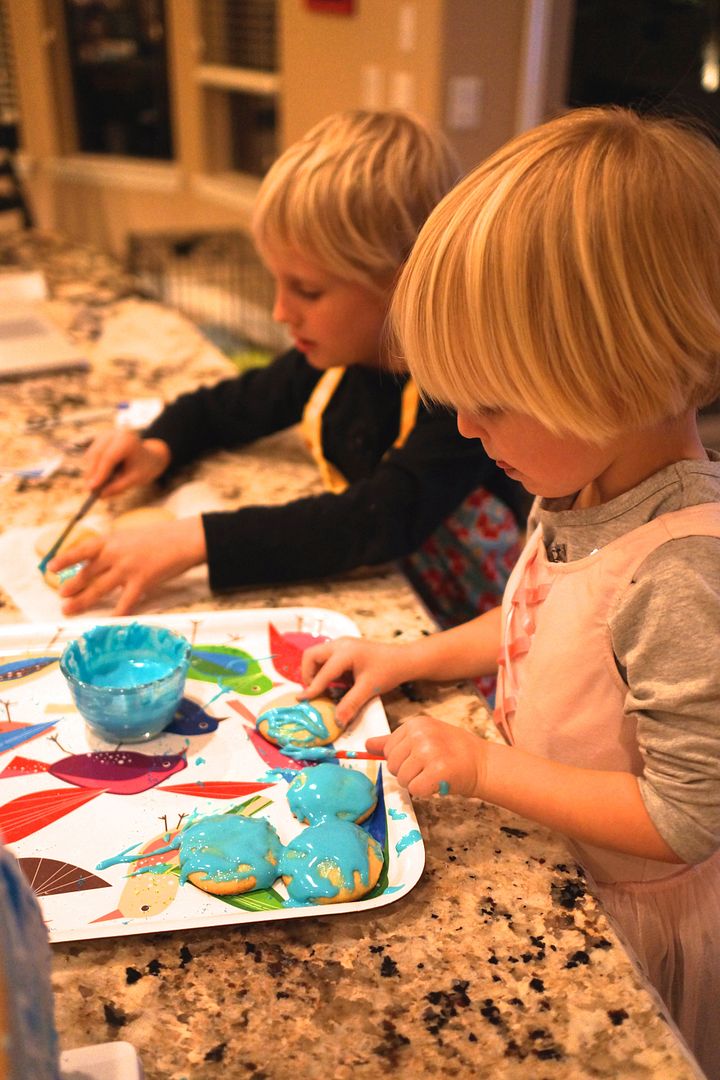
We even had frosting left over to decorate our "frozen" cookies and gingerbread men.  Win win!

We may never make a normal gingerbread house again.

Monday, December 22, 2014

Outdoor Christmas Decorations - Size doesn't matter

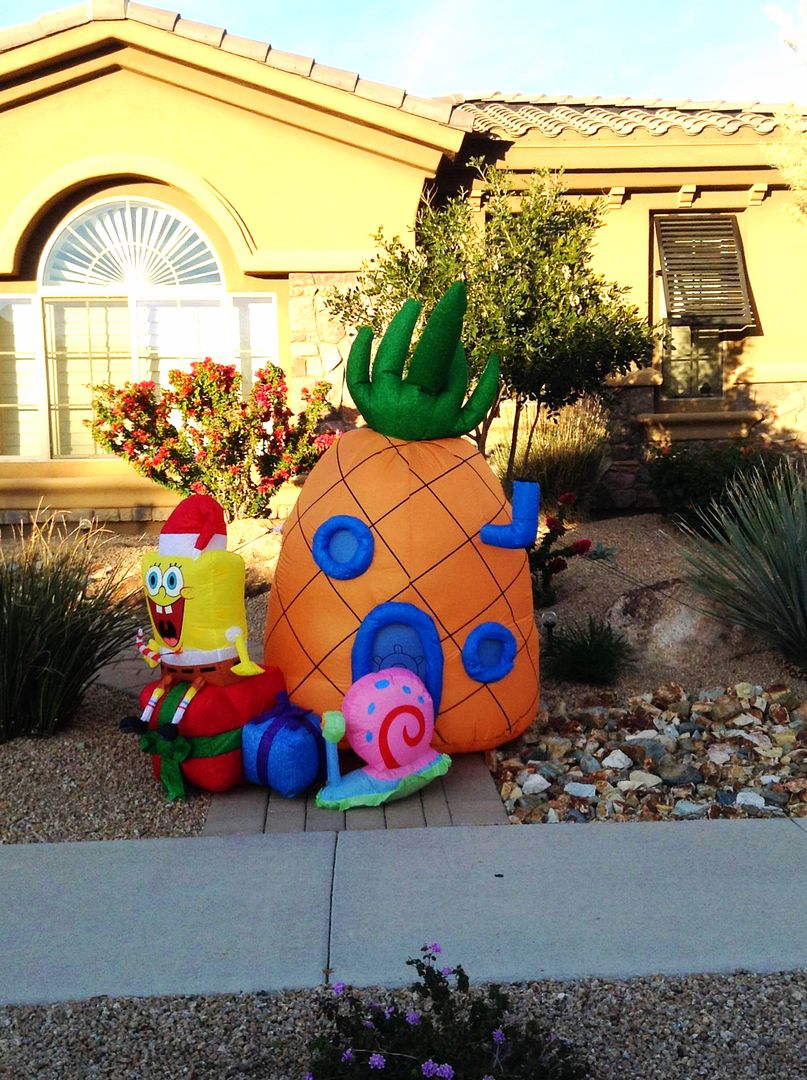
In my neighborhood we have quite a few very festive families.  They have Christmas trees in their windows and lighted displays in the front yard.  I'm talking lights, inflatable figures, nativities, moving deer statues, candy-cane trims, ornaments hanging from trees/bushes and cactus plants wearing Santa hats (this is the desert after all).


The inflatable figures are particularly popular on my street as there are many families with small children.  On my block alone there is a dinosaur (holding a present), snowman, Minnie mouse, marvel comics figures (superman, and a few others) and two spongebob squarepants displays.  Yes that's right, 2 (!!!) spongebob Christmas inflatables.  Most of these aren't super Christmas-y but hey, it's all good.

Then there is my house.  We don't have any lights (no outlets in the front of the house plus it's hard to get them up!), inflatables or even cactus wearing hats.  I'd like my cactus to be decked out in Santa or elf hats but I haven't found small enough ones just yet.


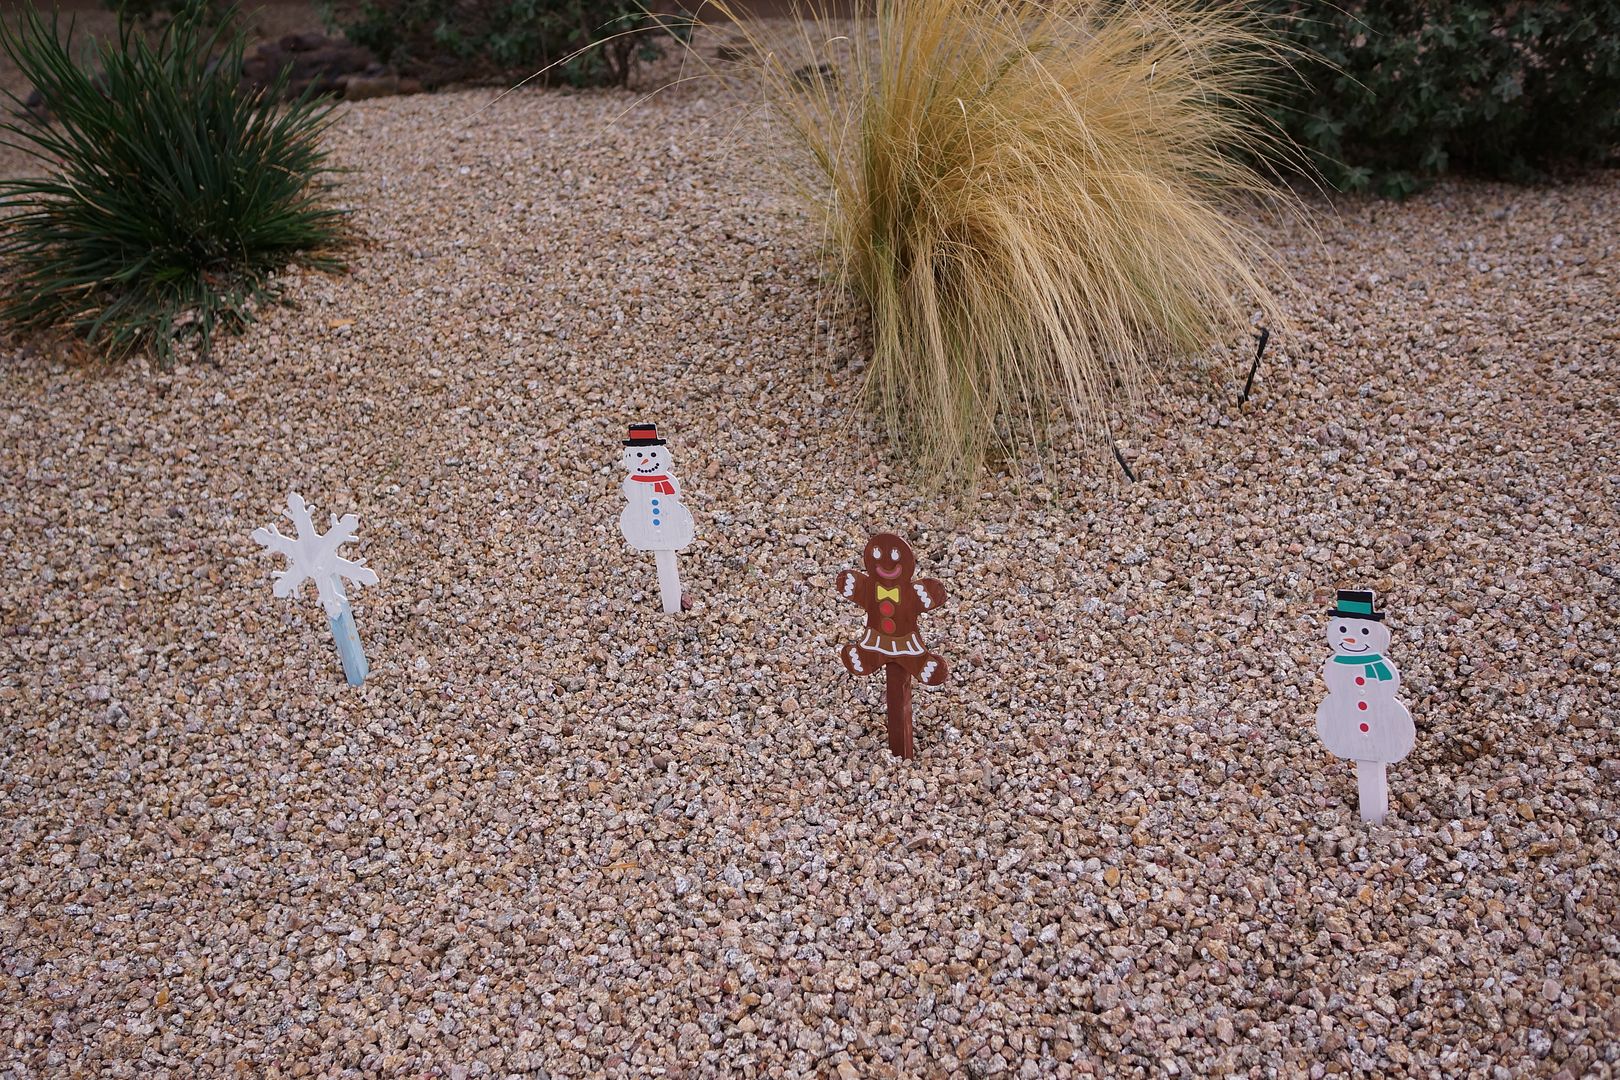
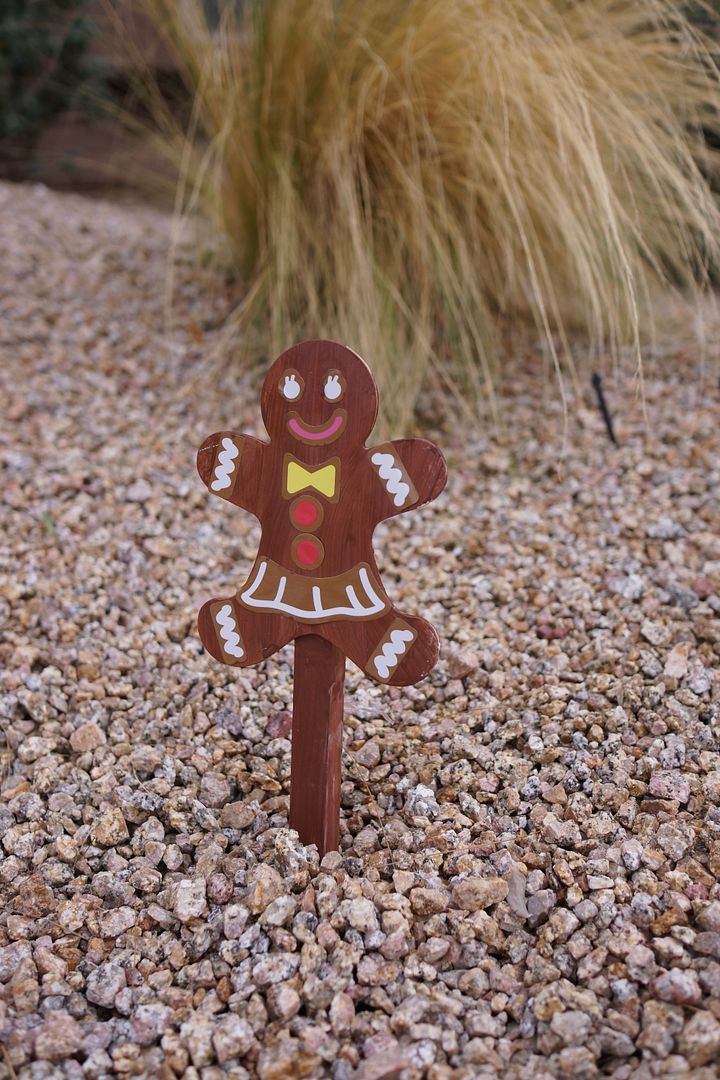
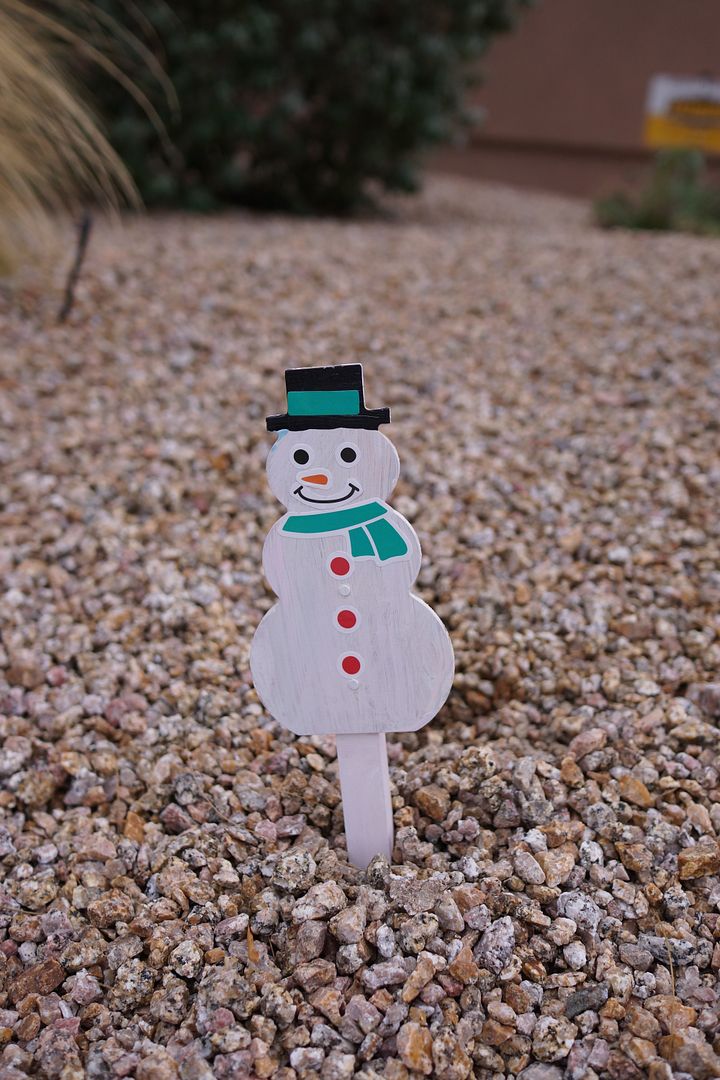
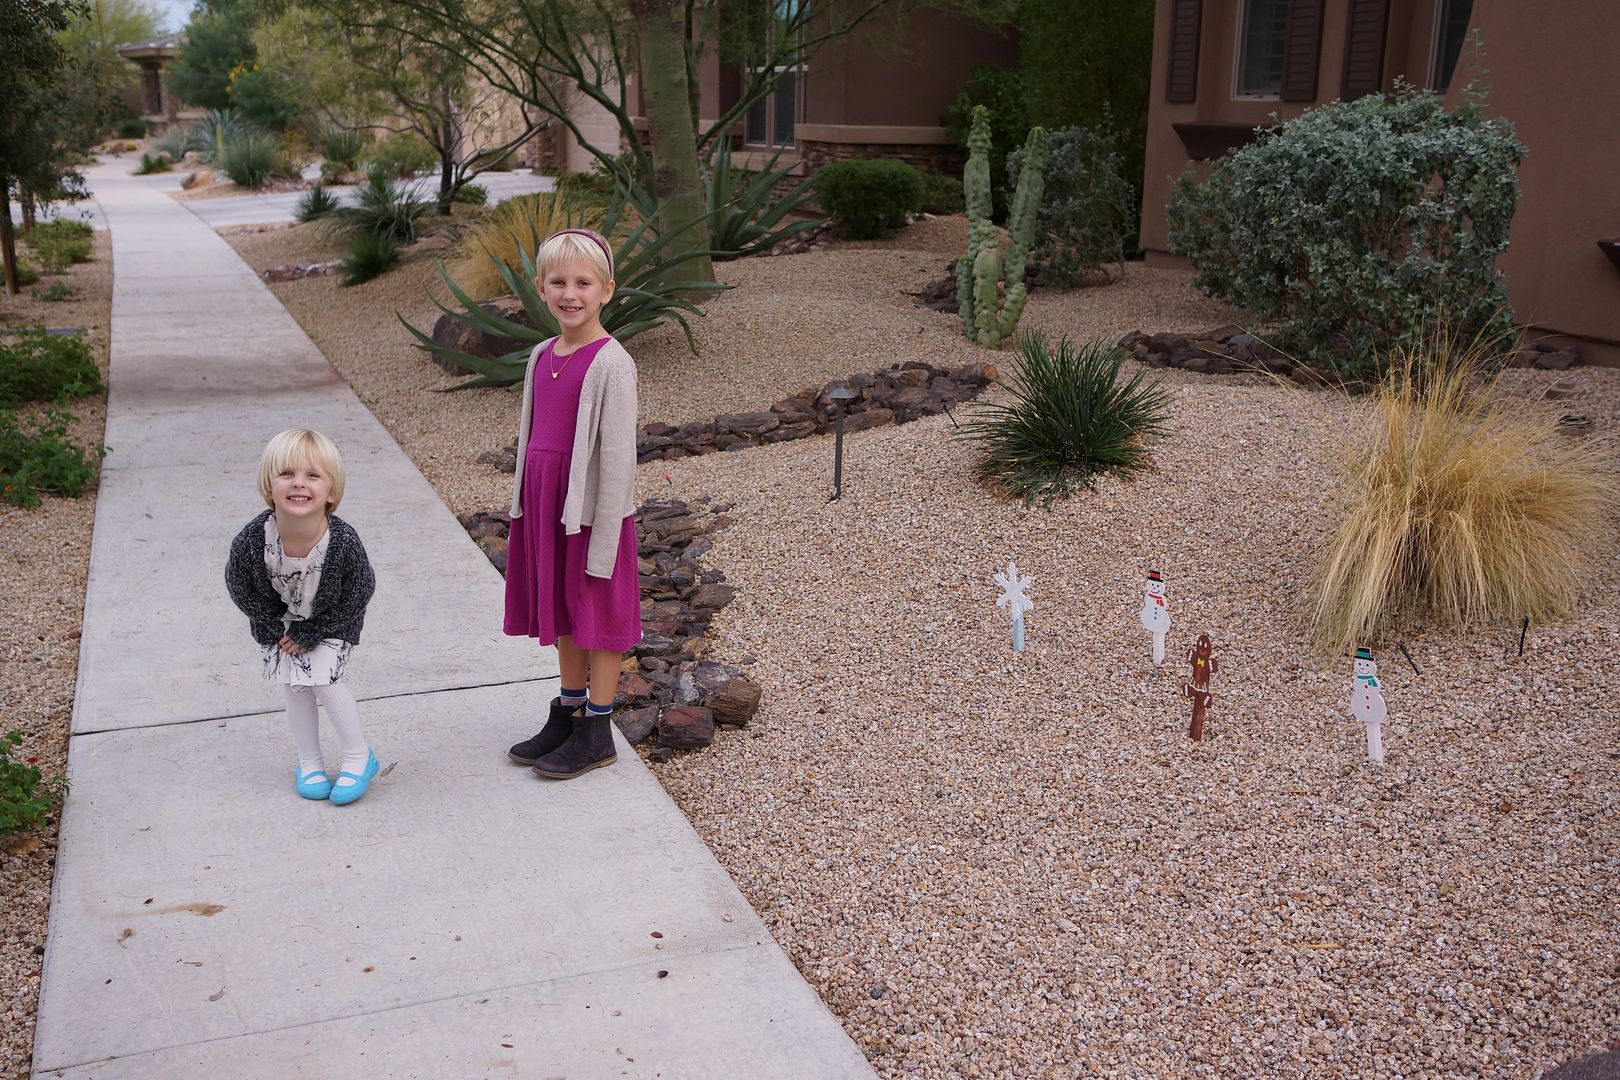
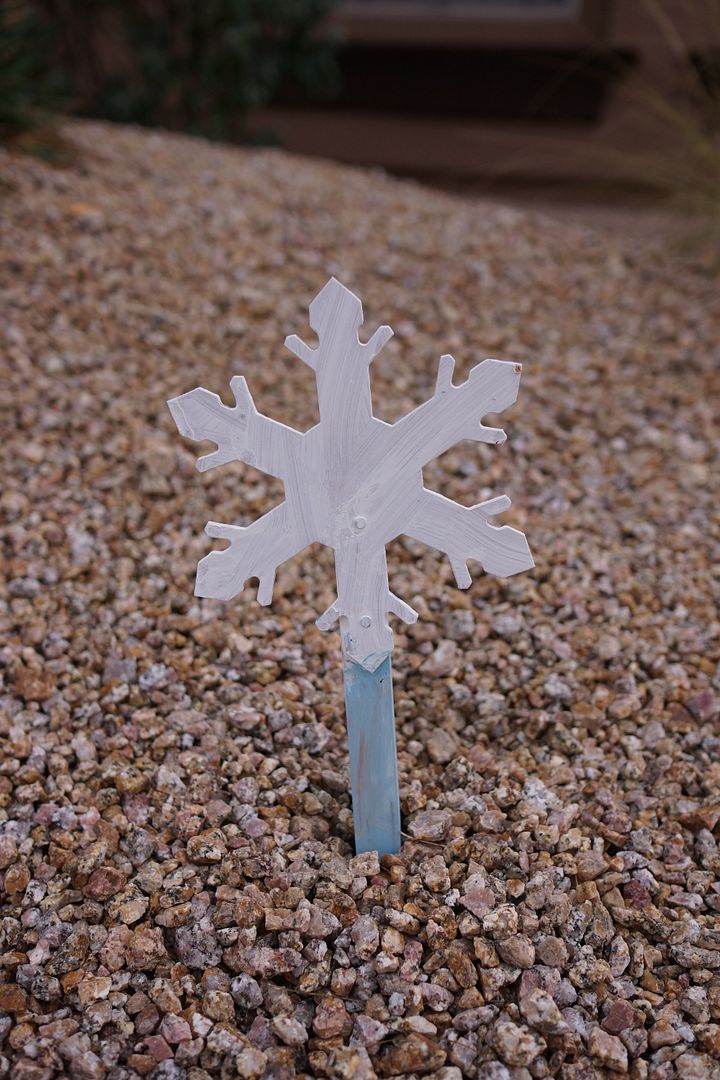
But we do have decorations!  Five to be exact.  Four lawn ornaments (no lawn so they're in the gravel) and one wreath.  They may be small but they were made with love.


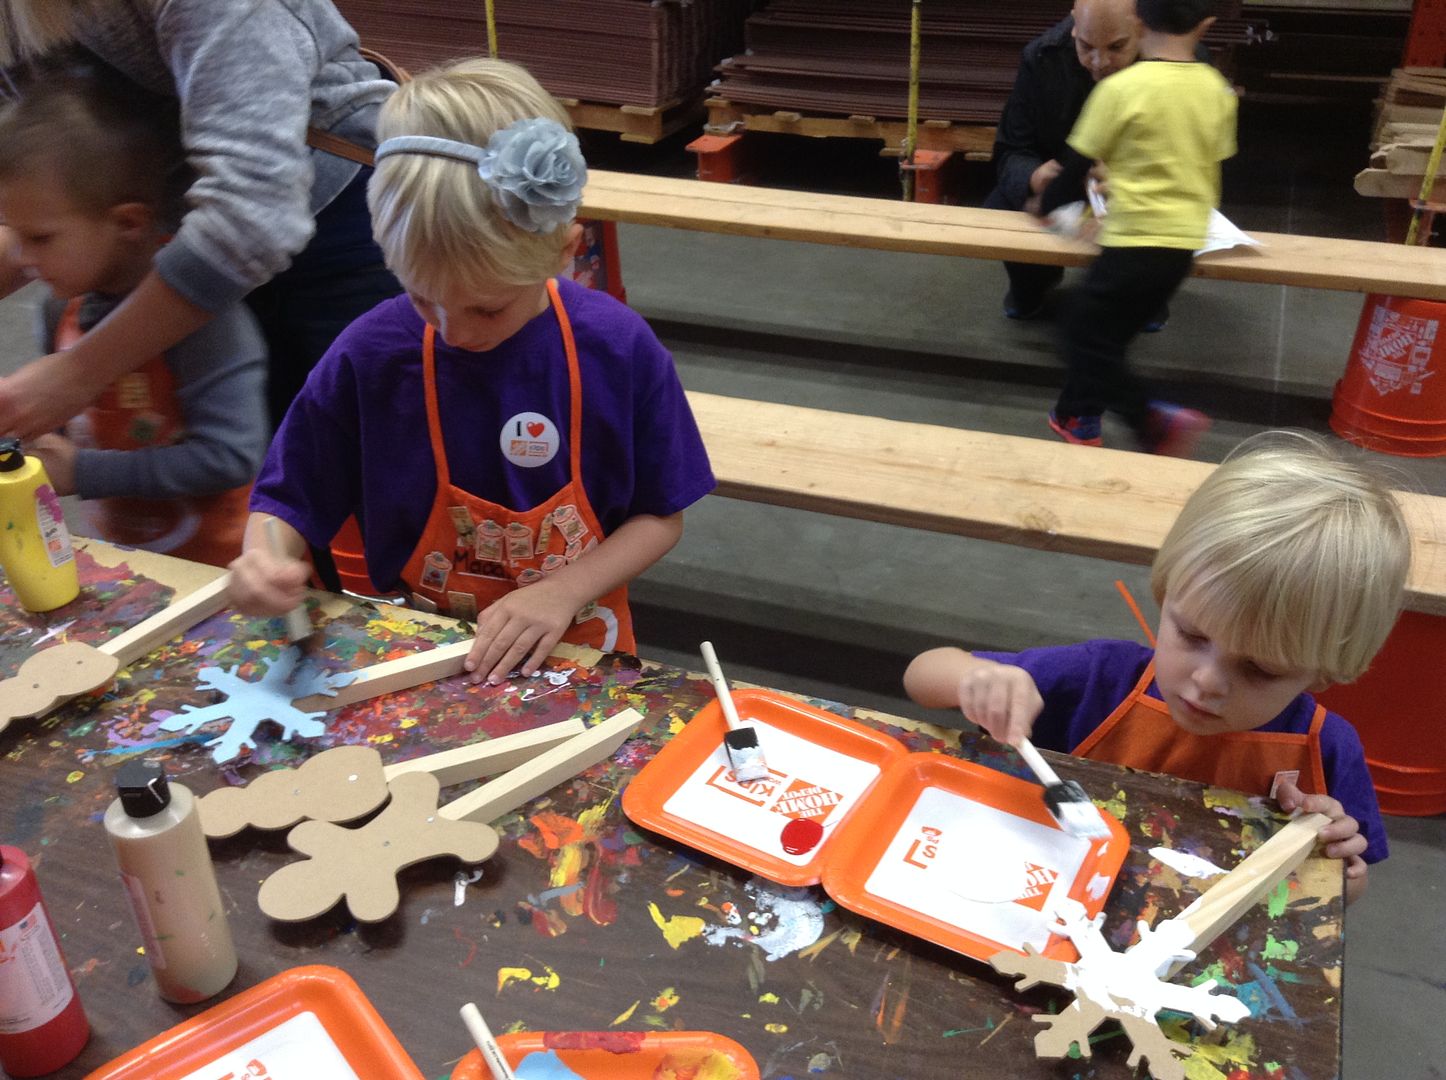
My girls made them at the December Home Depot Kid's Workshop.  They each made a set of 3 (snowman, snowflake and a gingerbread person).  We passed 2 on as gifts and kept the other 4 for the yard.  

I made them weatherproof by spraying the finished product with a shellac.  


So there you go, I ask you, does size matter? :)


Wednesday, December 17, 2014

Christmas Craft Night - Advent Board


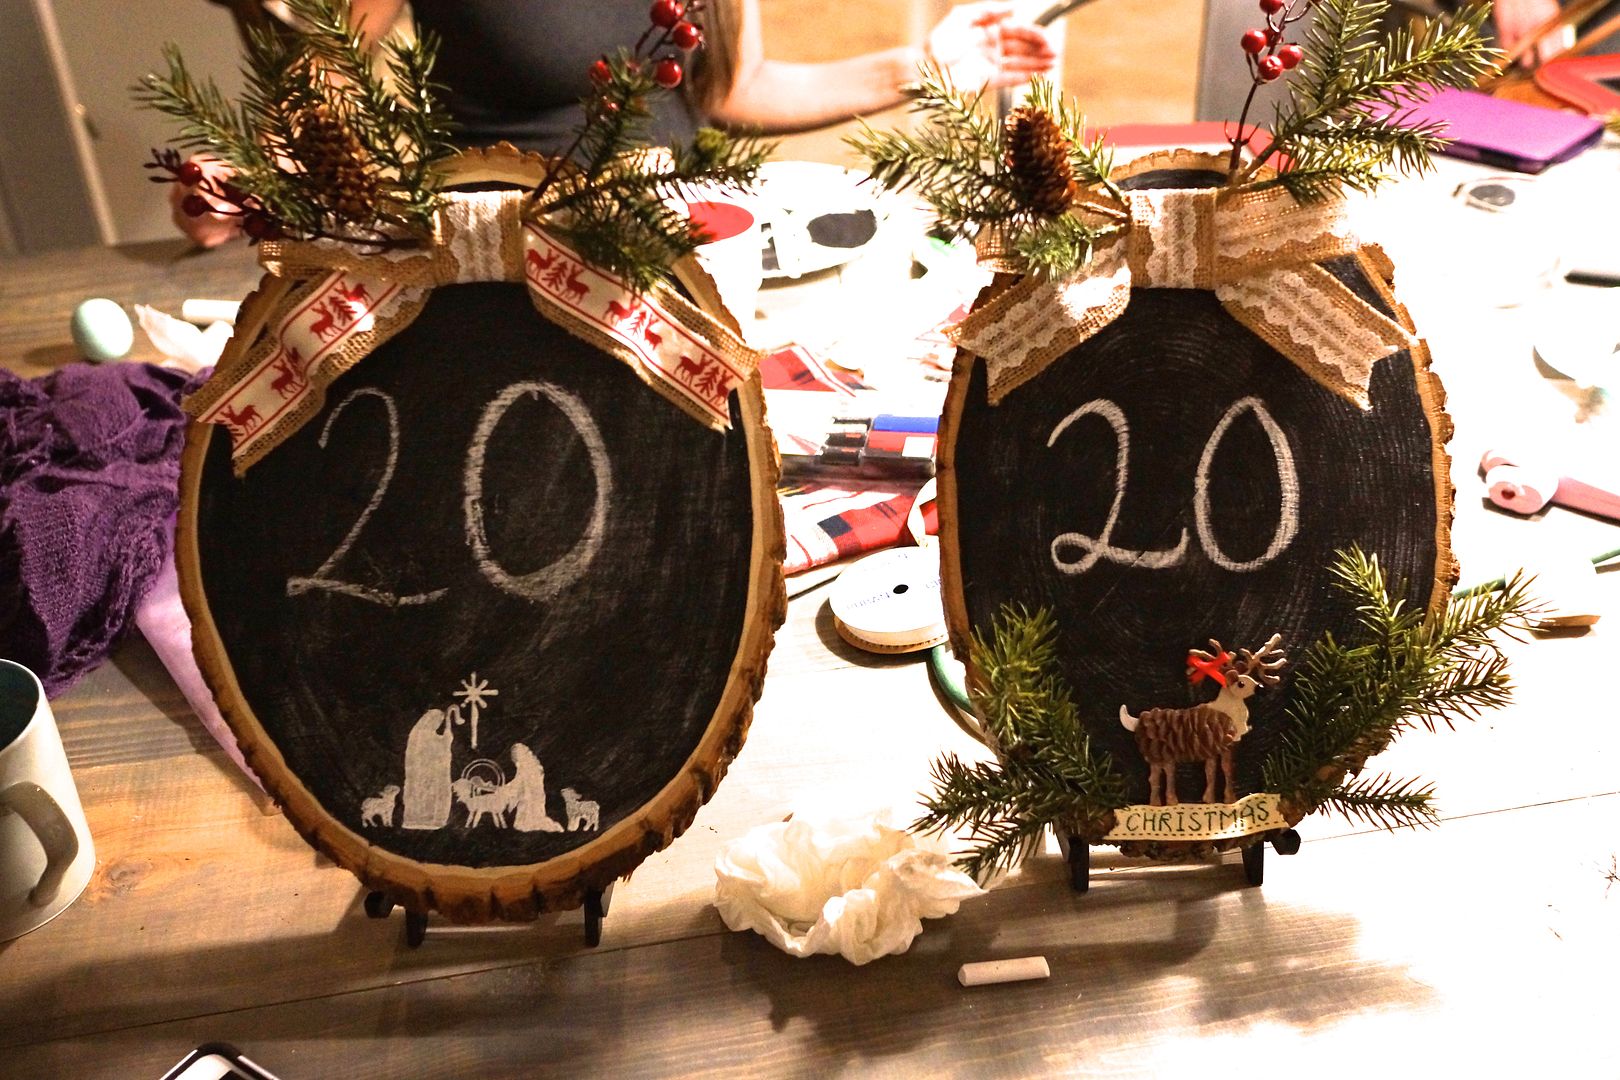
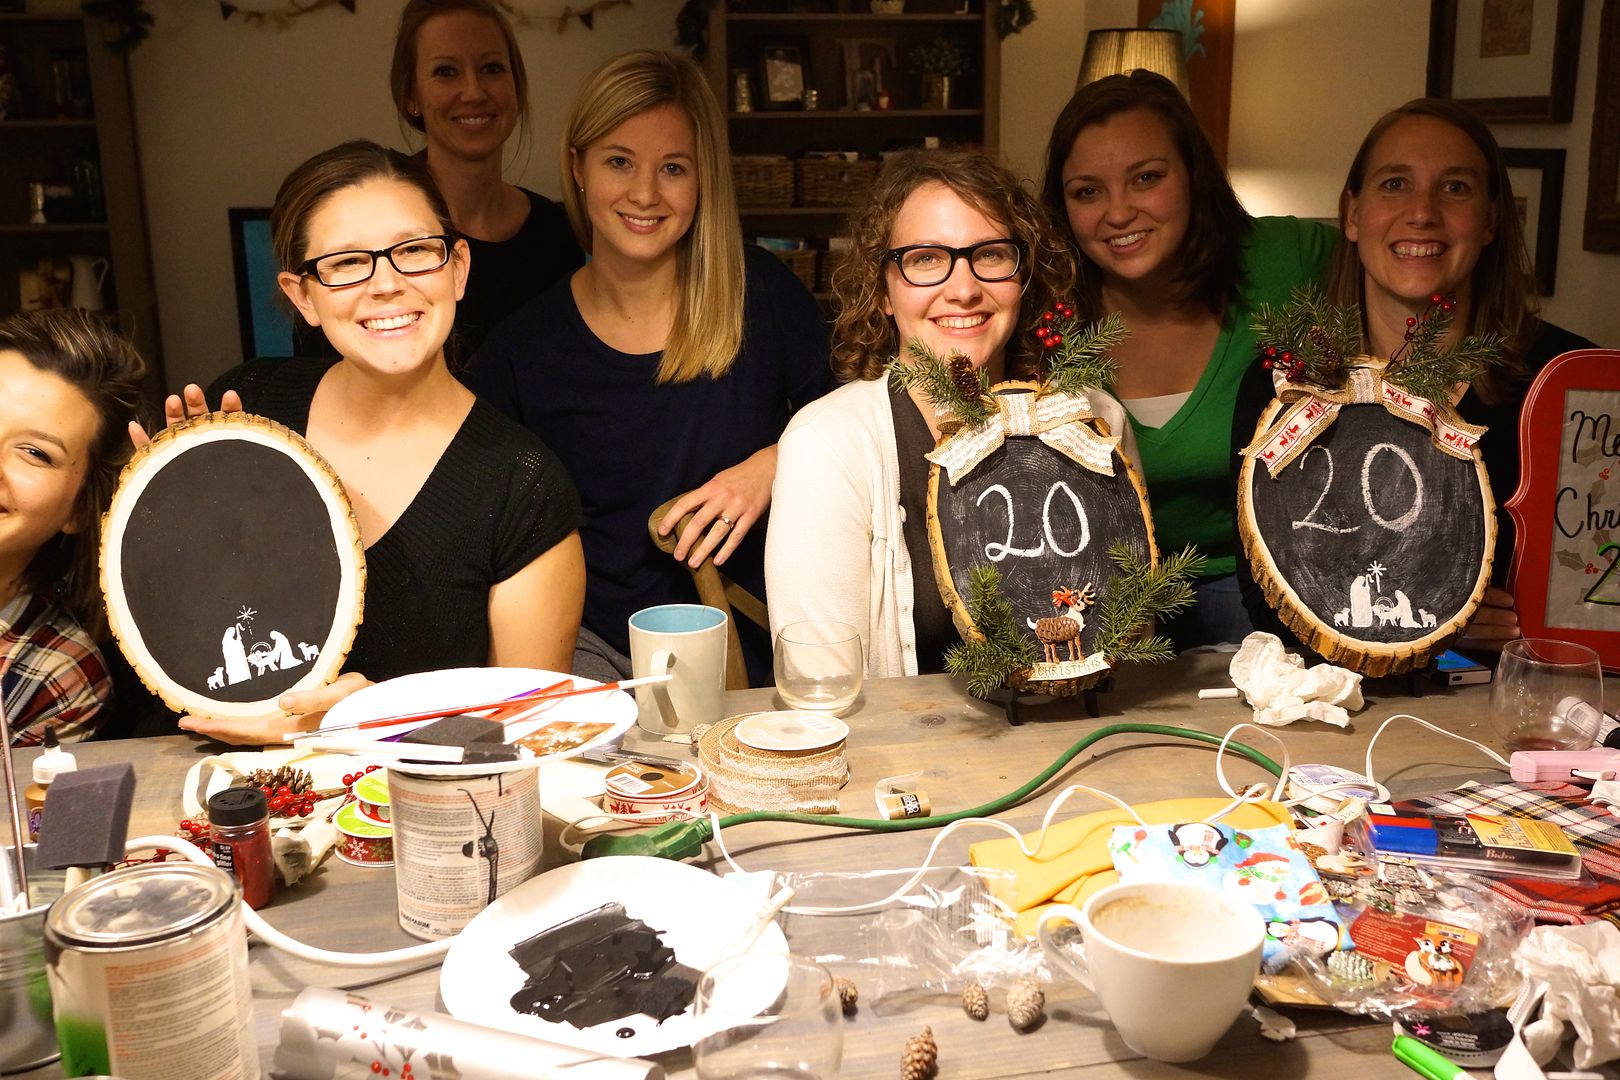
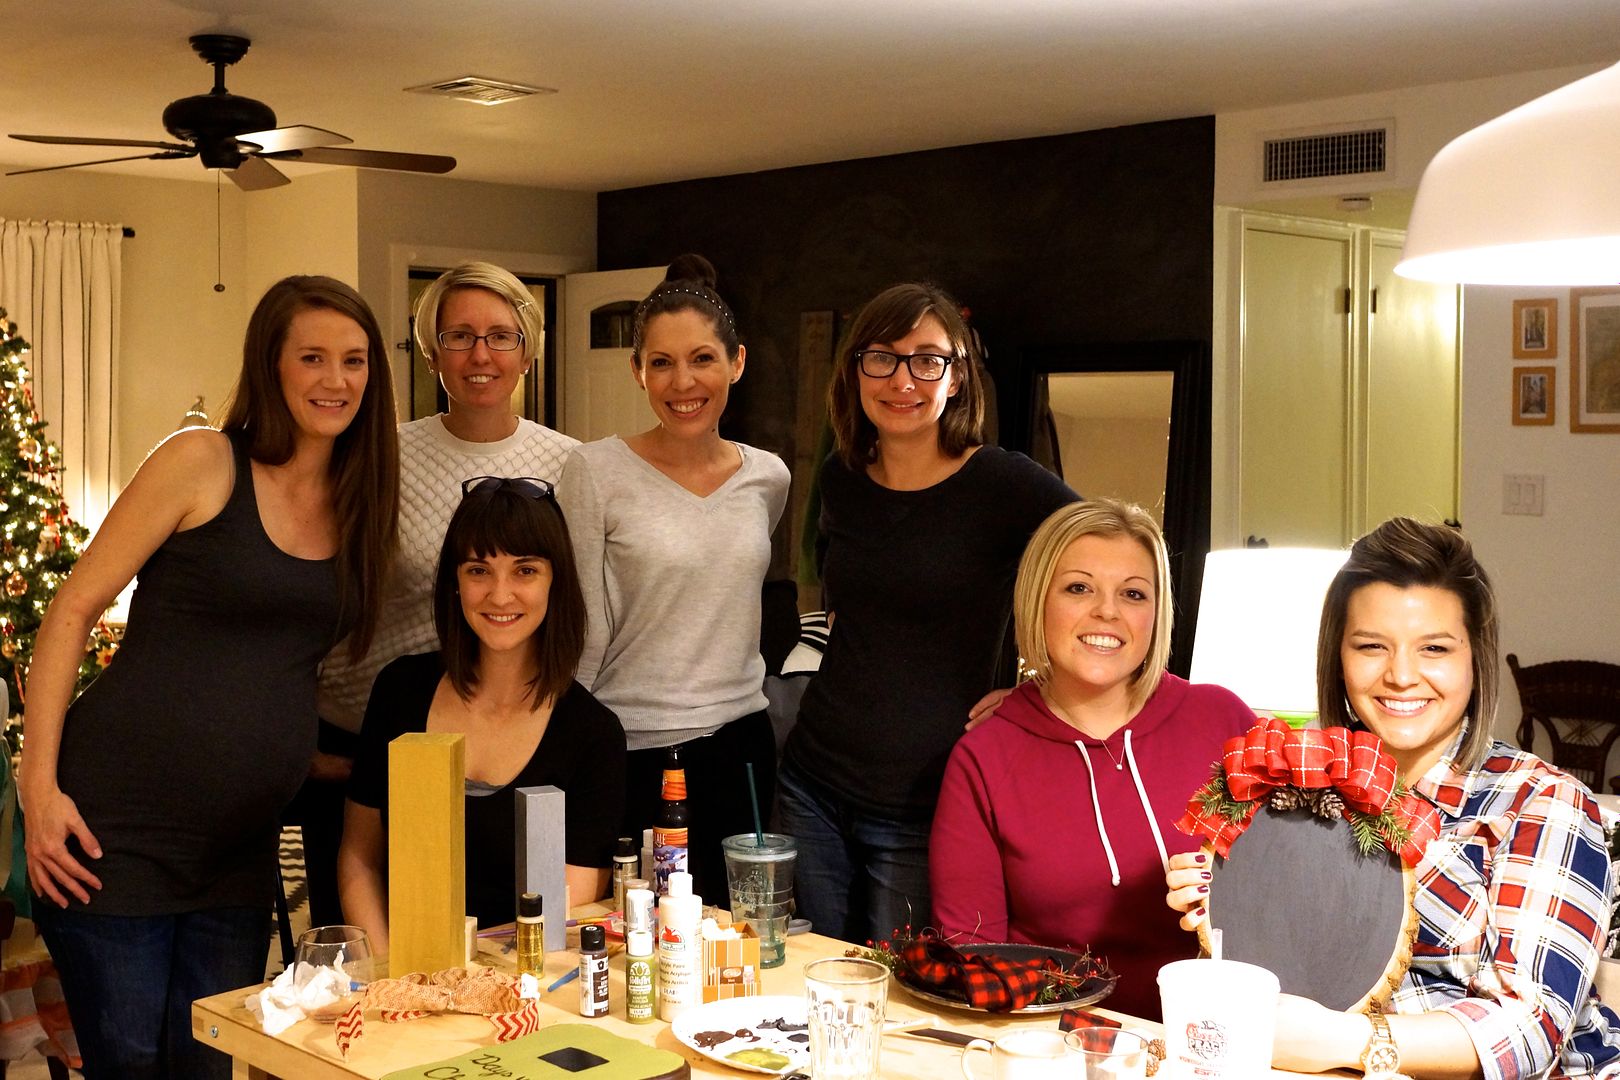
A couple weeks ago I spent the evening at a friend's home with some fabulous ladies making Christmas crafts!  It was our third annual Christmas Craft Night and this year we made count down to Christmas/Advent boards.  The best part of the night was hanging out, laughing, eating amazing food (and hot chocolate) and of course a bit of wine.  But we also made lovely crafts too!


The craft inspiration was a log slice with chalk paint and festive decorations.  However, when my BFF and I went to the local Hobby Lobby there was only one log slice left so I decided to get creative.  This of course is a stretch for me but here's what I came up with!


I took a photo frame, Christmas wrapping paper, a little hot glue, dry erase pens and a few decorations and voila!


Super simple and if I decide not to count down I could just write a message.  Now if I had better lettering it would be even cuter, but this is how I write so there you go. :)  I keep my board in the playroom next to the children's tree.


I think we all did a great job!


For more Christmas Crafts Check out:

Topiary Tree Craft
Kids Felt Christmas Tree
Mini Burlap Wreath
and when Christmas is over make this Christmas Card Coffee Table Book with the cards you received this year!