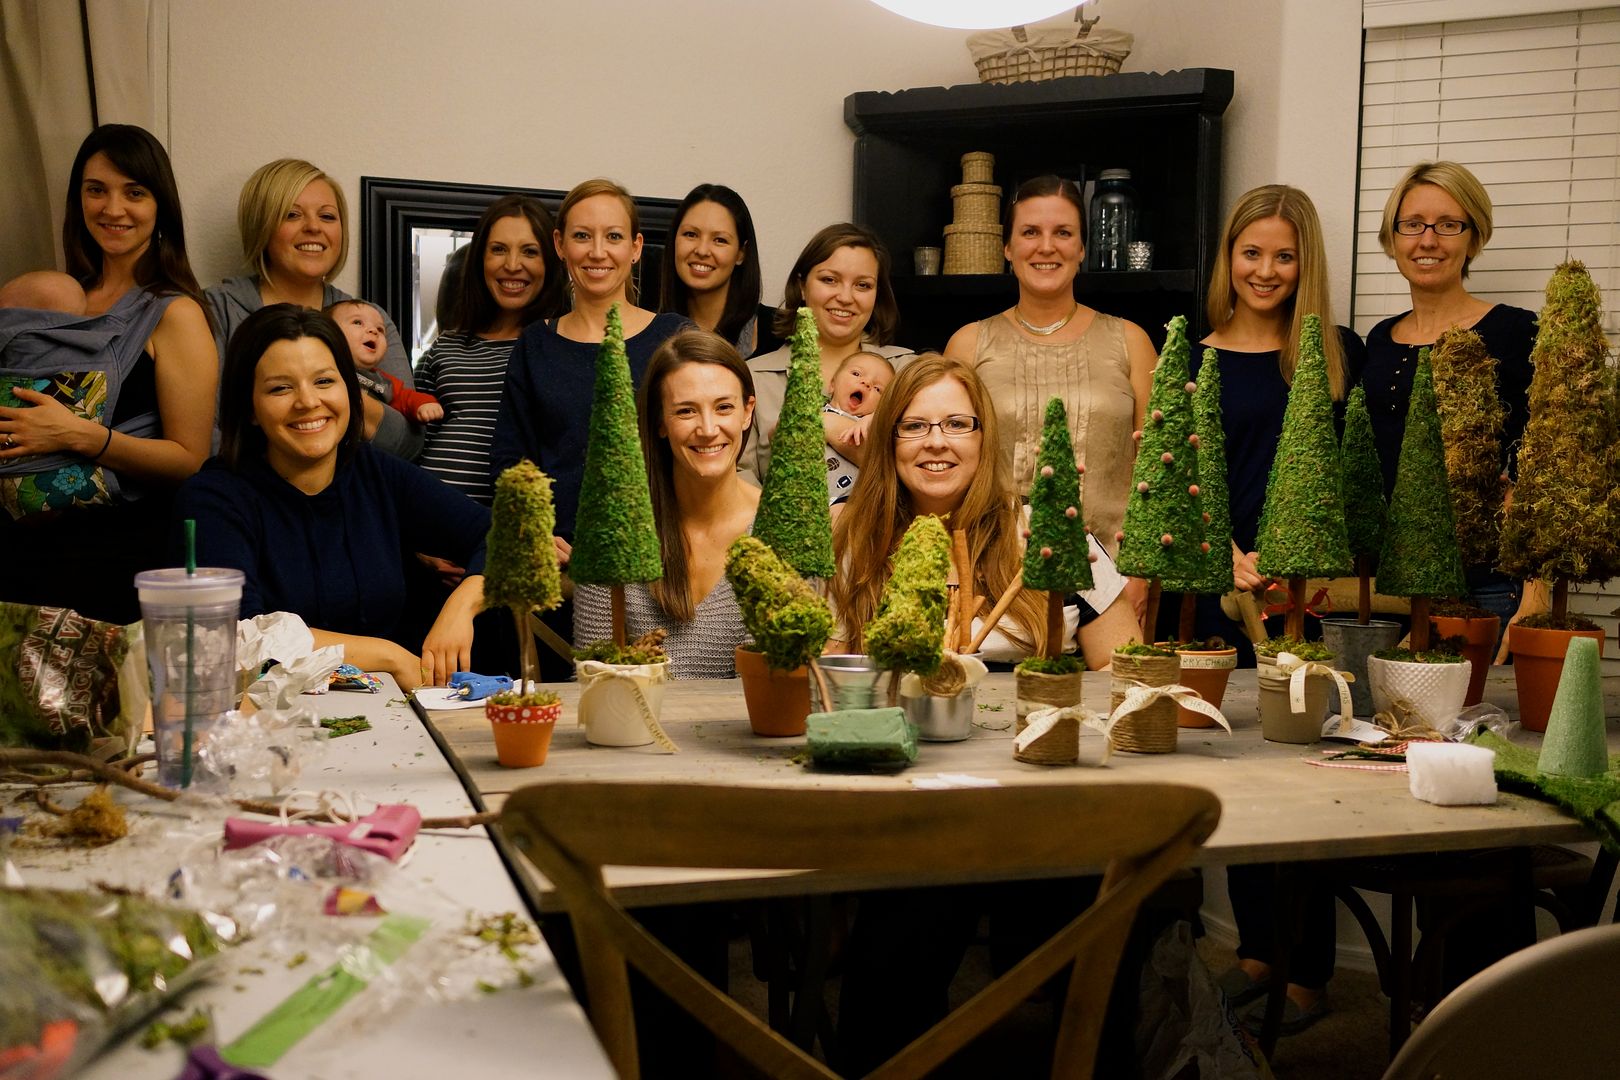
I've got another Christmas decorating craft for you. This year my friend had her 2nd Annual Ladies Craft Night and we made these lovely Christmas Mossy Topiary Trees. They could be used year round but add a little Christmas ribbon or ornament and you're all set for the holiday season!
On a scale of 1-10 for craft difficulty I give this a 3. It was really quite easy and only took about an hour (and that included lots of talking, eating and laughing).
Here's what you'll need create the tree: 1. Cone shaped styrofoam 2. Small square of styrofoam to fit into your pot 3. Small pot 4. Loose moss or sheets of moss 5. Ribbon or ornament to embellish with 6. Hot glue gun & glue sticks 7. Stick to be the tree trunk, can be from your backyard or from a craft package (ours was from Hobby Lobby).
My supplies cost me $13.12 at Hobby Lobby although I ended up using a different pot that I already had at home.
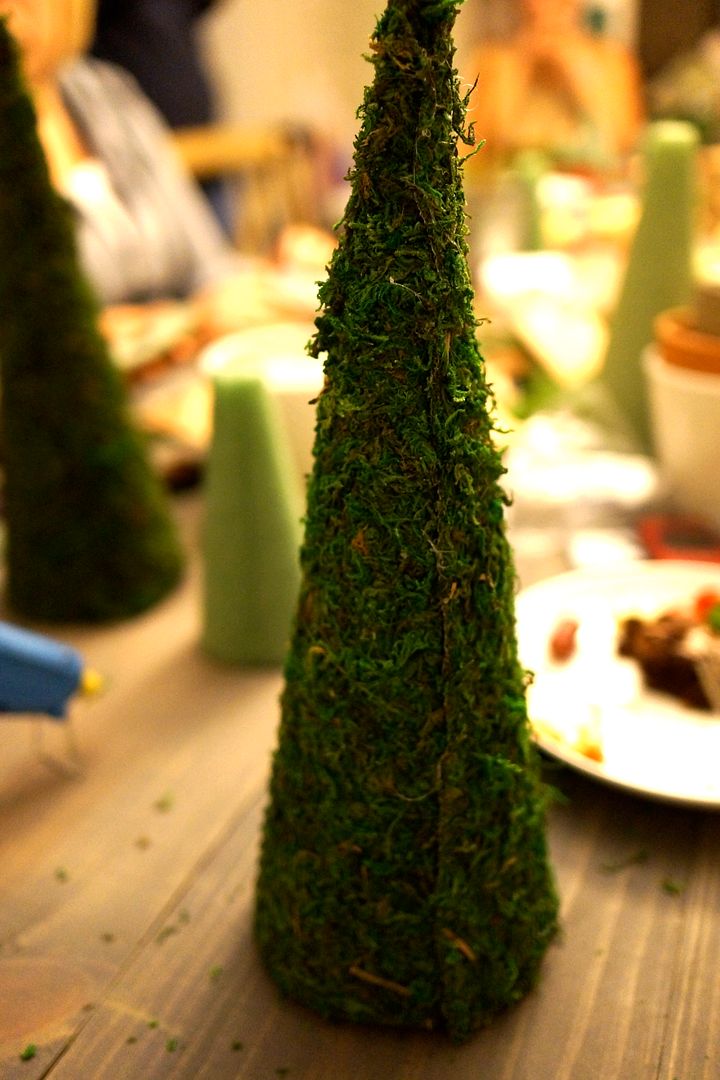
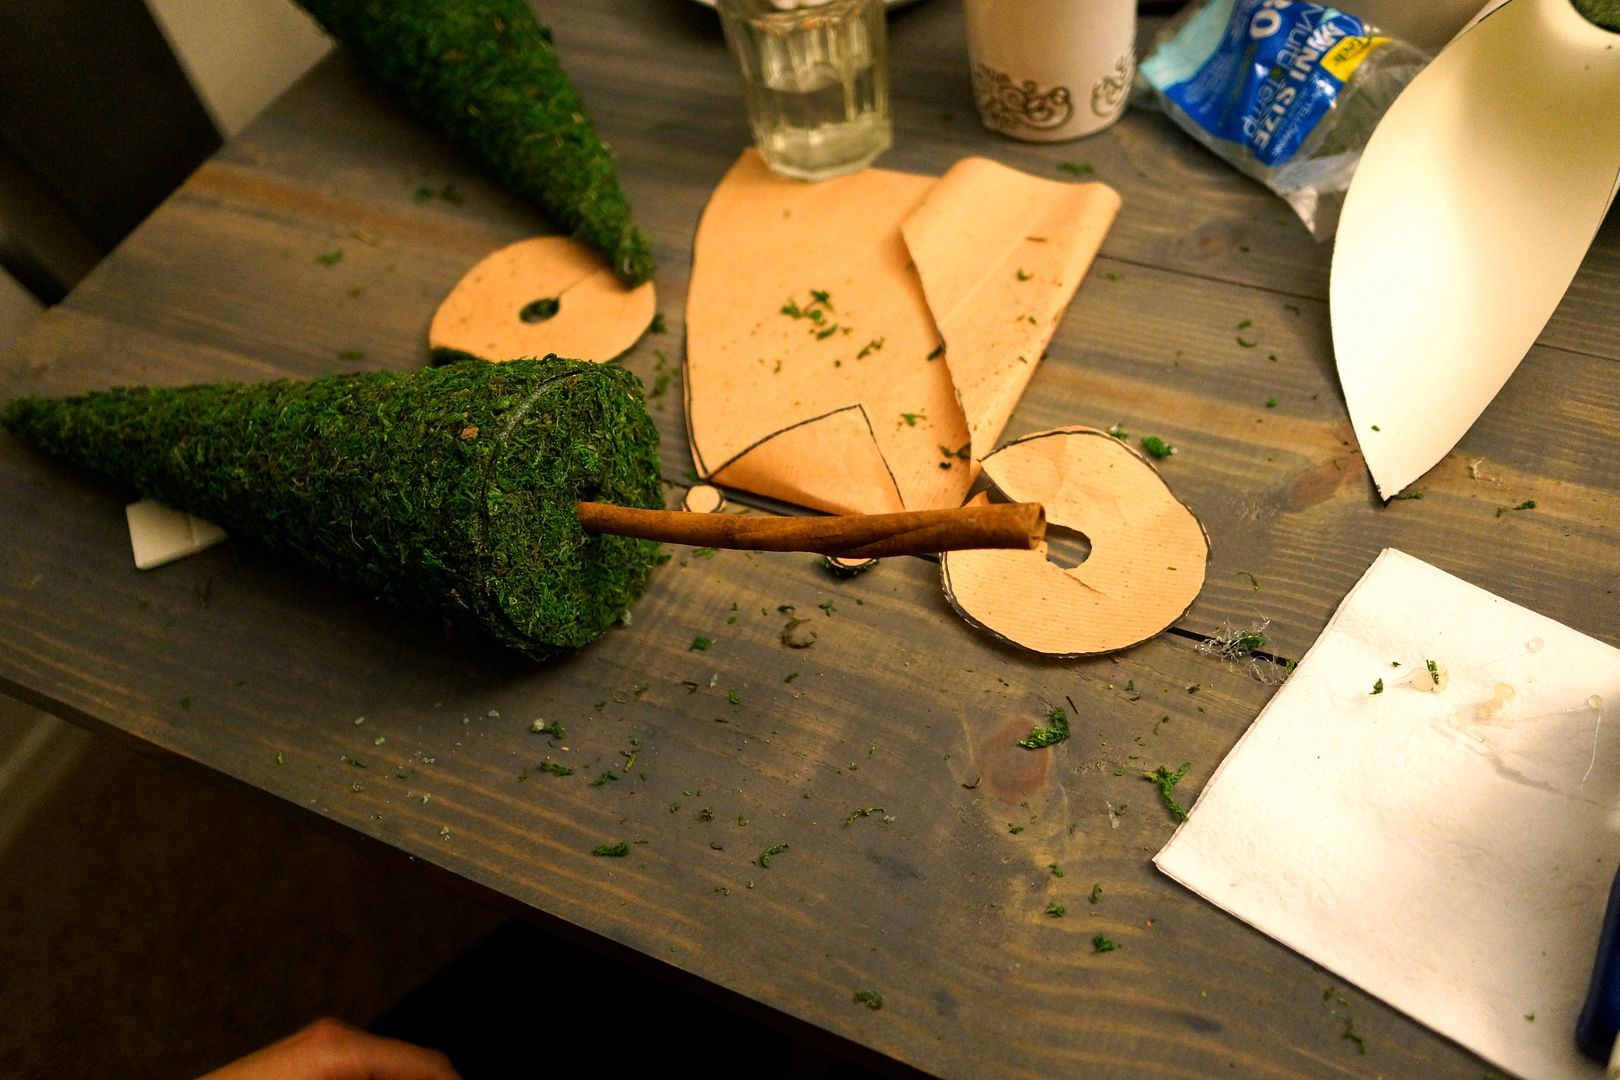
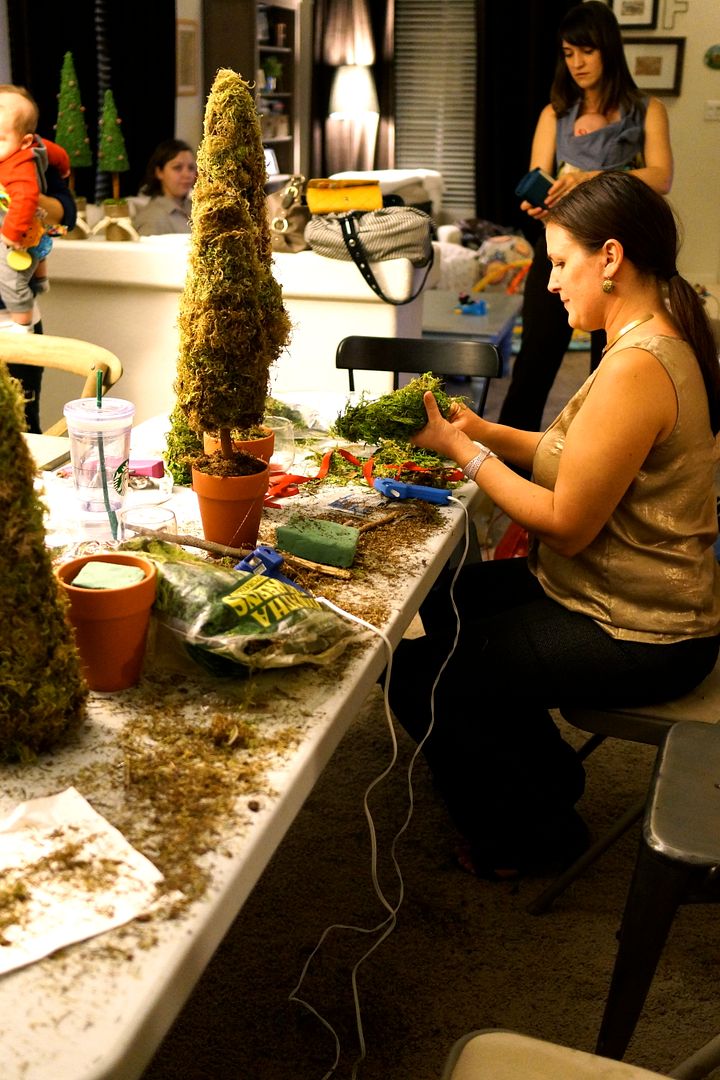
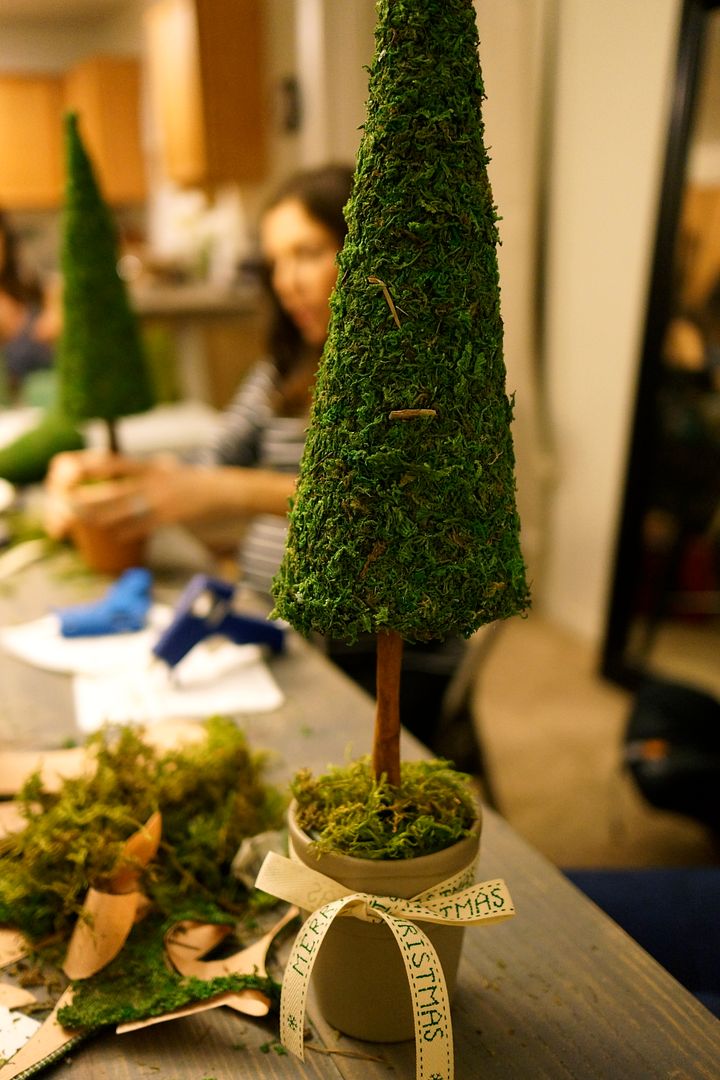
For Sheets of Moss: First you measure out the length of the cone by laying it on a sheet of paper, rolling it all the way out and tracing around the space it left (look 2 photos down to see a copy of my tracing paper on the table). Then cut out the moss shape and fold around the cone. It will be longer than the top which makes the pleasing tall tree shape. Glue one long side and then slowly glue/press the rest of the moss around the cone. When completely attached take a few loose pieces of moss (they'll fall off naturally when you cut the moss shape), add some more glue and cover the seam.
For Loose Moss: Hot glue and press pieces. Easy-peasy (but more time consuming!).
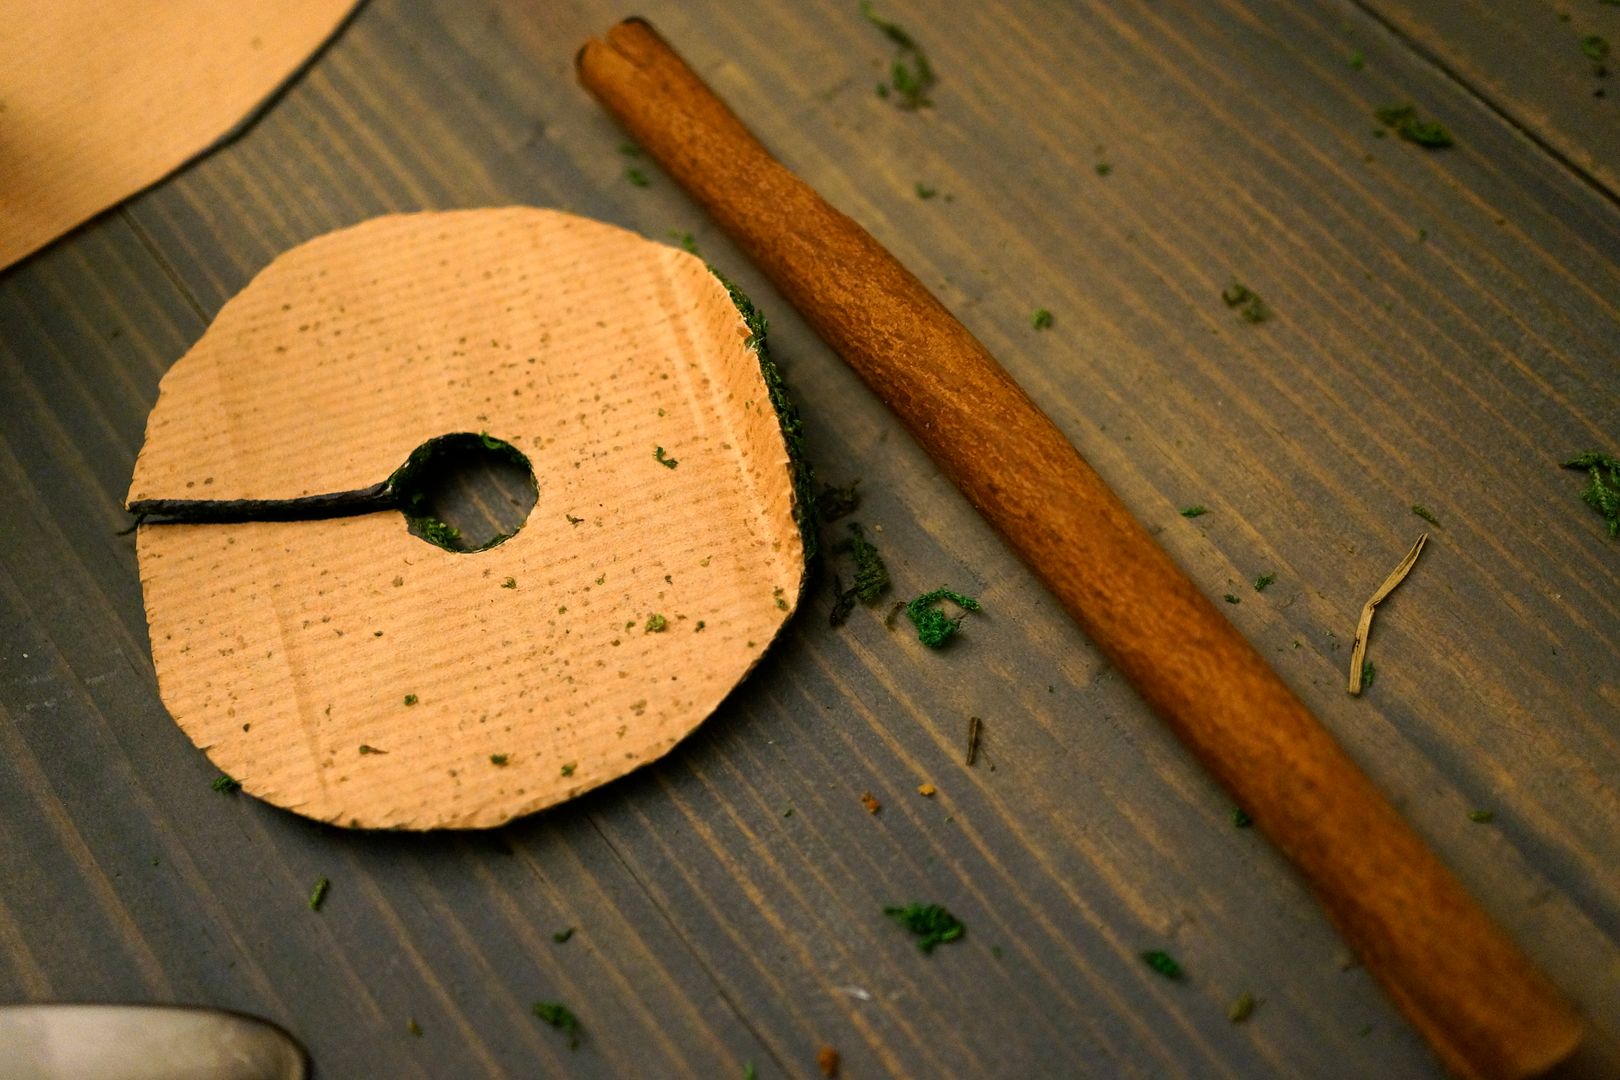
For the base of the tree trace the base of the cone then cut out the circle. Trace your stick diameter in the middle then cut that out as shown above. Insert the stick in the base of the tree, you may need to make space for it by using a small knife. We used a little pumpkin carving knife.
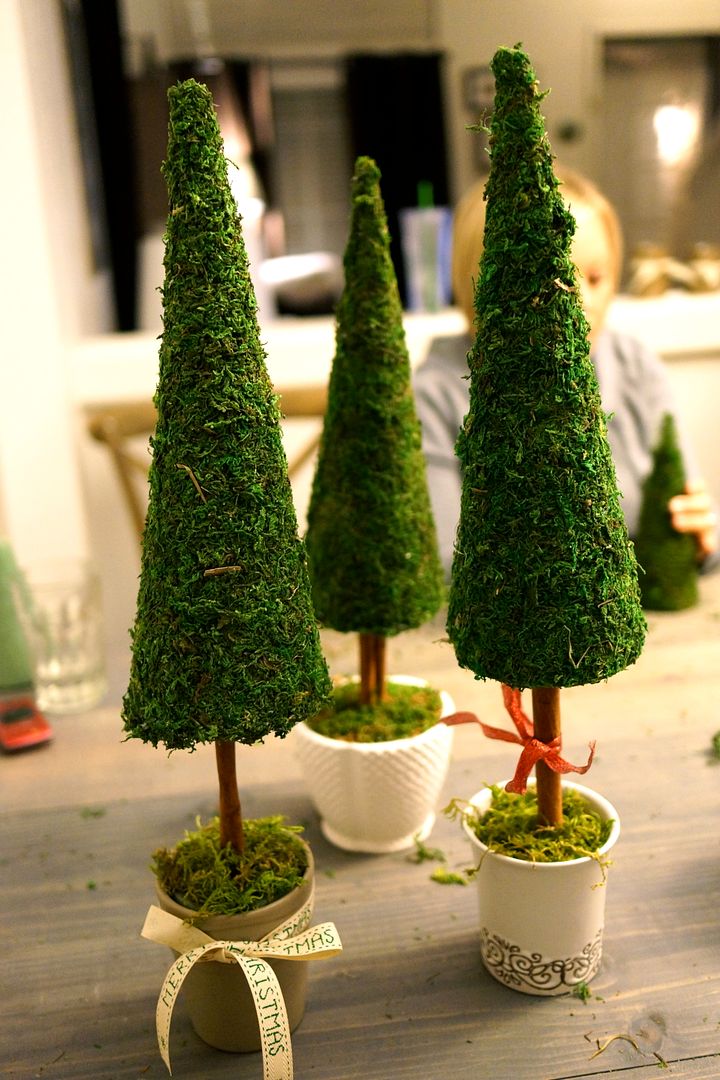
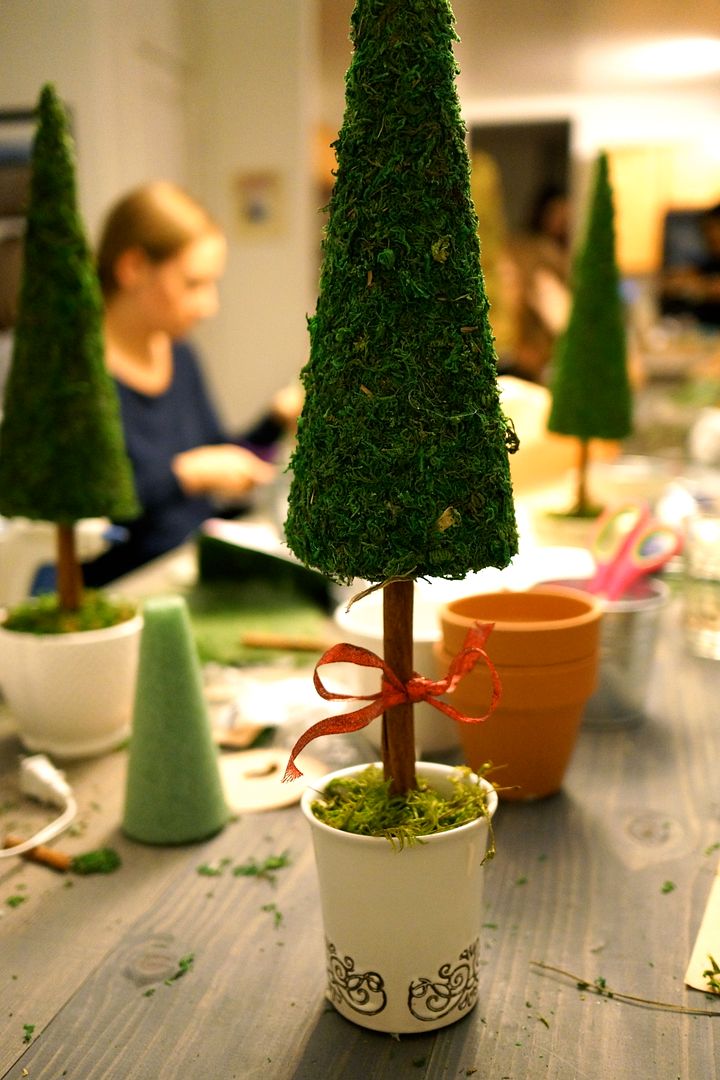
Now glue the base of the tree around the stick. You're almost done, put your tree into the styrofoam in the base of your pot, add some more loose moss (to cover the styrofoam) and there you go. A topiary tree! Embellish with a ribbon, ornament and/or berries for an extra festive touch.
Note that the loose moss can get VERY messy. Make sure you have a broom or vacuum handy. Our hostess was very gracious with the mess we all made.
Some of the finished products. Aren't they lovely? Mine is the one on the right. I ended up using a TJ pot (had lying about) rather than the regular clay pot I had purchased.
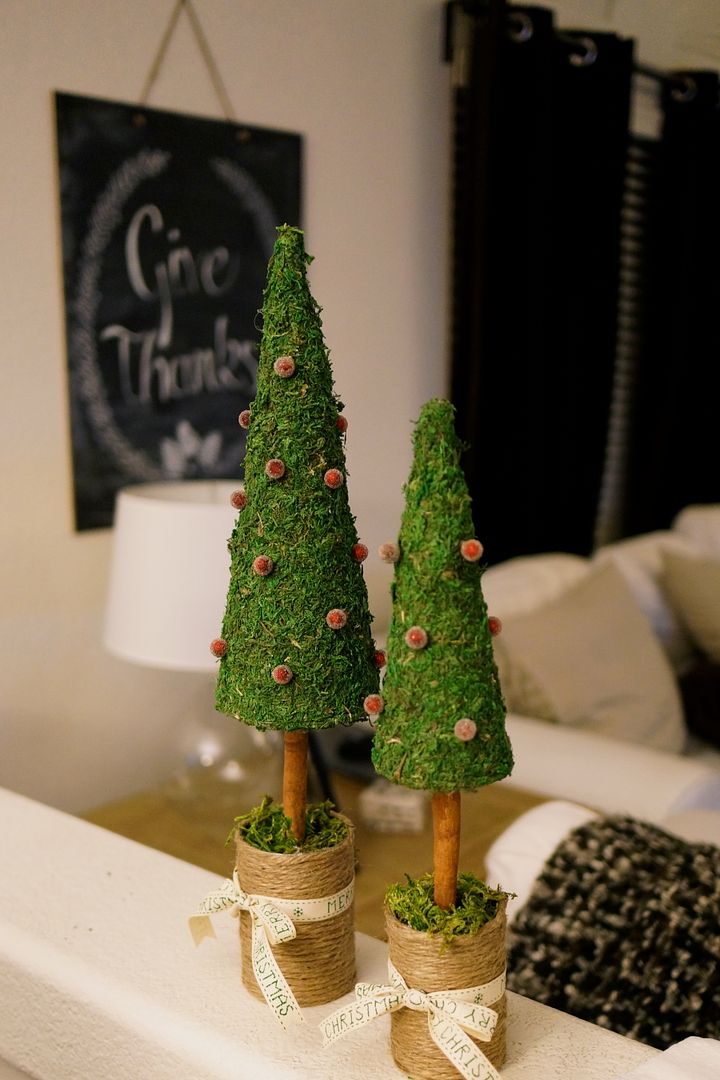
The bases for the trees in the photo above were made using tin cans and some twine. She wrapped the twine around and glued it to the can. Brilliant and oh-so-cute!
Our 2nd Annual Christmas Crafters. This super fun tradition is getting bigger every year! We may have to move out to the patio next year. Good thing this is Phoenix and that is possible in November, ha!
Thanks Amy for hostessing us so well!
For More Christmas Crafts Check Out:


Love the blog post! And very beautiful photos! Nice work.
ReplyDeleteThanks Amy, it was a really fun evening! Already looking forward to next year. ;)
Delete