It is true that I'm a *tiny* bit obsessed with coffee. Although I have favorites (Hello Keurig!) I still find myself trying out new ways to make it. So far I have at home:
I've also done Cold Brew by using mason jars. In the summertime I prefer iced drinks and I found that my previous low-budget Cold Brew method wasn't reliable (didn't turn out well consistently). I can use my Keurig for iced by putting less coffee (6oz instead of 8) over ice but I do love me some Cold Brew.
At a friend's suggestion I ordered the Toddy from Amazon and it's A-MAZING. Made delicious, consistent cold brew that stores easily in my refrigerator. I add a little nutpods non dairy creamer, ice and water and I'm all set.
Or if I want a little more flavor I use my homemade Lavender Simple Syrup. I adore Lavender so this syrup is a special treat and was super easy to make!
Lavender Simple Syrup
2 cups filtered water 2 cups organic sugar 2 Tbsp dried lavender (food grade) Bring to a boil all of the ingredients on the stove, stirring occasionally. Once the sugar is dissolved remove from heat and let the mixture cool. Once cool strain through a fine sieve into a jar. Mixture will keep in the refrigerator for a few weeks. I just added a small bit to my coffee as I've been cutting back on my sugar. But even a little goes a long way. And a bonus, my house smelled like lavender for awhile after making the syrup!
I highly recommend the Toddy, NutPods (creamy and dairy free!) and my syrup. Two of the three are available at Amazon!
Now if you'll excuse me, mama needs another cup of coffee. It is the fuel of summer break. :)
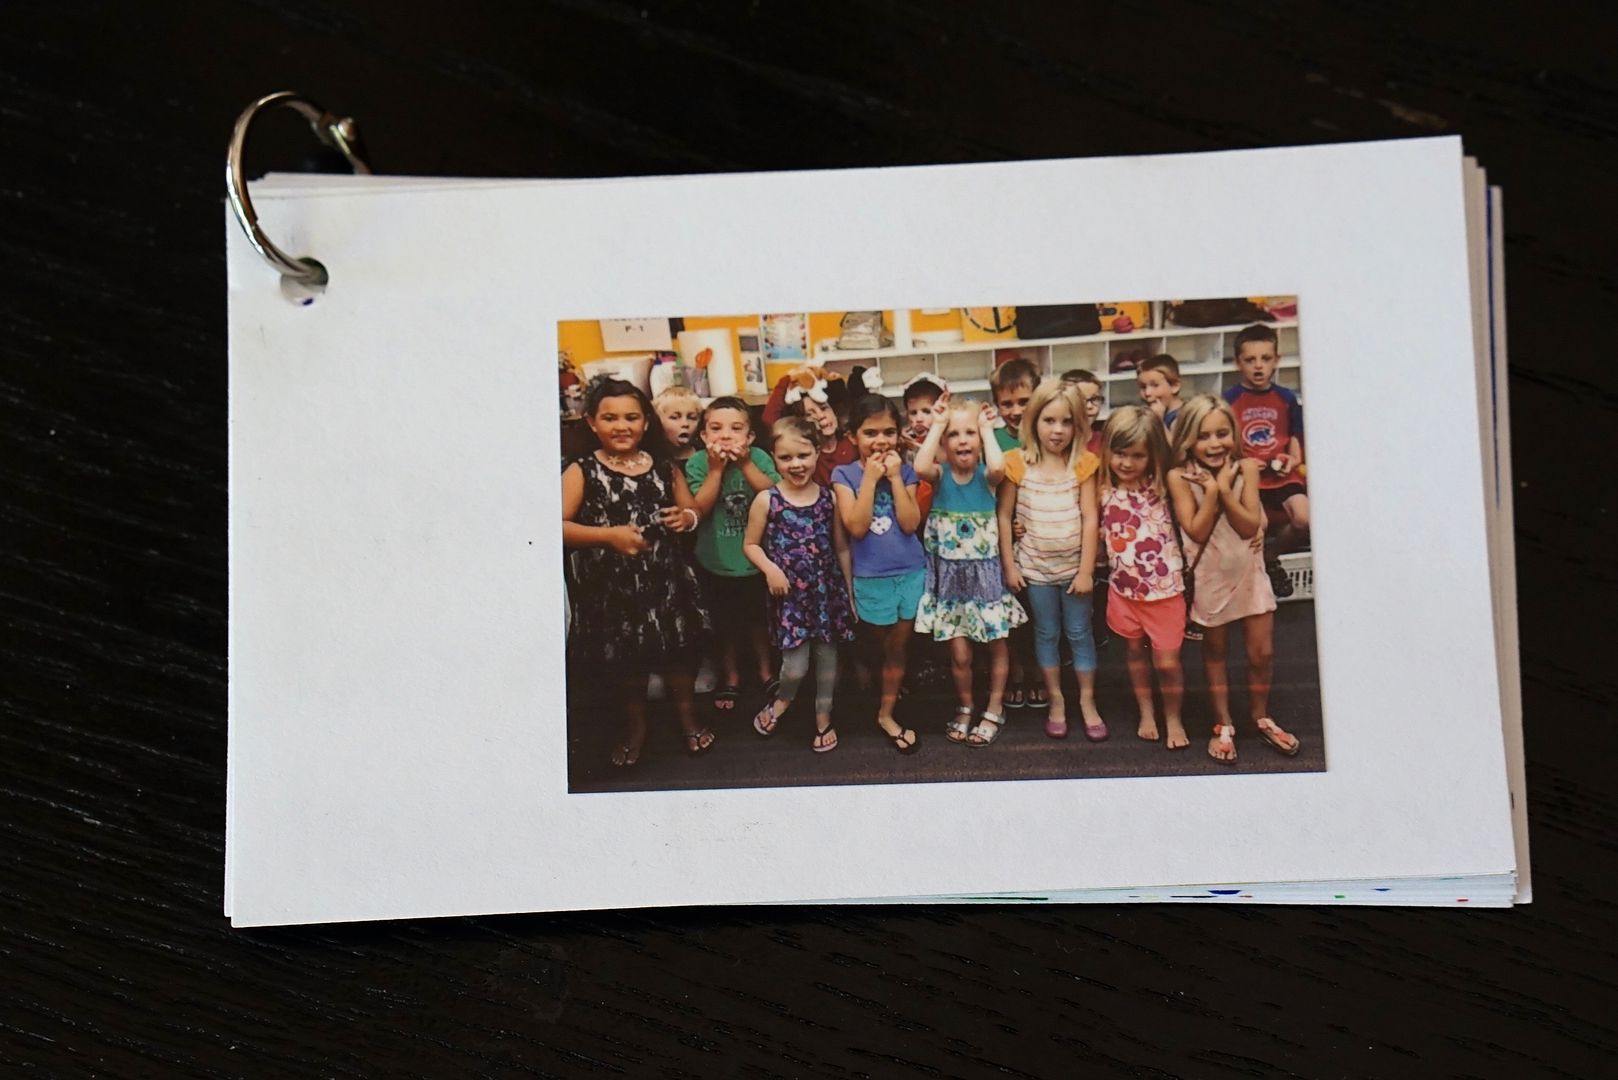
This time of year means lots of thank-yous. When thanking teachers don't forget your Sunday School teachers! Our kids promoted to the next school grade this weekend so I had the kindergarteners make this project on their last Sunday before promotion. Then I dropped it in the mail for their teacher as a sweet surprise.
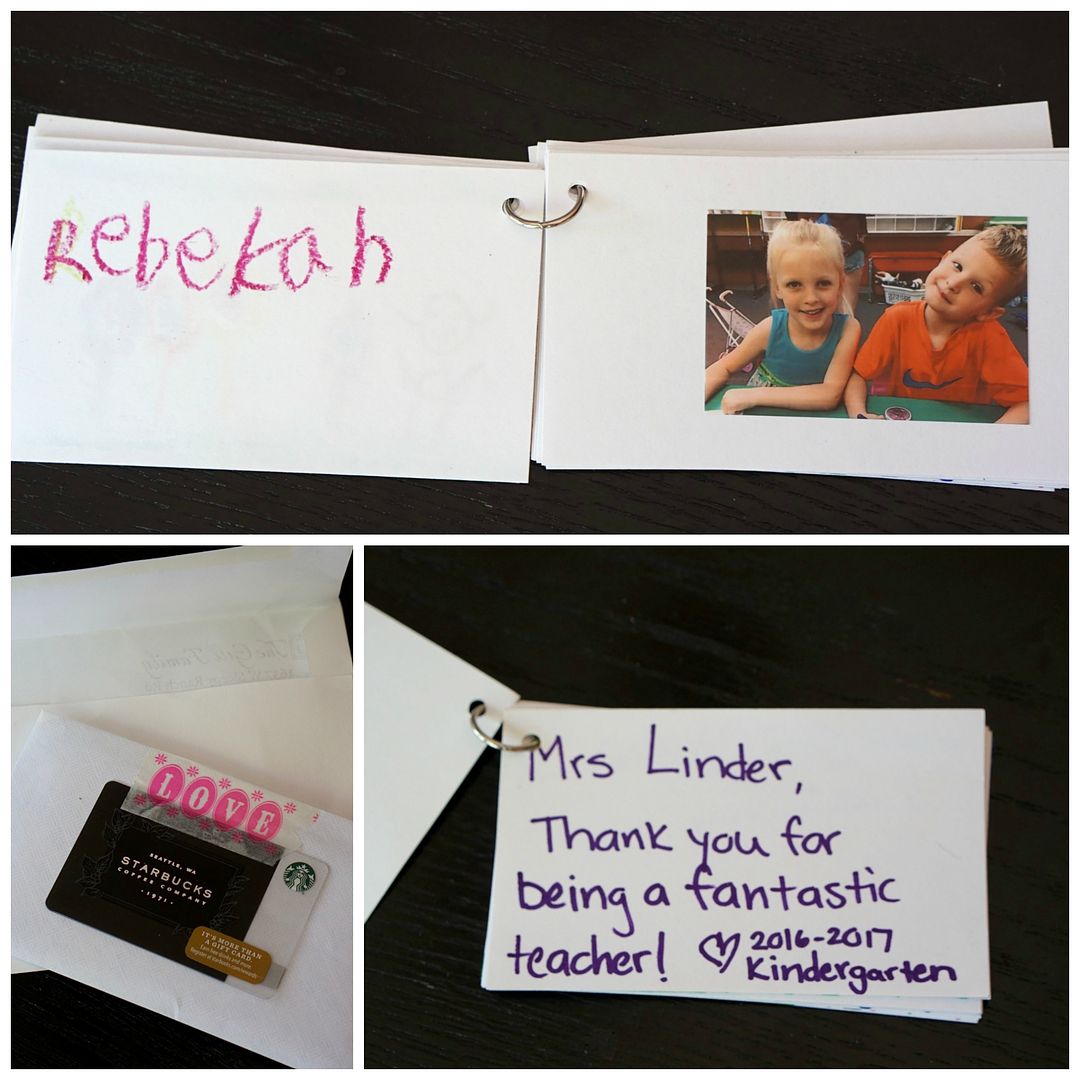
I had the kids each write on a 3x5 card a note, drawing or thank you for their teacher and then sign it. I took a few photos of the kids including a funny group shot.
When I got home my daughter and I picked out a few photos and made copies on our super cool Polaroid Zip Mobile printer (LOVE that thing)! We added a few sheets with photos, punched a hole in the pages and added a ring. (You could print regular photos out as well)
Voila a cute (and easy) teacher appreciation gift!
*You could also add a gift card, art supplies and/or flowers.
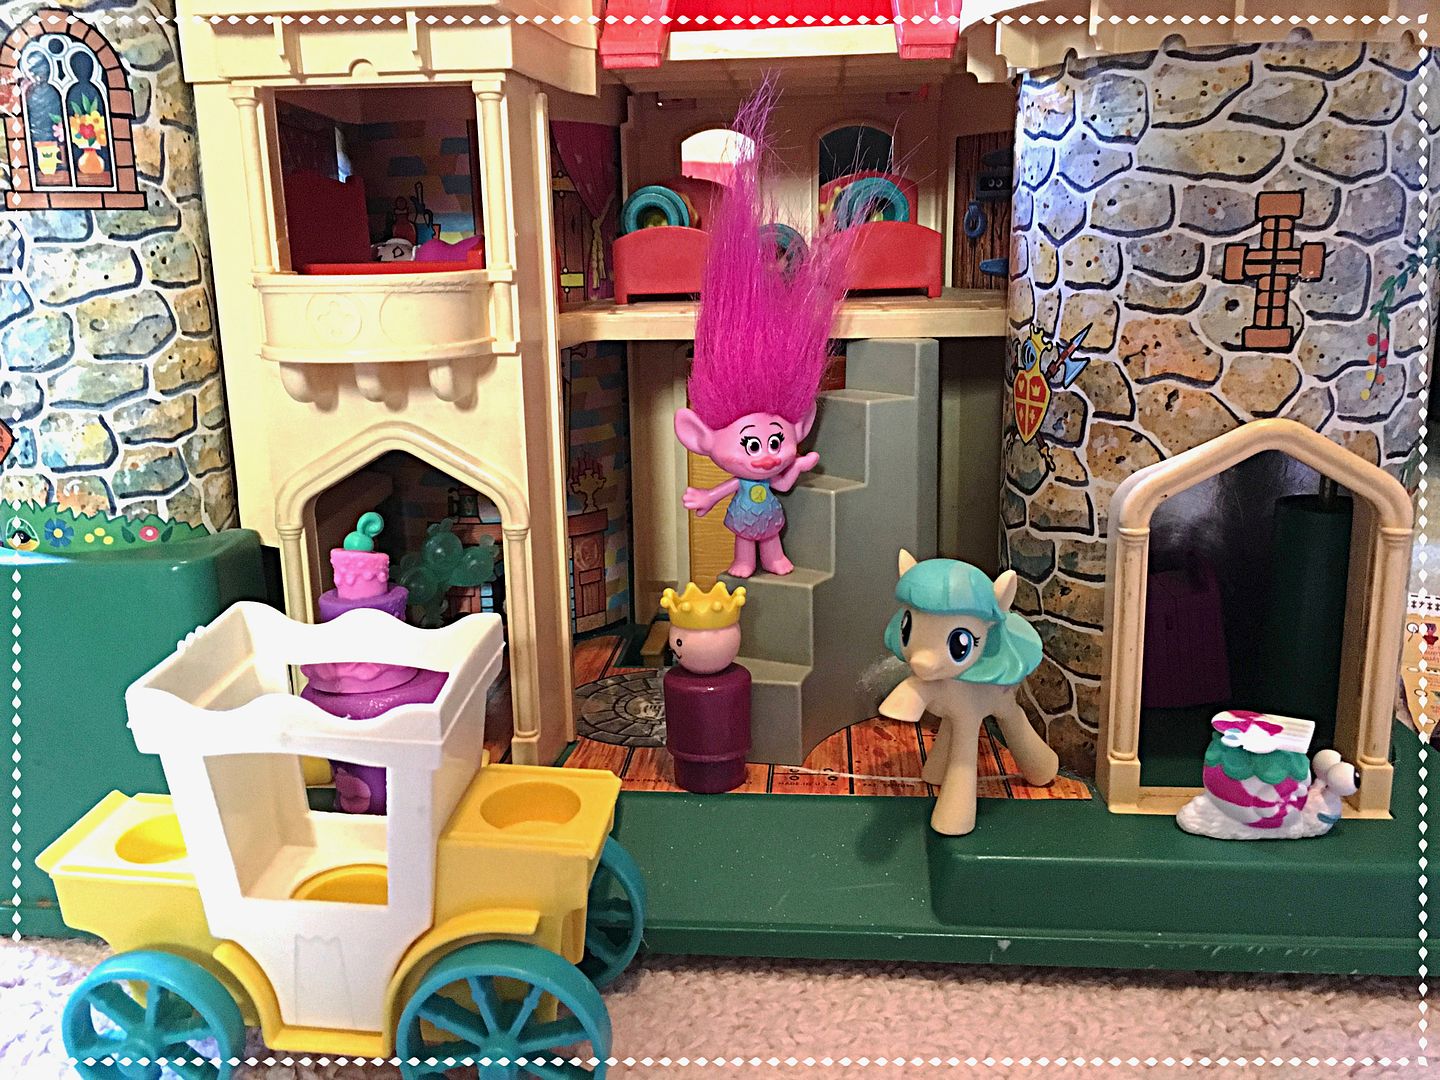
My kids are pretty organized in their play, using one type of toy at a time. Perhaps they get that from their mom...I may be a *tiny* bit OCD. ;)
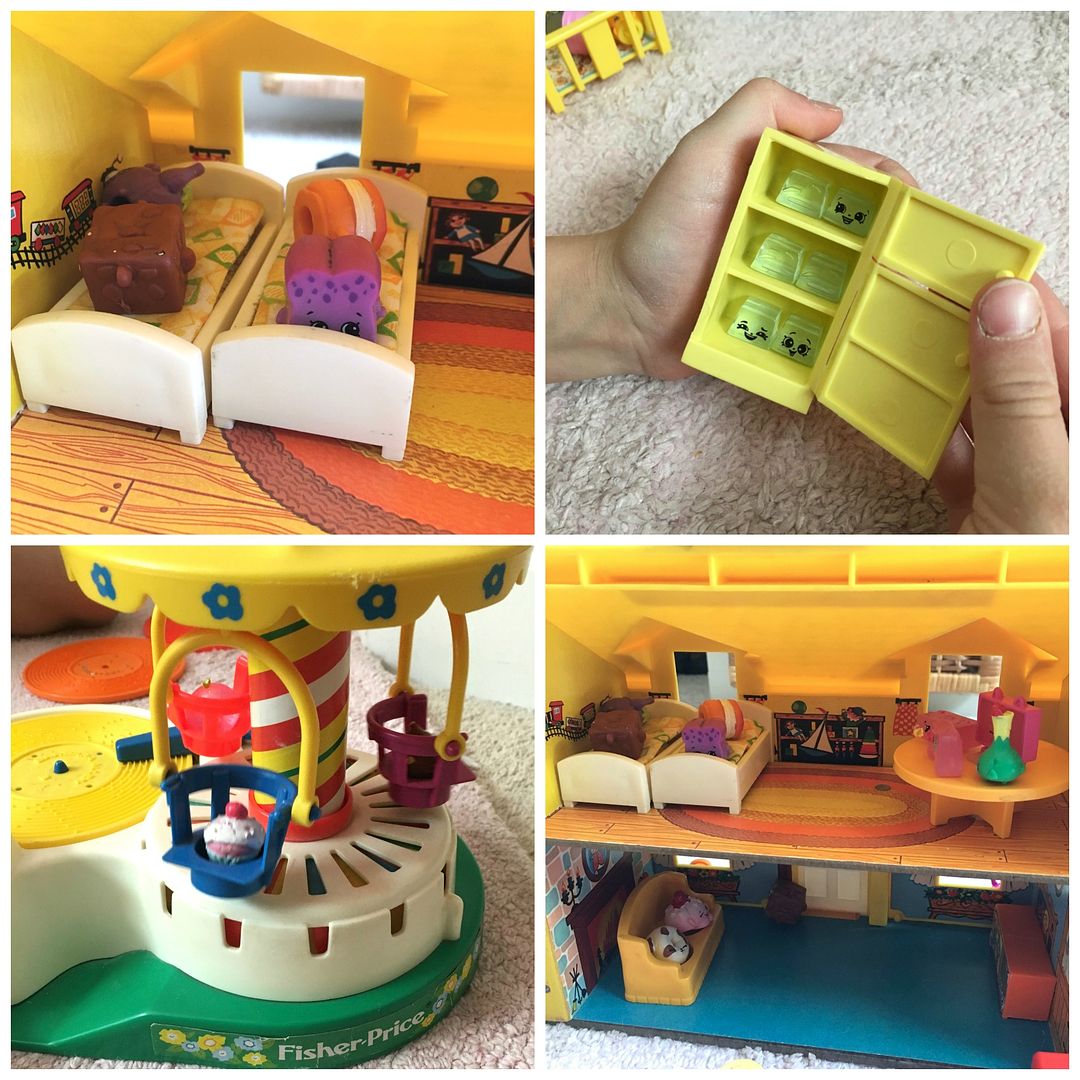
So I was surprised and a bit delighted to find them playing with different toy types recently. I'd find Trolls in the Play Family Castle #993 and Shopkins in the Play Family House #952.
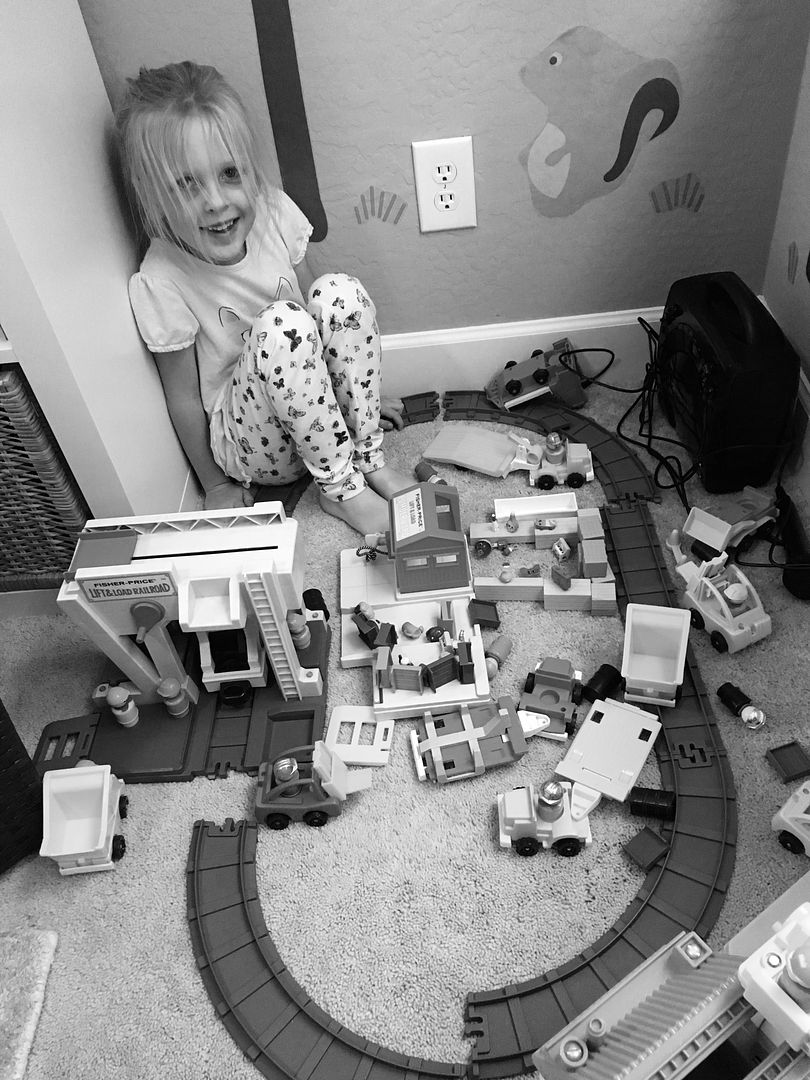
Then last week after we pulled out the Lift & Load Railroad #943 I found that my little one added her Shopkins to the party.
Love. It.
How do your kids add the 1970/80s to the 2010's? :)
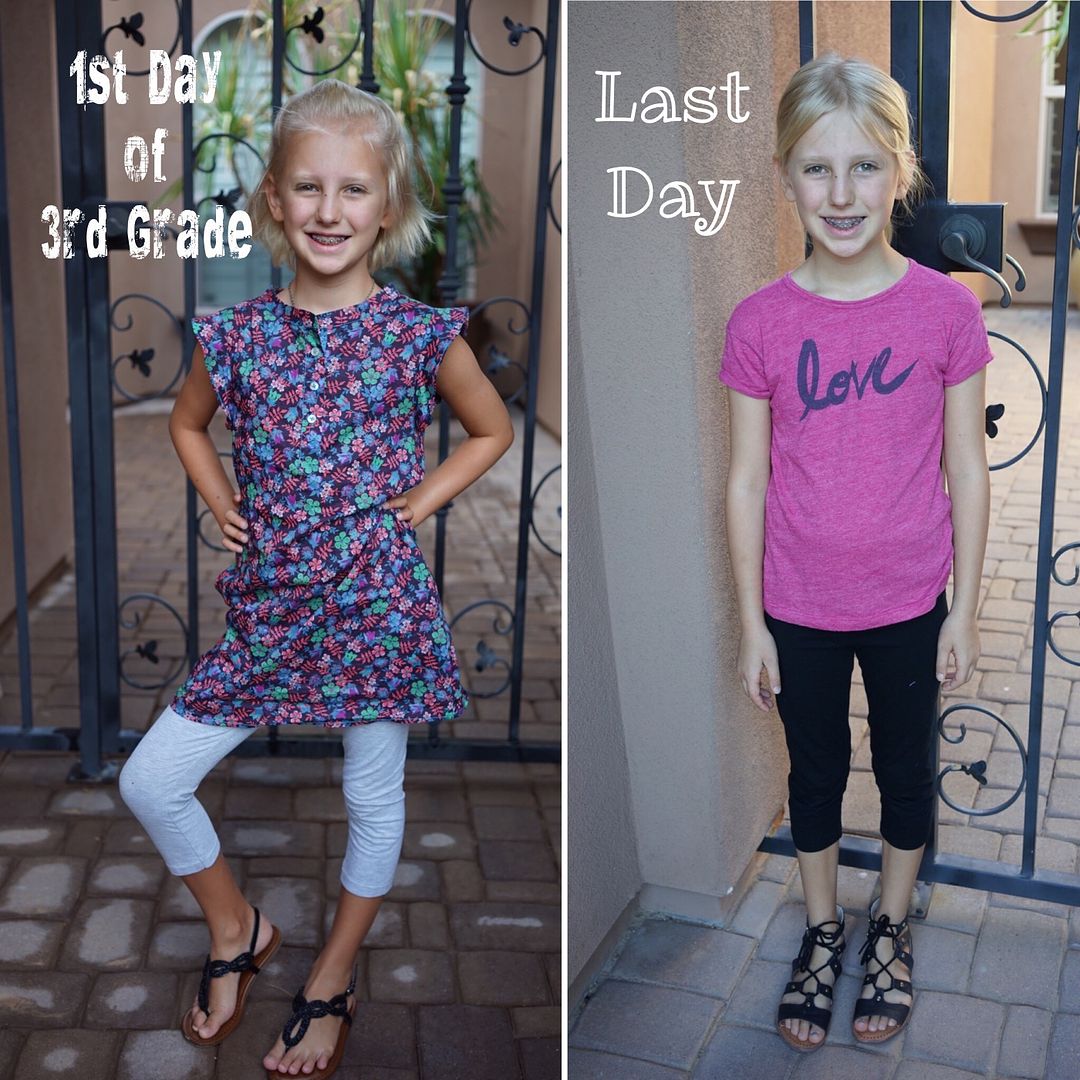
Today was my girl's last day of school. It's been a long and sometimes hard year (for me!!) but they've had a fantastic time. So Kindergarten/3rd Grade is in the books and we're onto 1st/4th grade in....2.5 months.
So how did I spend my last morning of school, why having breakfast with my best friend of course.
We've got lots going on this summer; trips, swimming lessons, camp, play-dates and a few surprises! I need to work on my Summer Plan board! But first, an afternoon with the kids and a swim play-date tomorrow morning. Welcome Summer!
Ah Pinterest, I have a bittersweet relationship with you. Projects look so shiny, beautiful and easy. Teacher Gifts are so clever, complicated and...time consuming. Yet your siren song calls me year after year. That said I decided to improve on a past Pinterest Teacher Gift by making it bigger and better. Sigh. I thought I'd take my go-to "Thanks for Helping Me Bloom" gift (don't judge it's a classic) and fancy it up with some extra decorations and pizazz.
Here's how it ended up looking. I think it's a Pinterest win and it was actually pretty easy! This is what we did: 1. We bought a potted flower/plant (kids picked out) and asked the florist for a few extra floral sticks. 2. Had the kids make flowers out of construction paper and stuck on a photo of them (from my nifty Polaroid Zip - coolest toy ever!). 3. Added a gift card (or 2 or 3 depending on how challenging your kid was this year) on another stick.
4. Had the kids write thank-you cards and stuck those on sticks too. Bonus if your cards are personalized like my daughter's (from Shutterfly, how cute are they???).
5. Have the kids fill out an adorable "my favorite" fill in the blank form for their teacher. My girls LOVED doing this. I found 2 different sheets since I had a K and a 3rd grader. Fold them up and put it on you guessed it, another stick. 6. Don't forget to add a parent thank you note too! I wrote my notes on the back of the construction paper flowers. 7. Last but not least add a pretty bow, or decorate the actual pot for extra credit, super special Pinterest Parents have their kid's hand prints painted on the side, just saying. Voila, a lovely end of the year gift! What do you think?
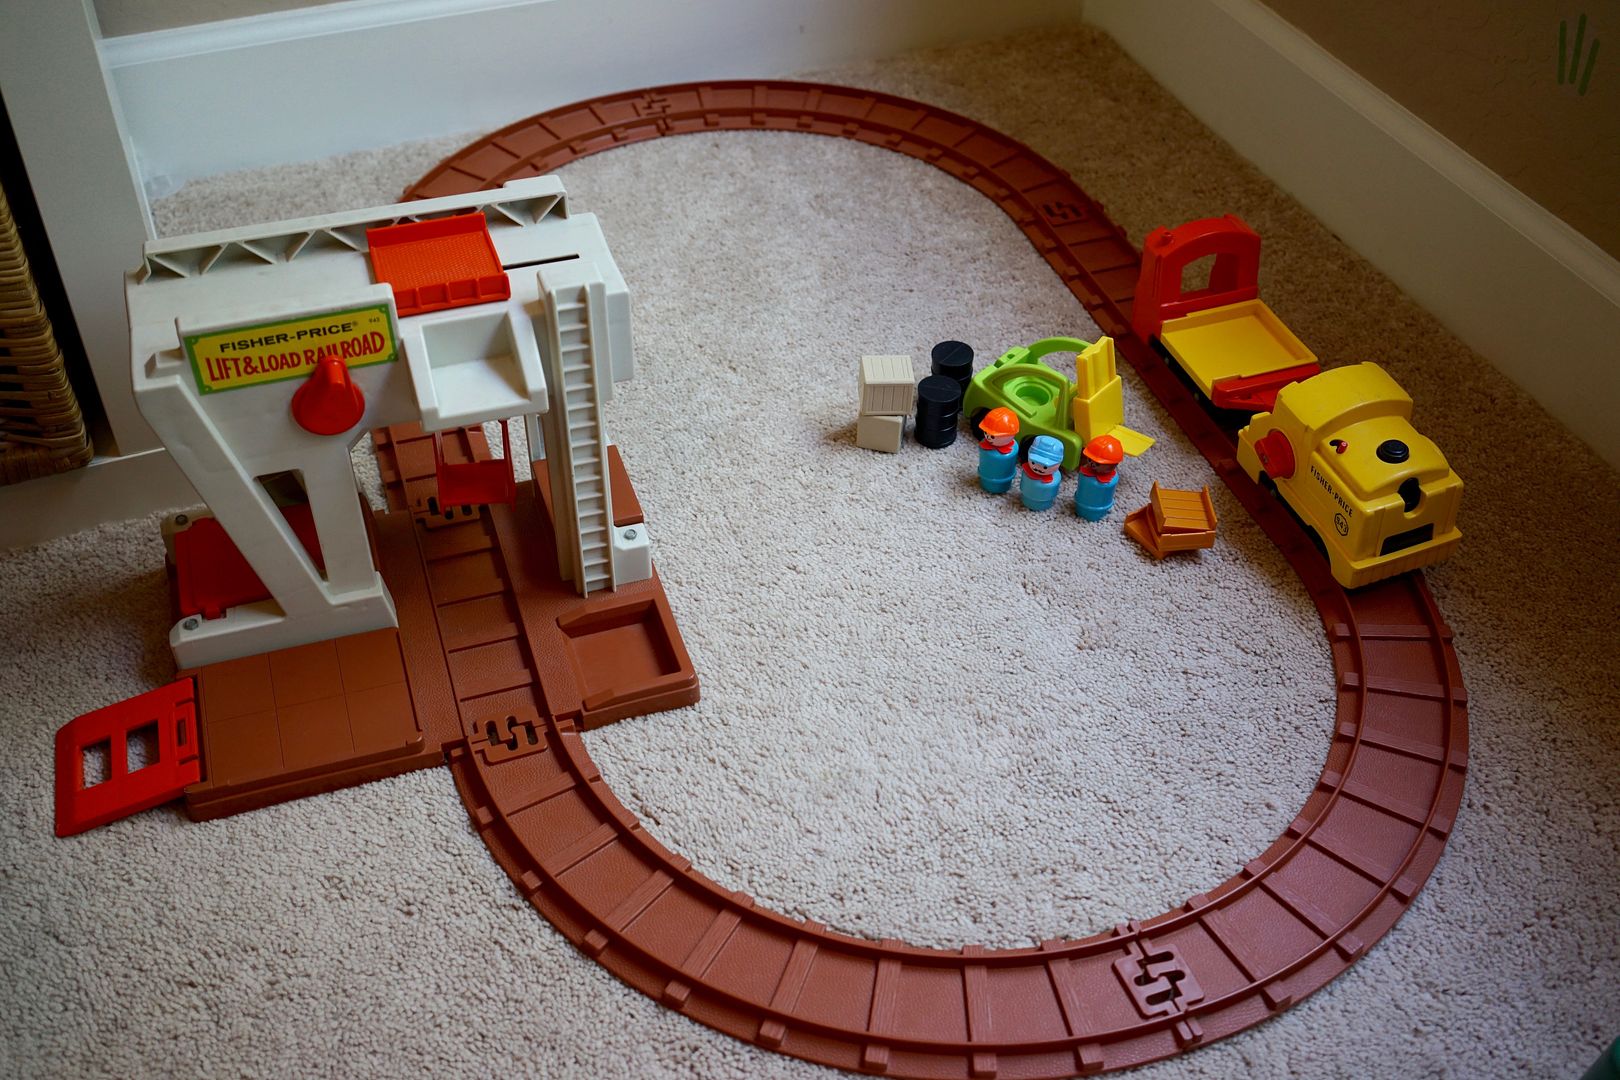
Today I have a new (old) set to share with you, the Fisher Price Lift & Load Railroad #943. Made between 1978-1979 this was the second of the Lift & Load sets produced. The #942 Lift & Load Depot was first produced from 1977-1979. The third set in the series was the Lift & Load Lumber Yard #944 from 1979-1981.
This is the final of the three sets that we added to our collection. I bought it as a Christmas gift for my youngest and it is a perfect addition to the other two! But more on that in a bit.
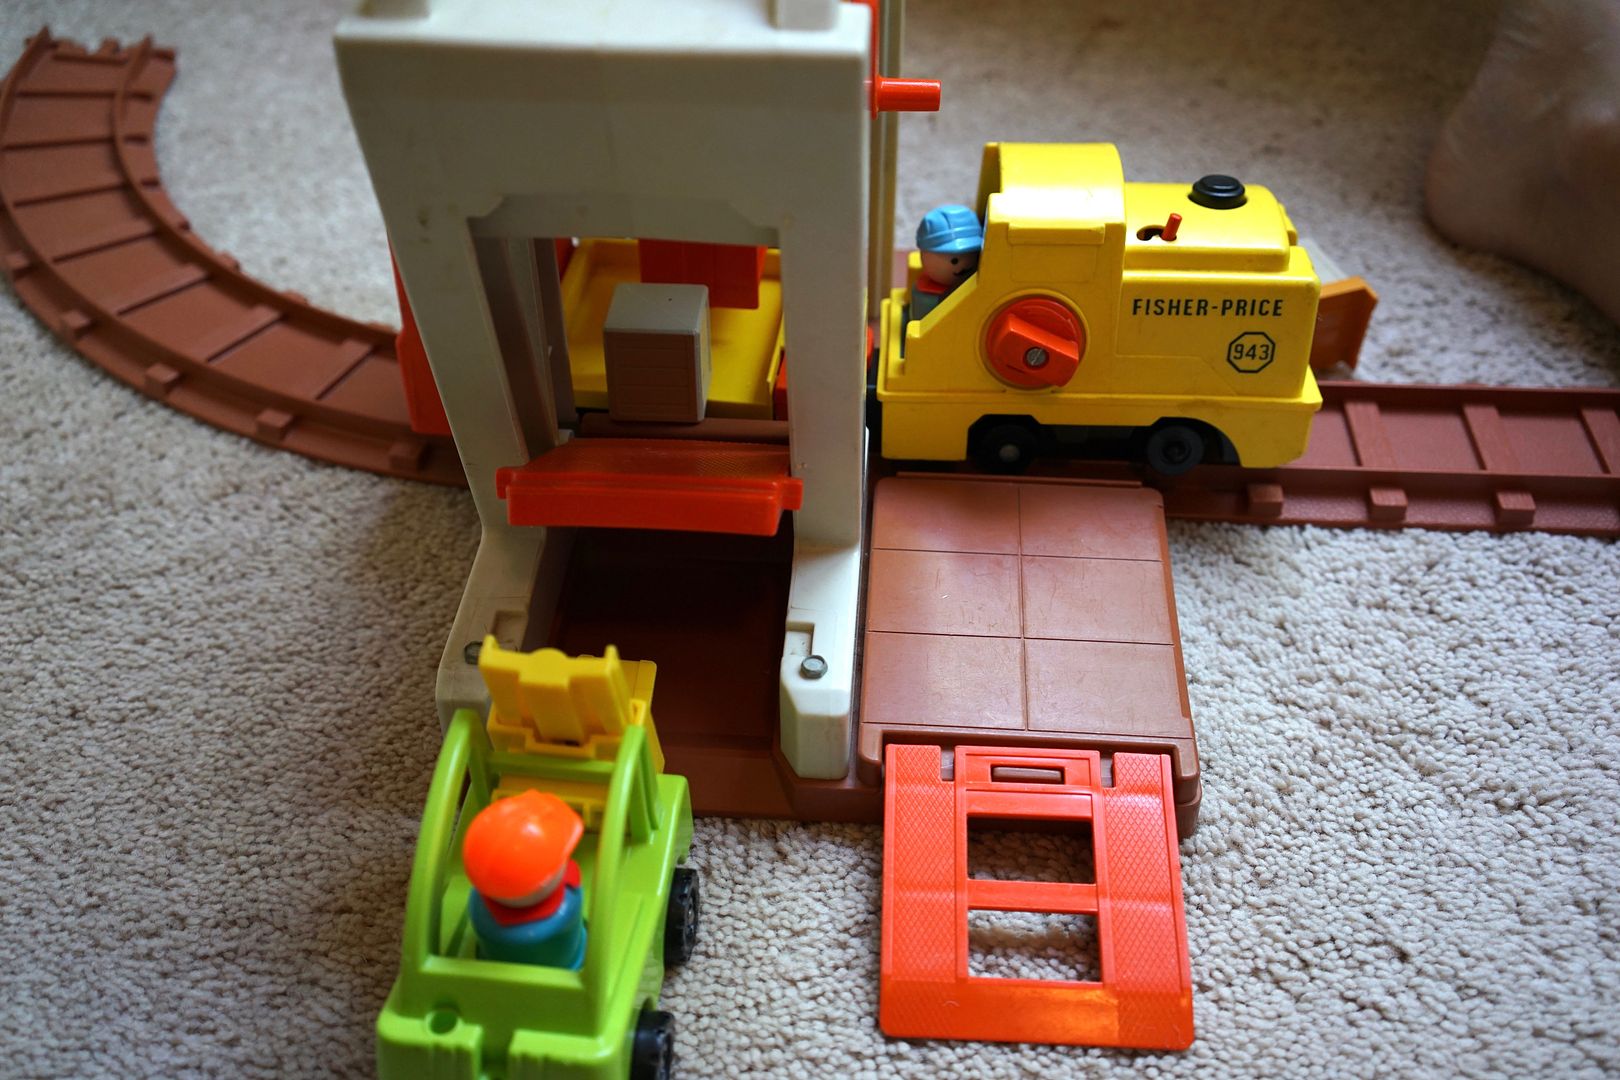
The Lift & Load Railroad came with quite a few pieces (24), many of them exclusives to the set. The set came with a total of 7 track pieces; 4 curved pieces and 3 short straight tracks.
The base looks similar to the Lift & Load Depot but has the addition of a built in track. It also included a crane that moves side to side, a platform that tilts up to load cargo, a removable orange ramp and a "cage" that moves by a crank.
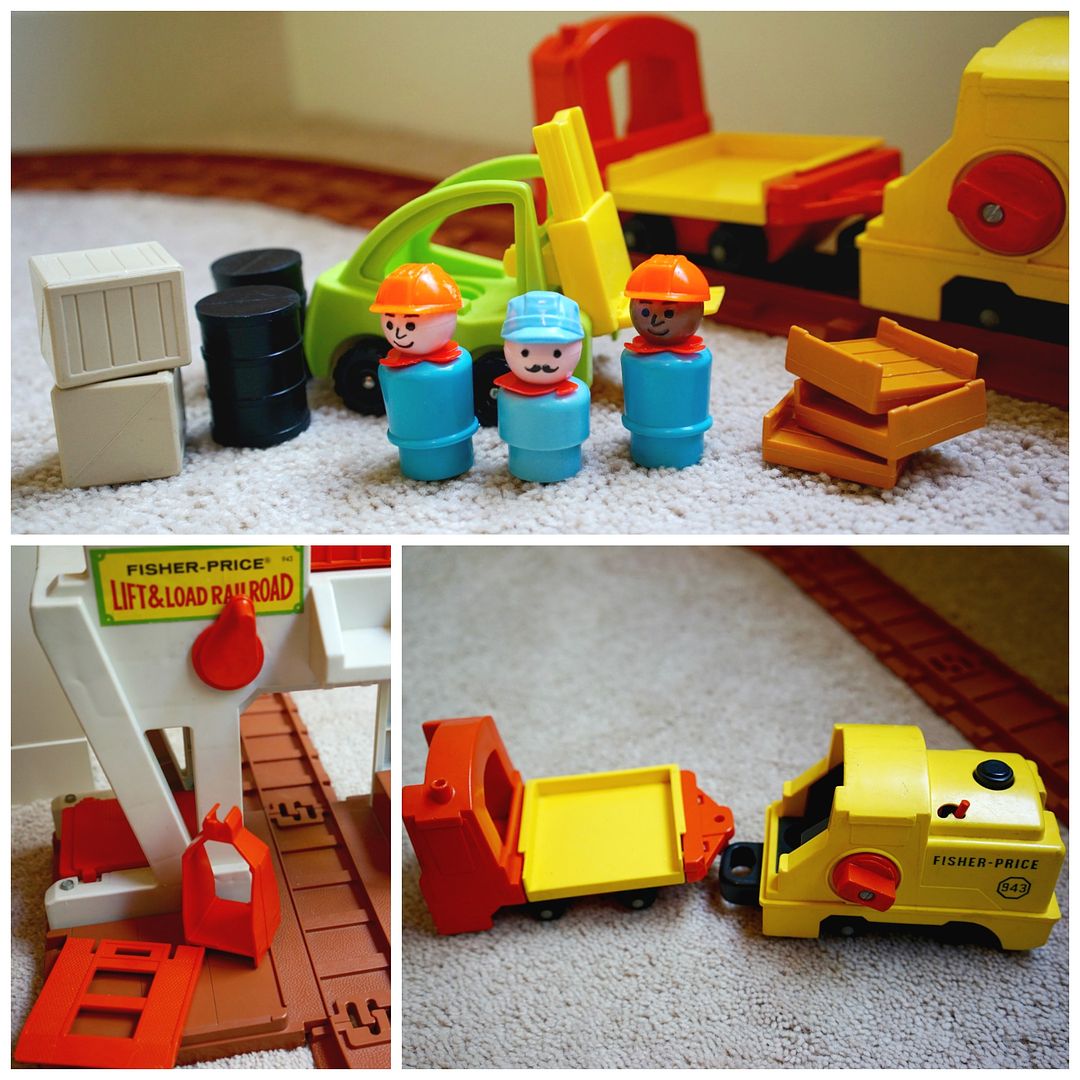
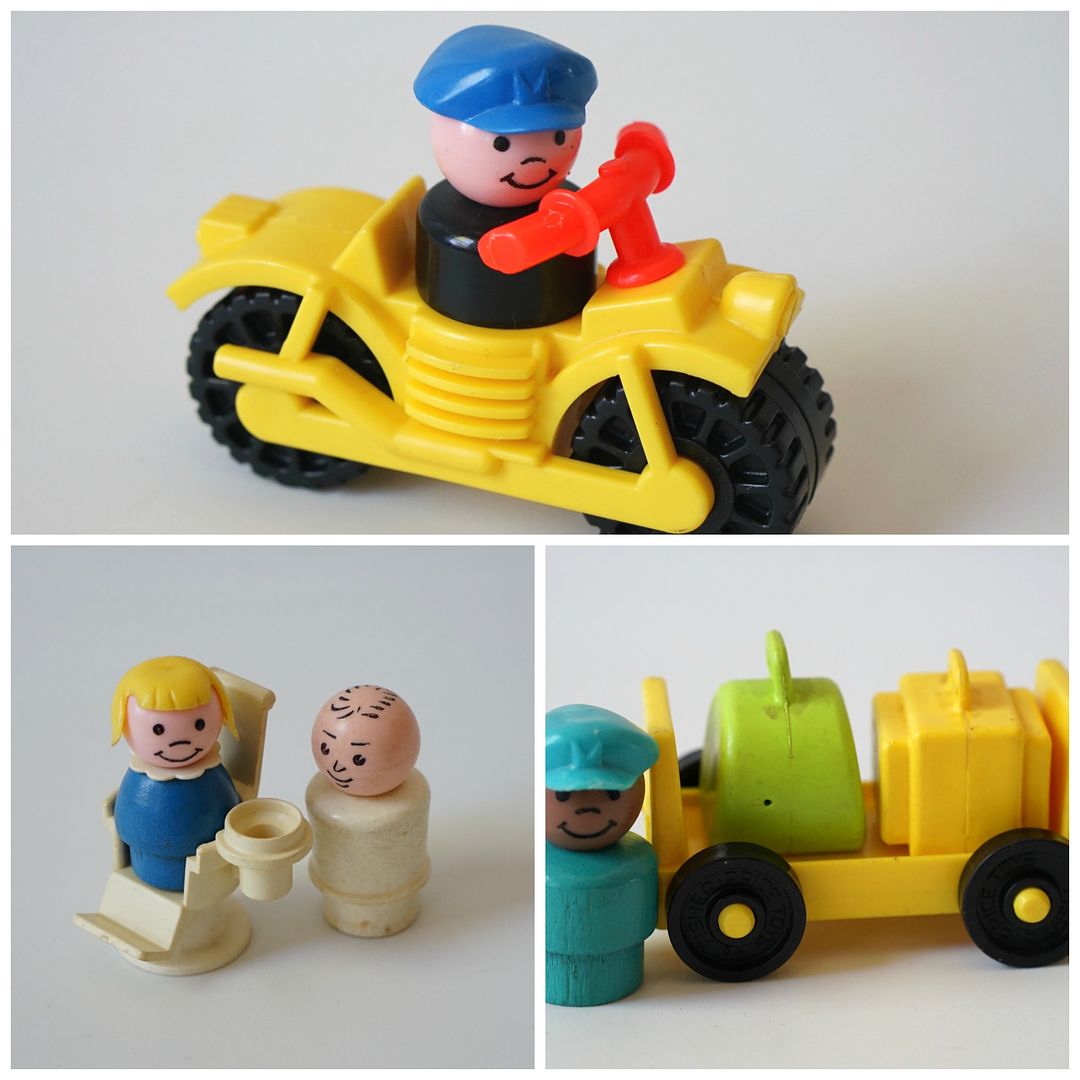
The accessories that came with the set included 3 little people figures, a train engine, flat car, green forklift, ramp, 7 pieces of cargo and a cage. I've read conflicting reports on whether there were variations to any of the pieces, one source said no and the other said the crates could be brown or tan (as shown).
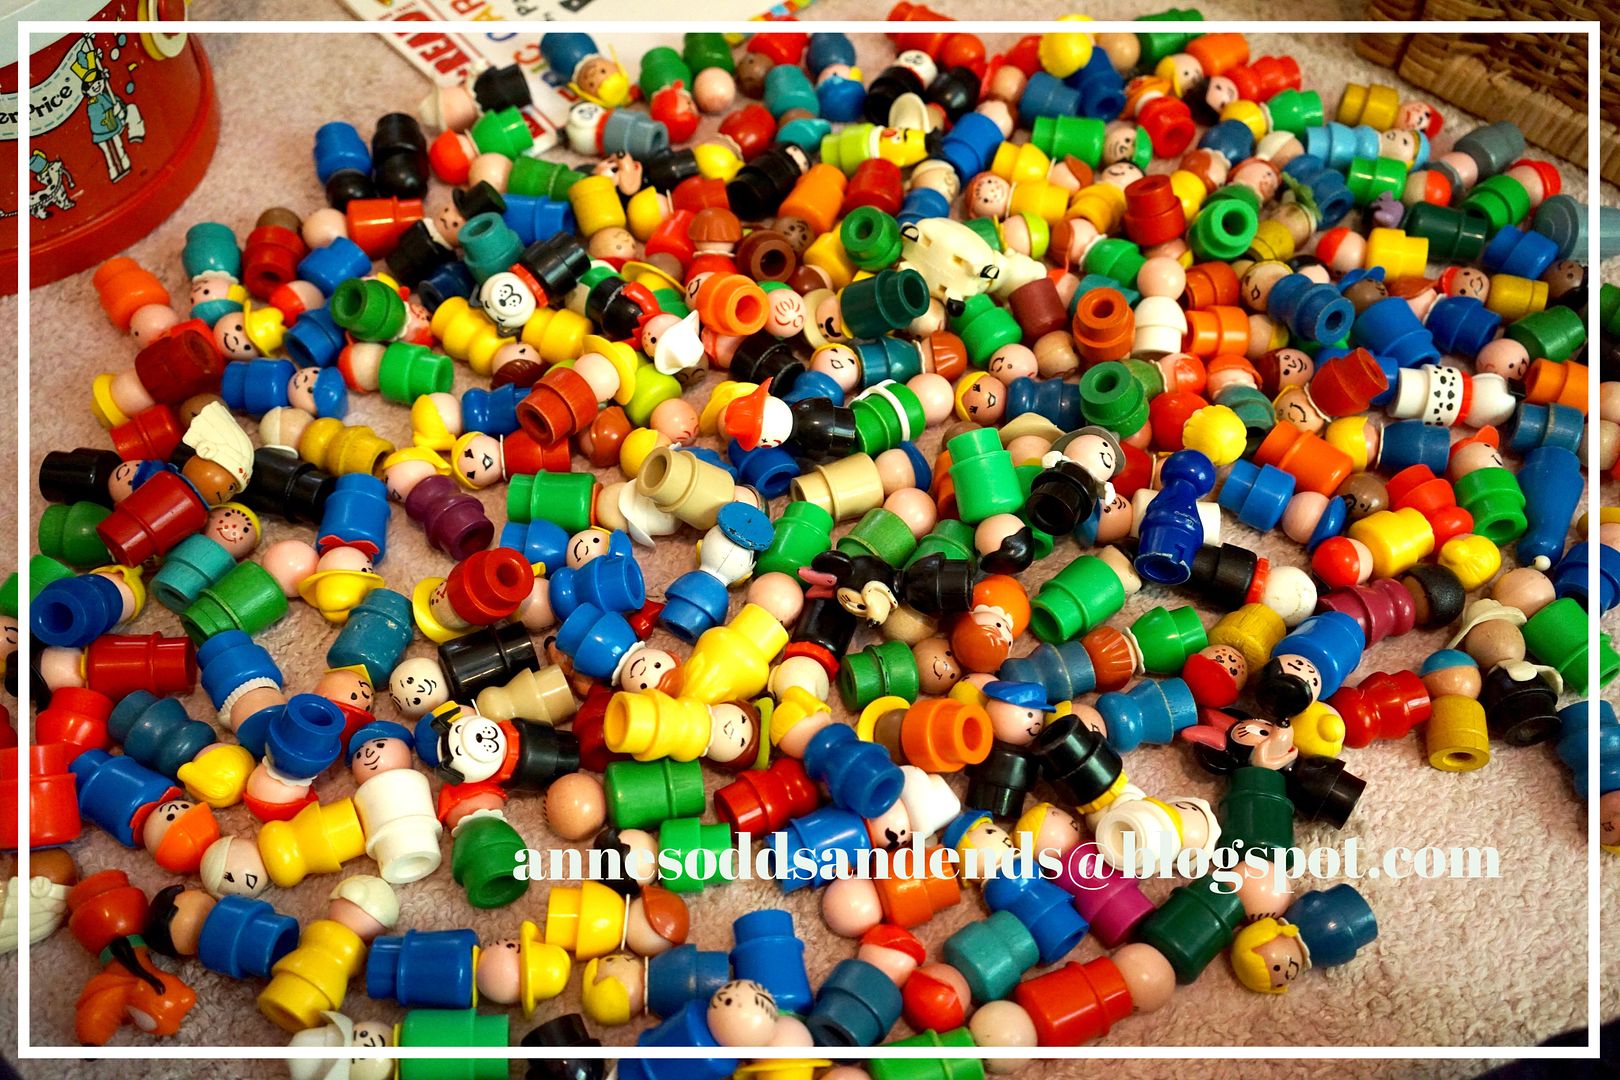
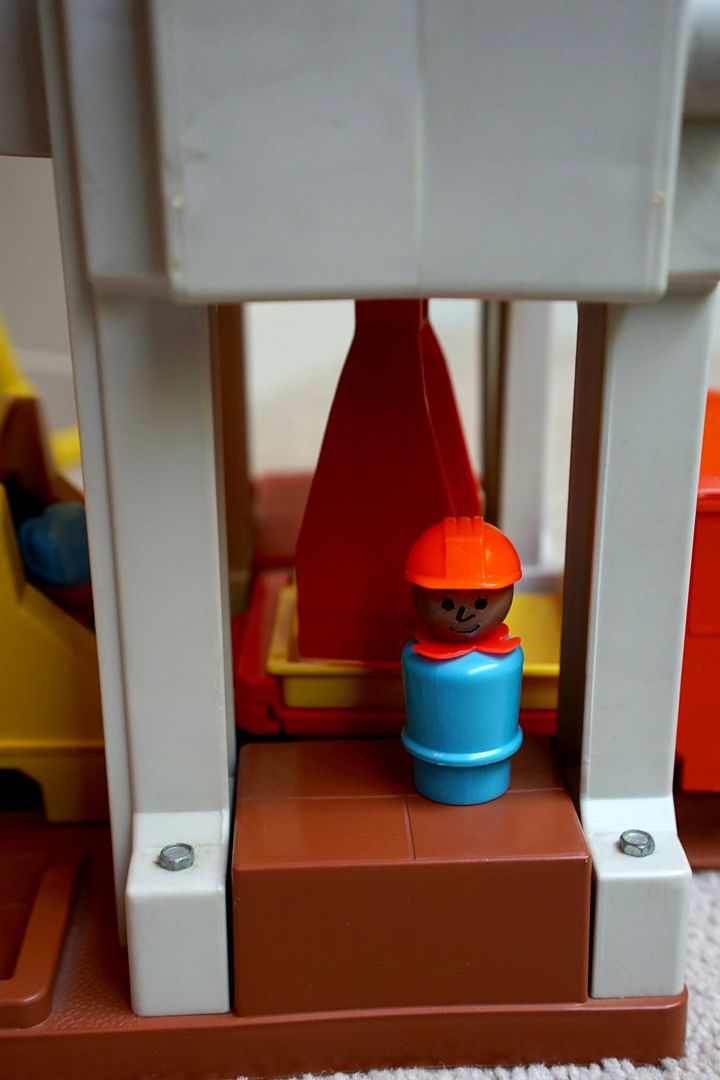
The little people construction figures included the two tall ones shown above and a third that looks just like the small guy but is regular height. I looked EVERYWHERE but couldn't find him in our playroom this morning. I'm sure he'll appear once I post this entry. :)
We have quite the pile of people (this isn't even all of them) but I didn't see him. Do you? 😆
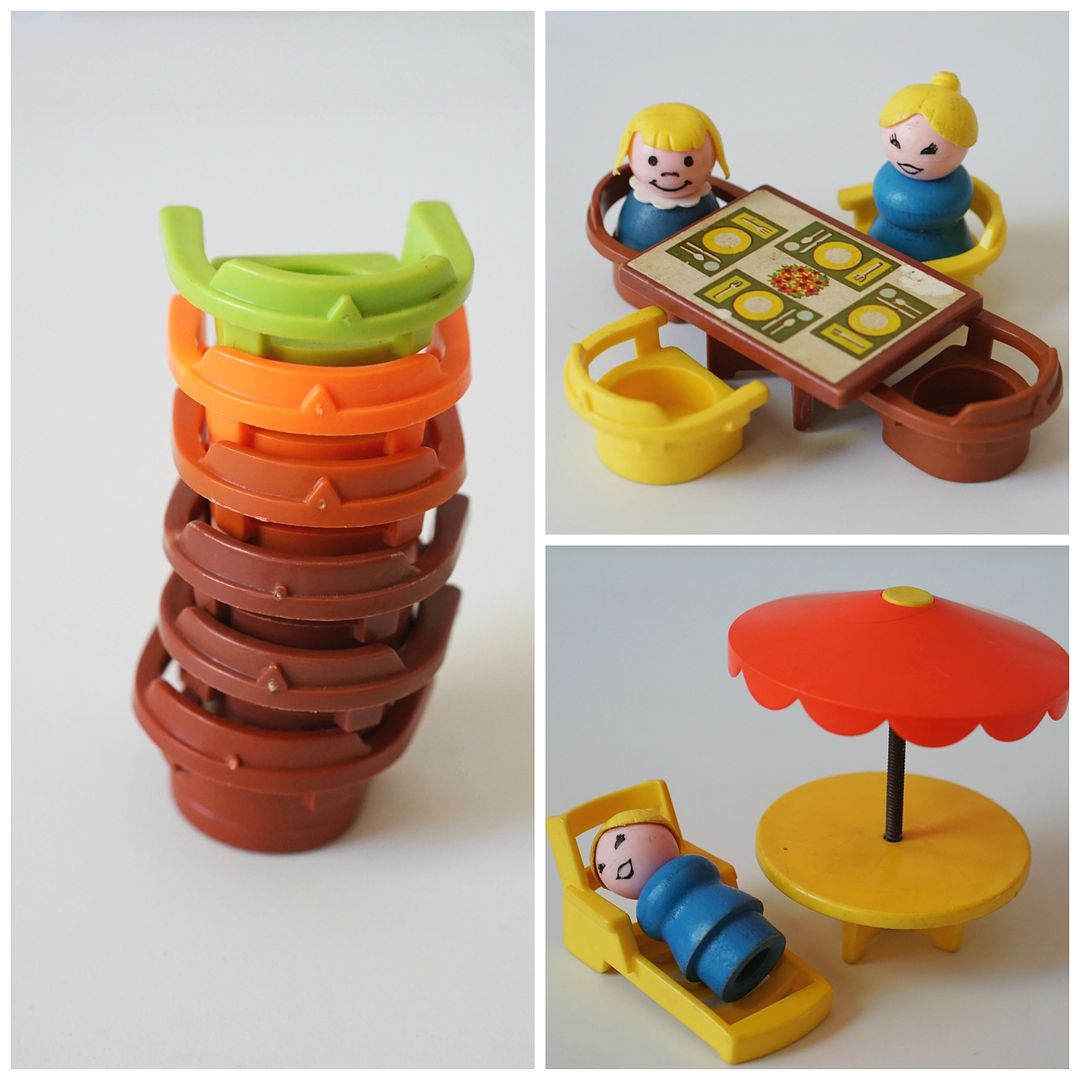
The set came with 8 pieces of cargo: 4 light orange shipping pallets, 2 black oil drums and 2 grey crates with wood slats molded into the side. All of the cargo pieces are made of plastic. The orange pallets were exclusive to this set, three different sets used brown pallet versions.
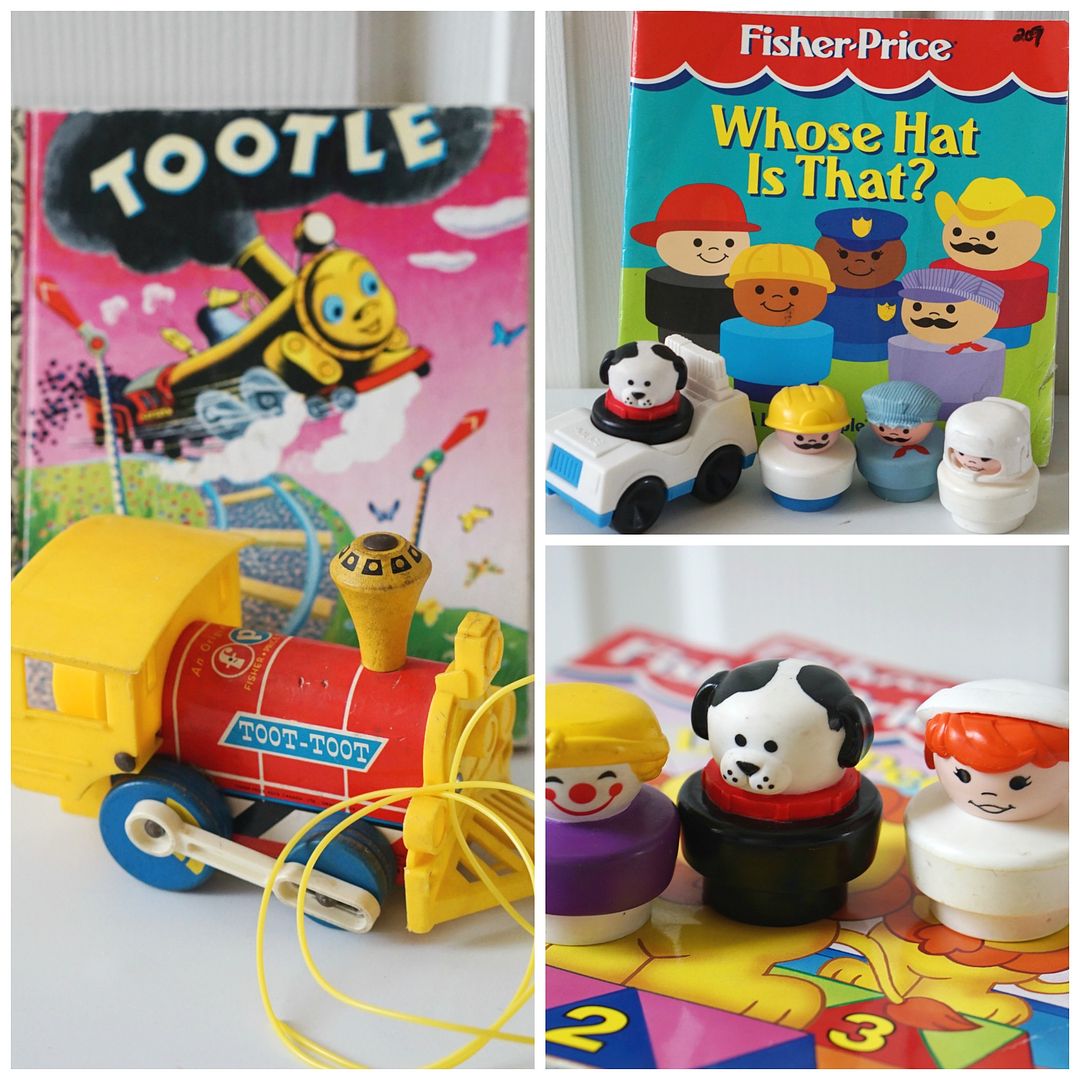
The coolest and most exclusive piece is the train engine. It is a wind up train that has an on/off switch. The engine can go around the track up to 4 times according to what I've read, but I've experienced more like 2-3x. The problem with these engines is that it's hard to find one that actually works! It took 4 tries (!!!) to get one that wasn't overwound. The train can also be pushed manually by a child but that's not quite as fun as watching it go on its own. Our train makes a...high pitched sound but I like to think it makes it more authentic. Check out my video to see what I mean. Does your train sound like this too?
These are almost 40 year old toys and through the years overly enthusiastic children have broken the windings which from what I can tell are unable to be fixed. If you know how to fix the engine I recommend posting a how-to video on youtube for the rest of us.
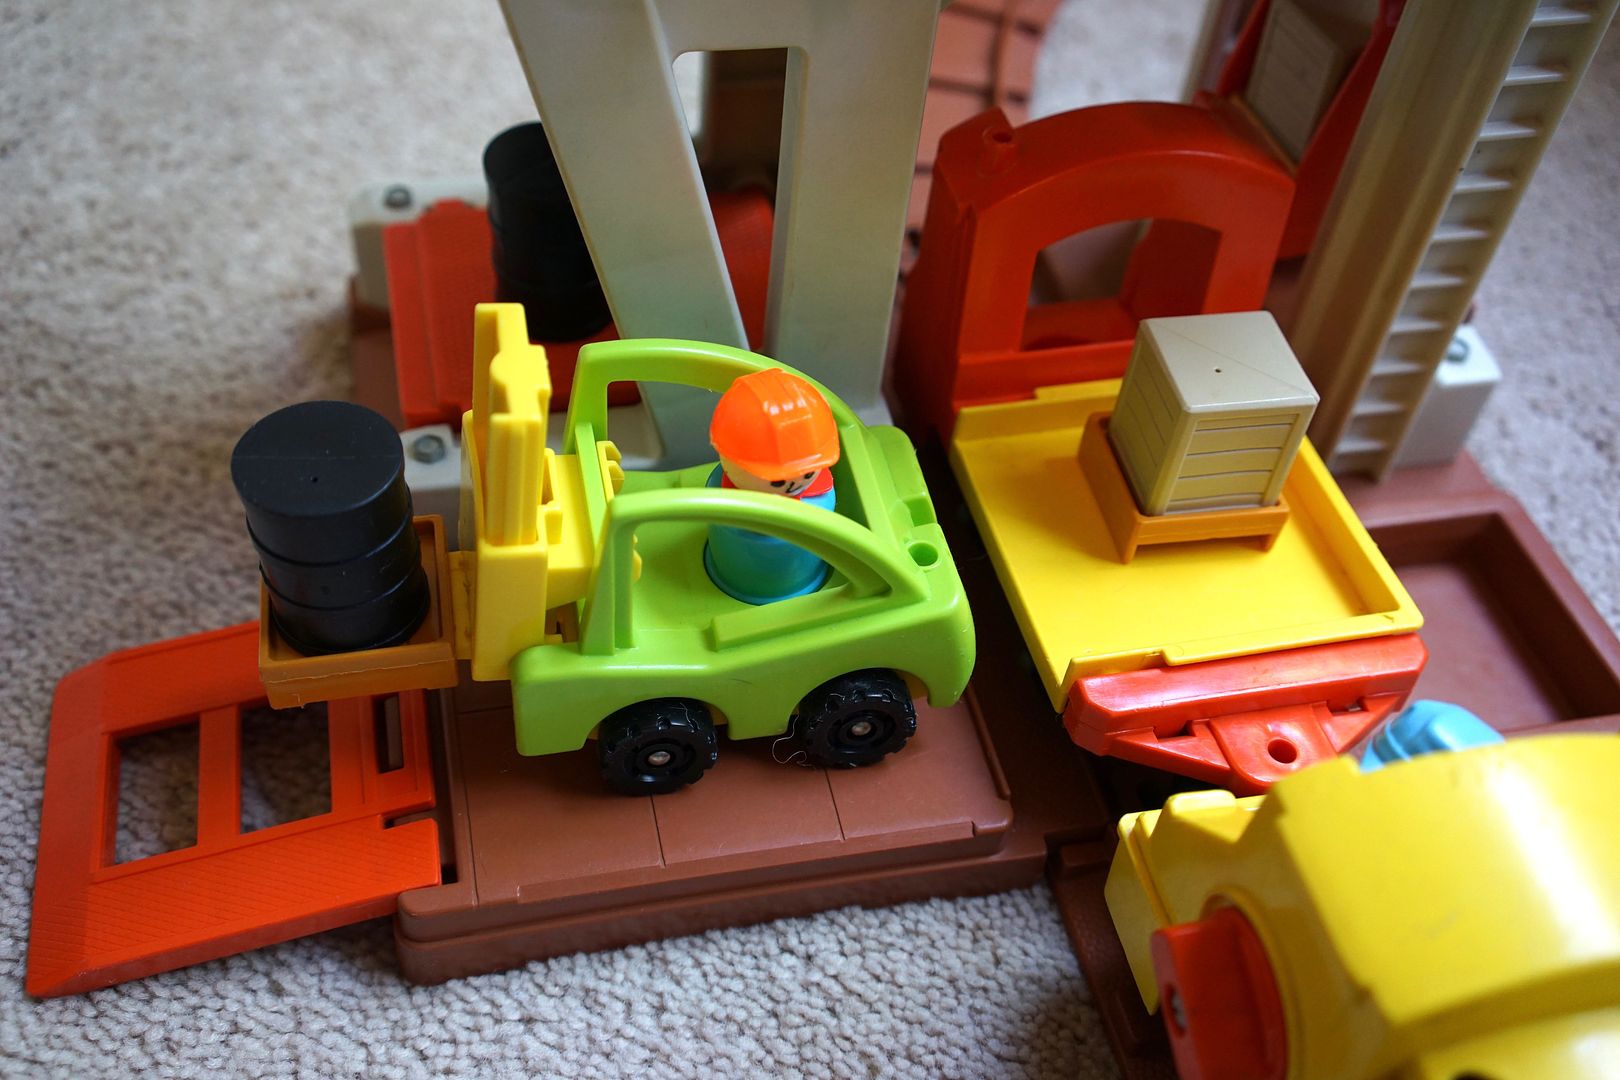
Now for a closer look. The orange ramp is an exclusive, not to be confused with a similar yellow ramp that came with the #944 Lift & Load Lumber Yard. It is removable and helps the forklift get onto the deck for easy loading/unloading.
The train flat car has a yellow base that lifts up. The flat car can load here where the forklift is or inside the tunnel from the cage.
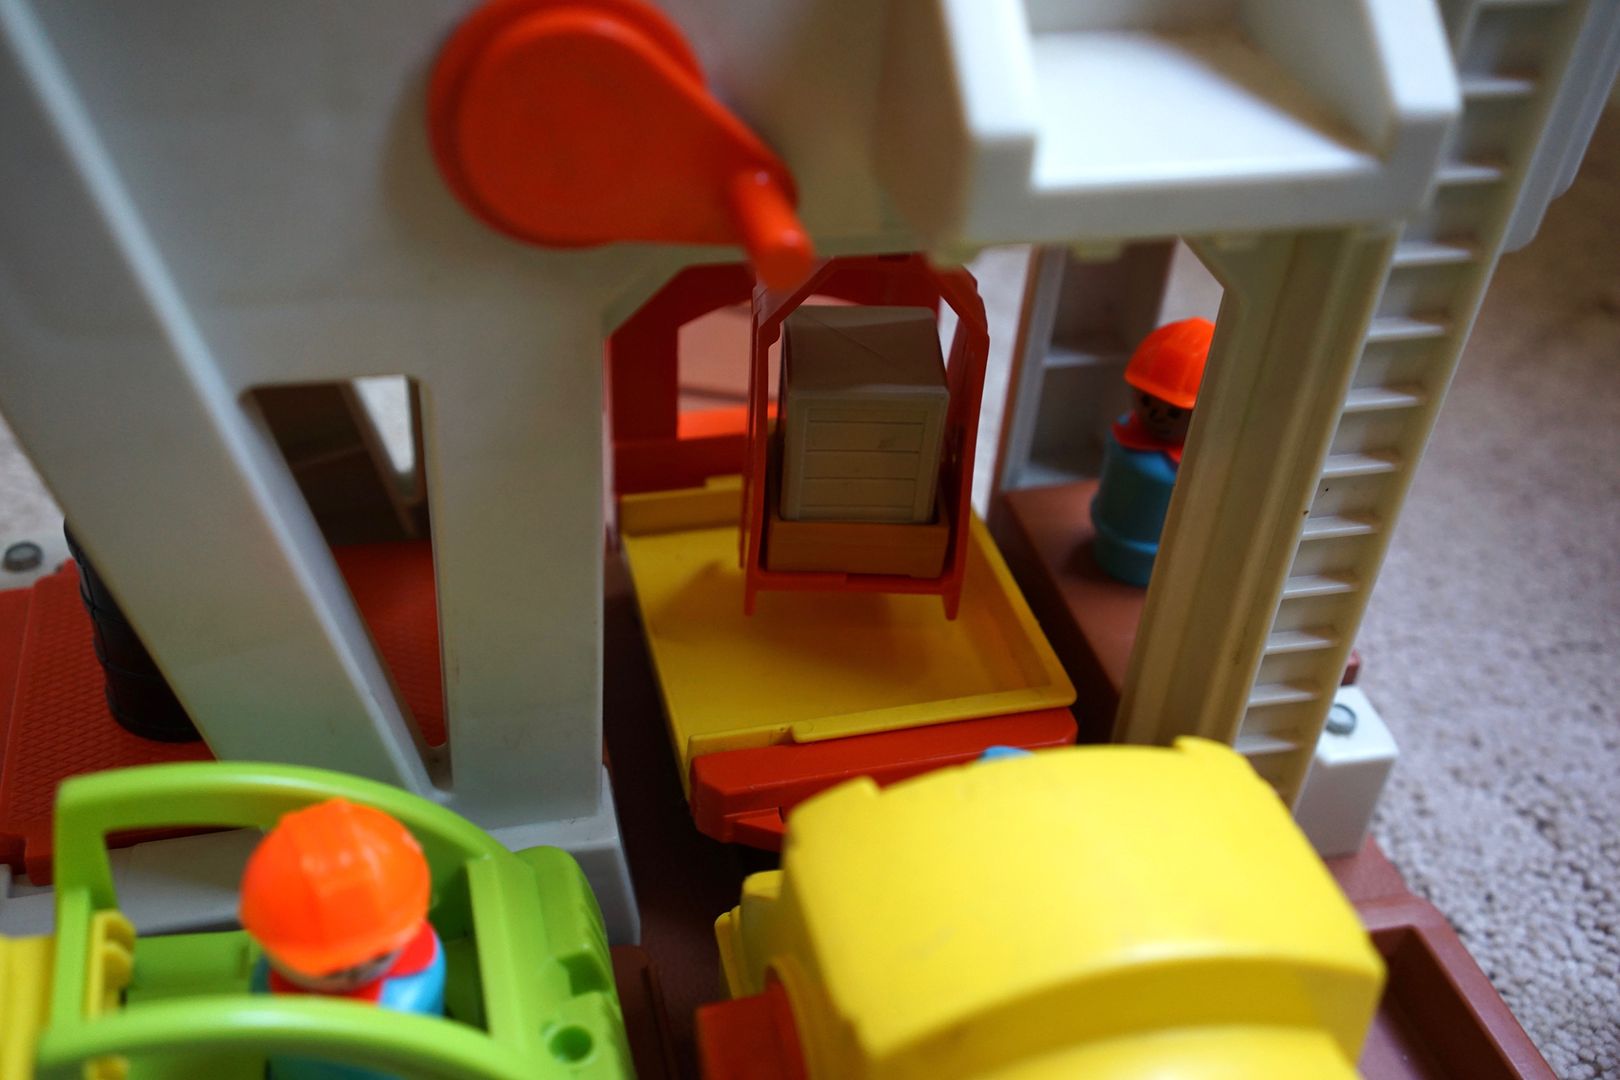
Here you can see the orange cage in action. The cage moves back and forth with the orange crank.
The cage is a set exclusive and although it looks similar to the yellow cage from the Lift & Load Depot they are actually quite different.
This orange cage is removable and attaches to an orange plastic ball.
One end of the tunnel/base piece has a orange platform that tilts up to help unload.
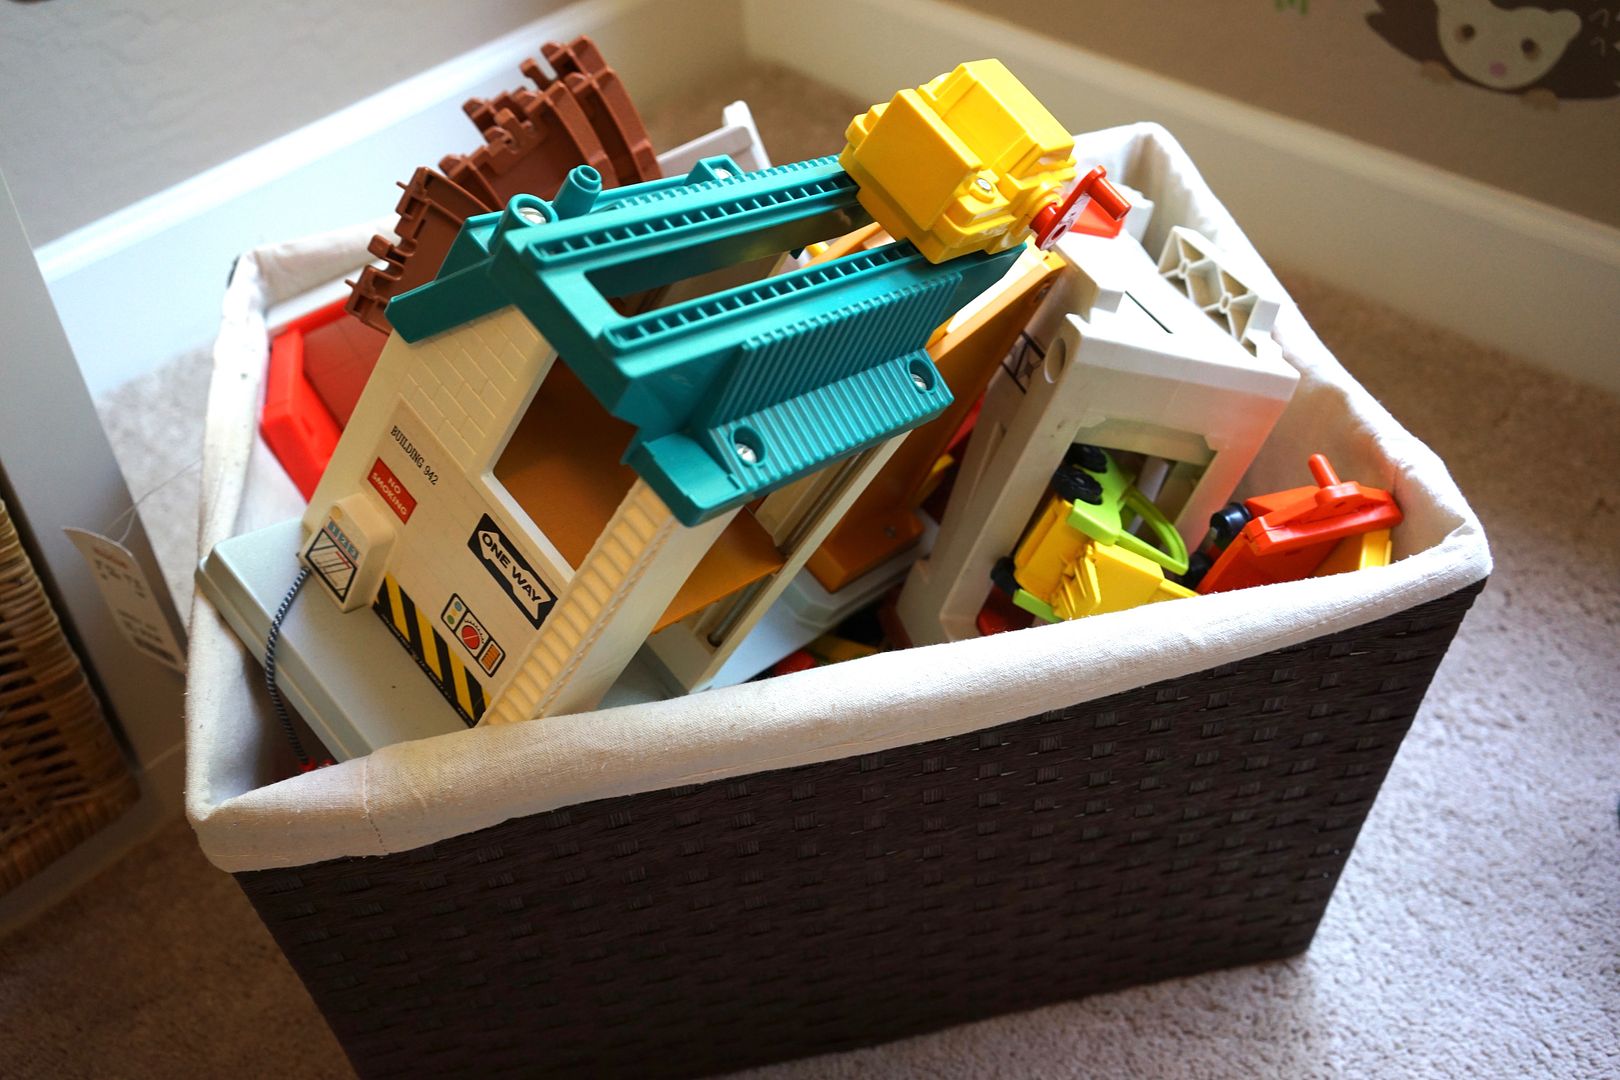
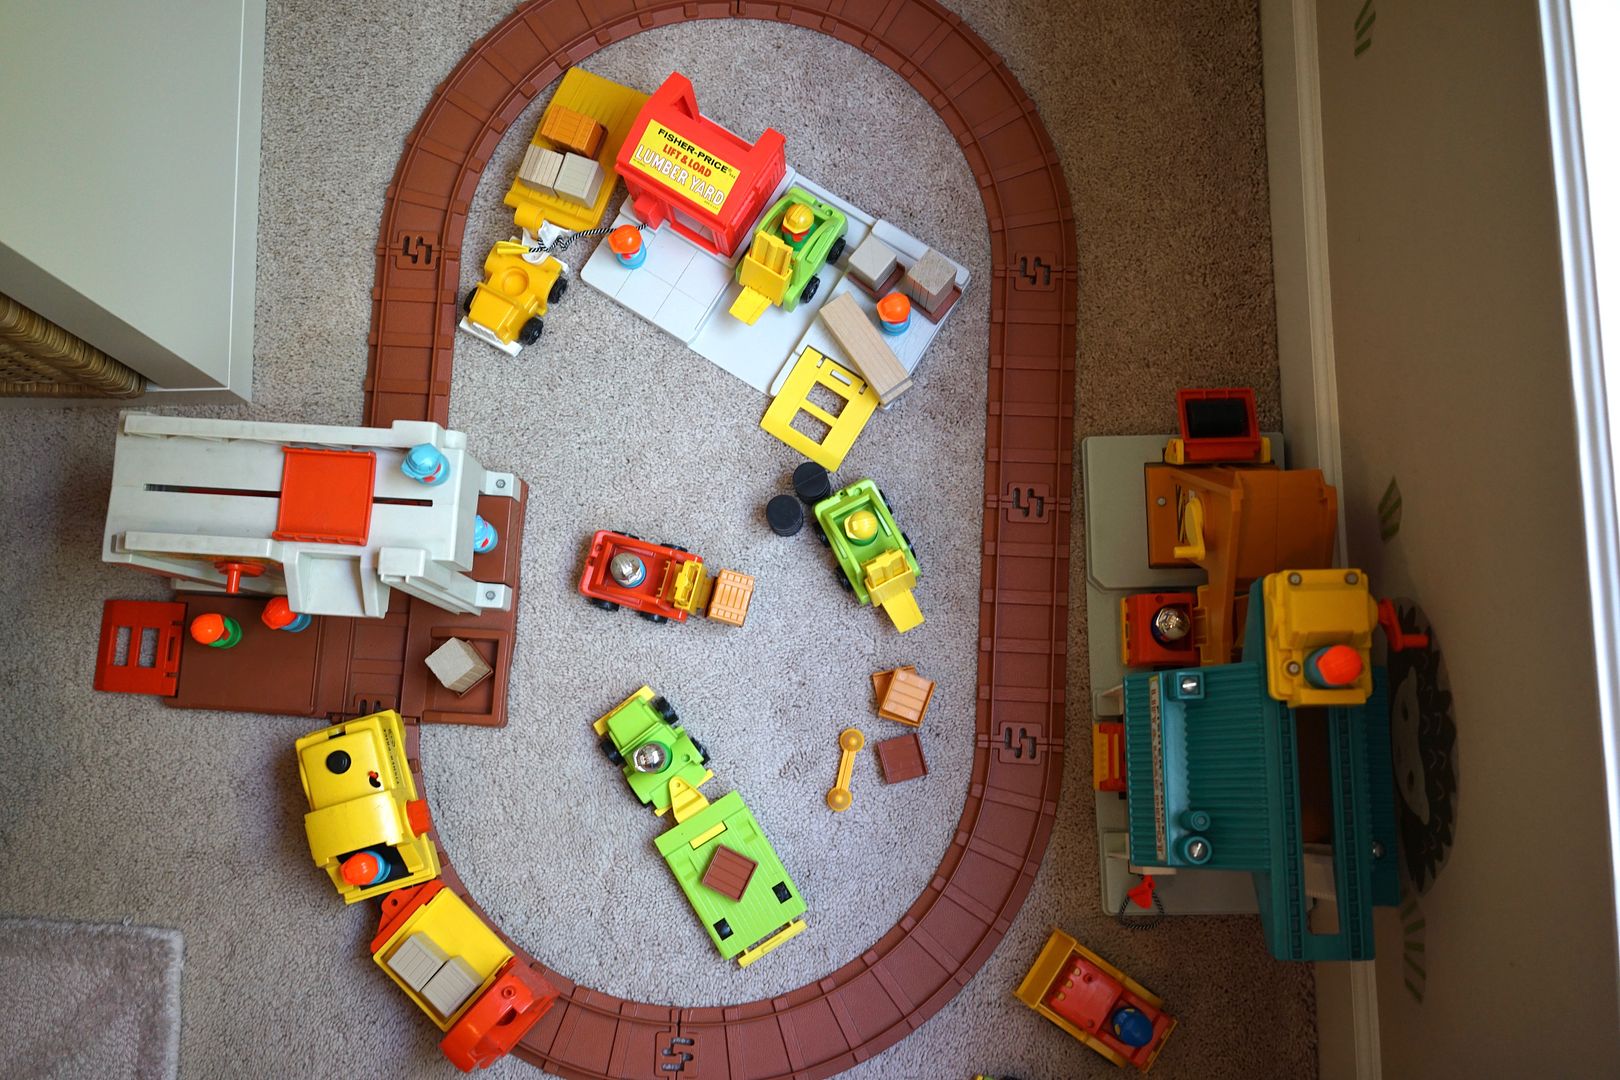
Although the set is fun on it's own it is even more fun with our other Lift & Load sets. I keep them organized (sort of) in a big basket in the playroom.
Doesn't that look fun?! Now if I could just find that missing construction worker.....
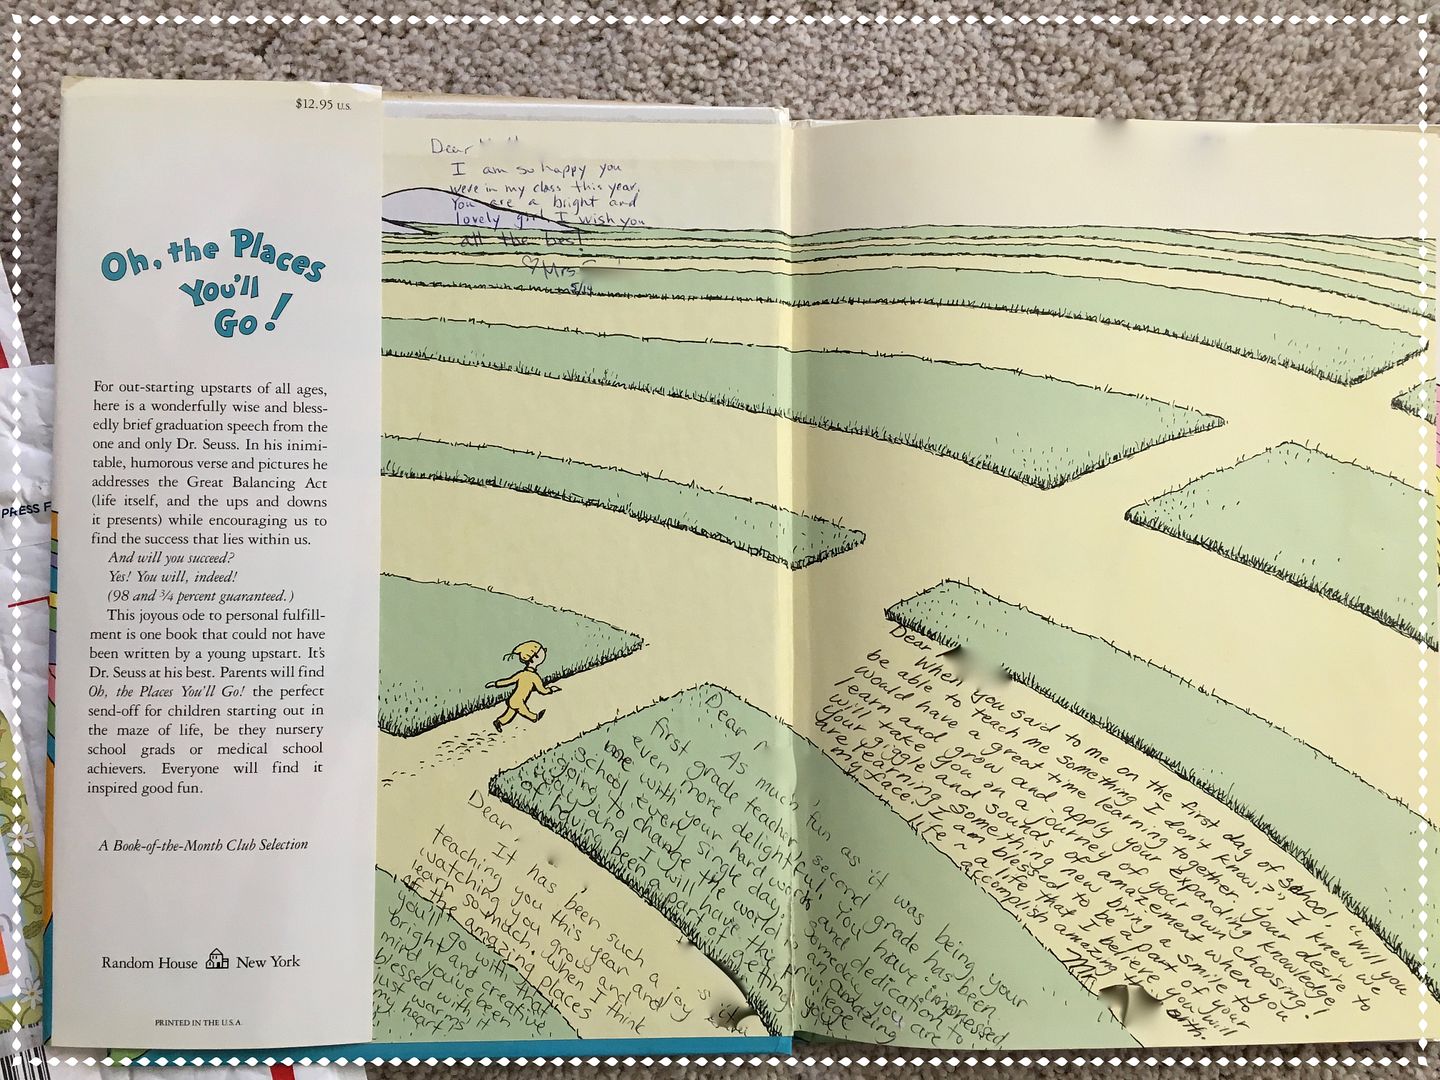
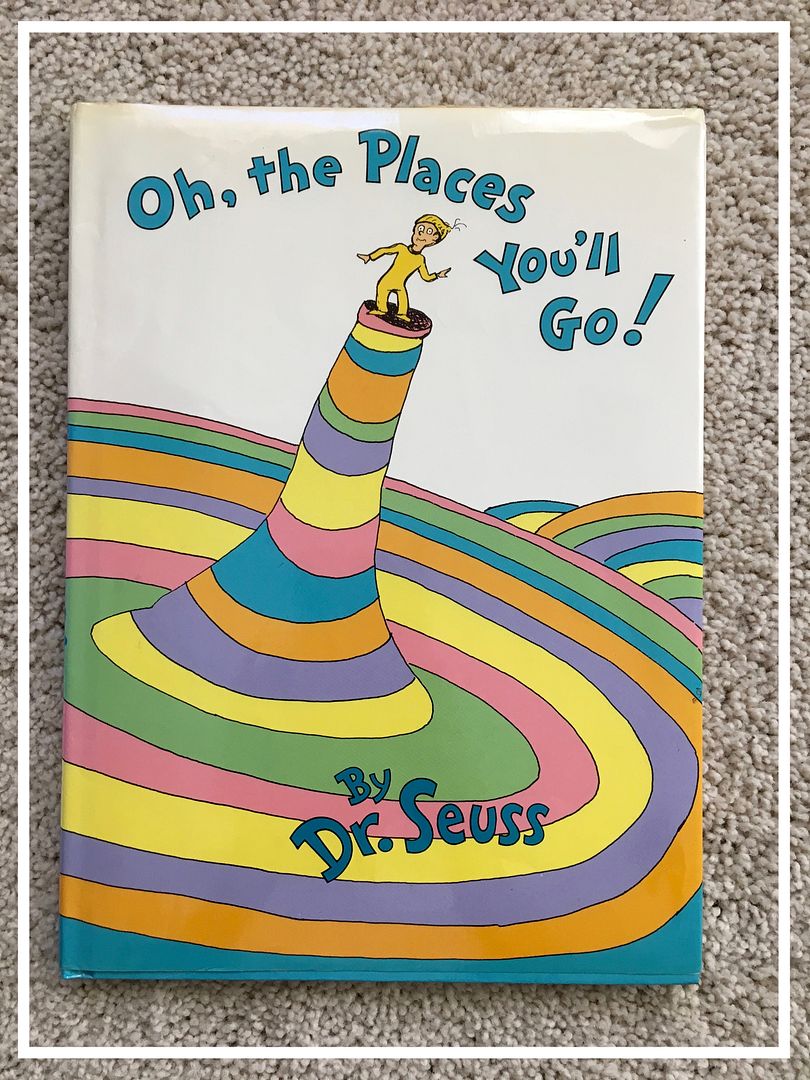
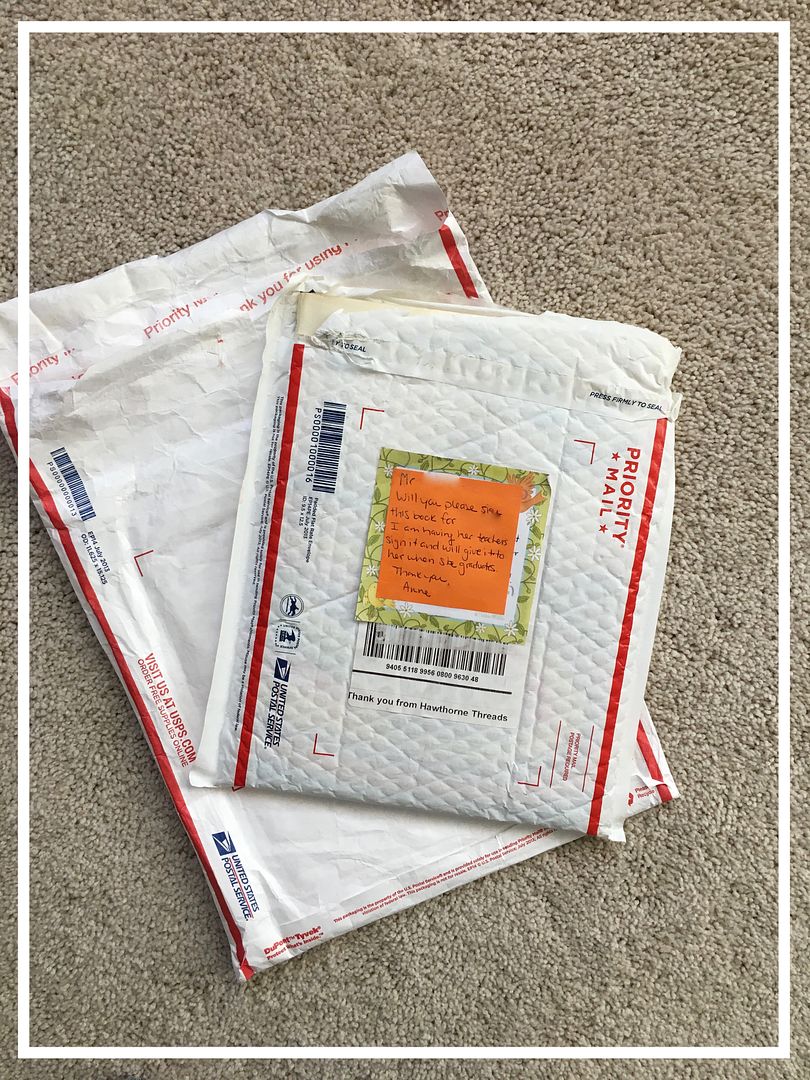
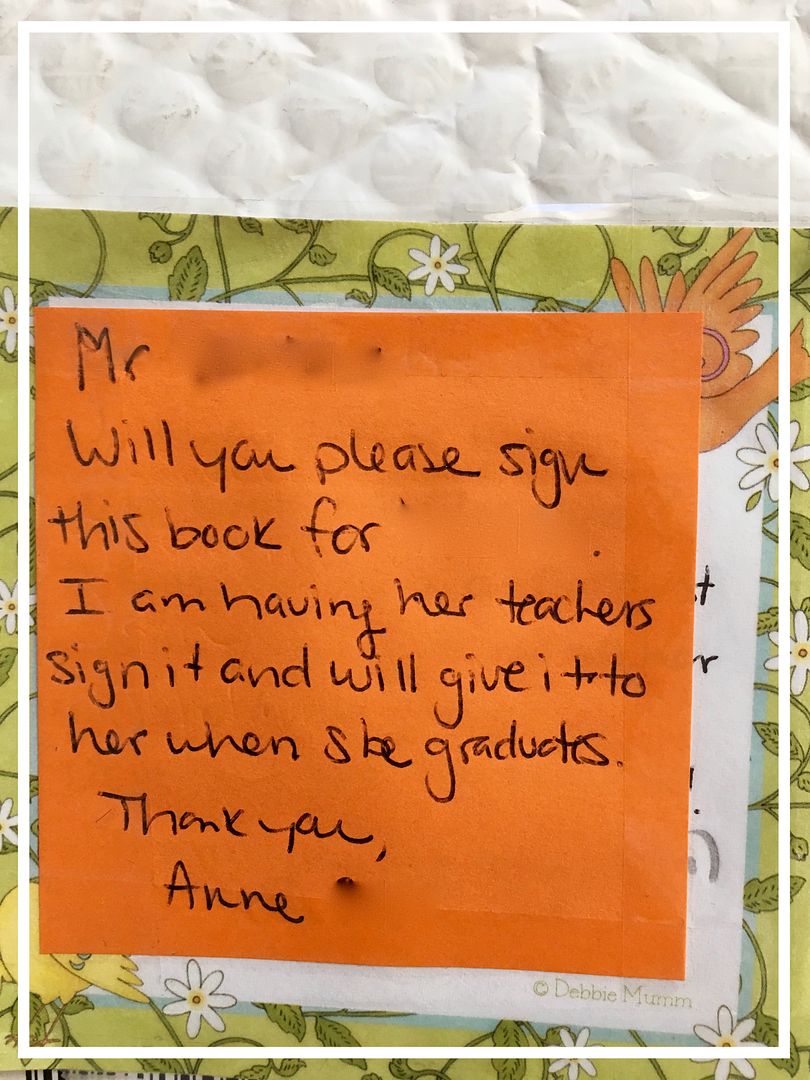
A few years ago when my youngest was in Kindergarten I was browsing on Pinterest and saw the idea of having teachers sign the same book each year and then give the book to them at graduation. Well it's the best idea except two tiny things..... 1. You have to keep the book hidden for 12-13 years! 2. You have to ask the teachers to sign each year. And last but not least: 3. If you have more than 1 child you have to do it for (all of) them too! So.....that brings me to my PSA today. If you have one of those books for your sweet kids then pull them out and have the teacher sign in ASAP. You want to make sure they have enough time, I'd suggest 3-4 weeks before the last day of school since they already have SO MUCH going on at the end of the year. In the beginning I was able to send the book in my daughter's backpack with a note but now that she's older I had to coordinate with her teacher by retrieving it from their office mailbox.
If you haven't started this tradition yet I recommend the classic "Oh, The Places You'll Go!" by Dr Suess. Or the one I bought our youngest, "The Wonderful Things You Will Be" by Emily Winfield Martin. A couple tips to make this a success: 1. Make sure your book is hardback, they'll hold up better over the next 13 years. 2. Keep the book in an envelope such as a used Priority Mail envelope (or two). This will work when they're younger (can go back and forth in a backpack), but once they get older and wiser you'll have to get more sneaky. 3. If 13 years of tracking down teachers seems overwhelming make a smaller goal, perhaps just elementary school. I'm leaning more towards finishing up our books for 8th grade graduation. :) Now I need to get started on the end of the year teacher's gifts, we only have 3 more days of school!! Woot woot!
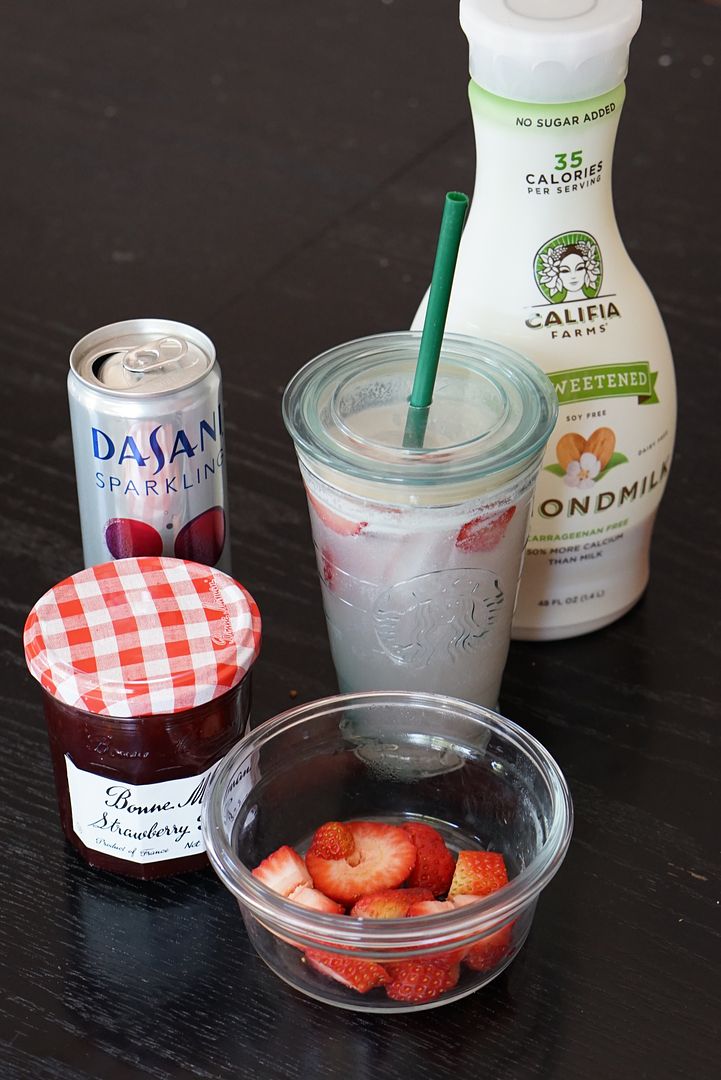
This momma loves caffeine but every once in awhile I get a caffeine-free drink at Starbucks. This spring I followed the crowd and tried their "Pink Drink" which was a refresher with coconut milk. I loved it because it was light and didn't have a lot of sugar. So today after my morning hike I decided to make my own Pink Drink at home. It turned out yummy! Here's what I did:
Pink Drink Ingredients 1 can of berry sparkling water (I used Dasani but La Croix is my usual go-to) 1/4 cup of coconut milk (or almond if that's what you have) 1 tsp strawberry jam or preserves sliced fresh berries (or dehydrated, that's what SB uses) *sugar to taste Directions 1. Combine coconut milk and jam using a frother, immersion blender or whisk. Also add sugar if you like more sweet (1-2 tsp). 2. Add sparkling water. 3. Pour over ice and add berries. Voila! Yum city.
It's been awhile since I've done a Fisher Price Friday! I still love the vintage toys and my kids still play with them but I've dramatically slowed down my acquisition of new sets/toys. Mostly because we already have (or used to have) all the sets we want!
However, I am still selling Fisher Price toys in my little Etsy shop and I also have a few to share with you all one of these days. Sets like the Lift and Load Railroad, some My Friend doll clothes and a few other goodies haven't appeared on the blog yet.
For today I thought I'd share what I've been listing in my shop lately. You know, just in case you want some of these beauties for your own children or collection. :)
If any of these look interesting or to see more come check out my shop on Etsy: Vintage Little People
I've been experimenting with my Instant Pot again. I'm a fan of tomato soups and already have go-to recipes for the stove and Crockpot, so I had to find one for my new kitchen toy, the Instant Pot! This recipe is a mixture of the other two recipes and is fantastic because it's all done in the one pot. Love that! You'll need an immersion blender but if you don't have one you could use a regular blender at the end too. I'm told it tastes just like the Nordstrom Cafe Tomato Basil Soup, try it out and let me know what you think.
Instant Pot Tomato Basil Soup Ingredients 1-2 Tbsp Extra Virgin Olive Oil 8 oz Carrots peeled and chopped (about 3 medium) 8 oz Onion chopped 1 Tablespoon Dried Basil 3 28 oz cans Organic Tomatoes 1 cup Chicken Stock/Broth 1 cup Heavy Whipping Cream or Half & Half 2 teaspoons Salt 1/2 teaspoon Freshly Ground Black Pepper Optional: 2 Tablespoons Fresh Basil leaves cut into fine ribbons Instructions 1. Peel and chop up the carrots and onions. I used a scale to measure out exactly 8oz of each. 2. Push Sauté on your Instant Pot and allow to full heat.
Add oil and then add carrots, onions and dried basil. 3. Sauté for 4-8 minutes, or until vegetables start to caramelize and the onions become a bit translucent. 4. Add canned tomatoes and chicken broth.
Lock on Lid and close Pressure Valve. Push manual and select 5 minutes.
When Beep is heard, let the pot do an instant release for about 5 minutes before opening the lid. 5. Turn Pressure Cooker off. Using an immersion blender blend until soup is smooth. (alternately remove the soup and blend in portions in a blender). Add cream, salt and pepper to taste. Add fresh basil as a garnish if desired. Serve with cheesy or garlic bread.