HomeVintage Fisher PriceMy Etsy ShopCategoriesAbout

Friday, November 29, 2013

Fisher Price (Black) Friday

Sorry, no vintage Fisher Price toys today. I'm off Black Friday shopping! :)

See you next week.

Thursday, November 28, 2013

Happy Thanksgiving 2013

When the turkey dinner is eaten and the dishes are washed it's time to head to the backyard for some Flag-Football.  We've got the cousins, aunts and uncles in two teams.

The blue team.

And the orange team.

They played rough.

But were all smiles the whole time.  And now they're ready for some pumpkin pie!

Happy Thanksgiving!

For a more traditional Thanksgiving photo check out last year's tribute to the pilgrims.

Wednesday, November 27, 2013

Christmas Topiary Tree Craft


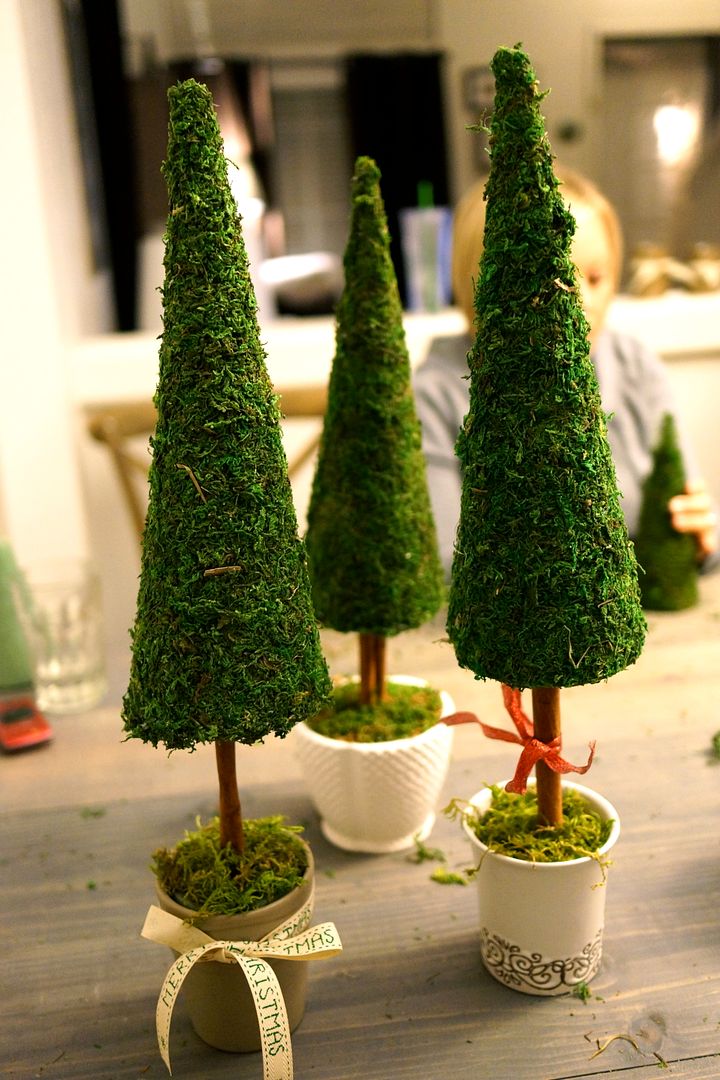
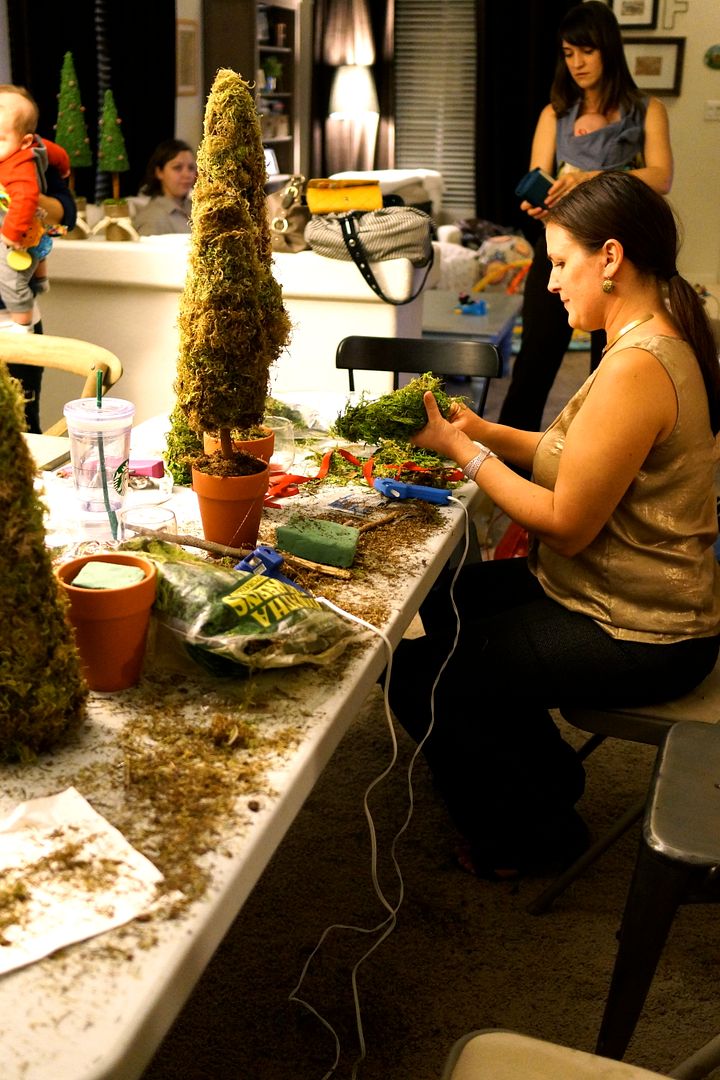
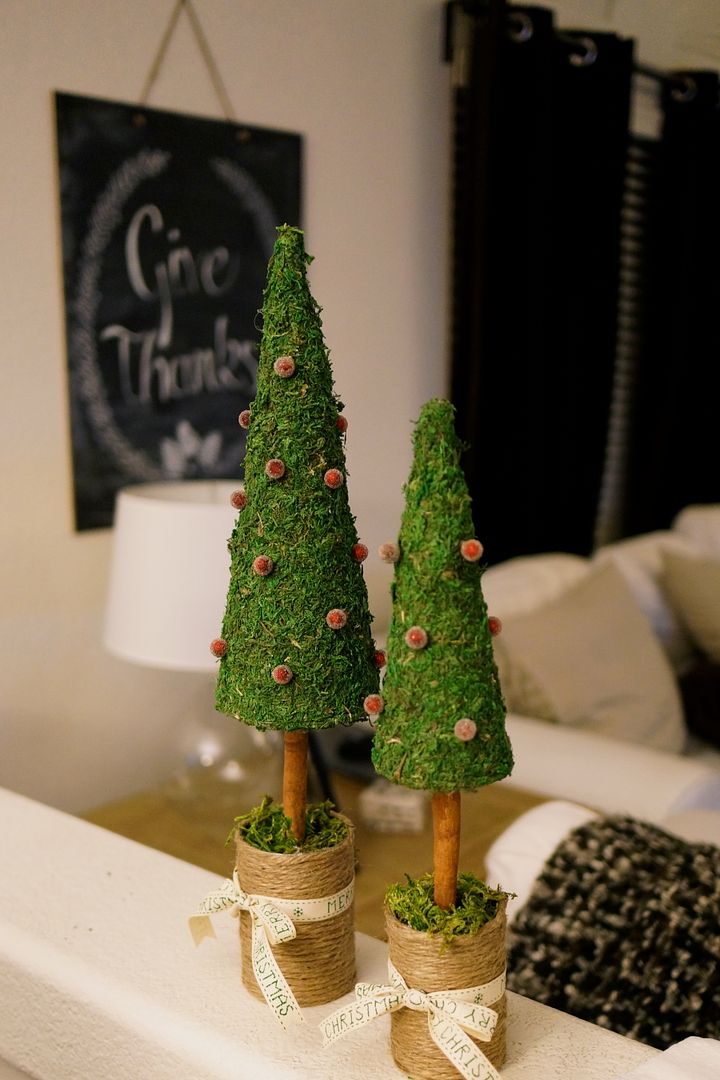
I've got another Christmas decorating craft for you.  This year my friend had her 2nd Annual Ladies Craft Night and we made these lovely Christmas Mossy Topiary Trees.  They could be used year round but add a little Christmas ribbon or ornament and you're all set for the holiday season!

On a scale of 1-10 for craft difficulty I give this a 3.  It was really quite easy and only took about an hour (and that included lots of talking, eating and laughing).

Here's what you'll need create the tree: 1. Cone shaped styrofoam 2. Small square of styrofoam to fit into your pot 3. Small pot 4. Loose moss or sheets of moss 5. Ribbon or ornament to embellish with 6. Hot glue gun & glue sticks 7. Stick to be the tree trunk, can be from your backyard or from a craft package (ours was from Hobby Lobby).  

My supplies cost me $13.12 at Hobby Lobby although I ended up using a different pot that I already had at home.


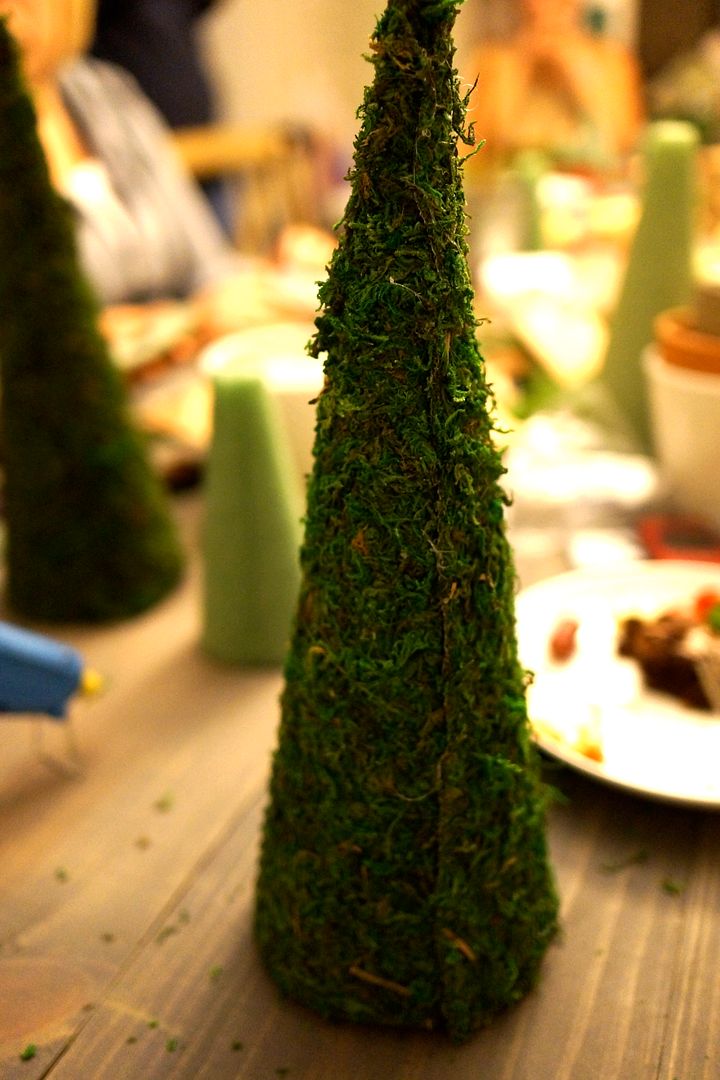
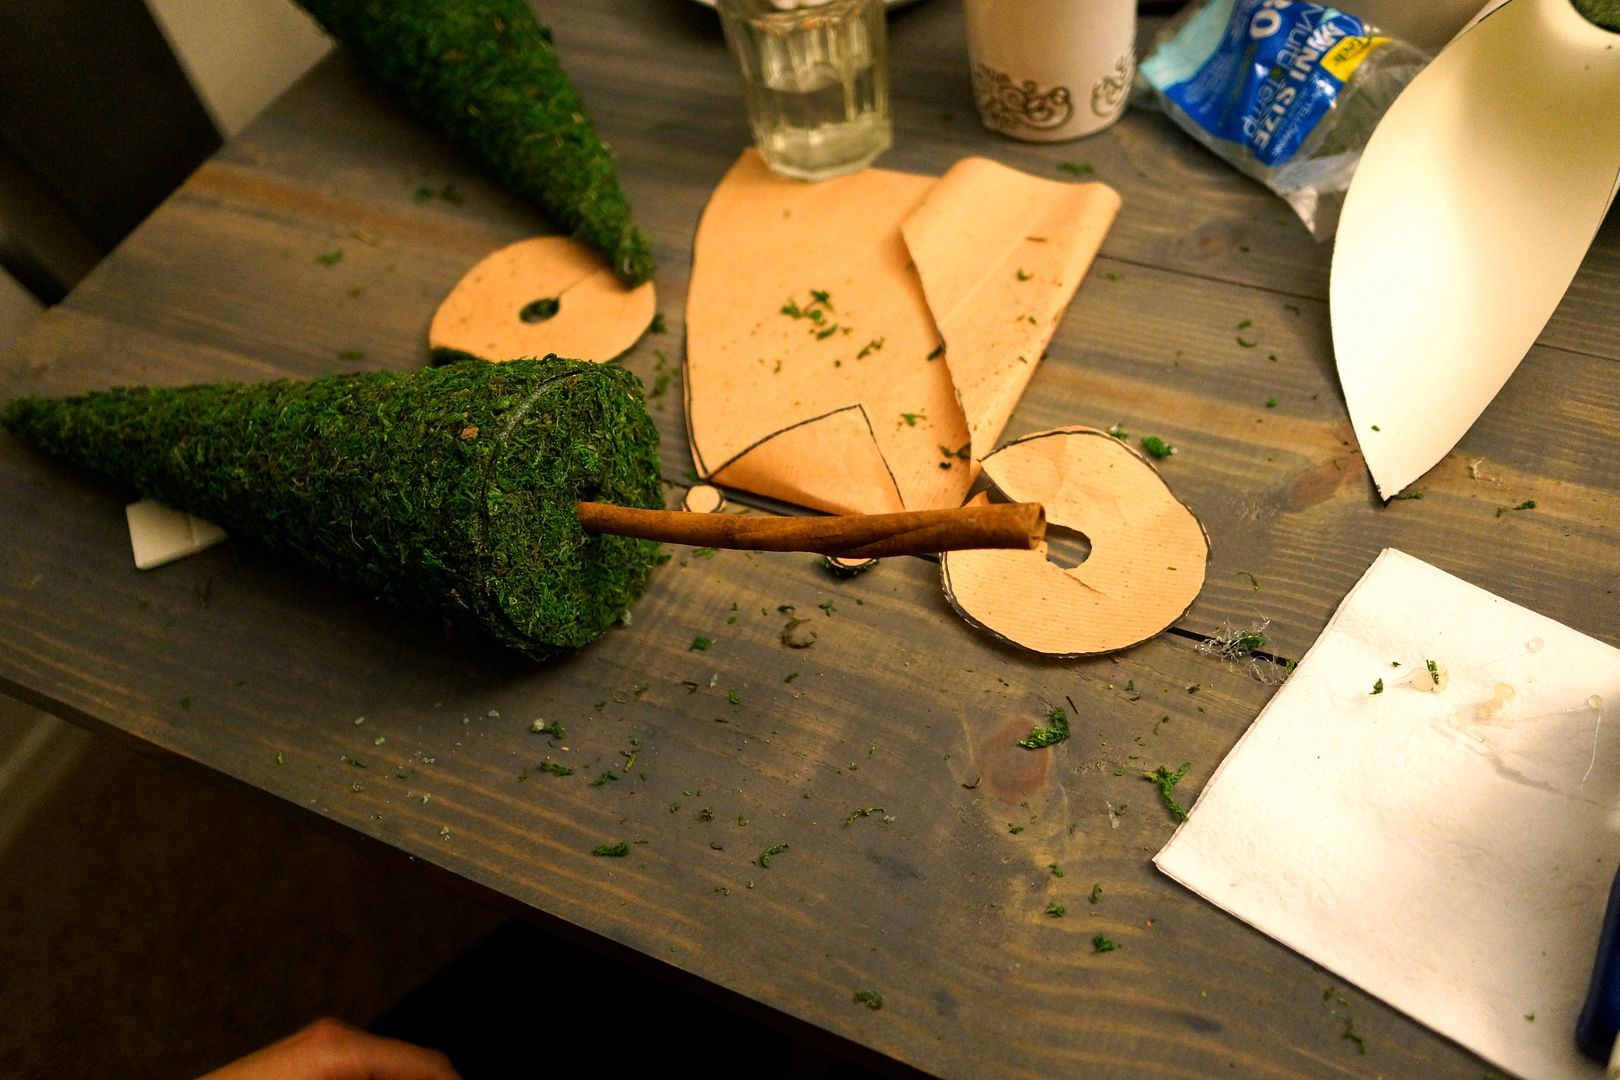
For Sheets of Moss: First you measure out the length of the cone by laying it on a sheet of paper, rolling it all the way out and tracing around the space it left (look 2 photos down to see a copy of my tracing paper on the table).  Then cut out the moss shape and fold around the cone.  It will be longer than the top which makes the pleasing tall tree shape.  Glue one long side and then slowly glue/press the rest of the moss around the cone.  When completely attached take a few loose pieces of moss (they'll fall off naturally when you cut the moss shape), add some more glue and cover the seam.

For Loose Moss: Hot glue and press pieces.  Easy-peasy (but more time consuming!).

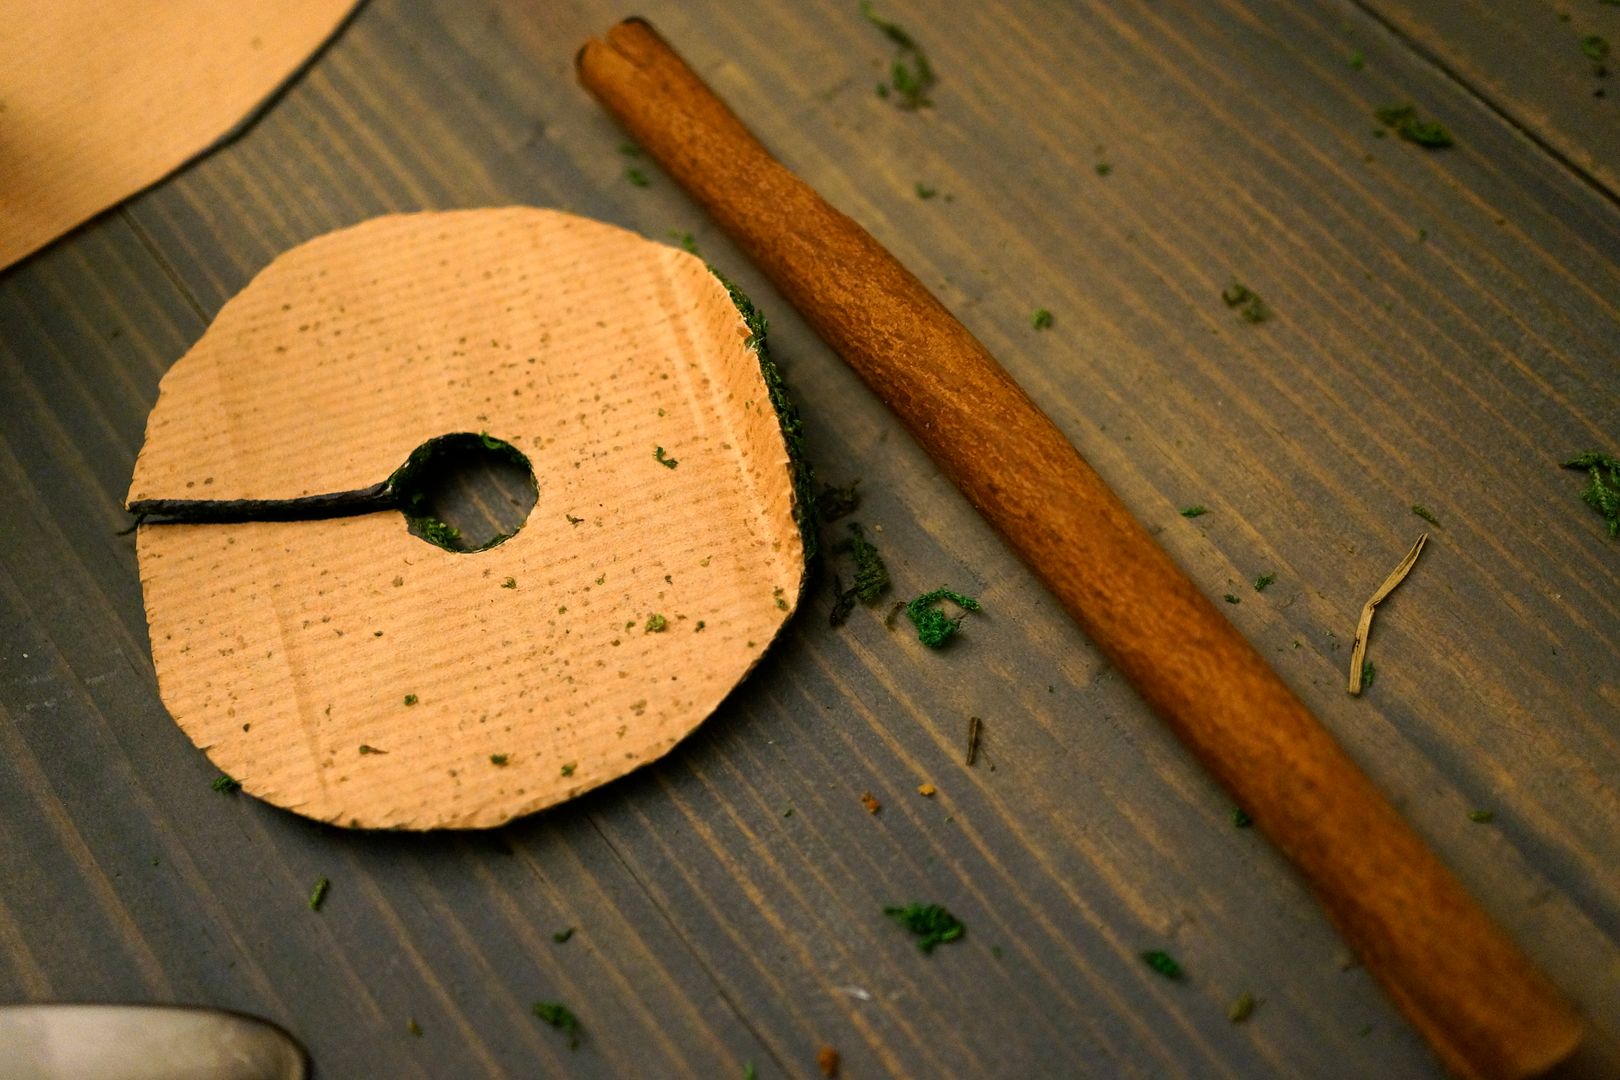
For the base of the tree trace the base of the cone then cut out the circle.  Trace your stick diameter in the middle then cut that out as shown above.  Insert the stick in the base of the tree, you may need to make space for it by using a small knife.  We used a little pumpkin carving knife.

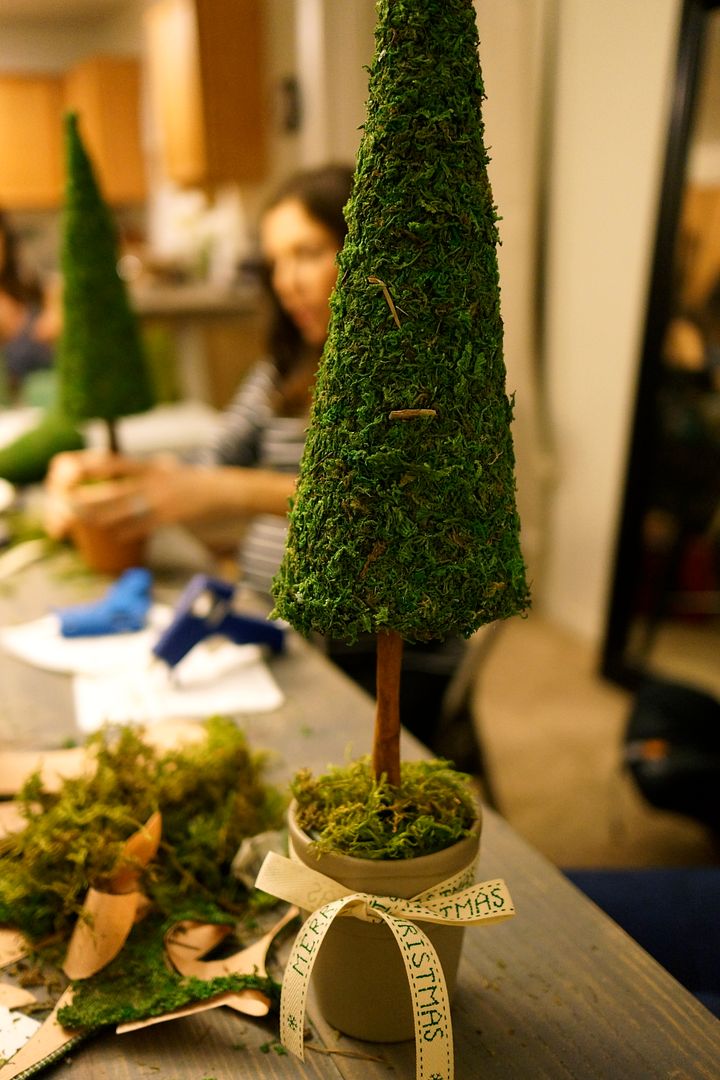
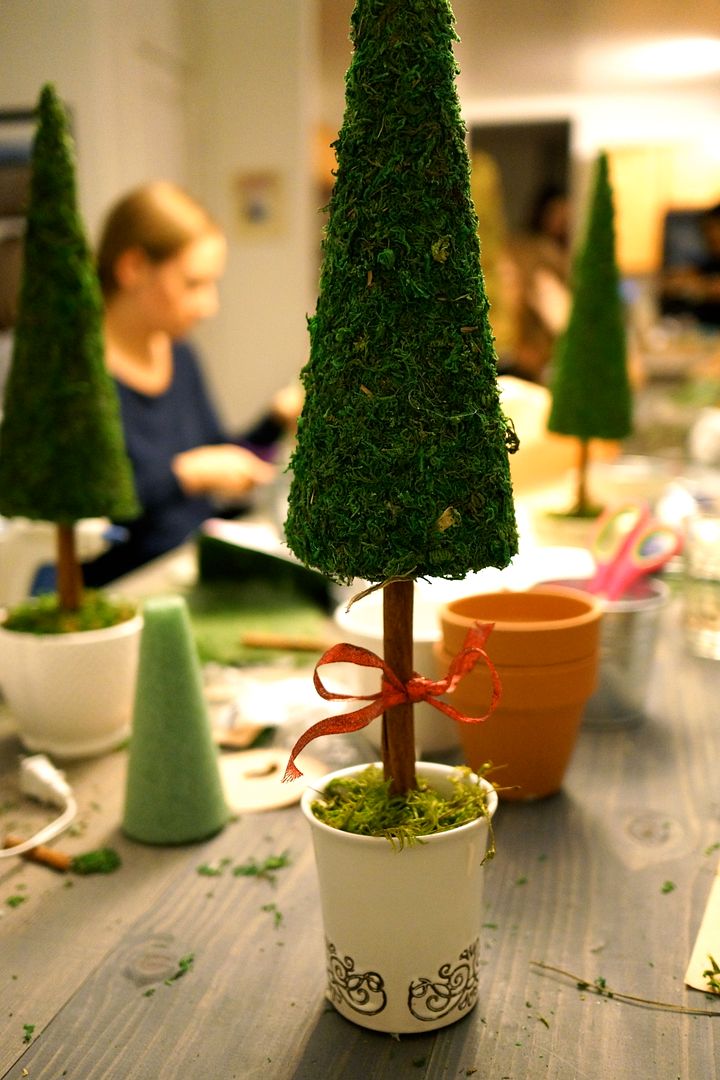
Now glue the base of the tree around the stick.  You're almost done, put your tree into the styrofoam in the base of your pot, add some more loose moss (to cover the styrofoam) and there you go.  A topiary tree!  Embellish with a ribbon, ornament and/or berries for an extra festive touch.

Note that the loose moss can get VERY messy.  Make sure you have a broom or vacuum handy.  Our hostess was very gracious with the mess we all made.


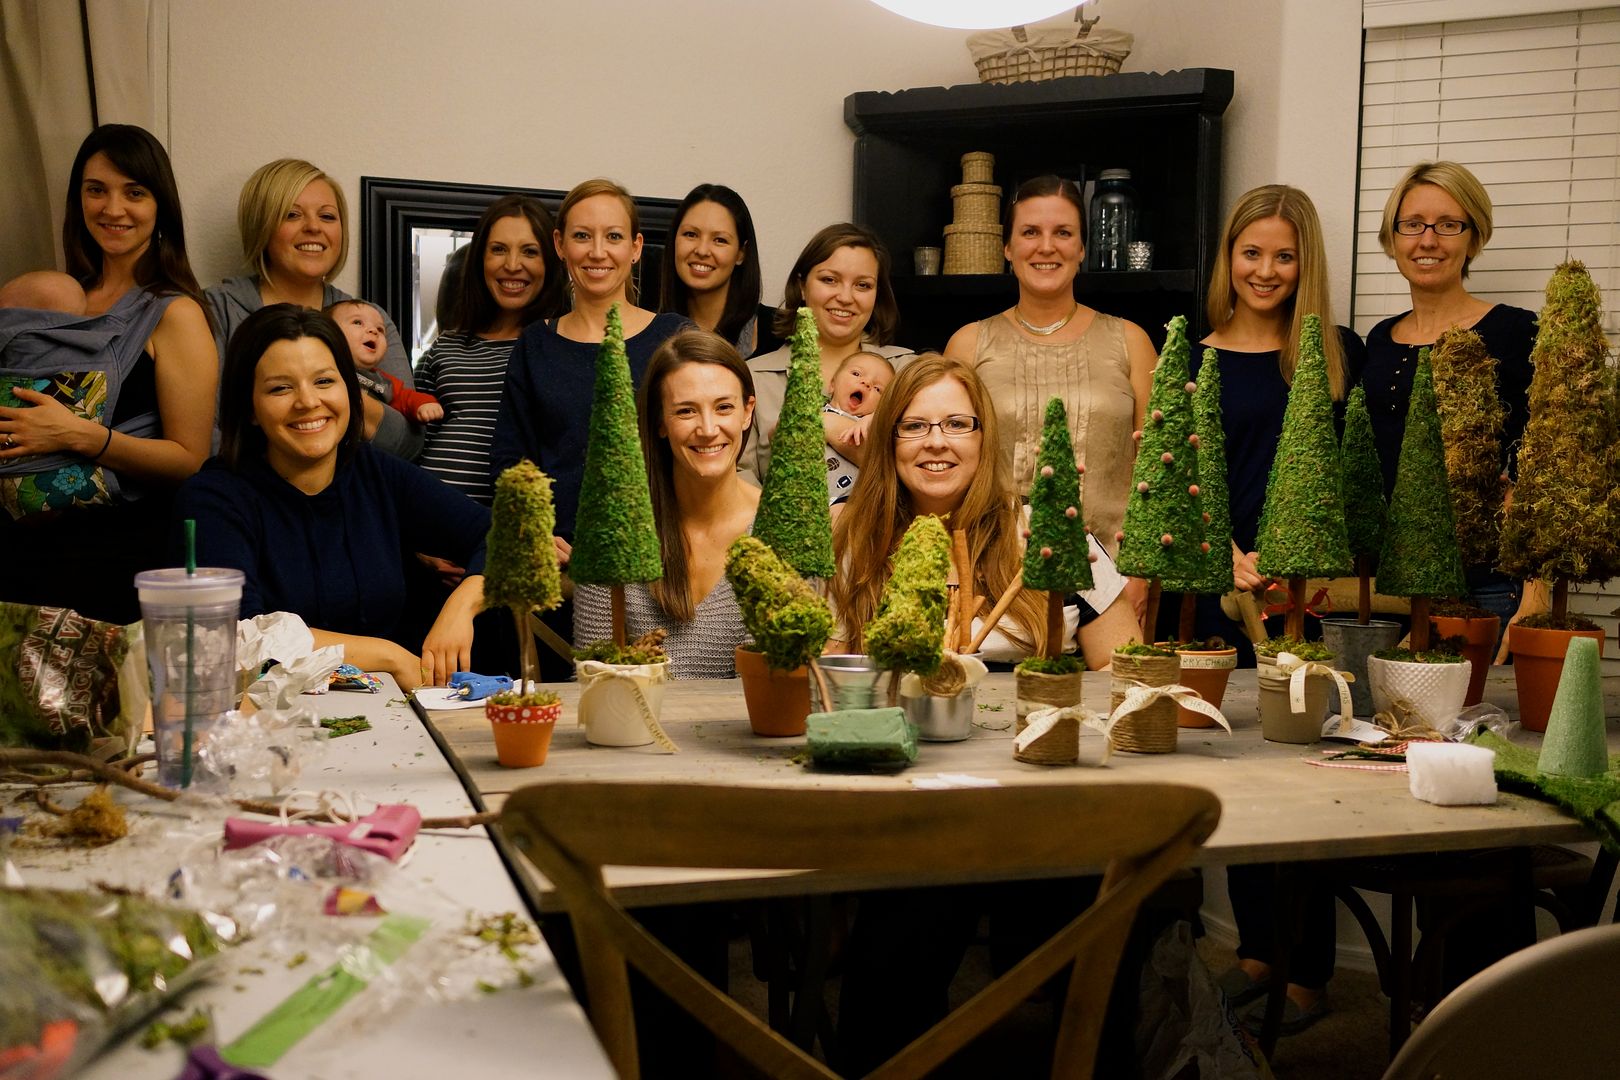
Some of the finished products. Aren't they lovely?  Mine is the one on the right.  I ended up using a TJ pot (had lying about) rather than the regular clay pot I had purchased.


The bases for the trees in the photo above were made using tin cans and some twine.  She wrapped the twine around and glued it to the can.  Brilliant and oh-so-cute!

Our 2nd Annual Christmas Crafters.  This super fun tradition is getting bigger every year!  We may have to move out to the patio next year. Good thing this is Phoenix and that is possible in November, ha!

Thanks Amy for hostessing us so well!

For More Christmas Crafts Check Out:


Monday, November 25, 2013

Cheesy Cauliflower Bake Recipe

Are you ready for Thanksgiving?  Or perhaps you're like me and haven't done your Thanksgiving meal shopping or planning yet? ;)  I've got a perfect side-dish for your holiday meal, a Cheesy Cauliflower Bake.  It looks like macaroni and cheese but it's made out of Cauliflower instead of pasta!  My big girl loved it and so did I! (my husband passed since he doesn't like regular macaroni and cheese let alone cauliflower, his loss, more for me!)


Cheesy Cauliflower Bake
Ingredients 
1 large head of cauliflower 
1/2 teaspoon salt
oil - for greasing the baking dish 
1 cup heavy cream 
2 ounces cream cheese 
1 teaspoon Dijon mustard (or regular mustard)
2 1/2 cups shredded Cheddar 
1/4 teaspoon black pepper 
1/8 teaspoon garlic powder 
8″x8″ baking dish or 2 1/2 quart Corningware dish

Directions 
1. Preheat oven to 375 degrees. Fill and bring to boil one large pot of water.  Grease your baking dish (spray or put oil on a paper towel and wipe around). 
2. Cut cauliflower into small pieces. Place the cauliflower in the large pot of boiling water and book until crisp-tender. This should take about five minutes (longer if your pieces aren't small enough). 
3. Drain pot with strainer and pat the cauliflower between several layers of paper towels to dry. Place the crisp-tender, dried-off cauliflower into the greased baking dish and set aside. 
4. Pour the cup of heavy cream into a small saucepan, place the saucepan on the stove, and bring the cream to boil. Cut the cream cheese into small pieces. Whisk the small pieces of cream cheese and the mustard into the boiling cream until the mixture is smooth. 
5. Stir in one cup of the cheddar cheese, the salt, the pepper, and the garlic into the saucepan and whisk until the cheese has melted, which should take no more than two minutes. 
6. Remove the saucepan from the stove, pour the mixture over the cauliflower, and stir to combine. Sprinkle the remaining cheese upon the cauliflower and mixture as a topping. 
7. Place the baking dish into the oven and bake for fifteen minutes.

Enjoy!

Friday, November 22, 2013

Fisher Price Friday - Little People Jetliner

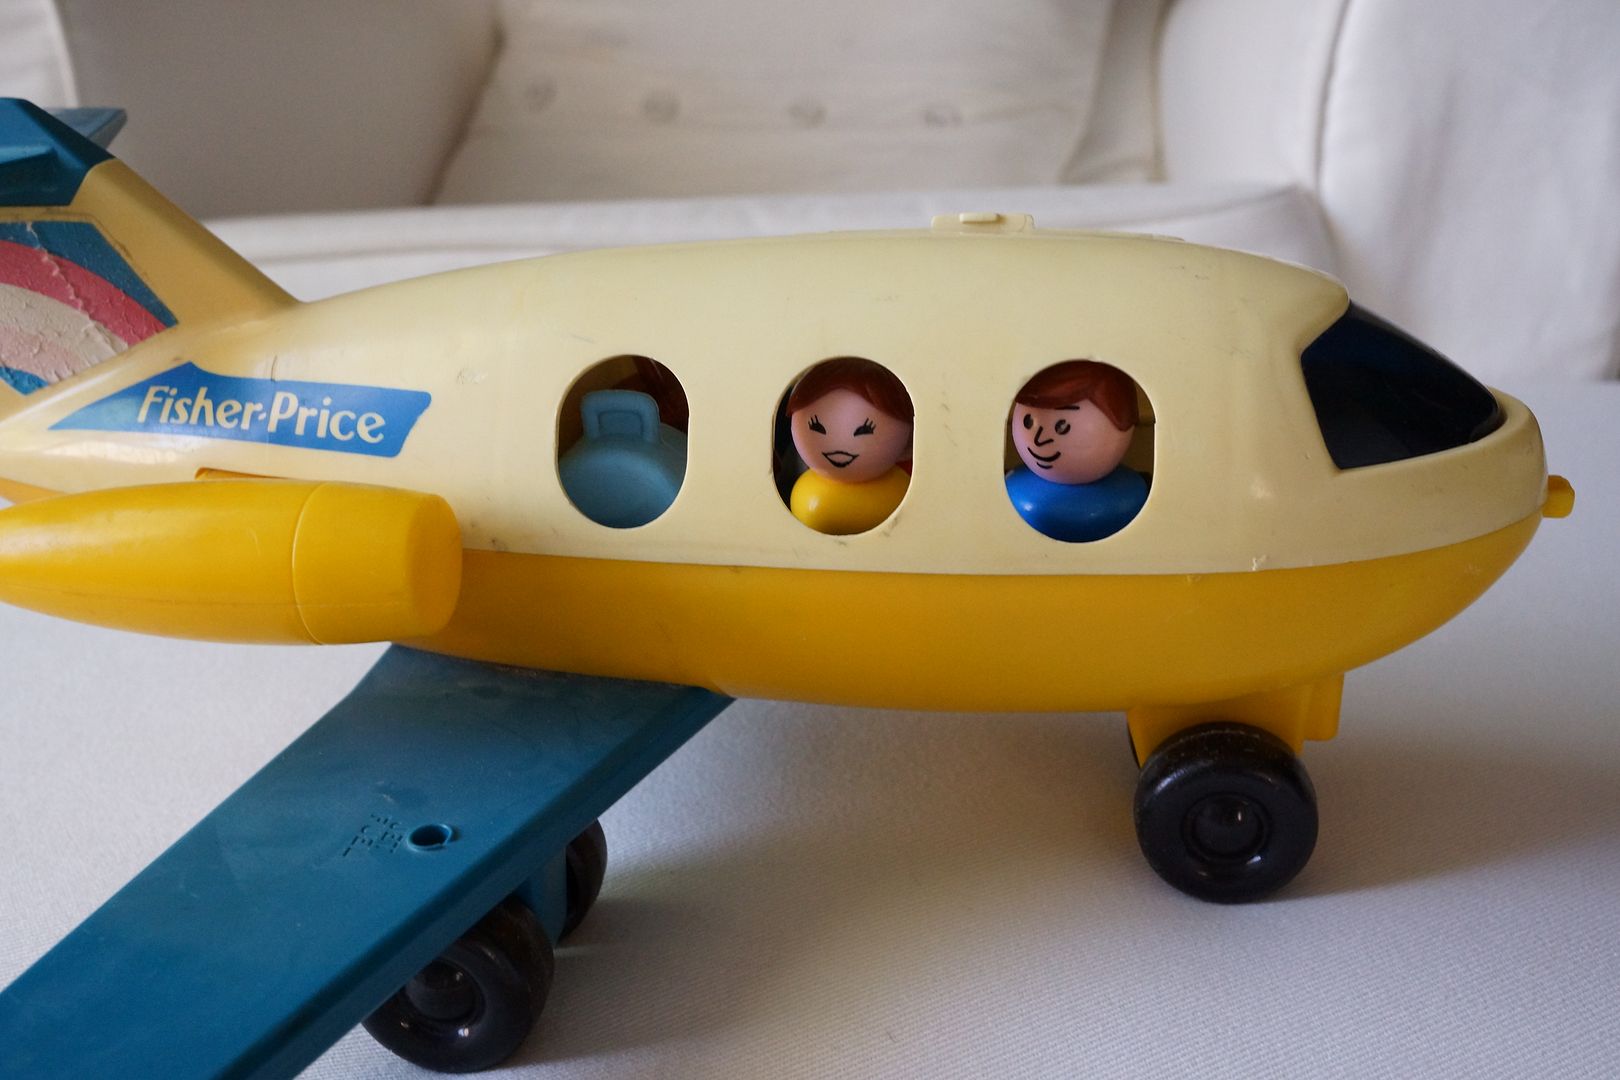
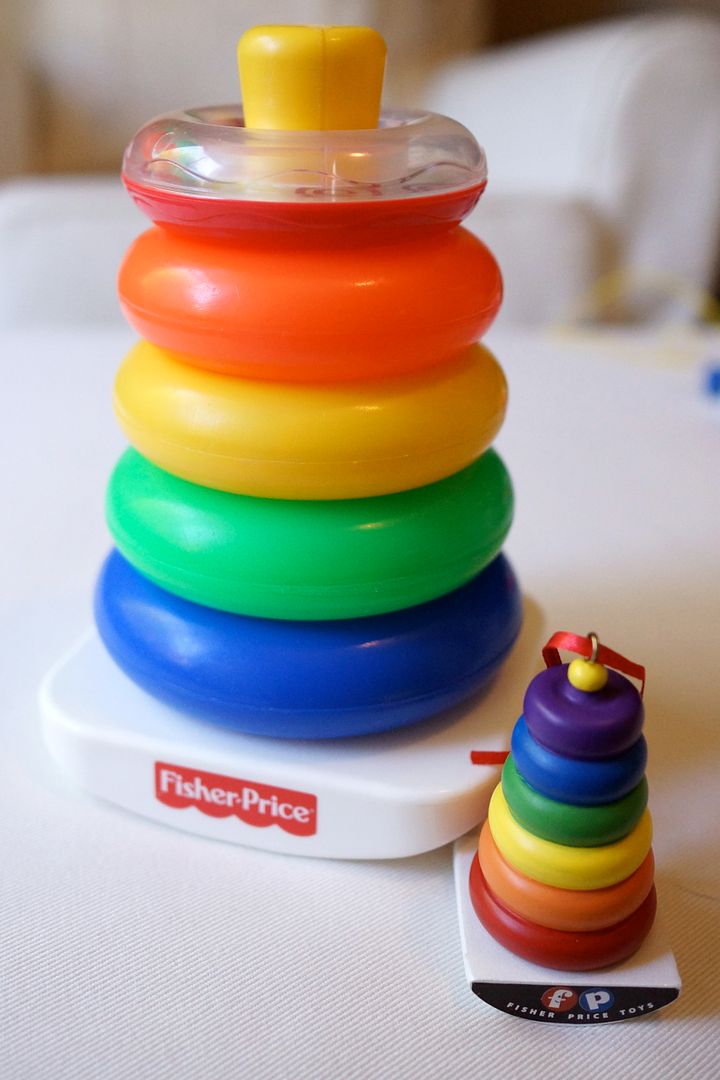
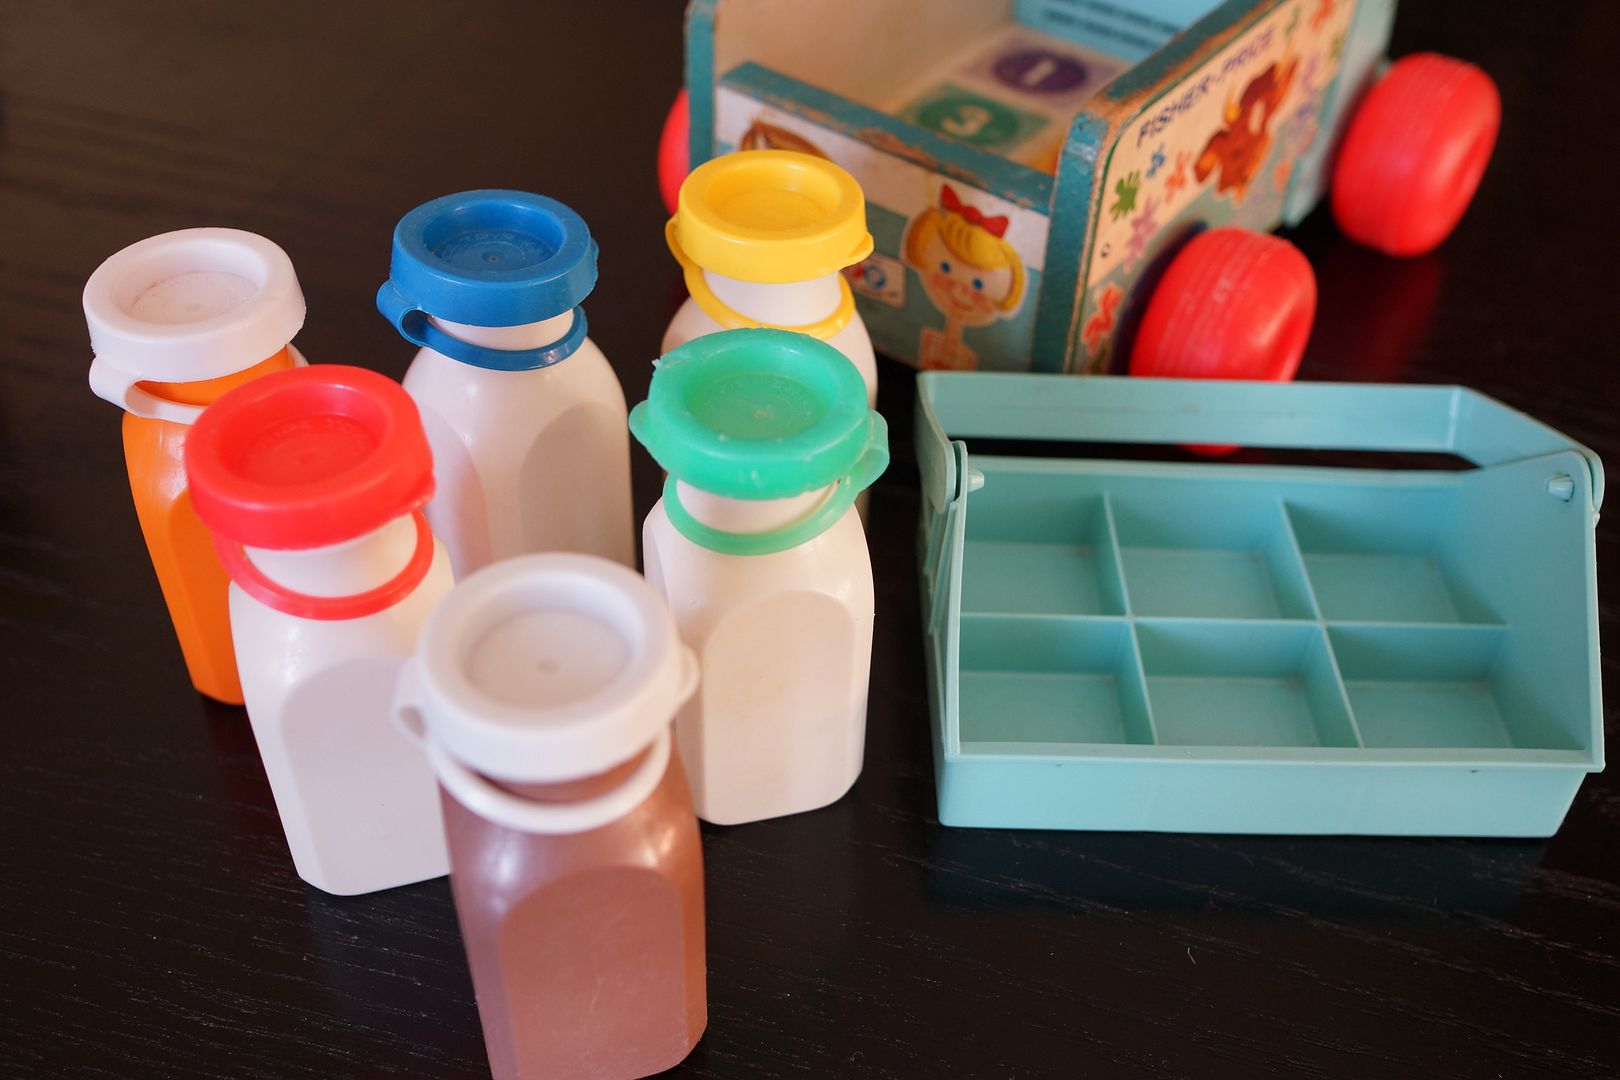
In honor of all the travel that will be done the next week for Thanksgiving we're taking to the air.  It's the Little People Jetliner #2360.  Made from 1986-1990 this jetliner set came after many other jet sets including the Play Family Fun Jet #183, Jetliner #182 as well as the Jetport #933. 

That's a lot of planes!

Structurally it is like other jets but has different plane and windshield colors.  It should be pulled by a yellow plastic pull string (mine is missing).  It makes a whirring jet like sound when pulled.  It can also be pulled by the Airport/Jetport luggage truck which simply attaches to the hole in the nose (look here for an example).

The Jetliner family included four family members, all with molded hair.  No thin hair for this family!  There could be a few other variations to the family including a mom with lighter brown hair, green dad with brown hair or orange boy with brown hair but they always had molded hair.

Besides the jetliner and family the set also came with two pieces of luggage.  A blue hatbox and a brown suitcase.  Both of these pieces were found in other airplane/plane sets including the Jetliner #182, Jetport #933, Airport #2505 and the Express Train #2581 (just the blue hatbox).  There may have been a version with a dark blue hatbox, which I've never seen but would love to have.


The jetliner holds four passengers and 2-3 pieces of luggage.  The back of the jetliner has lithographs of a rainbow (mine is faded) and stamped on the Fisher-Price logo (with a solid blue background and white lettering or no background and blue lettering) although I've seen a plane with no lettering at all as well as one with no lettering and orange engines!  Either way the lithograph on the tail should have the number #2360.  If it says #933 then it belongs with the Jetport #933.


Happy Thanksgiving Travels.  Hopefully your flights are as smooth as this little family's!

For more flying fun check out:

Airport Crew #687
Jetport #933
Airport #996
Play Family Fun Jet #183 (family & accessories)

Monday, November 18, 2013

House Party - For the Love of Foam Gevalia Coffee


I hosted another House Party this last week.  In case you're keeping track it's my 3rd this year!!  It was (another) Gevalia party, this time for their new foam K-cup coffees.  It was called For the Love of Foam and had samples of their new Cappuccino, Mocha Latte and Carmel Macchiato flavors.

A week before the party I received my FREE box of samples.  Also coupons and goodies for the party.  I was supposed to try out the samples before the party to make sure I knew how to do it.  I was happy to comply! ;)  


It's pretty easy though.  The coffee comes in 2 steps; Step 1. Open the foam packet and put in the bottom of your cup.  Step 2. Brew the k-cup (8oz only).  Add sugar and cinnamon/nutmeg, etc on top and voila!

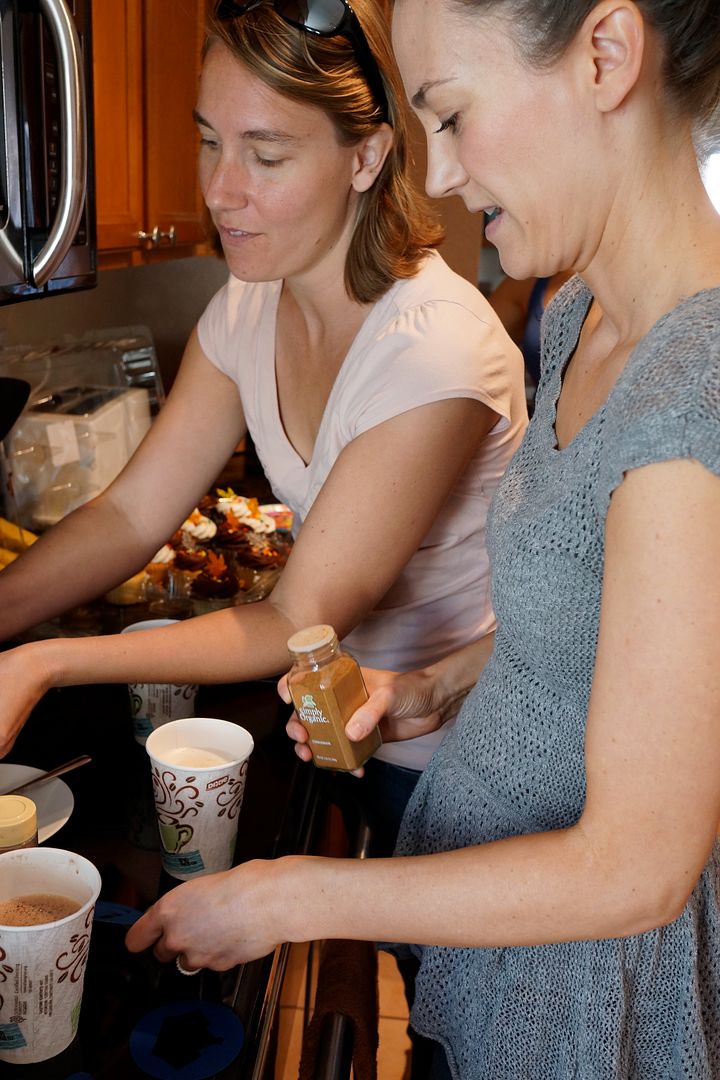
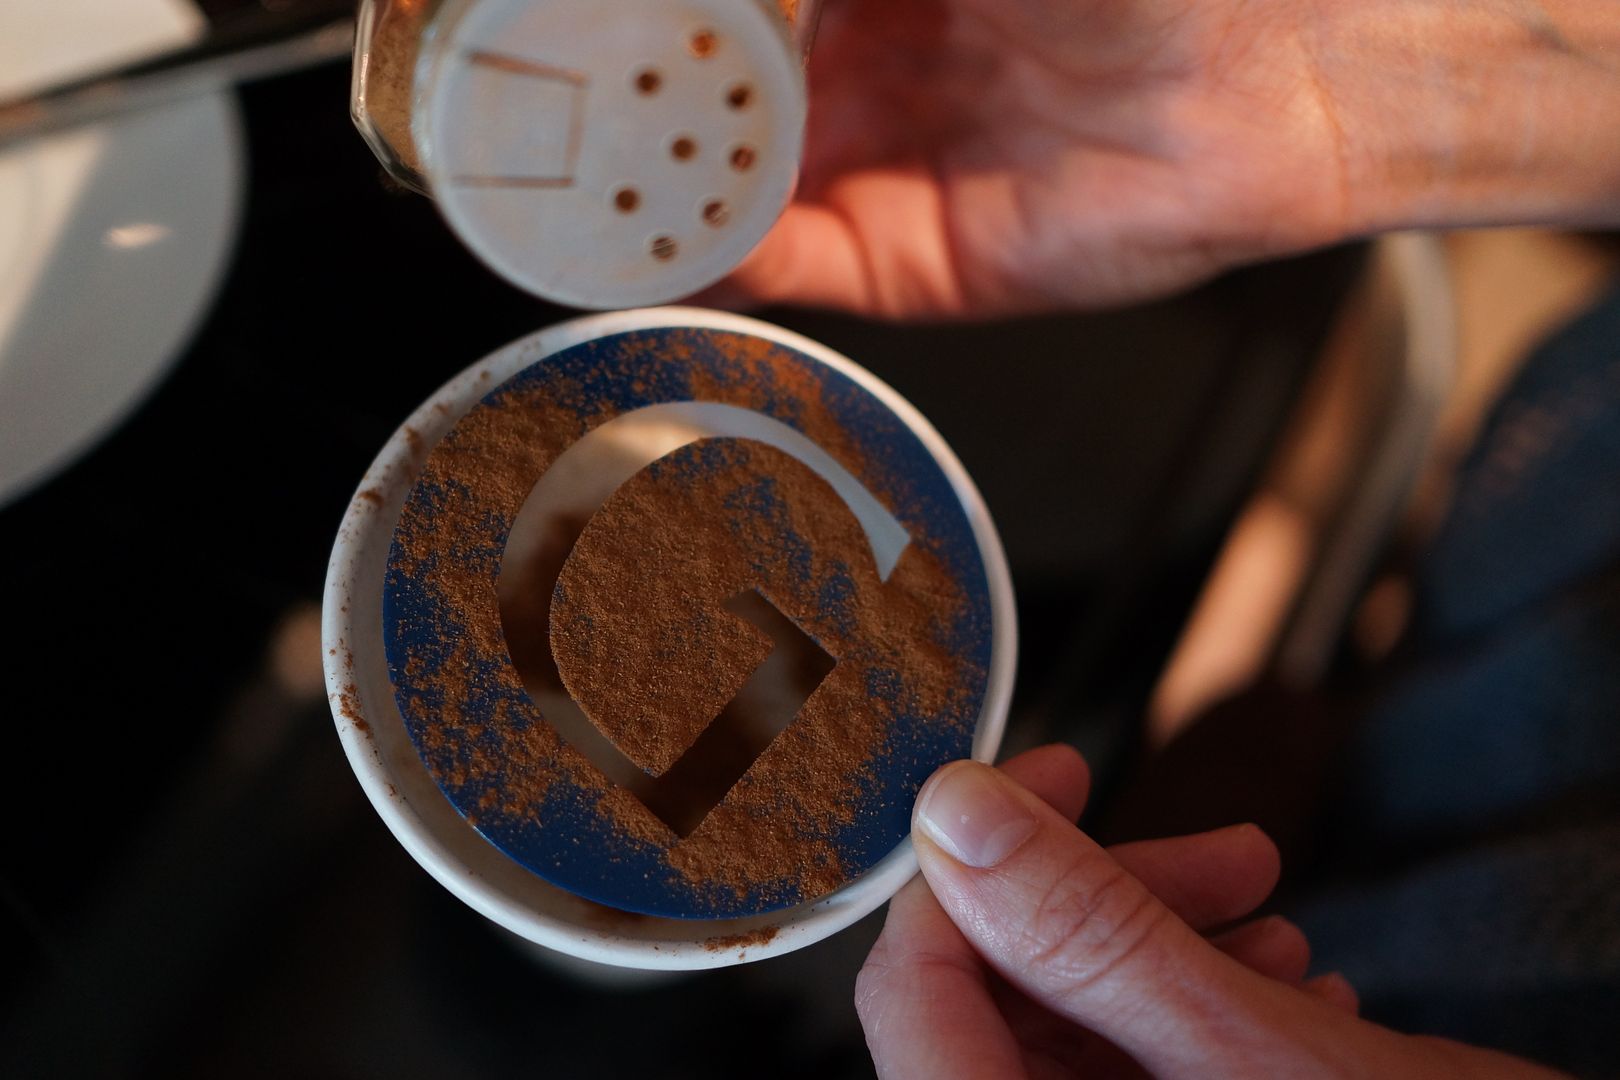
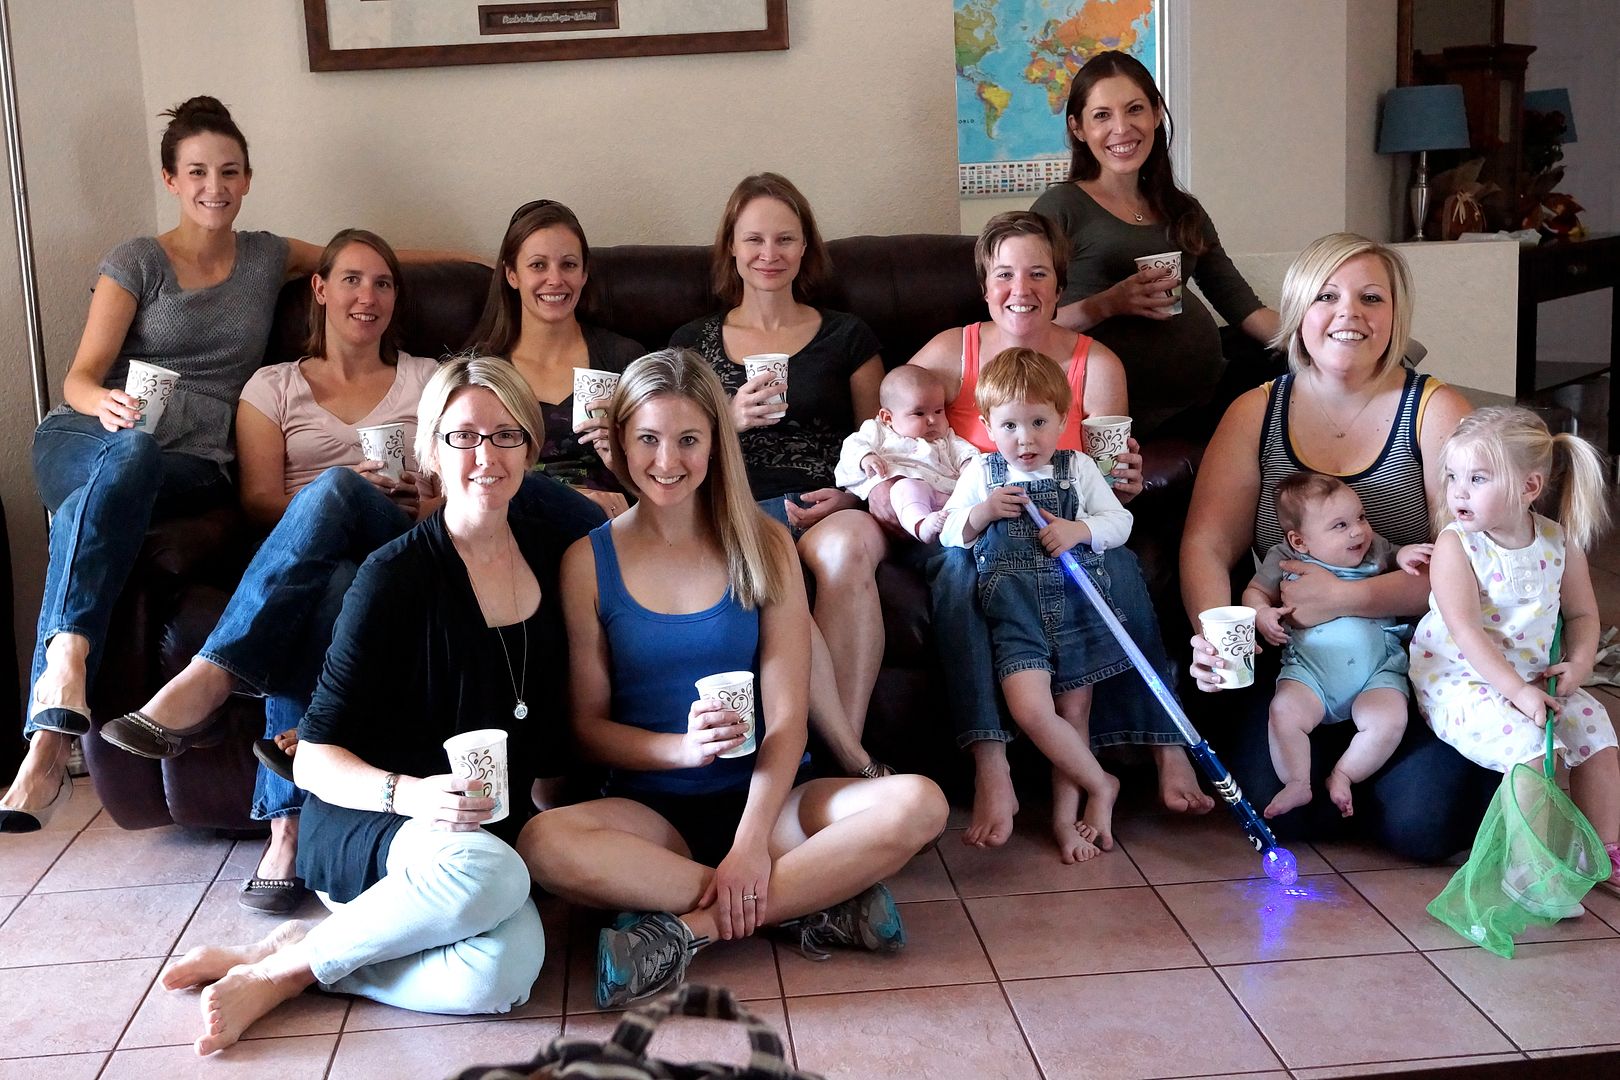
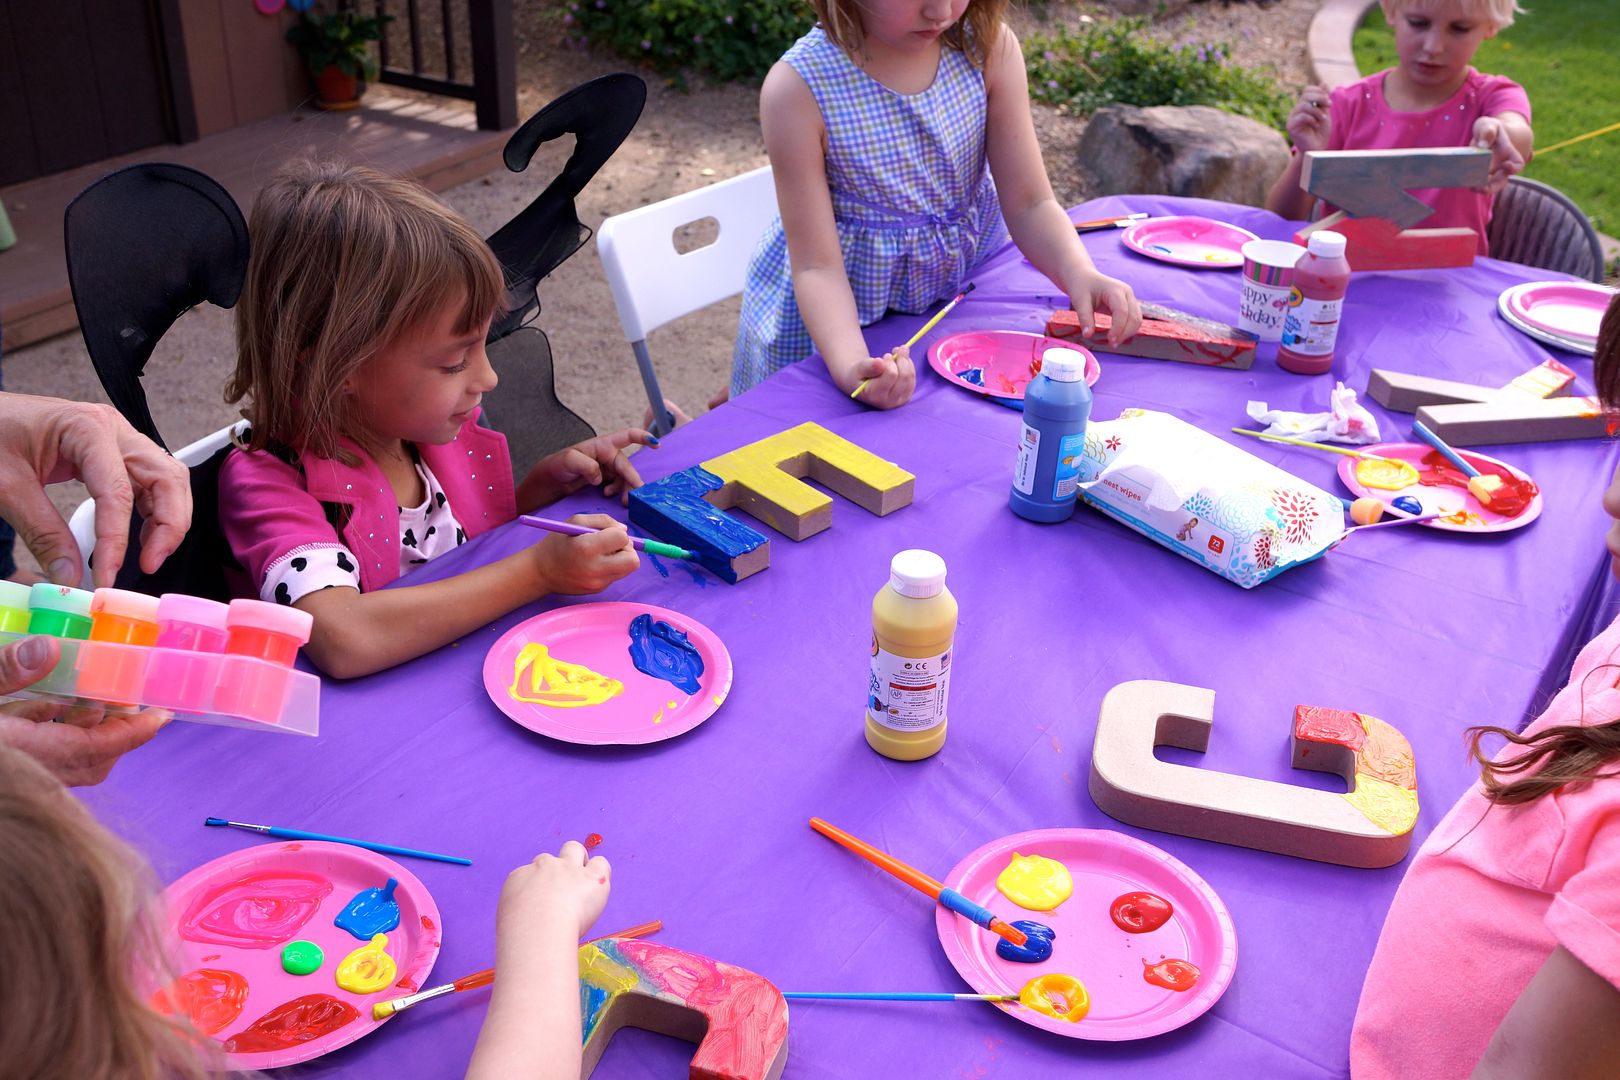
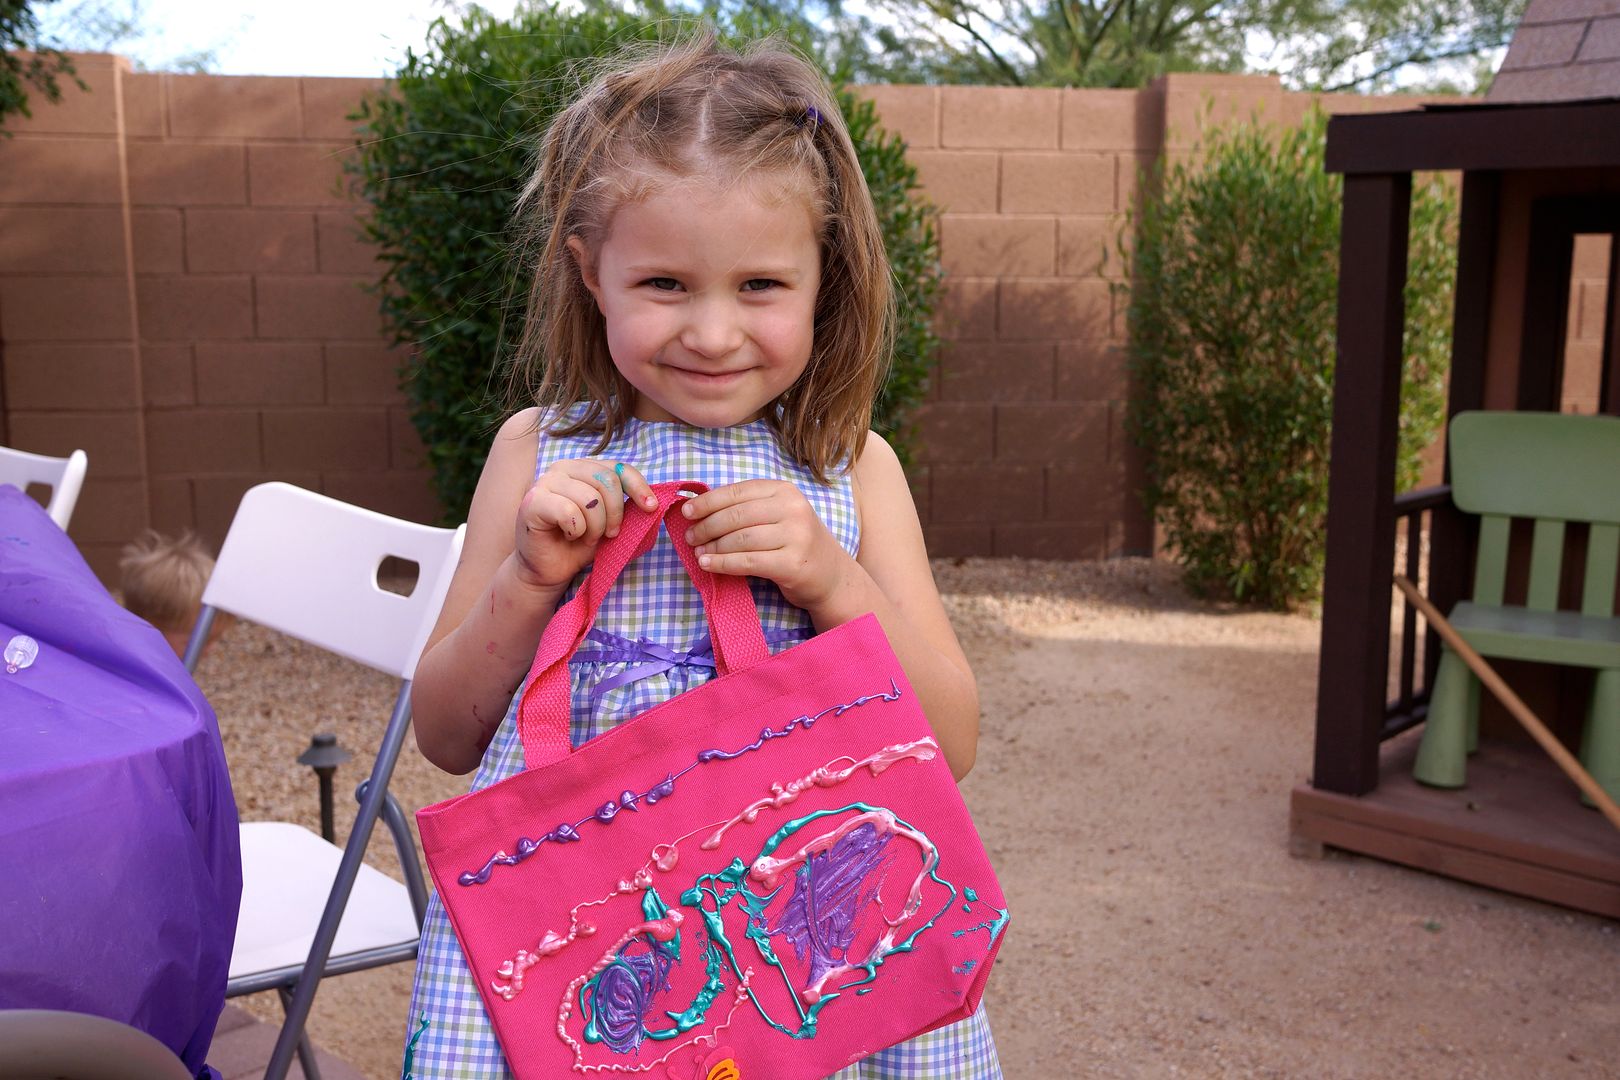
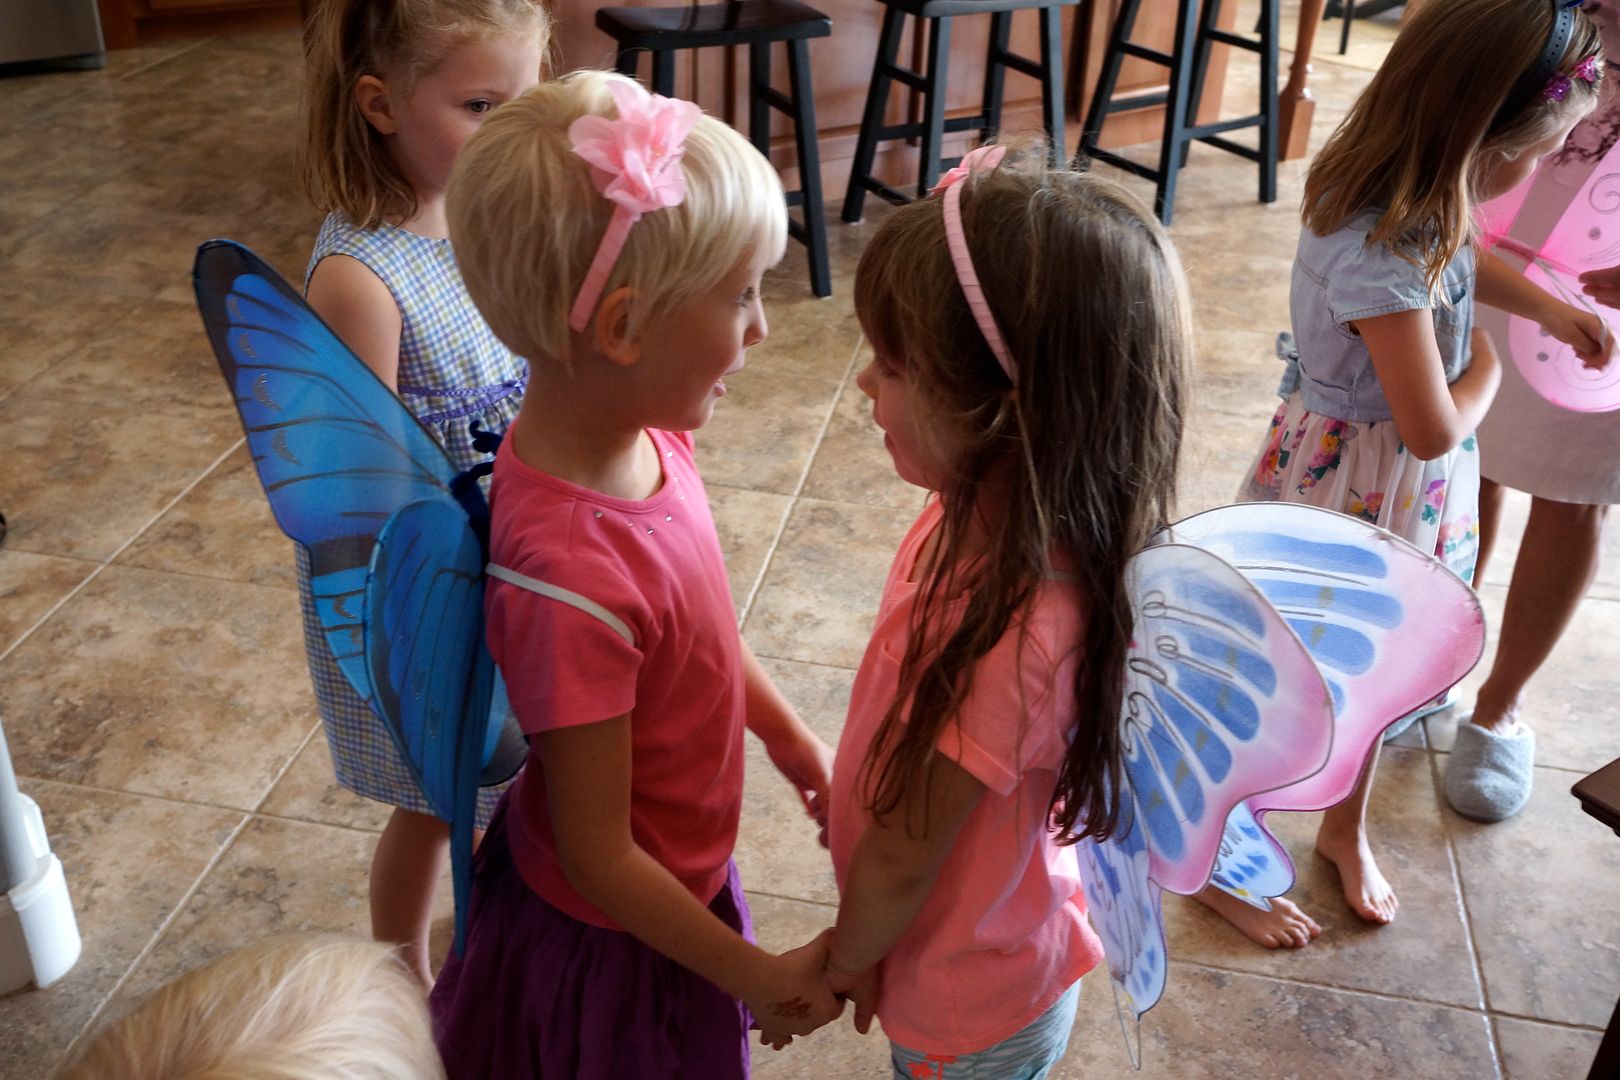
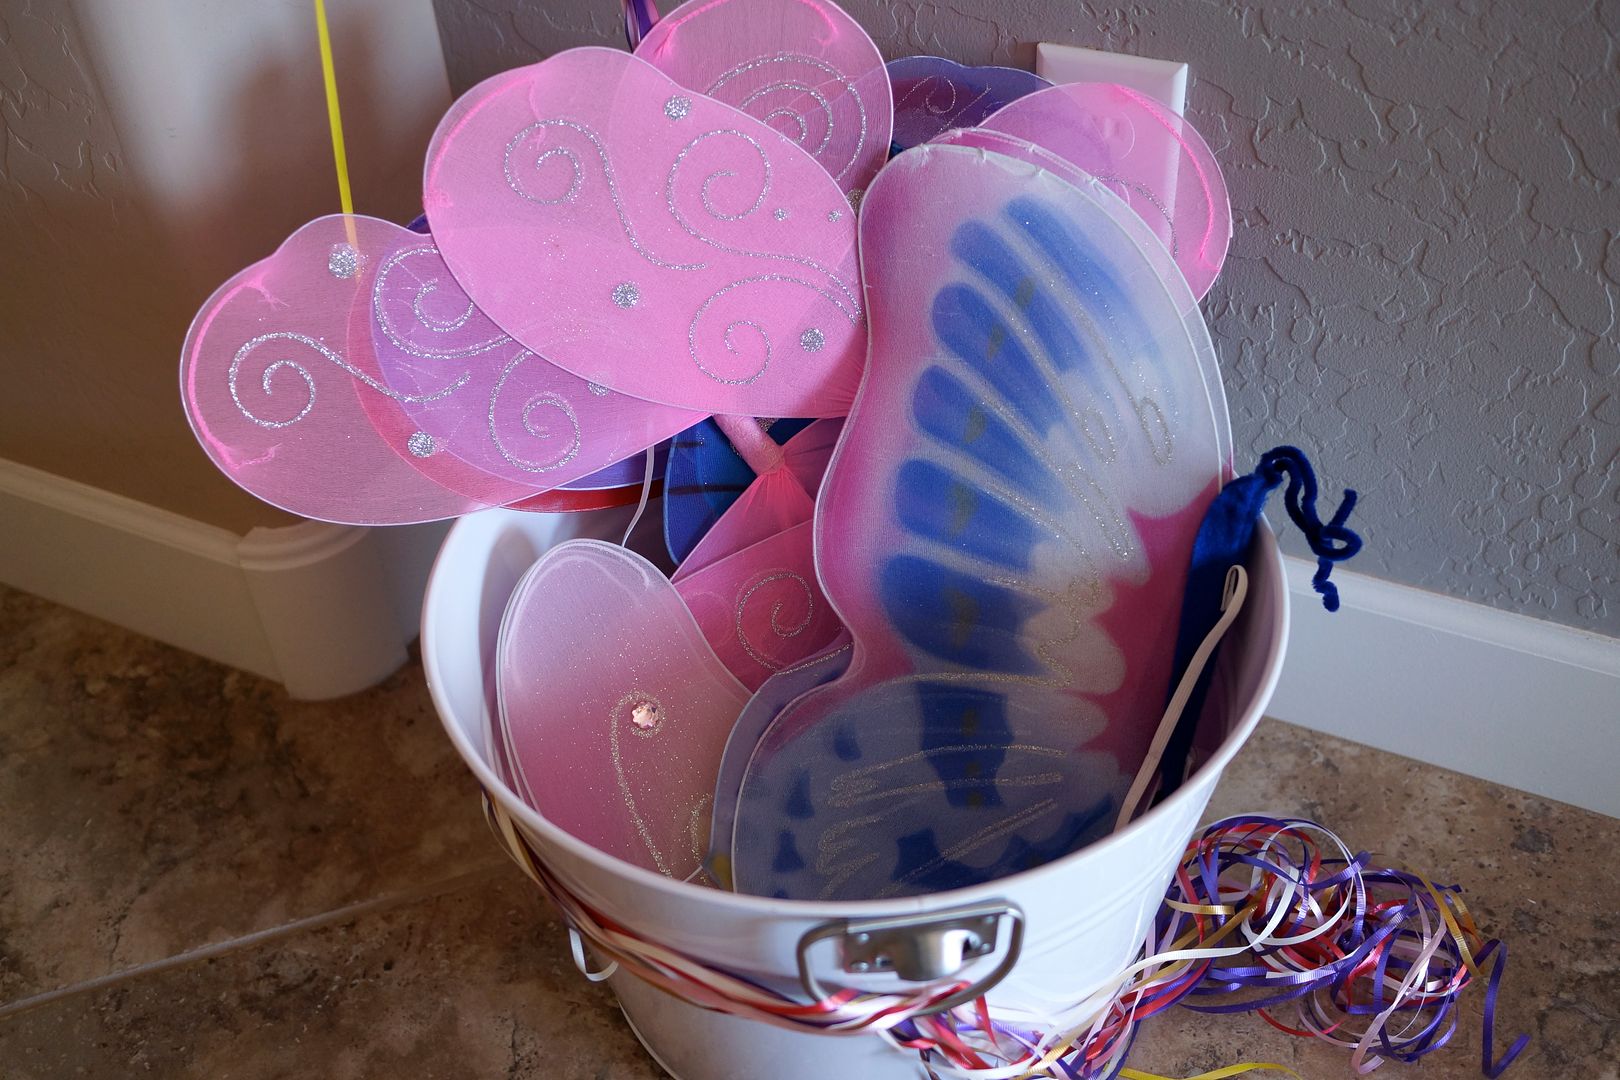
I hosted the party at my BFFs house and it just happened to be her birthday week so we celebrated with some cupcakes!  A little sweet with coffee is just fine with me, although all our littles just may have had a bit of a sugar high.  
The Birthday Girl!

Having little babies means lots of coffee!  

Especially my friend who has twin girls!

To be honest I only liked the Cappuccino flavor.  The Mocha Latte had sucralose in it which is a no-no in my house (that and I hate the taste).  The Carmel Macchiato was a bit too fake-flavor tasting to me and reminded me of gas station coffee (brutal I know).  However, the cappuccino was just right!  Especially with a dash of cinnamon on top.  Yum!

I'm still a fan of old-fashioned foam-milk-yourself but in a pinch or when in a hurry this is a yummy alternative.


Thanks to my friends for coming and to Gevalia for sharing the Love of Foam!


Other House Parties I've Hosted Recently


*Note: I do not get paid to talk about House Party, I just like them!

Friday, November 15, 2013

Fisher Price Friday - Dept 56 Christmas Ornaments at Target


It's beginning to look a lot like a FP Christmas here on Fisher Price Friday.  As you may recall I am a huge fan of the Hallmark Fisher Price Ornaments which sadly stopped production last year.  However, thanks to a lovely FP friend I found these new Fisher Price Holiday Classics Department 56 ornaments to tide me over.


Aren't they adorable?  This year's collection included the Pull-A-Tune Xylophone (#870), Rock a Stack and the Chatter Telephone (#747).  Unlike the prior Hallmark ornaments these aren't made out of plastic so they're heavier.  I'm no material expert but they feel like ceramic to me.  They are also larger than the Hallmark ornaments.


However, they're cheap ($8 each) and adorable so I don't care!


I found mine at my local Target.  I was unable to find them on Target online.  There are some on eBay with marked up prices.


The proportions on the Chatter Telephone are a little off but it's still adorable!  It includes a black phone cord and a red glitter phone receiver.  The lithographs are pretty impressive in their similarity as shown.


So go get them!  Merry Christmas! 

For more on the Hallmark Fisher Price Ornaments

2007 - See 'N Say 
2008 - Play Family Farm 
2008 - View-Master 
2009 - School Bus 
2009 - Chatter Telephone 
2010 - Play Family Fun Jet 
2010 - Zookeeper Says 
2010 - Play Family School 
2011 - Music Box Teaching Clock 
2011 - Play Family House 
2011 - Little People Lil' Movers Fire Truck (not a vintage toy) 
2011 - Snoop 'N Sniff - Limited quantity 
2012 - Corn Popper 
2012 - Two Tune TV

Wednesday, November 13, 2013

Tuesday, November 12, 2013

Broccoli Cheese Soup cooks in the Vitamix!

I continue to be amazed that my Vitamix can not only blend smoothies but also cook soup!  A-mazing.  Anyway, I found another soup recipe to share with you all.  Around here broccoli cheese is a favorite so I had to give it a try.  I prefer my soup on the chunky side which is easily accomplished by saving some cheese and broccoli to add right at the end.


Vitamix Broccoli Cheese Soup
Ingredients 
1 cup milk 
1/2 cup shredded low fat cheddar cheese 
2 cups broccoli (or cauliflower) fresh or frozen, steamed (set 1/2 cup aside)
1 teaspoon diced onion 
1/2 chicken or vegetable bouillon cube 

Directions 
1. Place all ingredients into the Vitamix container in the order listed and secure lid. 
2. Select Variable 1. Turn machine on and slowly increase speed to Variable 10, then to High. Blend for 5-6 minutes or until heavy steam escapes from the vented lid.
3. Add 1/2 cup broccoli and pulse for a couple seconds.  Add a little shredded cheese to the top of each bowl.

Serves 1.5-2

More Vitamix Recipes

Chicken Potato Spinach Soup
Almond Milk
Raspberry Banana Orange Julius Copycat Recipe

Friday, November 8, 2013

Fisher Price Friday - Milk Wagon

Got milk?


Today on Fisher Price Friday we visit a sweet old pull toy, the Milk Wagon #131.  Made from 1964-1972 this wooden wagon toy comes with six milk bottles and a milk crate.  You may have seen a version like it at Target or another toy store as it's recently been reproduced.  However, the new version is all plastic unlike the original.

Each side of the wooden wagon has the same lithograph of a happy cow, floating leaves and flowers and the words Fisher - Price and milk wagon.  When you pull the wagon a bell rings (you can't see it, it's hidden inside).


The front of the wagon is plastic, as are the 4 red wheels.  The driver has a wooden head and hat with a plastic brim.  His head moves side to side as the truck drives.  There should also be a yellow plastic pull string attached to the wagon in the little hole in the front of the truck.  Mine is missing.

 
The back of the wagon has a lithograph of two cute kids drinking milk and juice out of glasses with straws (2 each!).  It also has the F-P logo and toy number.  The inside of the truck bed has a lithograph with numbers and letters from 1-6.

One sure way to tell a reproduction from the original is to look underneath.  The original is all wood!

The set came with six bottles and a milk carrier, just like the Milk Carrier #637.  It's basically the same, just a turquoise color instead of yellow.  Also, the milk wagon carrier doesn't have lithographs on the side like the Milk Carrier #637.

There were six bottles with blue, green, red, white and yellow caps.  The 1965-1966 version of the wagon had only yellow caps.  The bottle colors are white (regular milk), brown (chocolate milk) and orange (orange juice).  


For more milk fun check out the Milk Carrier #637.

Monday, November 4, 2013

Butterfly Themed Birthday Party

Last year was a Fairy-Princess Party and this year my daughter chose Butterflies.  So two years in a row with wings! ;)


The Birthday Girl
A butterfly themed party was actually quite fun and relatively easy to prepare for.  This year was her first girl-only party with kids her age (6 girls for age 6!) so I was brave enough to do crafts.  Yes, crafts.  I'm not the most crafty mom in the land, mostly b/c I hate cleaning up messes!  However, I decided to go for it this year!  Of course I did hold the party in the backyard, but still, it's progress!

We had two butterfly themed crafts, a butterfly game and of course cake!  In between crafts the kids played in the backyard playhouse.

It was a simple party and everyone loved it!


Art Project Supplies - from Hobby Lobby

Games & Activities

Butterfly Letter Craft


I purchased cardboard letters for each girl (Hobby Lobby $2.97 each).  First they painted the letters, then later they decorated them with a variety of flower and butterfly stickers.  A fun take-home item to decorate their rooms!

Butterfly Canvas Bag Craft


Now this craft was a learning experience.  I had purchased colorful canvas bags ($5.59 for 4), puffy paints and felt stickers to decorate them. I thought the girls could make butterflies and their names on the bags.  What I didn't realize is that puffy paints are not exactly age-appropriate for 4-6 year olds.  Lets just say they enjoyed squeezing the entire bottle out on their bags!  I have a feeling it will take days for these lovely creations to dry!


If I did this activity again I'd choose fabric markers or fabric stamps instead.  Live and learn!

Pin the head on the Butterfly Game


What is a birthday party without a pin-the-something-on-the-something game?  I made my own butterfly by putting butcher paper over a piece of cardboard then free painting.  I painted the butterfly myself and had my daughter decorate it.  Then I cut out heads (using a glass for a template) and added happy smiles.  Easy-peasy!  The winner received a butterfly bubble wand for a prize!

Decorations

Butterfly Banner


I bought a package of precut butterflies ($1.99), but if you're handy you could cut out your own.  This was a perfect way to involve my almost-6 year old in preparing for the party.  A couple weeks before the event I gave her a stack of them and told her to decorate them.  After she was done coloring, stamping and writing on them I punched holes on each side (with a heart punch) and tied ribbon to each one.  We created a l-o-n-g banner.  So long that I had to wrap it around the side of the house!  It made a cute decoration but was also a fun project to do ahead.

Butterfly Wings


I found yet another use for my beverage bucket!  It was a wing and balloon holder. :)  I bought a bunch of butterfly/fairy wings and masks for the girls to wear at the party (mostly from the Dollar store).  They kept switching out wings and had the bucket to keep them in.  I even had a big pair of wings to wear.

Butterfly Tree


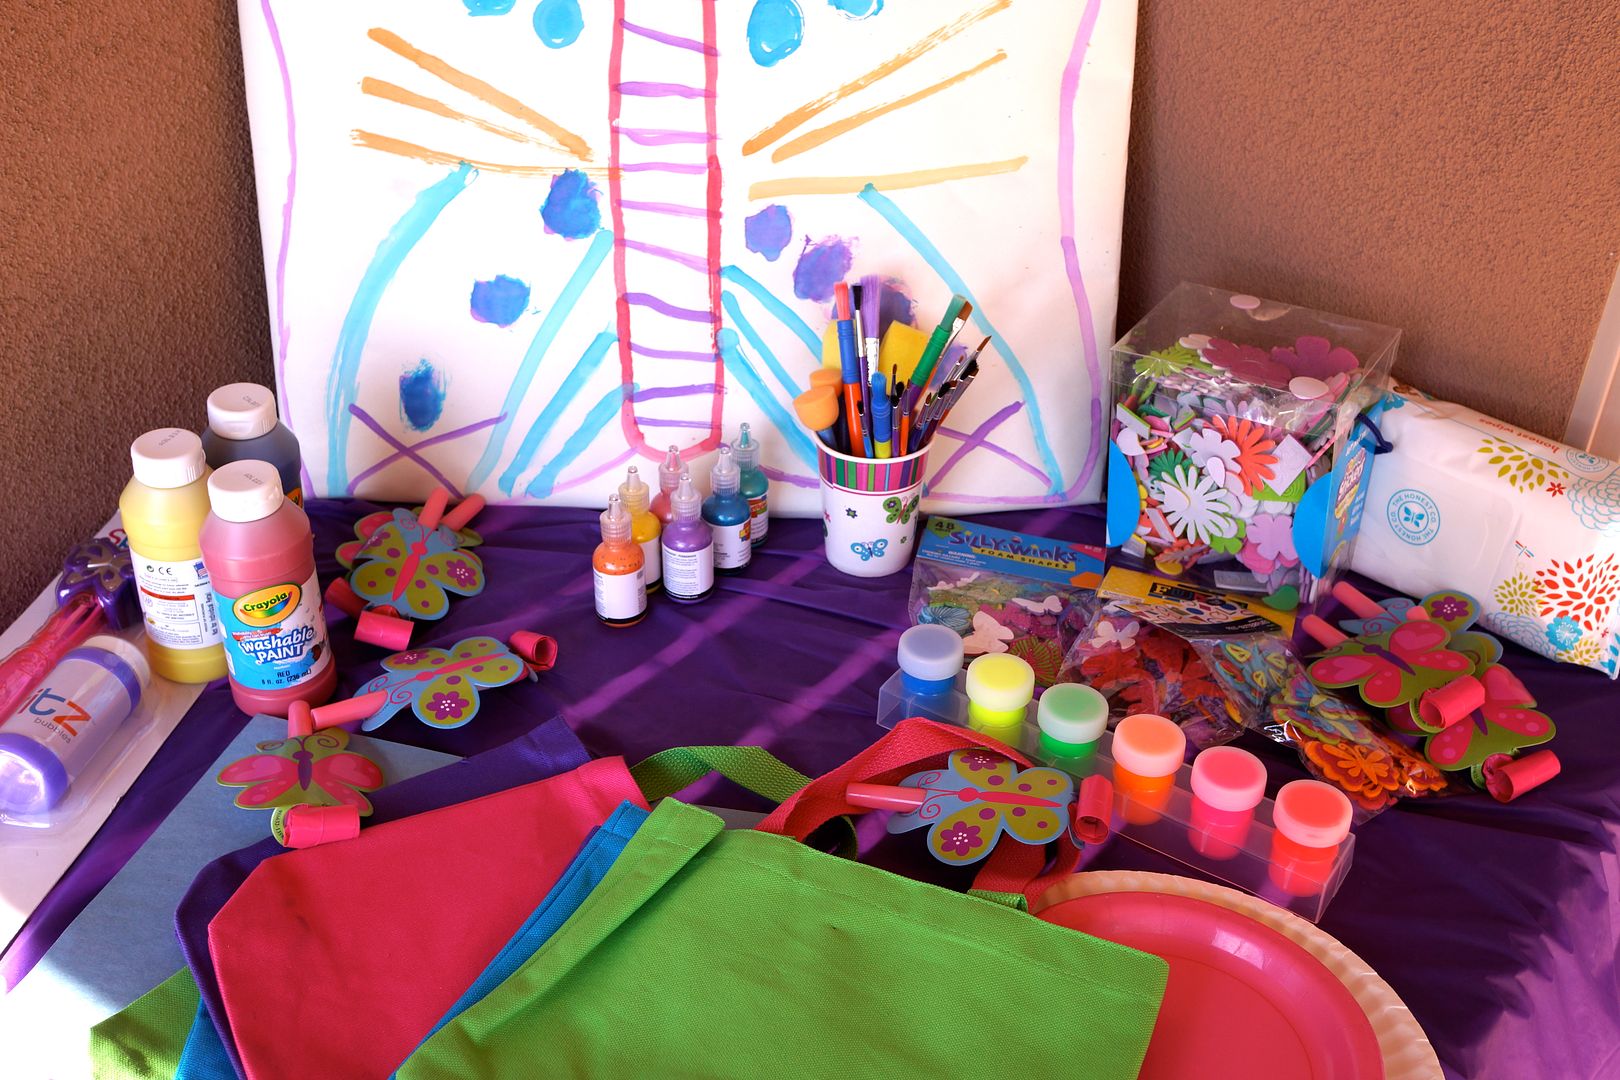
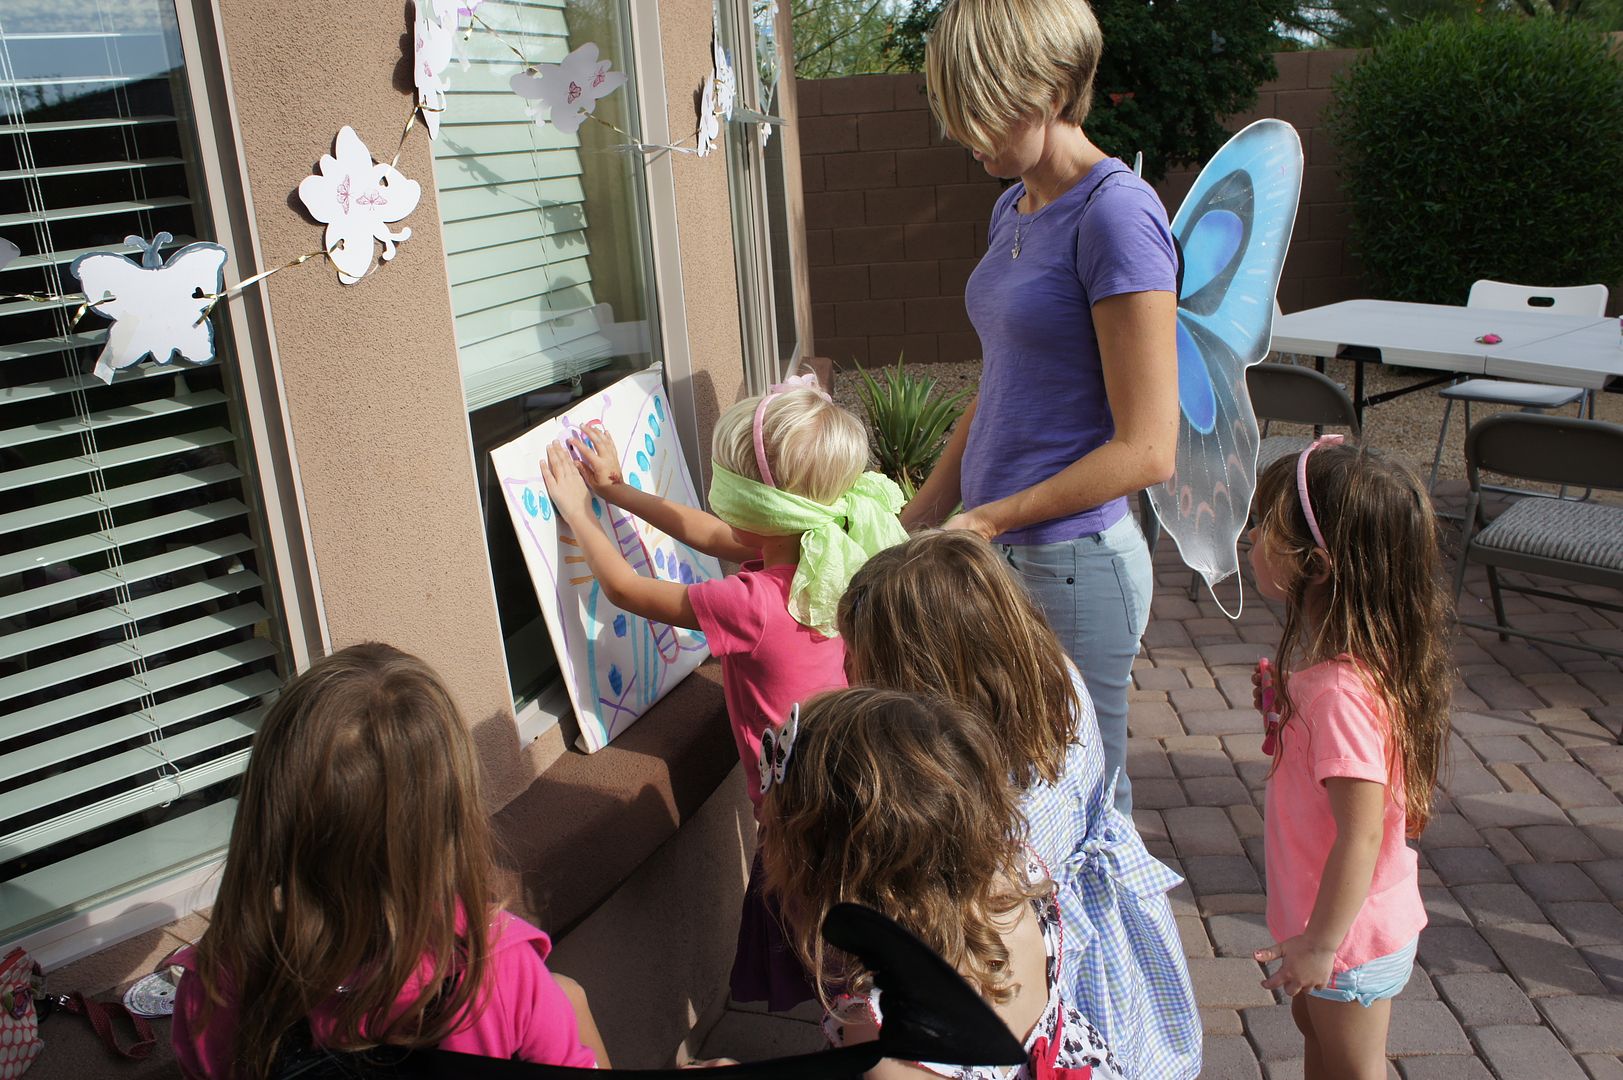
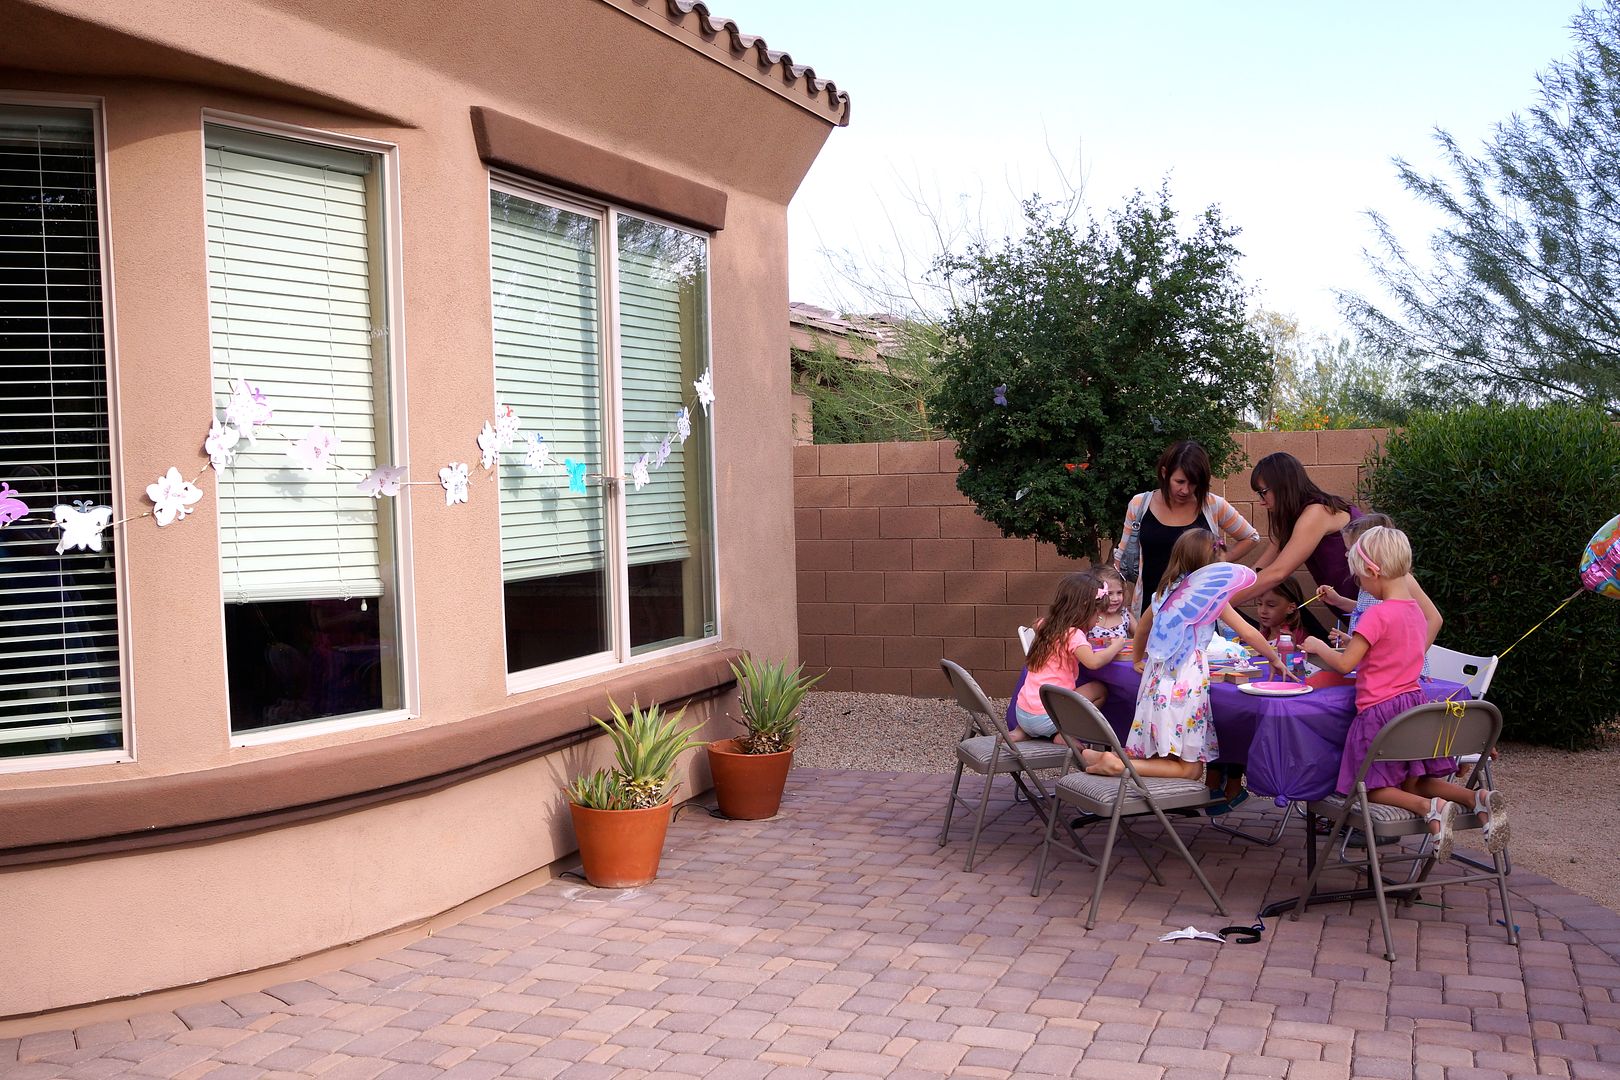
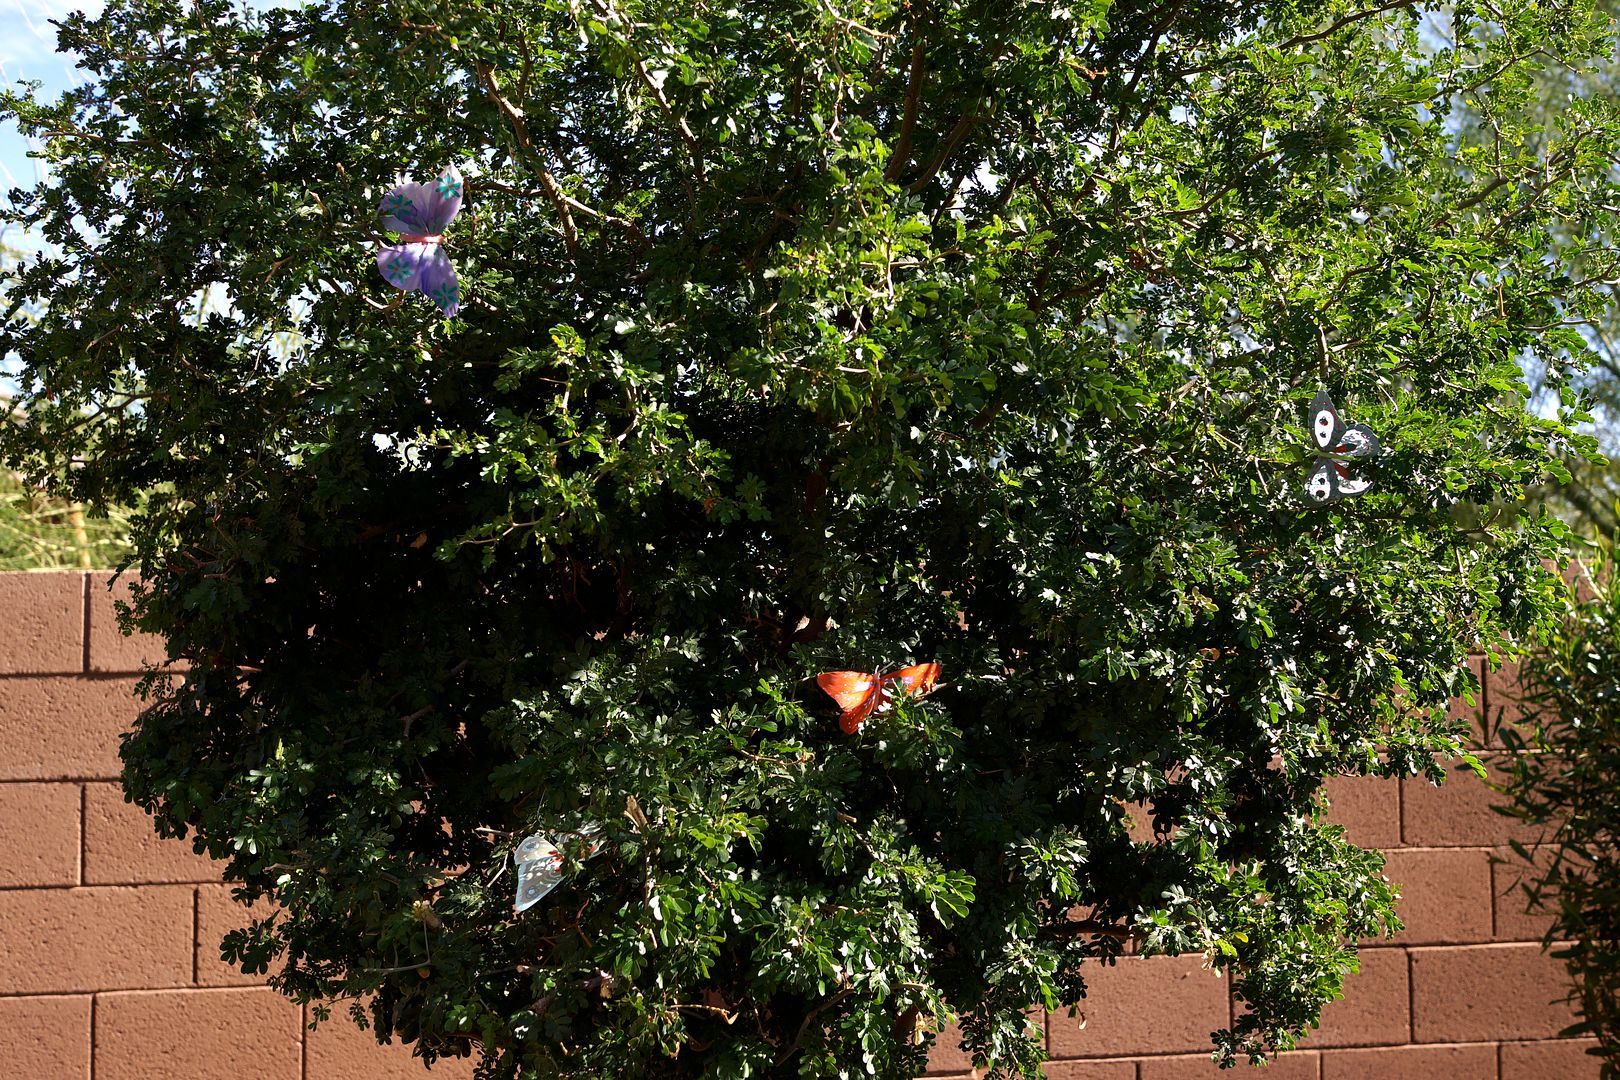
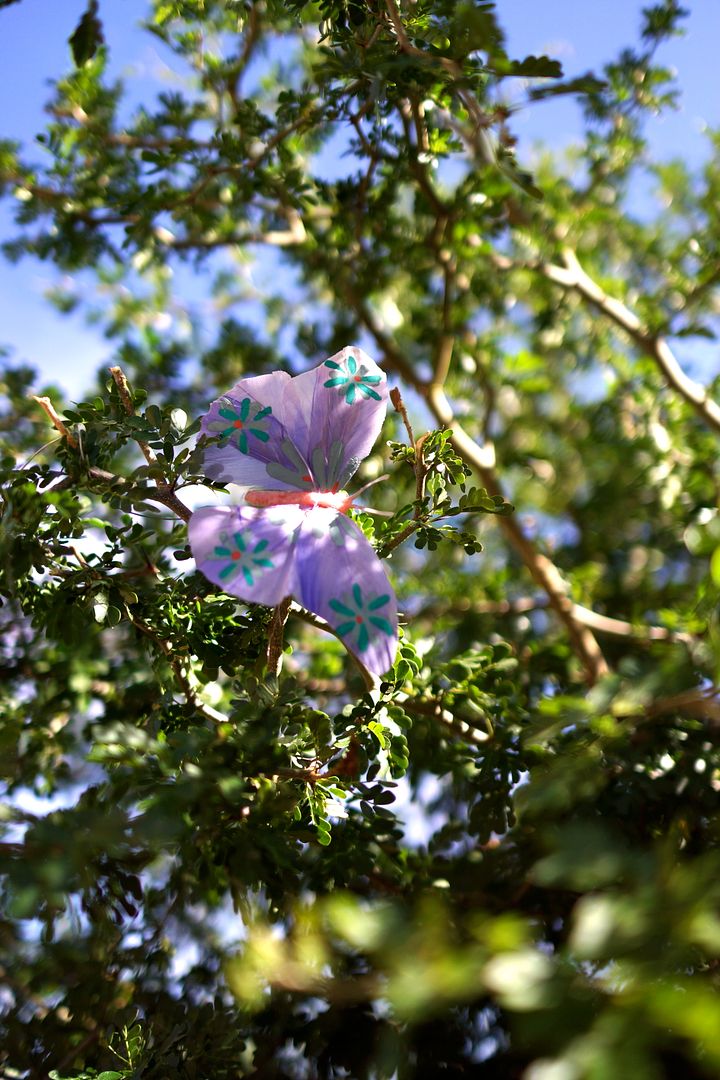
My mother found some cute little butterfly decorations that were attached to a long wire.  I simply fastened them to a tree near the birthday table for decoration.  Now this time of year real butterflies are also flying around our neighborhood (monarch) but it was nice to have some fake ones too!
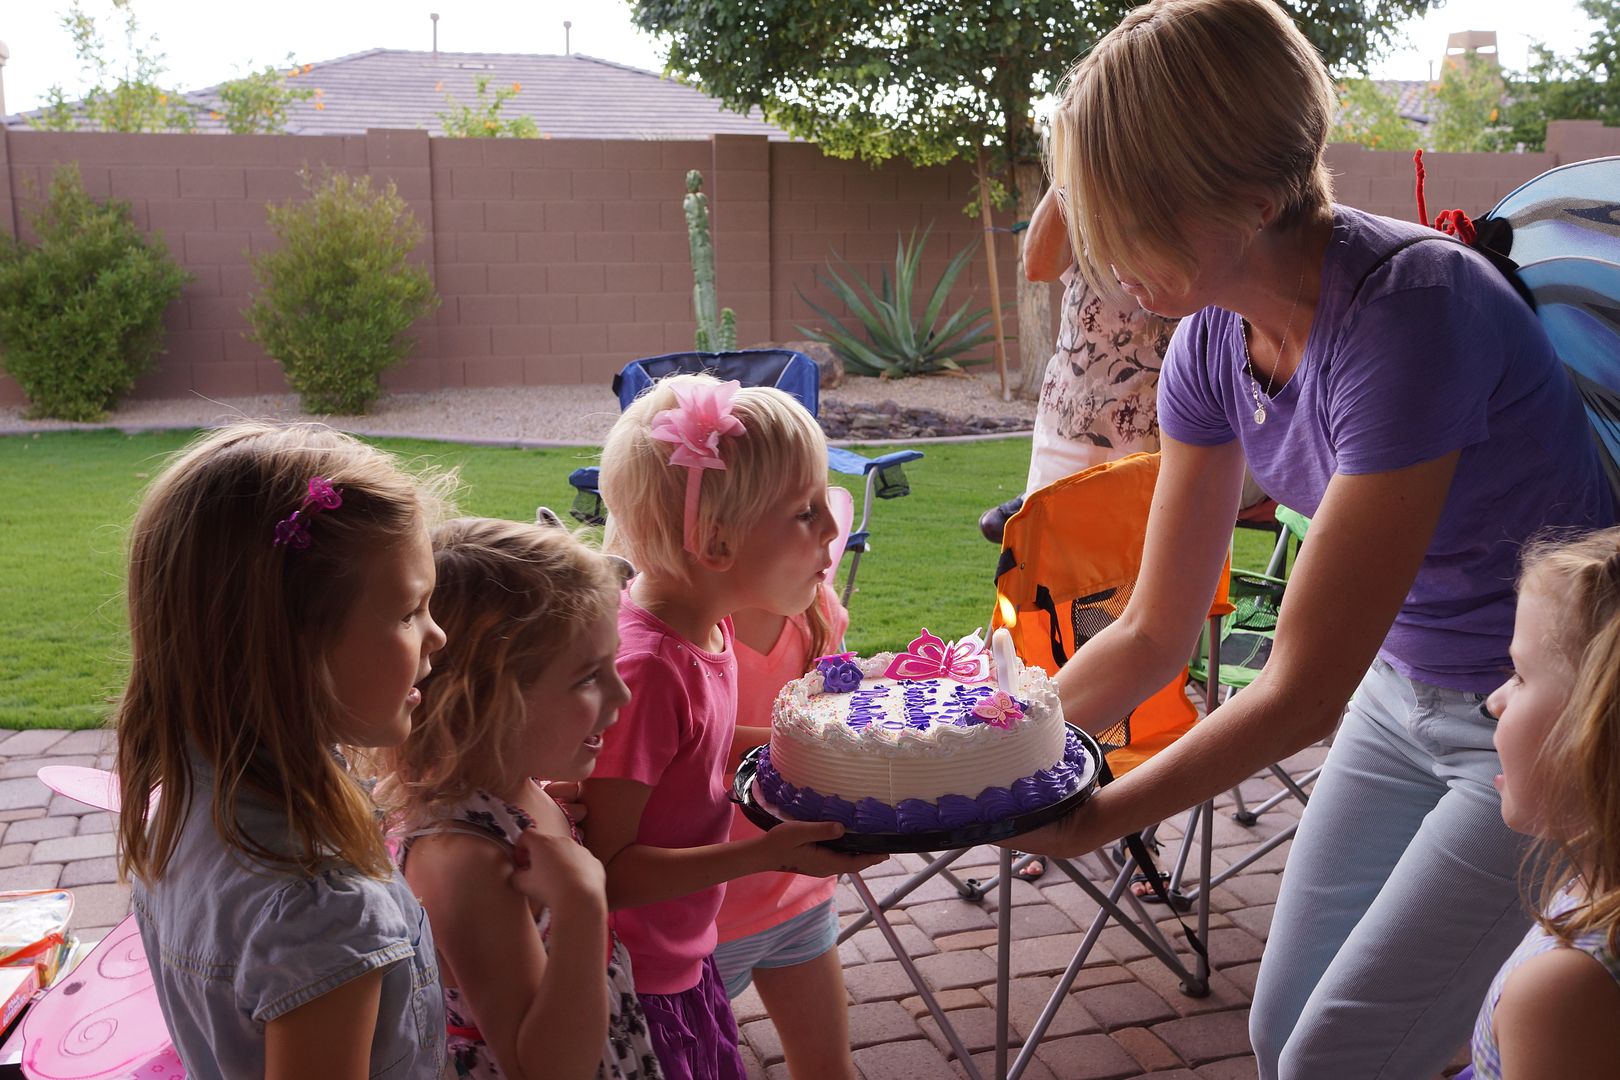


Butterfly Cake


Of course we needed a butterfly cake with the birthday girl's current favorite color (purple).  It was an ice-cream cake because although it is November it was about 86 degrees the day of the party!  Only in Arizona do you wear a sundress to a birthday party in November.  The cake had little plastic butterflies on it to decorate.


Look at these sweet friends!  

For more birthday parties check out: