HomeVintage Fisher PriceMy Etsy ShopCategoriesAbout

Friday, October 19, 2012

Fisher Price Friday - Pop Up Camper

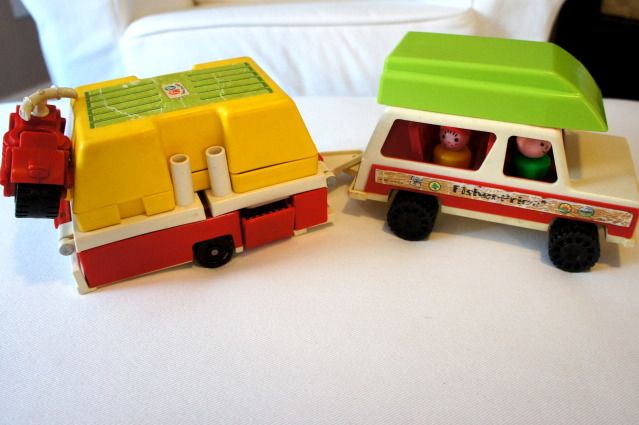
Today on Fisher Price Friday I'd love to share the #992 Play Family Car and Camper.  This popular set was made from 1980-1984 after the #994 Play Family Camper was discontinued.  
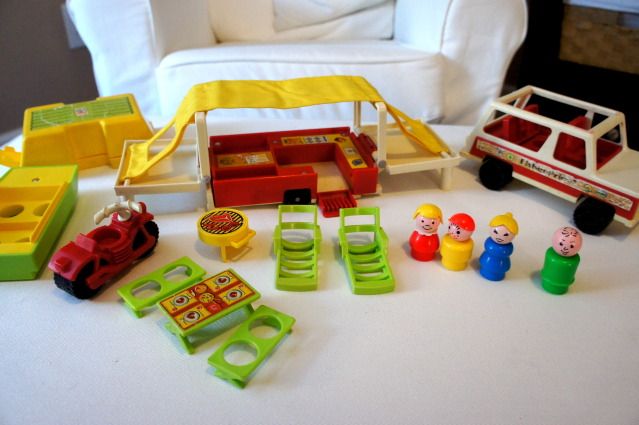
The set has fifteen pieces including 4 people, a picnic table and benches, motorcycle, grill, boat, camper top, pop up camper and family jeep.
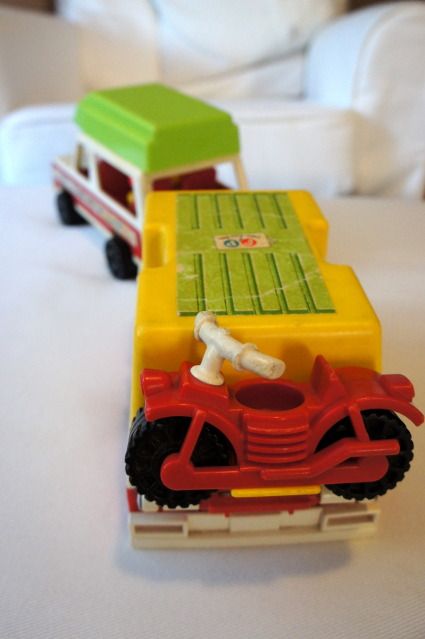
The red motorcycle fits nicely on the back of the camper resting on the camper top.  I read that it is referred to as a "red trail bike" but it looks just like a motorcycle to me.  The yellow camper top has a green lithograph with "f" and "p" and "fisher price" on it.
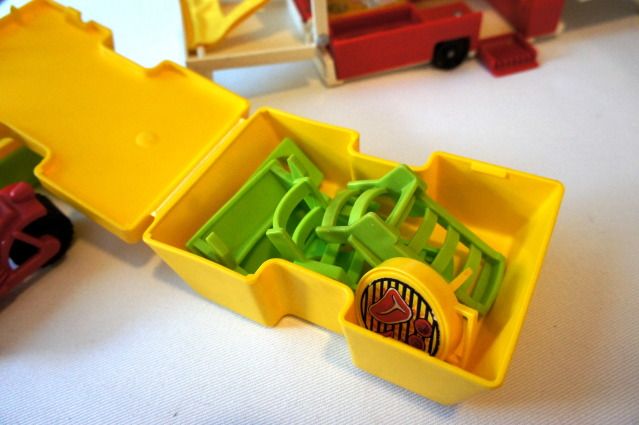
The camper top opens on the bottom and has enough room to fit all of the extra furniture.  The top is frequently missing from sets and is a tricky piece to find on its own.  I was fortunate to have a fellow FPLP friend help me complete my set (I bought just the camper and jeep together).
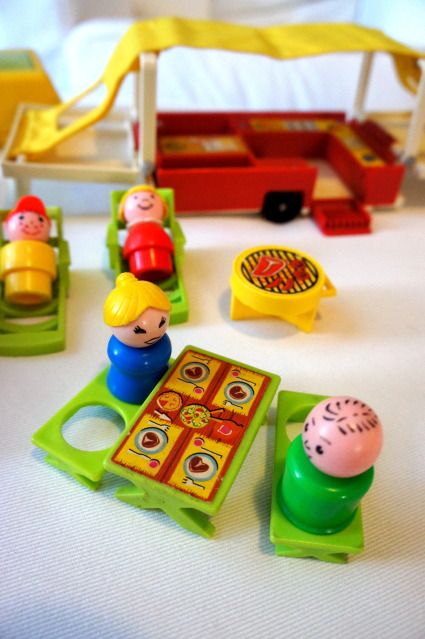
The family pieces are all plastic and as pictured.  The girl could also have a light red body or be a brunette.  The boy has a red cap, freckles and is smiling.  The set included two green lounge chairs  
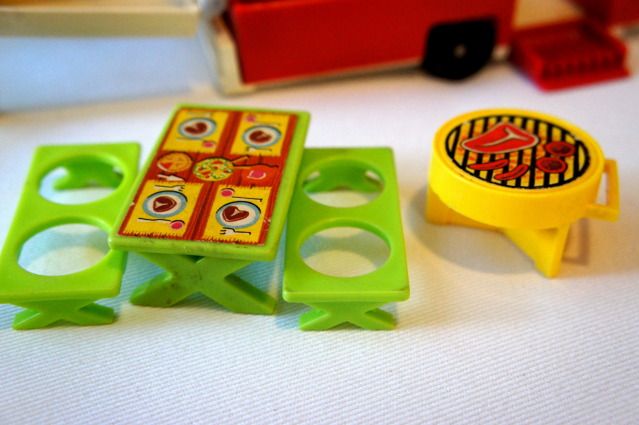
The green picnic table includes a lithograph of place settings.  Everyone is eating steak for dinner!  The yellow grill is unique with x-shaped criss-cross style legs instead of the more typical spindle (separate) legs.  The yellow x-shaped grill was made from 1982-1984, from 1980-1981 it had spindle legs.  This was the only set that the yellow x-shaped grill was produced for and the first set to have this leg design.
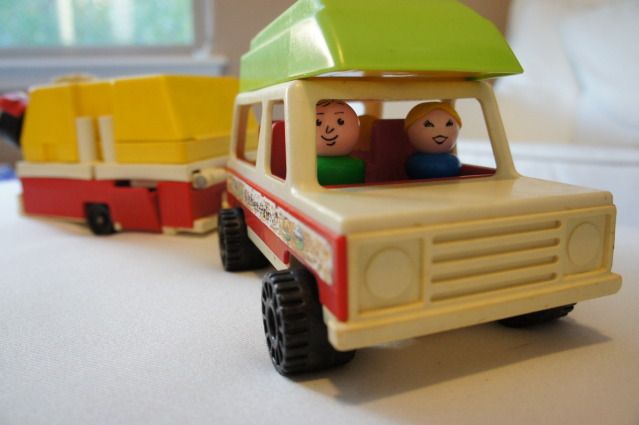
The camper is pulled by a hitch on the family Jeep.  
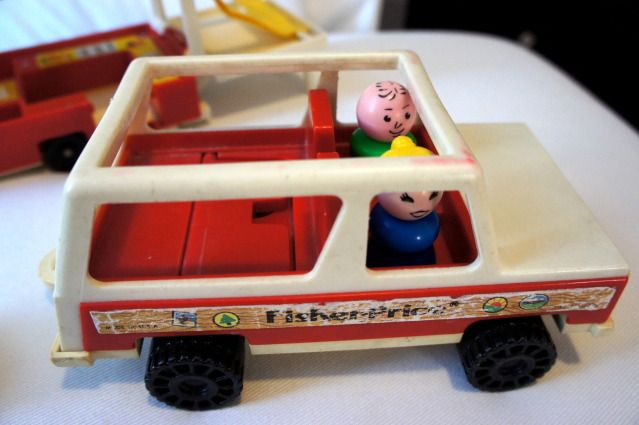
The Jeep sits 4 but the rear seat folds down for storage.  How cool is that?  The Jeep has lithographs of simulated wood on each side (matching) that have Fisher Price on it and camping stickers. 
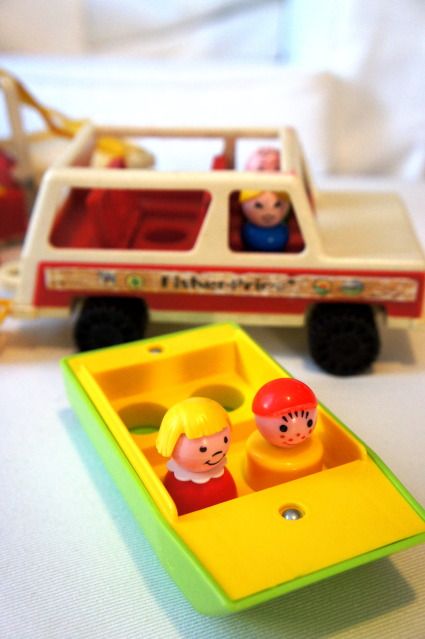
A cute little green and yellow boat rests on top of the Jeep.  It holds 4 people.
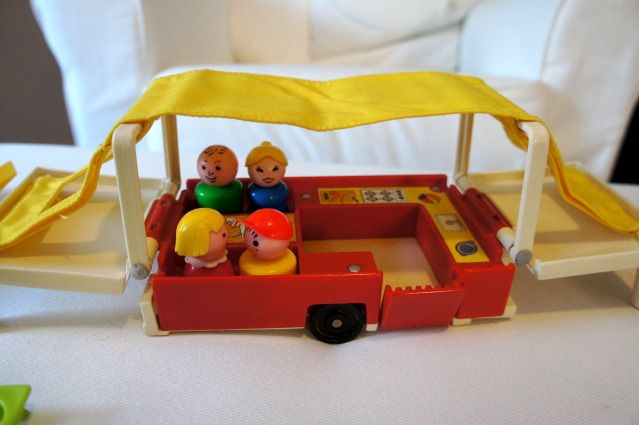
The camper has a white plastic top that folds open to show the yellow fabric pop up tent. 
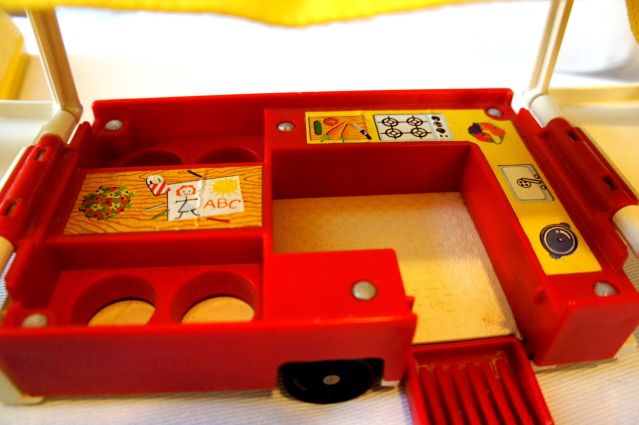
Inside the camper is a dining table that seats four, a kitchen and fold out entrance steps.  The lithographs on the table include a bowl of flowers, and a child's drawing and crayons.  The kitchen counters include a cutting board with vegetables and a knife, a four burner stove, kitchen sink, coffee pot and a fruit bowl.  The camper floor is a lithograph of linoleum.
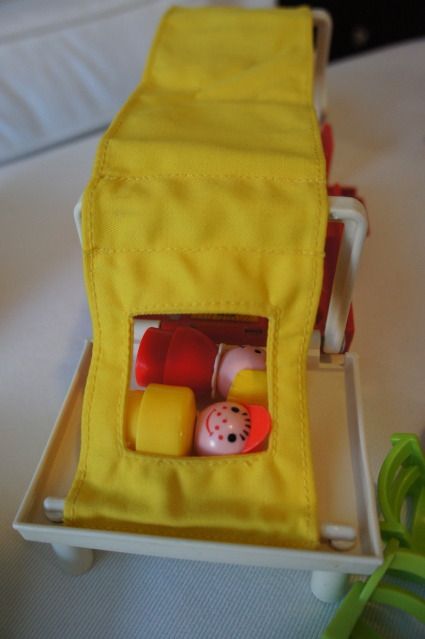
Each side of the camper has sleeping areas (sleep two) and windows cut into the yellow tent fabric.
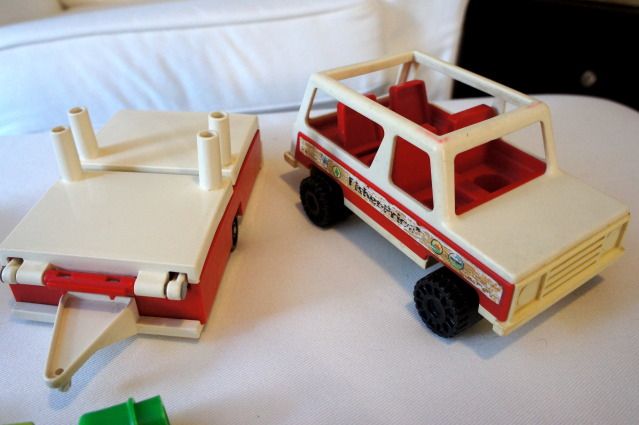
This is the camper folded down and without the storage container on top.  Many pop up camper sets are sold online looking just like this.  They are still fun without the camper top, but trust me, you'll be driven to find one if you buy it this way. ;)
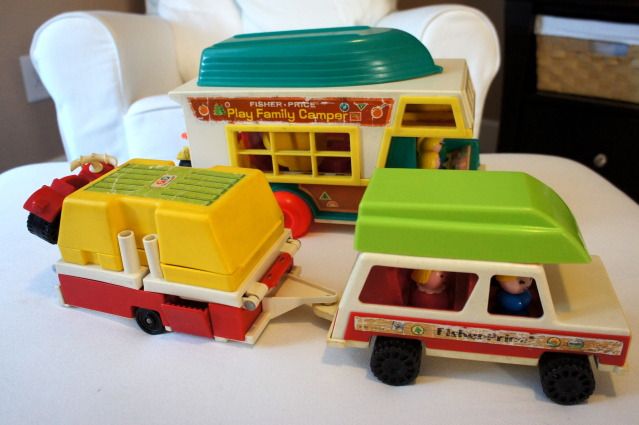
For comparison here is the Pop Up Camper #992 next to the Play Family Camper #994.  The Pop up Camper has a much more realistic profile.  To read more about the Play Family Camper look here.

Happy Camping!

Thursday, October 18, 2012

How to Bake a Pumpkin (it's easier than you may think)

I have something to confess.  Until this week I've never ever "made" a pumpkin before.  Until now pumpkins were strictly for decoration and if I needed pumpkin for a recipe I'd just get a can from Trader Joe's.  Am I the only one?


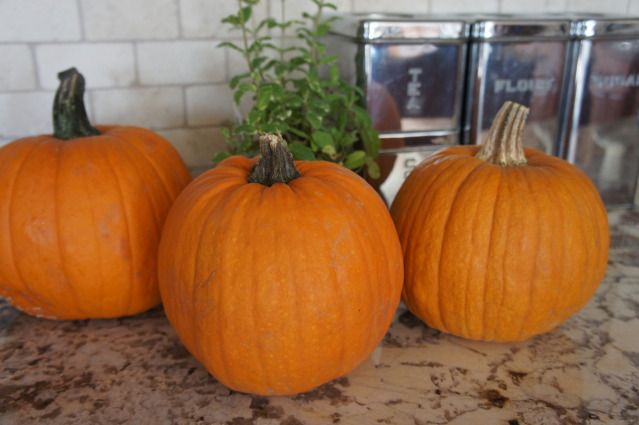
Well, after receiving 3 lovely baking pumpkins from our CSA box last week I decided it was time to figure out how to make pumpkin from scratch.  Instead of my usual google search I decided to ring up my mom.  She just happened to contribute to a cookbook back in the 70's on this very subject!  She gave me the following directions that worked quite well.  All in all it was a much easier process than I'd expected and I ended up with something extra that you cannot get from a can. Pumpkin seeds!

Flipped over after they finished baking.  

Pumpkin Baking 101

Wash pumpkin(s).  Cut in half (across the middle not top to bottom).  Scoop out and save seeds.  Place in a large shallow baking pan.  I recommend putting some parchment paper on the bottom first as it makes clean up easier.  Bake uncovered at 350 until flesh is very tender (about 1 hour).  Cool for a few minutes then scoop out the flesh.

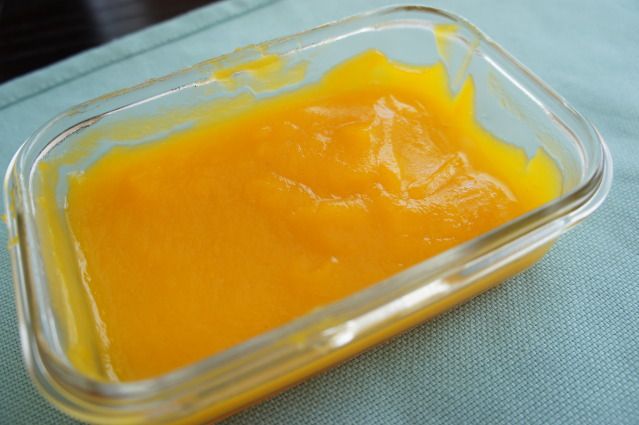
Puree the pumpkin in a blender or food processor.  Add a little water if it is too thick to blend.  Measure out and put 1 cup servings in individual plastic bags.  Freeze and you're all set for recipes!

I set some of the puree aside for my baby who LOVED it with a little cinnamon and yogurt (plain) added.

Lovely pureed pumpkin!

Other ways to cook Pumpkin

If the oven isn't for you here are two other ways to cook pumpkin.

Microwave - Pierce the pumpkin with a knife or fork several time.  Cook on high for 6 minutes or until tender.  Cut in half and scoop our the flesh. (note: this part was not included in the original 70's cookbook as there were no microwaves back then, ha!).

Stove  - Cut the pumpkin into 3-4 inch chunks.   Don't peel off the skin as it will fall off on it's own. Add a little bit of water and bring to a simmer.  Simmer until tender about 50-60 min.

So there you go, three different ways to cook up a pumpkin.  Looks easy right?  I'll be back with some recipes to use all of the lovely pumpkin puree soon.

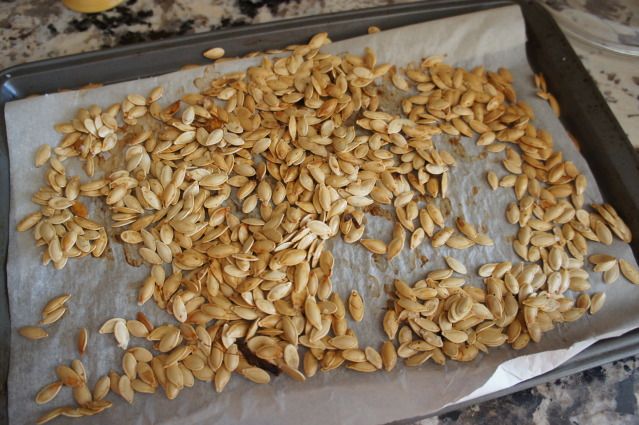
The pumpkin seeds from just 2 of those medium pumpkins!
Pumpkin Seeds
But wait, we can't forget the pumpkin seeds!  They are easy to make, especially if you are baking the pumpkin.  Just separate from the pulpy strings, rinse a little (be careful, they're slippery little buggers) and place on a baking sheet.  I prefer to use parchment paper on the sheet to minimize clean up.  Spray with some olive oil and sprinkle sea salt on.  Bake for about 45 minutes in the same oven as the pumpkin (350 degrees).  Remove from the oven and let cool a little bit.  Try to resist eating them all at once! 

Wednesday, October 17, 2012

(semi)Wordless Wednesday - WeeRide with my wee ones

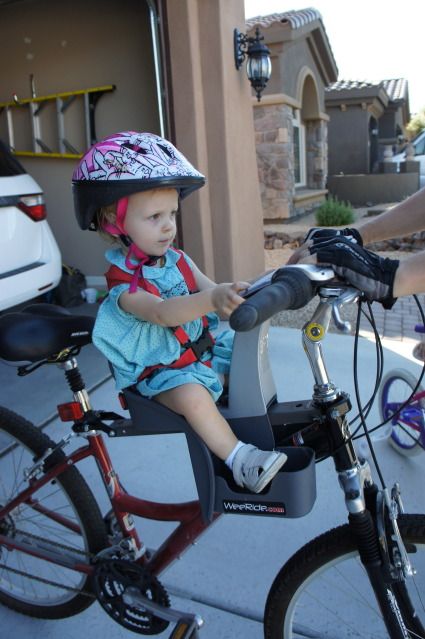
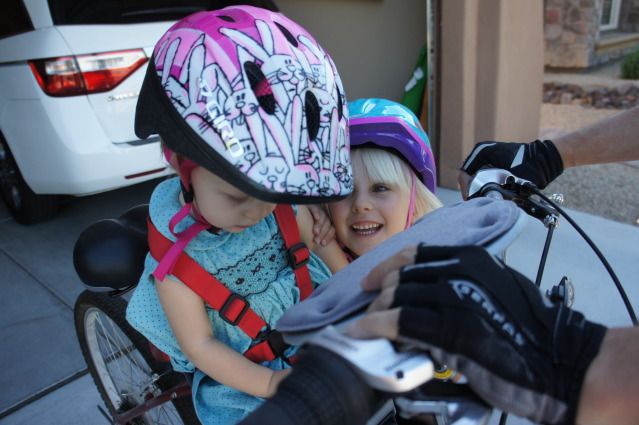
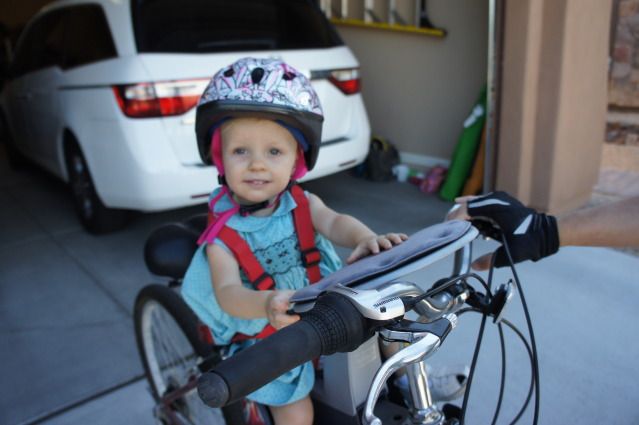
It's starting to look like bike-riding weather here in Arizona.  So we pulled my bike from the way back of the garage, dusted it off, pumped up the tires and strapped the baby in.  Yes, baby-girl comes along with me thanks to the WeeRide Kangaroo bike seat.

Baby-girl wasn't too sure about the whole bike riding but once we started she had a great time.  I kept hearing her laugh as we rode along.  

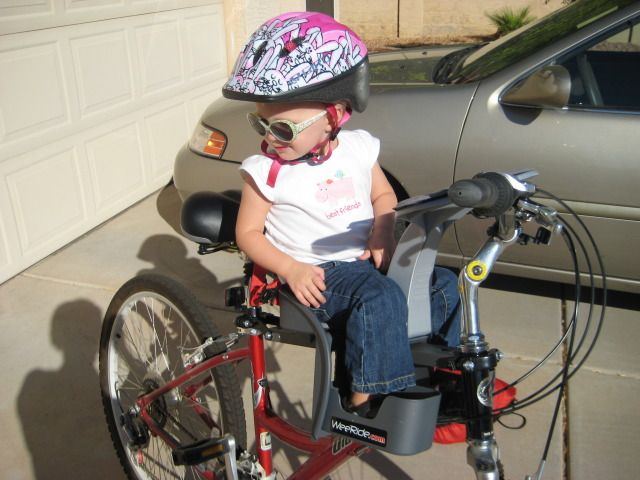
Here is big sister at the age of 2 in the WeeRide.  How cute is she?  Yes, my girls look a lot alike. :)

Big sister was a big fan of the bike seat and was sad when she outgrew it.

So now it's baby-girl's turn for a spin.  Here's a little smile.  What can I say, my wee babies love to ride.

Monday, October 15, 2012

Closet Organization - Master

Can we talk about organization a little bit?  I can't be the only one who enjoys looking at other people's closets.  You know, to see how they organize. ;)

Well, I am a bit of a organizing freak.  At least I was before I had my 2nd child.  Now I can hardly find the time or energy.  Fortunately I pretty much had my system set up before her arrival.  Now I just need to put everything in it's place.  I try to arrange my (and my husband's) clothes by type, season and color.  It's not a perfect rainbow but I try!


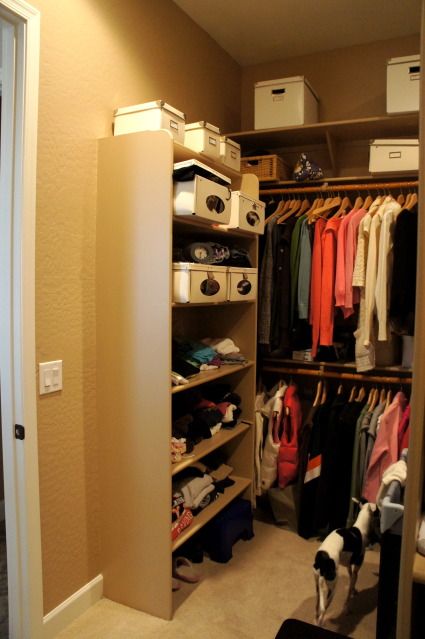
I will admit that my master closet is a bit on the large size. ;) This helps to keep it organized, but I also added boxes and baskets to find a home for everything.  I also need to get out of the way that yes, my baby's pack-n-play is STILL in my closet.  Yes, she still sleeps in there, but I am happy to say that it is only for naps and the early morning hours.  The rest of the time she sleeps in her big-girl-crib.  Progress.


Now back to the closet.  I also want to say that it is a bit messy.  I literally just went in there this afternoon and snapped a few photos.  I could have straightened it up a bit but who has the time?  I was borrowing baby-nap-time to take these photos as it is!


Here's what I've done:

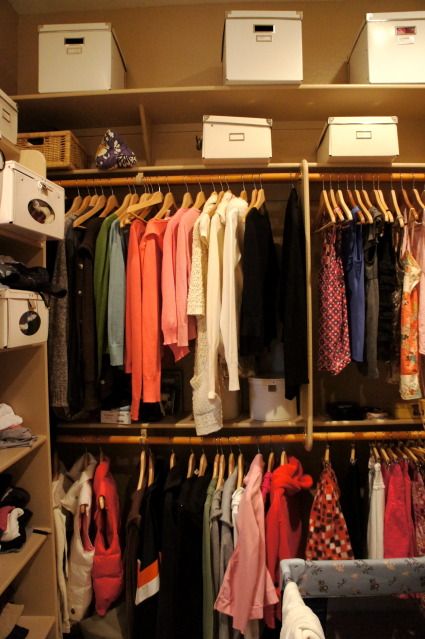
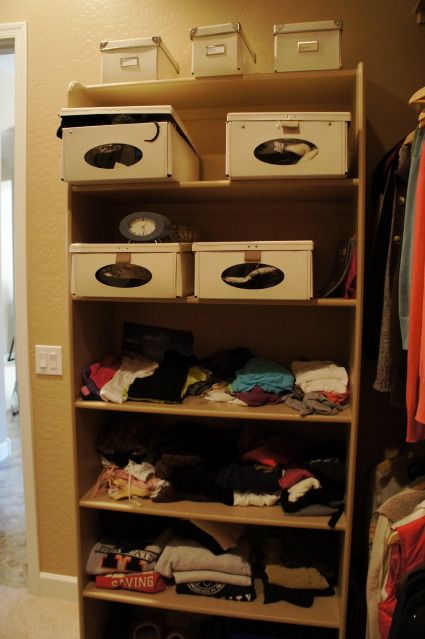
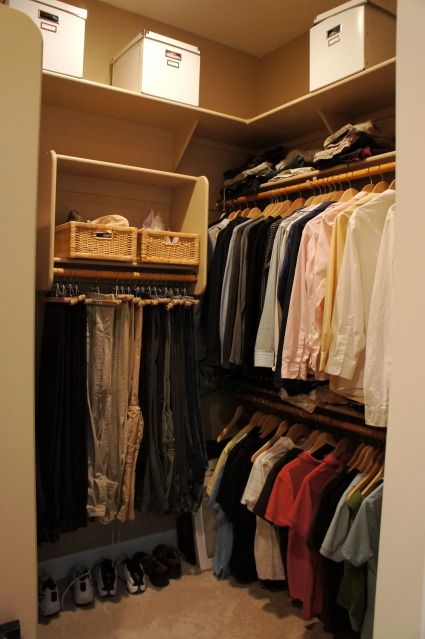
Except for the permanent wood shelves pretty much all of my organizing is thanks to IKEA products.  The baskets, boxes, shoe holders and even the hangers are IKEA.  The large boxes on the very top shelf hold off-season clothes.  The next shelf holds seldom used items like hats and hose (this is AZ, nylons are rarely used).

I highly recommend getting all matching hangers.  This is an easy and relatively inexpensive way to have a cohesive look in your closet.  And NO WIRE HANGERS.  Those things are horrible (looking), bad for your clothes (makes them misshapen) and can encourage overcrowding.  I prefer wooden hangers myself, but even all one color plastic are better than mismatched or wire.

The smallest boxes on top are more seldom used items (one is a sewing stuff box) and all have labels on them to remind me what's inside.  The next two shelves hold things like scarves/hats and not often worn t-shirts.  On the open shelves I fold (not very well sometimes as you can see) tank tops, t-shirts, pj pants, and sweatshirts.  As the seasons change I will move around what is on each shelf and trade some of them for items in the big off-season boxes.

In the middle I hang dresses and above them store purses.  I am not a huge purse kind of a gal so I don't have too many to store.  The seldom used bags (evening bags) are in one of the white boxes.

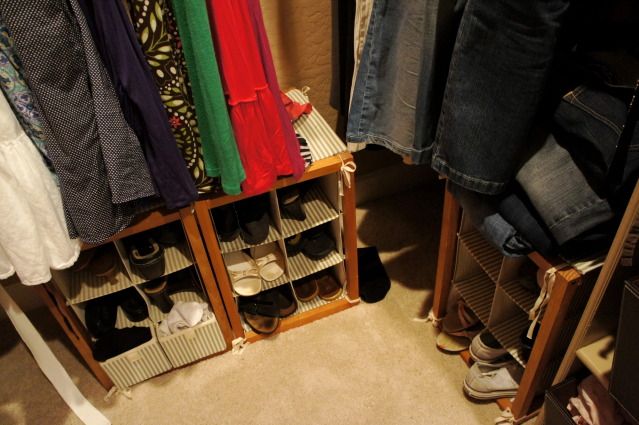
Below my dresses I keep shoe racks.  These are IKEA also and I've had them for some time.  They are a fabric/wood combo and I love them!  I have two fabric drawers, one for white socks and the other for colors.  My girls love hiding in the space between the shoe racks. ;)  You can also see that I use the area on top of the racks for extra storage.  I'd like to take the time to organize those better and use the boxes above, but I haven't gotten around to it recently so they're stacked instead.  Mostly hidden though, so not too bad.

I use baskets to hold my unmentionables and swimsuits.  It's hard to tell but below those I have two dark brown (leather) larger open boxes.  One box holds gym clothes for easy access.  The other hold pj tops and short bottoms.  In the shelf above those boxes I have shorts (sort-of) folded.  I will trade those out (hopefully) soon for winter pants.  The white box holds bags and I have larger bags (carry-on type) on the shelf next to it.  Suitcases are also in the closet btw, they are hiding under my husbands hanging pants.

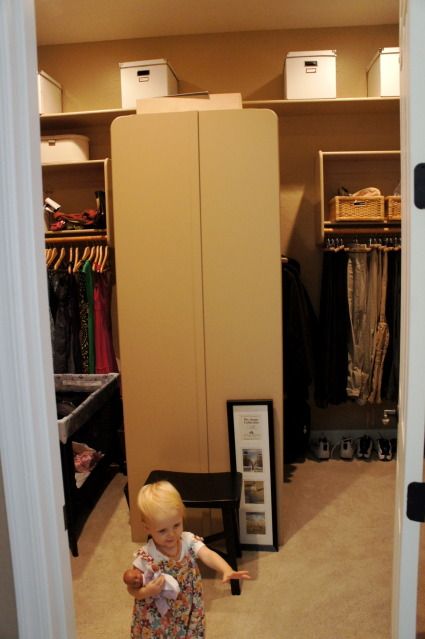
Yes, my husband has clothes in the closet too.  He has the other half, and although it is smaller than mine he still doesn't fill it all up.  So I am using some of his space too. ;)  Note the stool behind my daughter.  Having somewhere to sit while getting dressed (or feeding your baby in the middle of the night) is helpful.  That open space above it would be great to hang a mirror but we haven't gotten around to that yet.

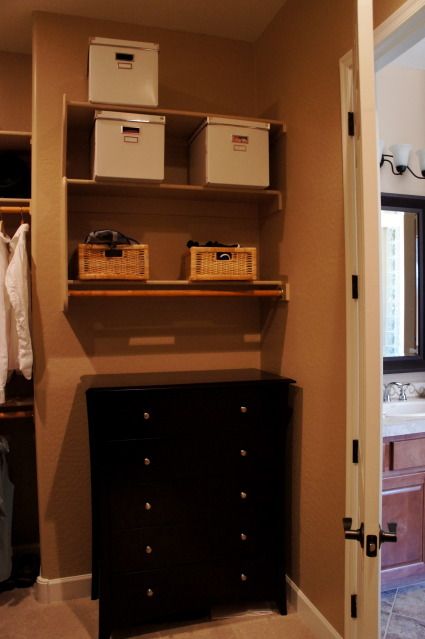
The boxes on the top shelf of this side hold my daughter's outgrown clothes (saving for baby).  They have labels with the sizes inside.

We had extra space behind the door since my husband didn't need the hanging space.  We put a dresser there instead.  This way we don't have to use any of the bedroom space for clothing furniture.  Those white boxes hold more of my things of course, but hey it looks more balanced this way. :)

So there you go, you saw my closet.  What do you think?  I've got more closets and organizing to show you another day if there is any interest. 

Saturday, October 13, 2012

Sugar Cookie Bars Recipe

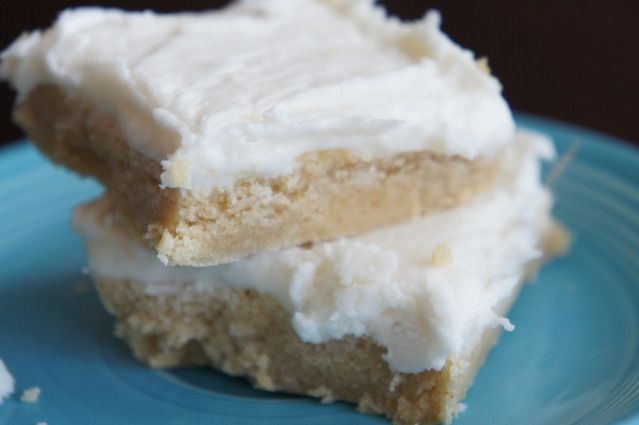
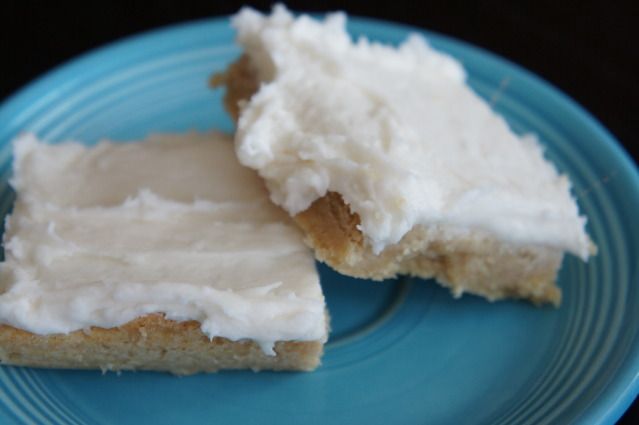
Pinterest is a dangerous place.  First I found a quick fudge recipe and now this.  I saw photos of these cookies and had to have them.  Fortunately (or unfortunately, depending on how you look at it) this recipe was so easy I could make it while making dinner.  That's right, I made dinner and dessert at the same time.  I am a miracle worker I tell you. ;)  The cookies were easy since I didn't have to take the time to roll them out and make shapes.

I recommend that you make these cookies when you have people to share them with.  Under no circumstances should you make them when your significant other is out of town or on a diet.  Trust me.  Give some away.  Your hips and rear will thank me later.


Sugar Cookie Bars
Cookie Ingredients: 
 2-1/2 cups flour (I used wheat flour from our CSA)
1/2 tsp. baking powder
1/2 tsp. salt
1/2 cup butter, softened
1 cup granulated sugar
1 egg
1-1/2 Tbsp. sour cream
1 tsp. vanilla extract

Directions:
1. Preheat oven to 375 degrees and grease a 9x13 inch baking dish.  I used a glass dish and greased it with a little coconut oil.
2. In a medium bowl combine flour, baking powder and salt.  Set aside.
3. In a large bowl (I used my kitchenaid mixer) cream together butter and sugar until light and fluffy, about 3 minutes.  Add egg and combine well.  Add the sour cream and vanilla and mix until completely blended.
4. Slowly add the flour mixture and stir until well combined.
5. Gently press the cookie dough into the baking dish and spread out with hands.  Try hard not to eat the dough first.  Ha!
6. Bake 17-20 minutes, until edges become lightly golden.  Set aside to cool completely.

Frosting Ingredients: 
1/2 cup butter, softened
4 cups powdered sugar
1/4 cup half and half
1 tsp. vanilla
Pinch of salt

Directions: 
1. In a medium bowl, cream together butter, powdered sugar, and half and half until light and fluffy. Stir in vanilla and salt, combine well.
2. Frost your (completely) cooled cookie bars. Cut into squares and serve.

I found that the cookies were even better the 2nd day.  I will warn you again that they are difficult to stay away from.  I may have had 4 (or 5) last night.