HomeVintage Fisher PriceMy Etsy ShopCategoriesAbout

Friday, December 7, 2012

Fisher Price Friday - Fire Station

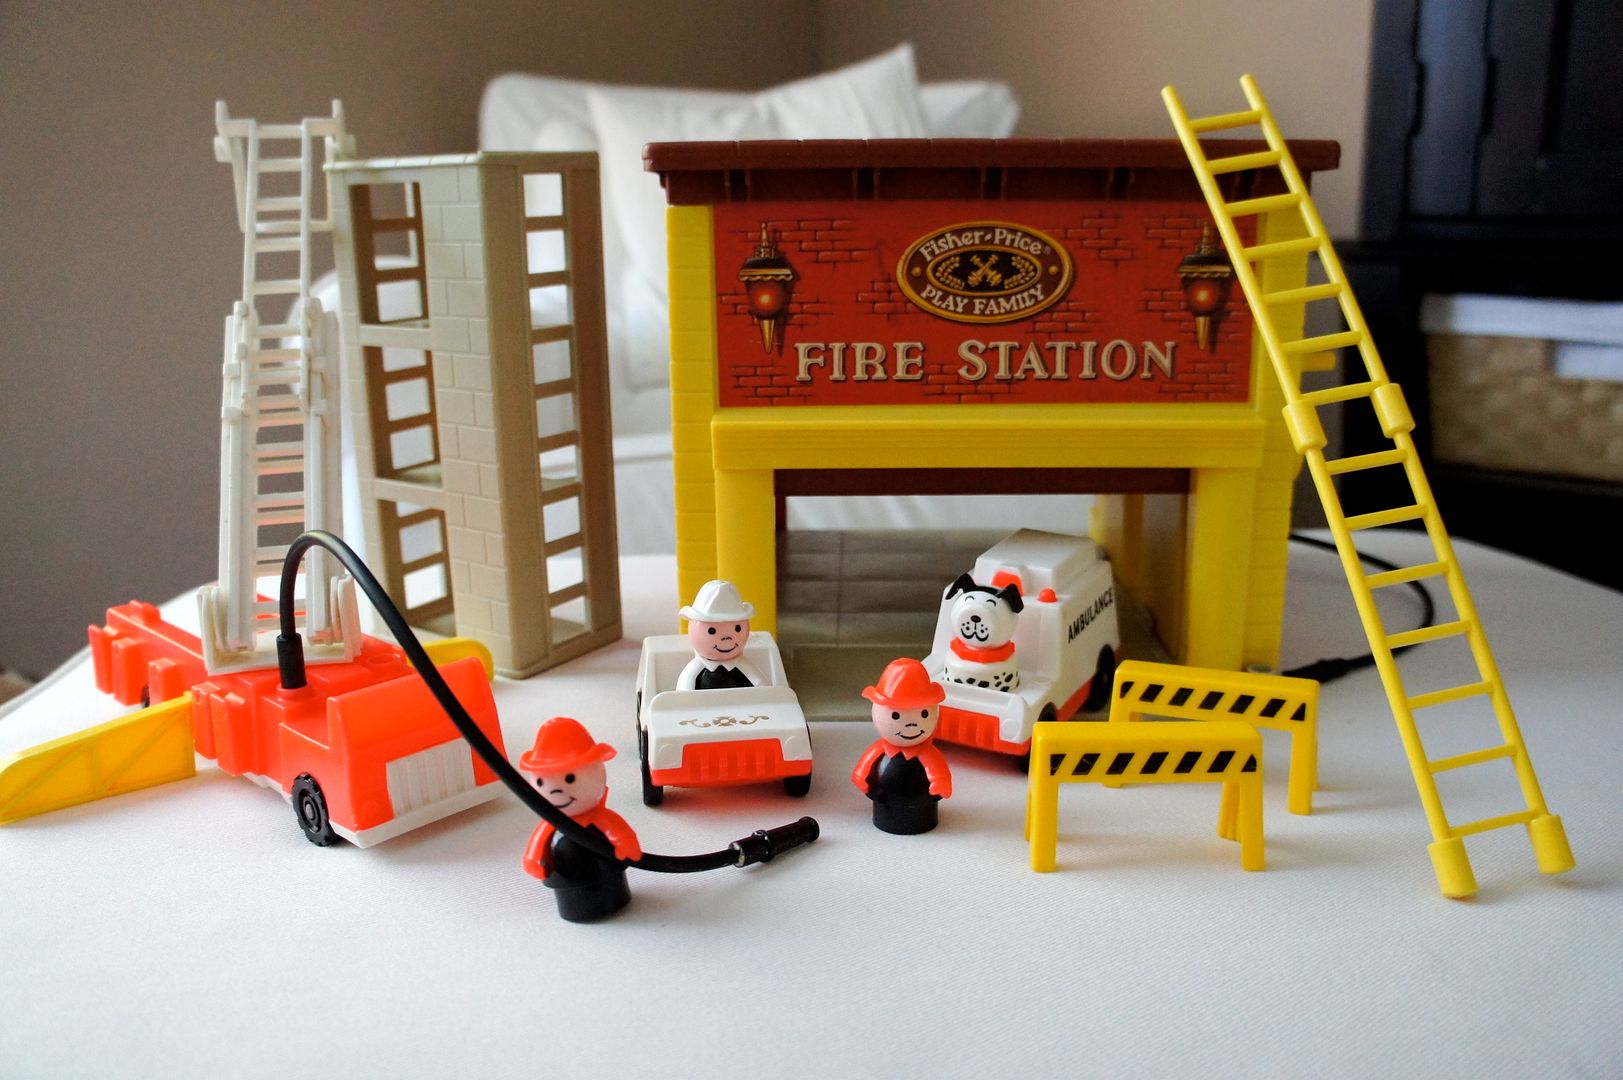
Today I'd love to introduce you to the Play Family Fire Station #928.  This play set was made from 1980-1982 and was the first Fire Station for the classic little people toys even though there had been fire trucks for many years.  The Fire Station came with many accessories that are very hard to find.  The hardest arguably being the two black fire hoses that connect to the fire truck and the fire station.  I originally bought my fire station as a place to store our smaller fire trucks, but then got caught up in making a complete set, which I now have!


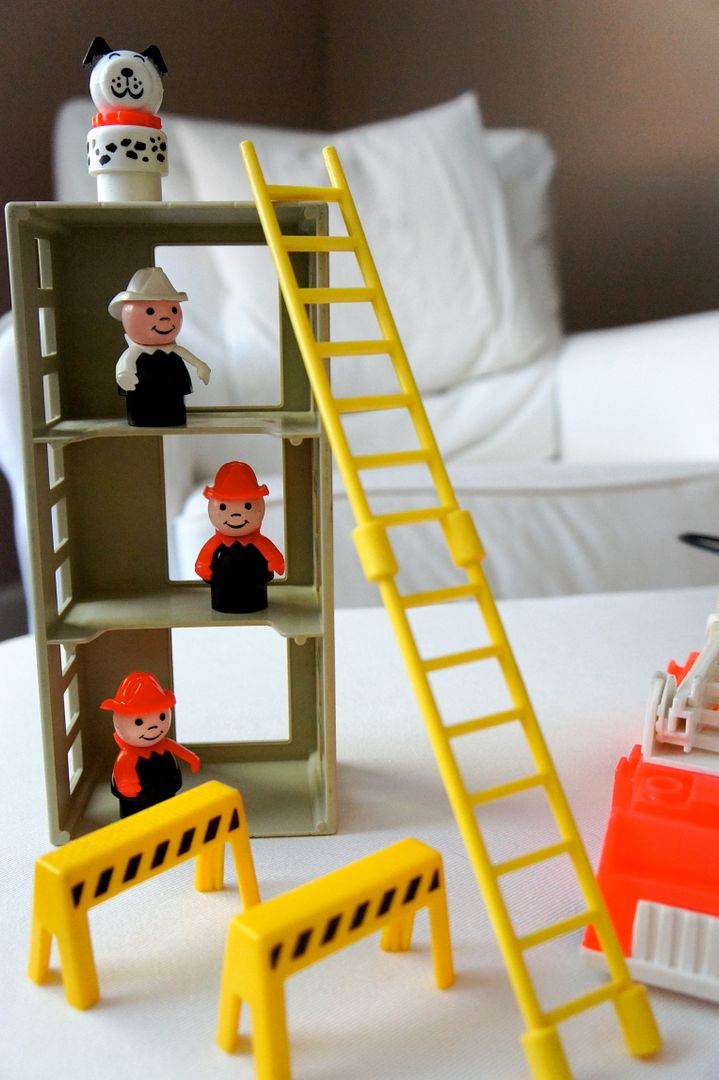
The set came with a grey practice tower, two yellow ladders (that connect together as shown) and two yellow road barricades.  The barricades were used in other Fisher Price sets including the 2352 Little Construction Set as well as 2 Adventure People sets.
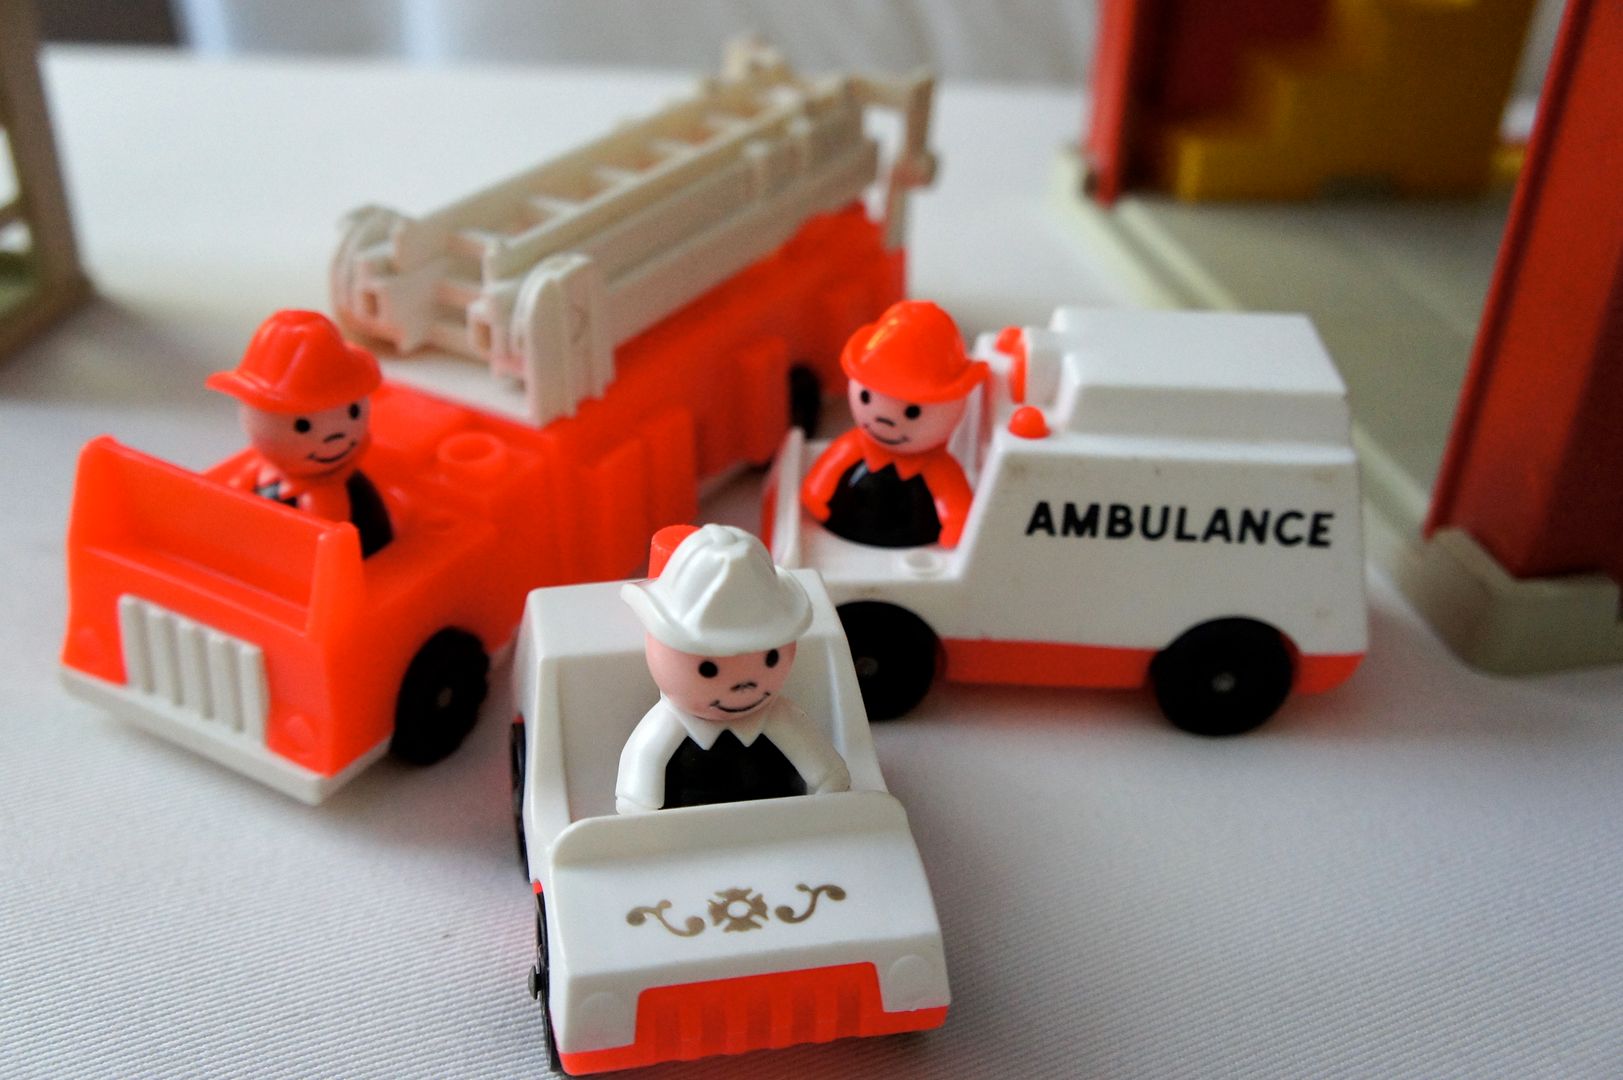

The Fire Station came with three vehicles.  The fire truck, ambulance and fire chief car.  The fire chief car was only made for this set.  It is the same shape as the regular police car but is white and red and has gold scrolls on the front and sides.  
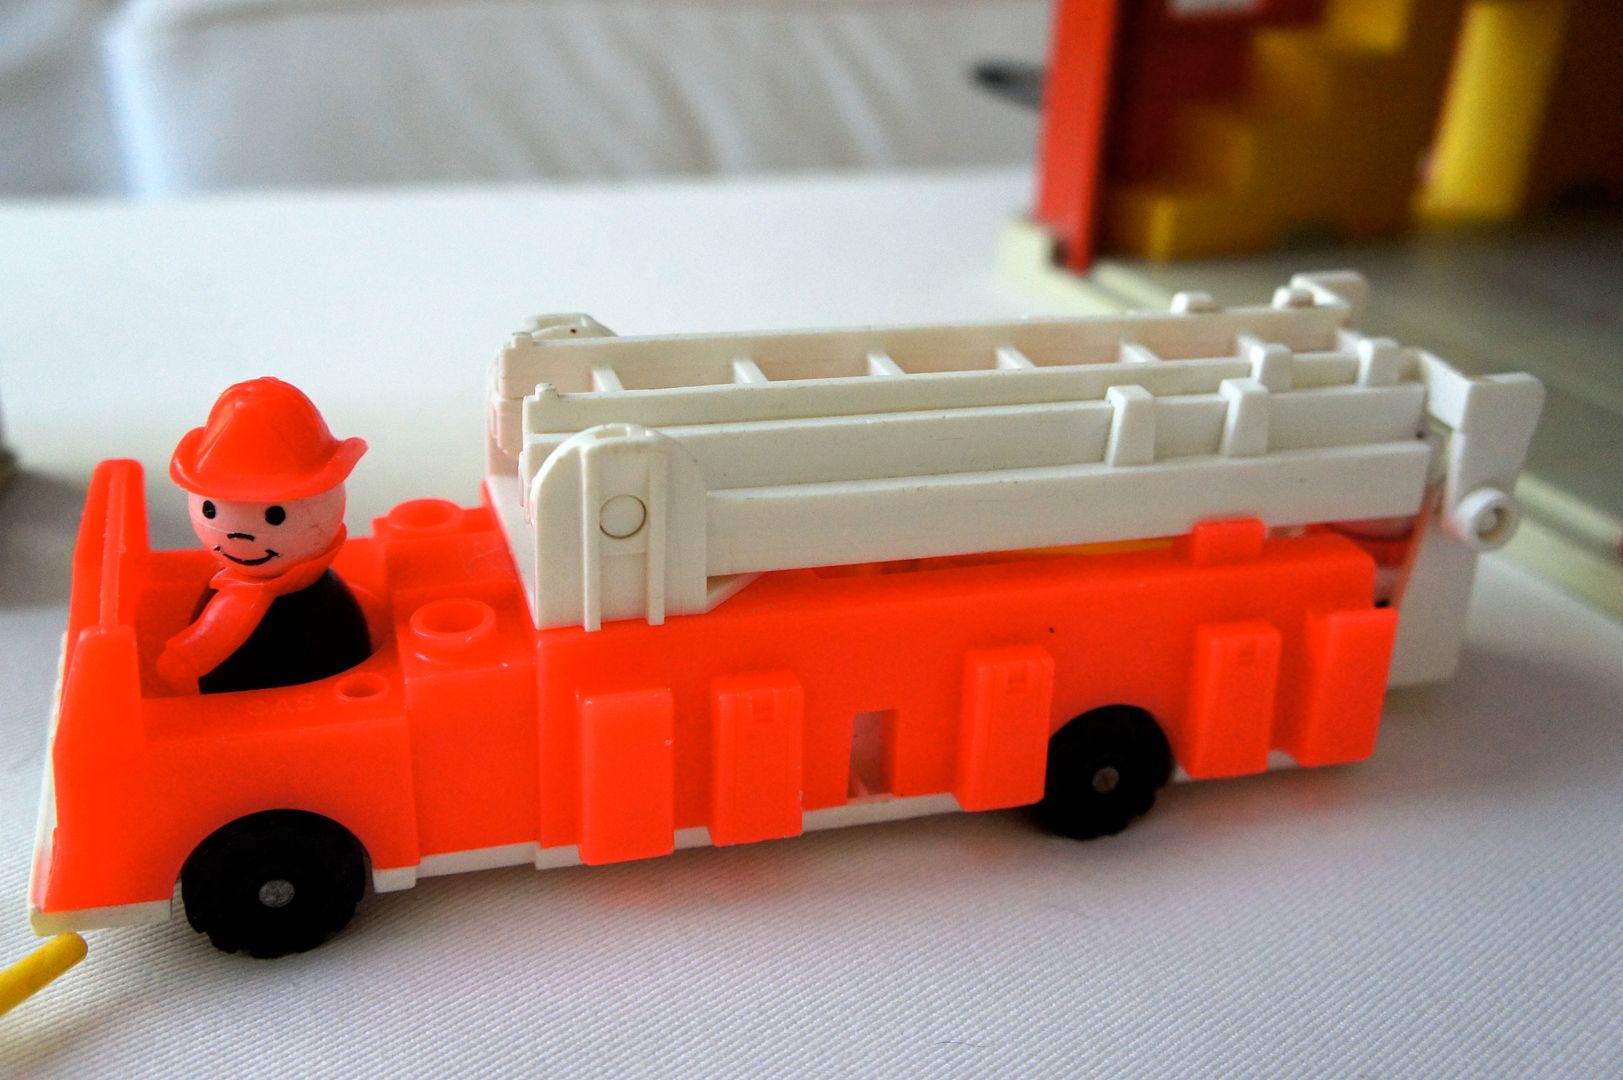
The fire truck was originally made for this set.  There were many variations to the truck including having side designs in white, silver or gold  After the fire station was discontinued it was reintroduced in 1983 in the #346 Fire Engine Rig set with some slight variations (the firemen had silver hats). The fire truck has three connected parts for the white ladder; the base, extension and bucket.
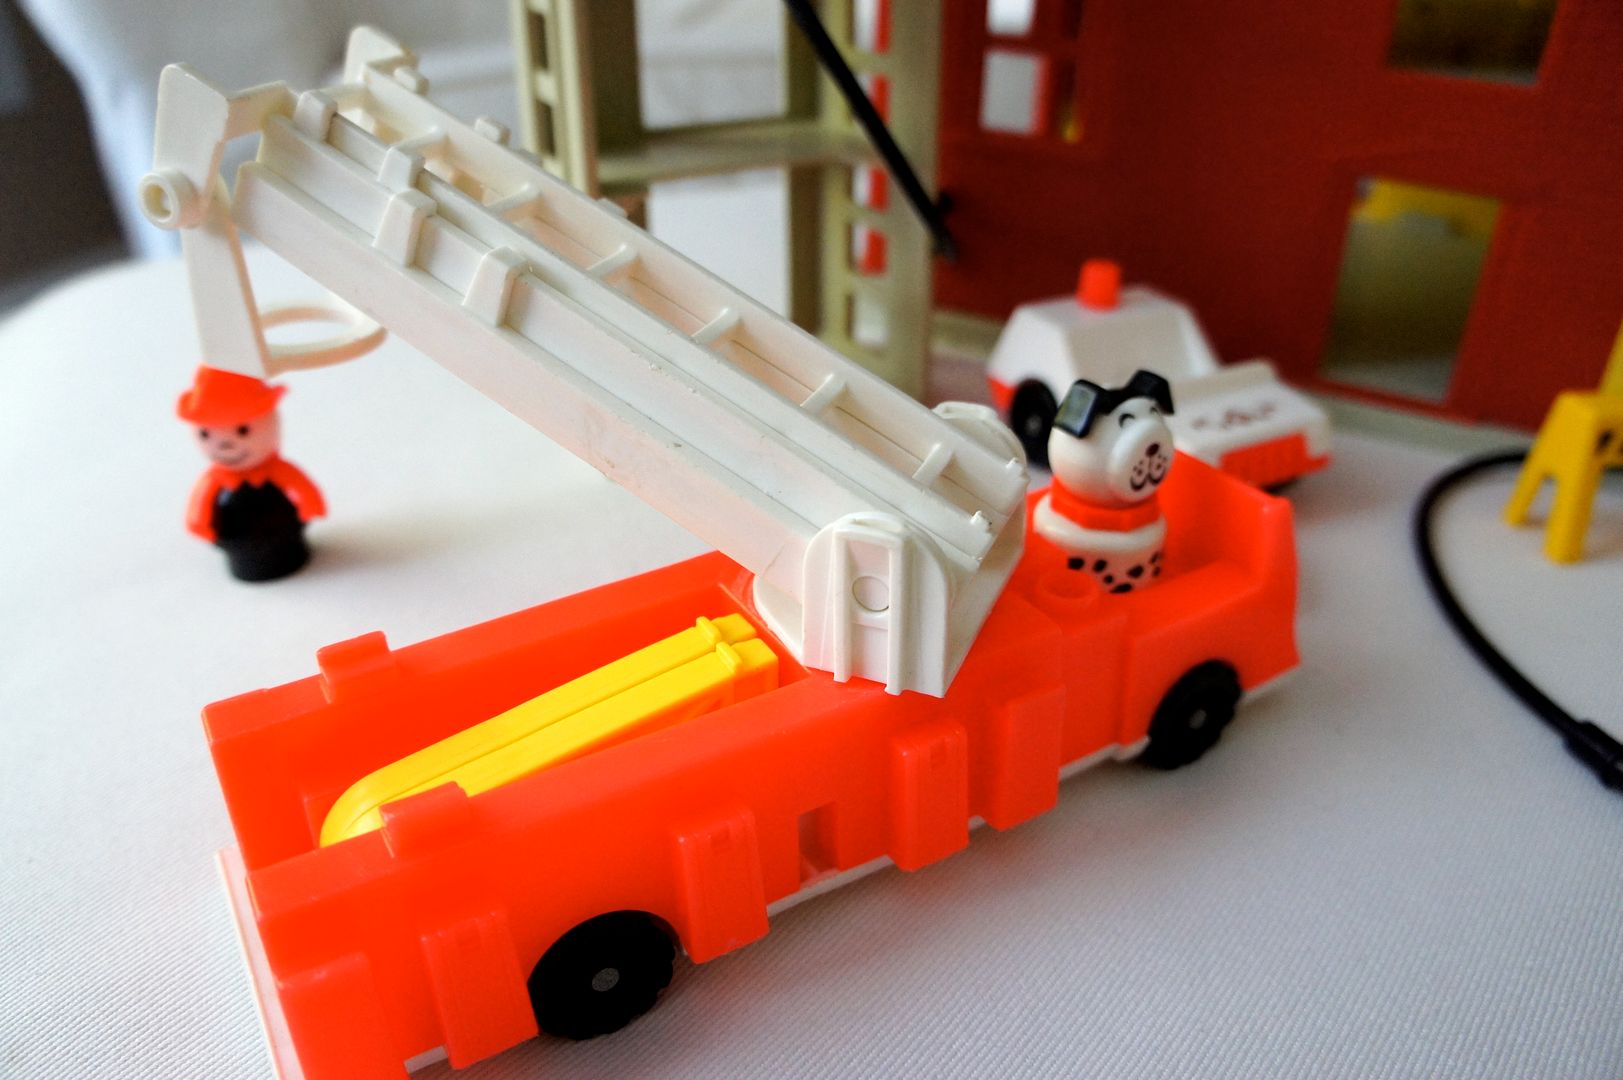
The fire truck came with two yellow stabilizers.  They store inside the truck under the ladder (as shown) when not used, and put in the notches on the side of the truck (to provide stability) during play.  These stabilizers are a bit tricky for little hands and are also one of the hardest accessory pieces to find. 
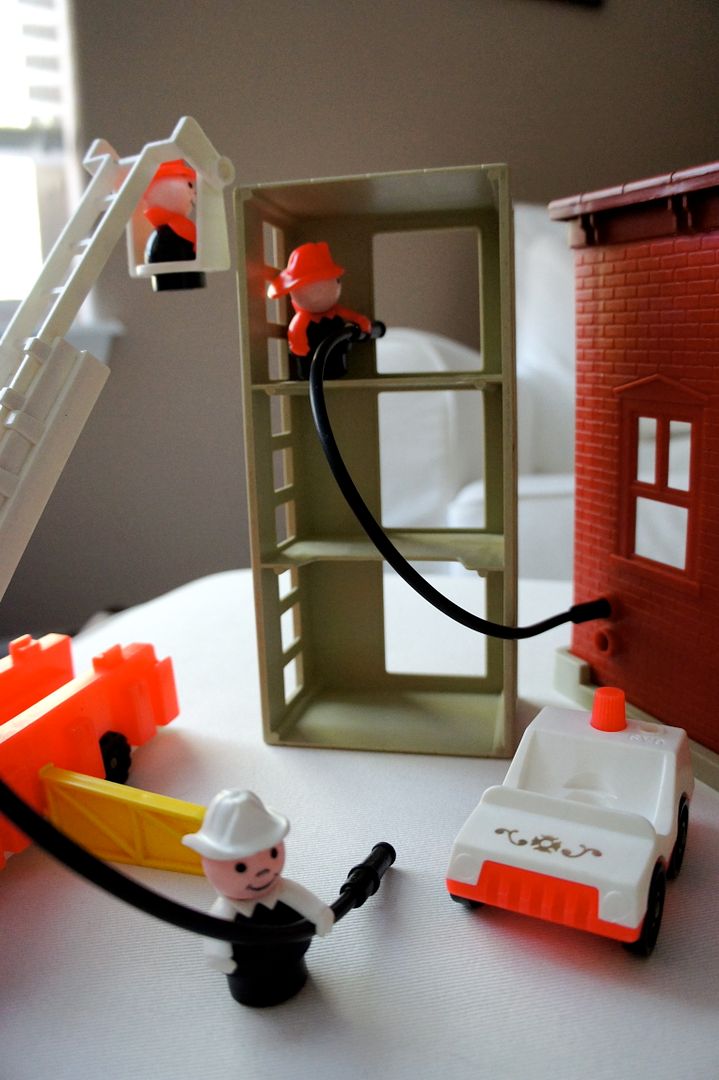
Here you can see the firemen at work.  The stabilizers are on the truck in this picture and the hoses are connected to the truck and the fire station.  You can also see how the firemen are able to hold the hoses with their arms.  The firemen are the only Little People that have arms (and hands).
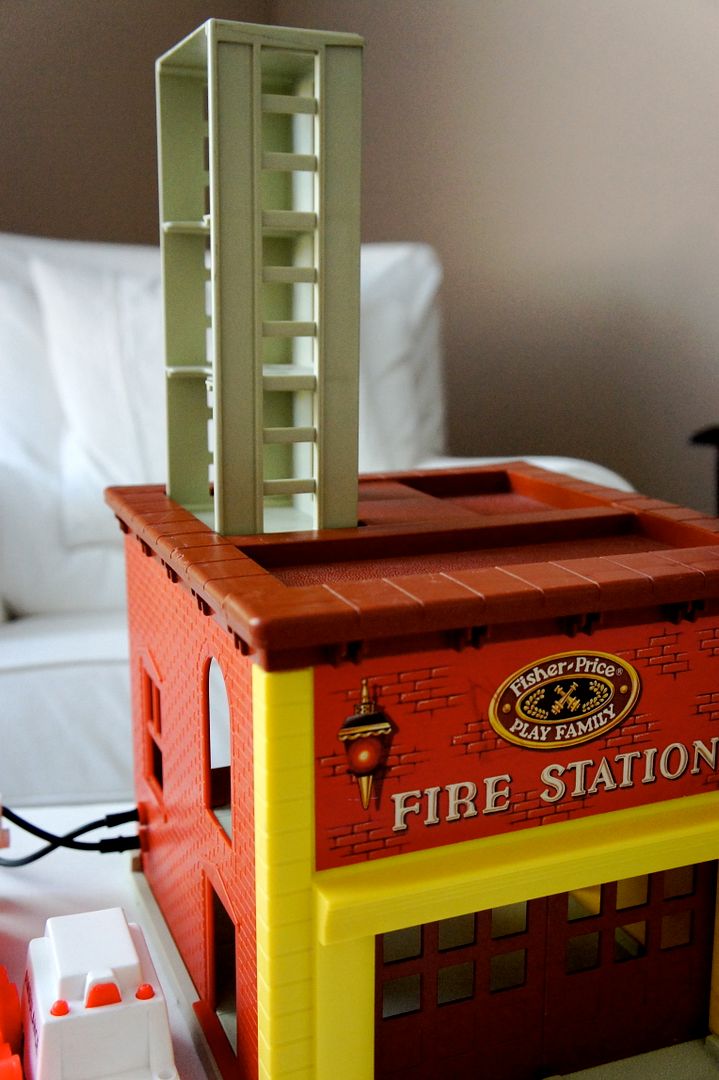
The practice tower fits in the top of the fire station.
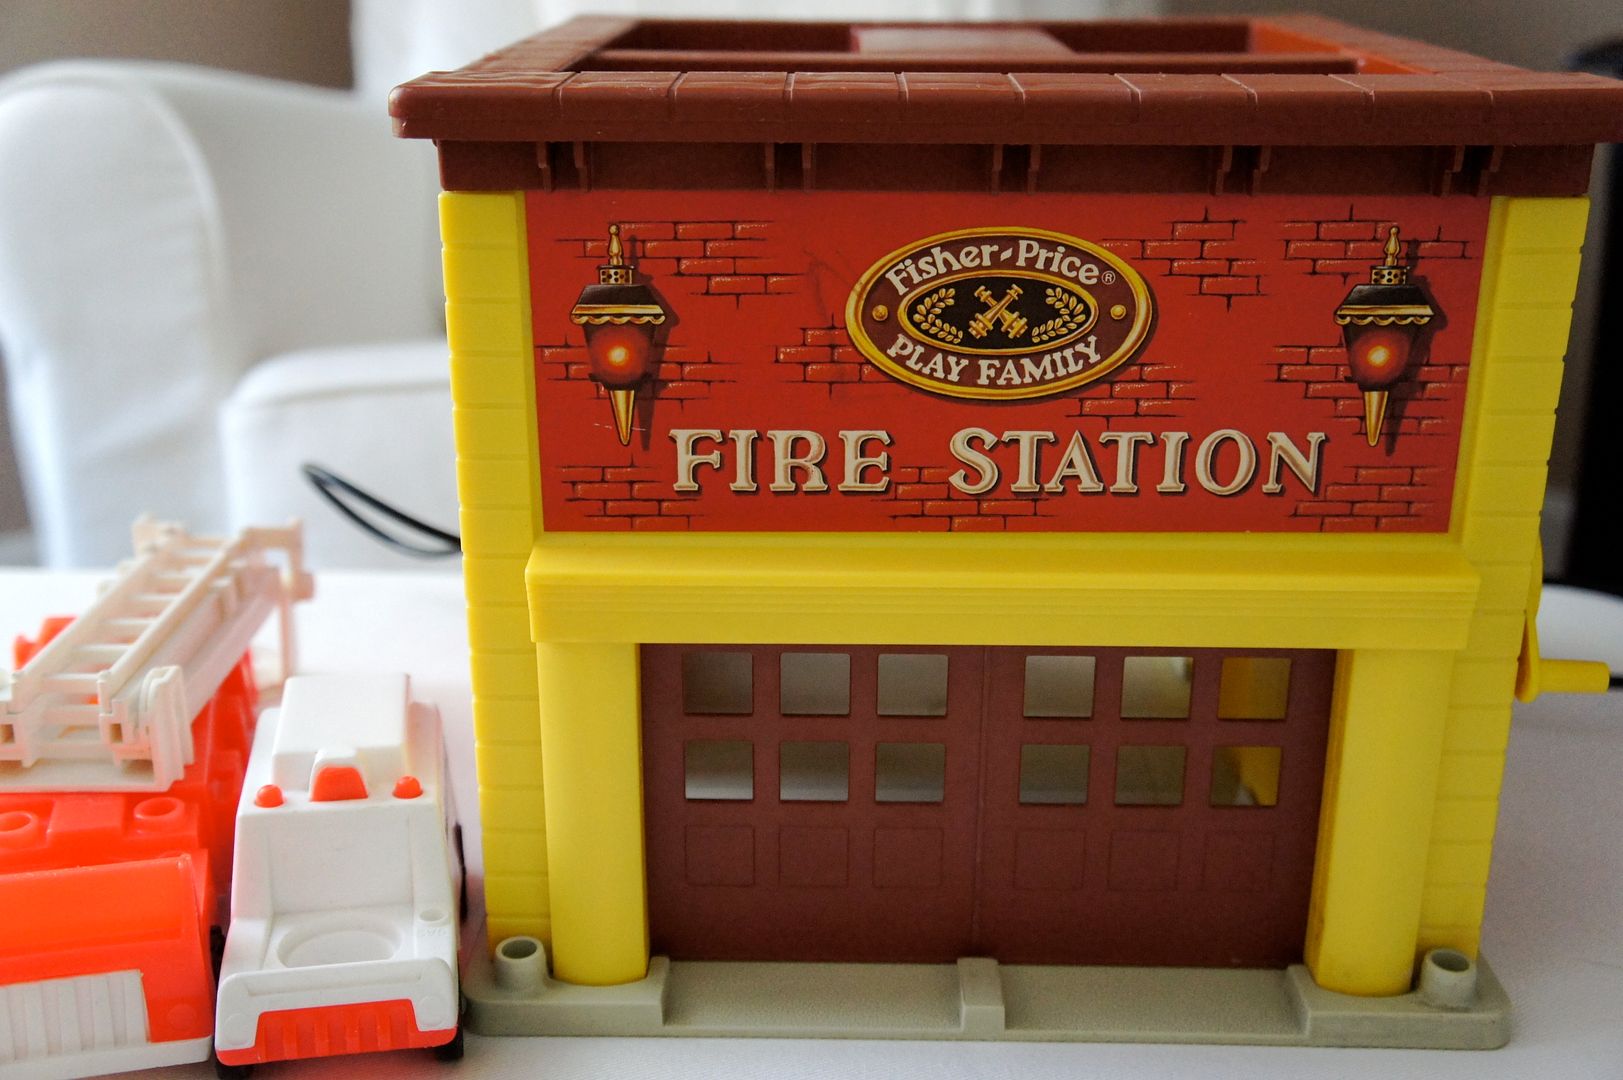
The fire station base has many fun features.  The brown main door has cut out windows and goes up and down when you use the hand crank on the side.  While the door is going up or down it makes the bell ring.  There is a big lithograph of red brick and lights as well as the words Fire Station.
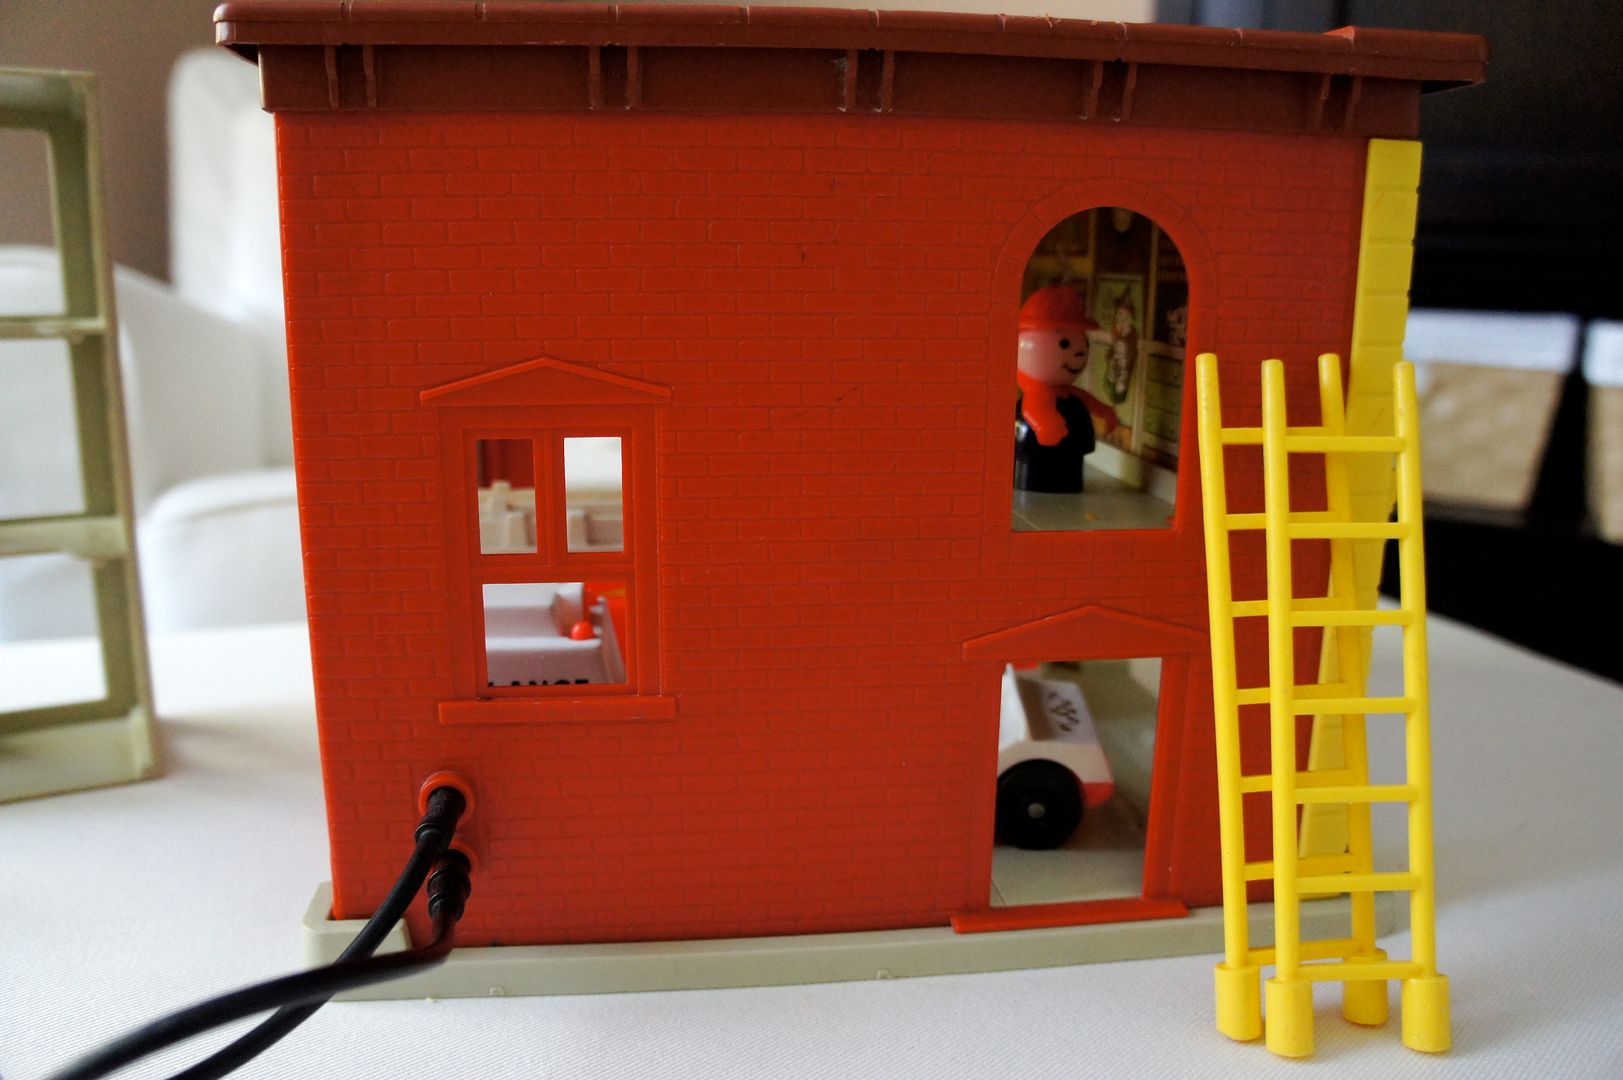
The left side of the station has two doors and one window.  The plastic is in the shape of bricks.  There are two holes for the hoses to connect too.
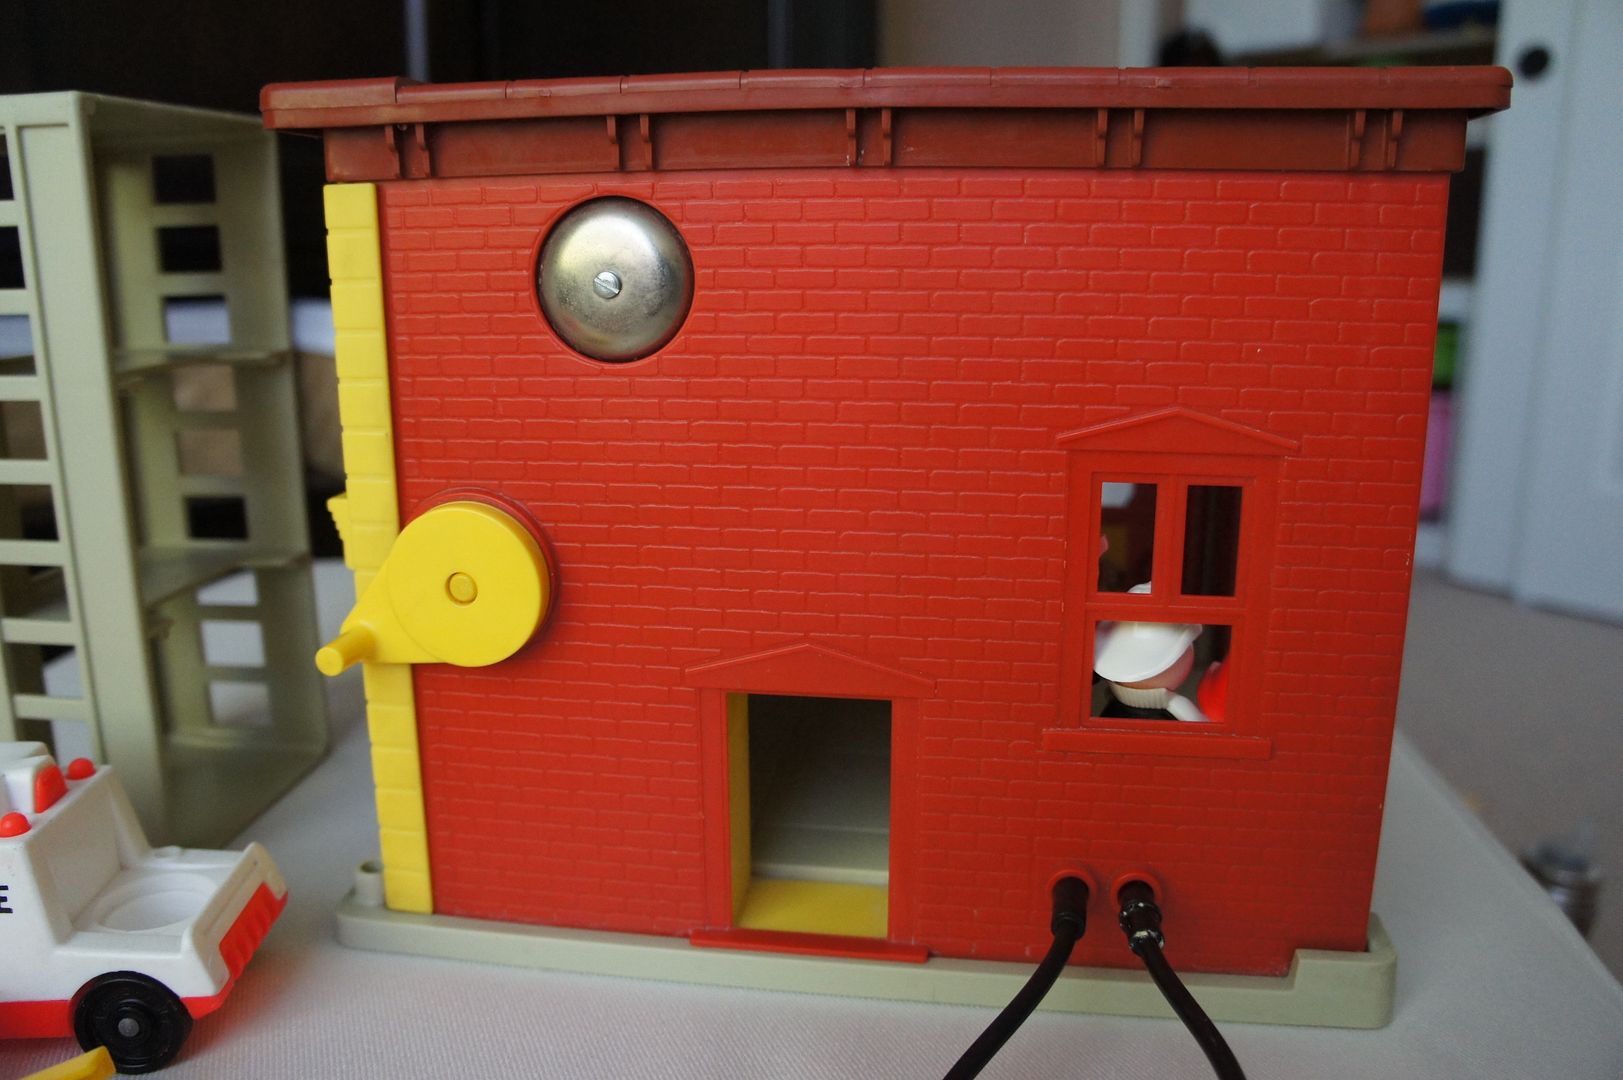
The right side of the station has a door and a window and two more holes for the fire hoses (but they're side by side here).  The yellow crank for the door and the (noisy) bell are also seen.  
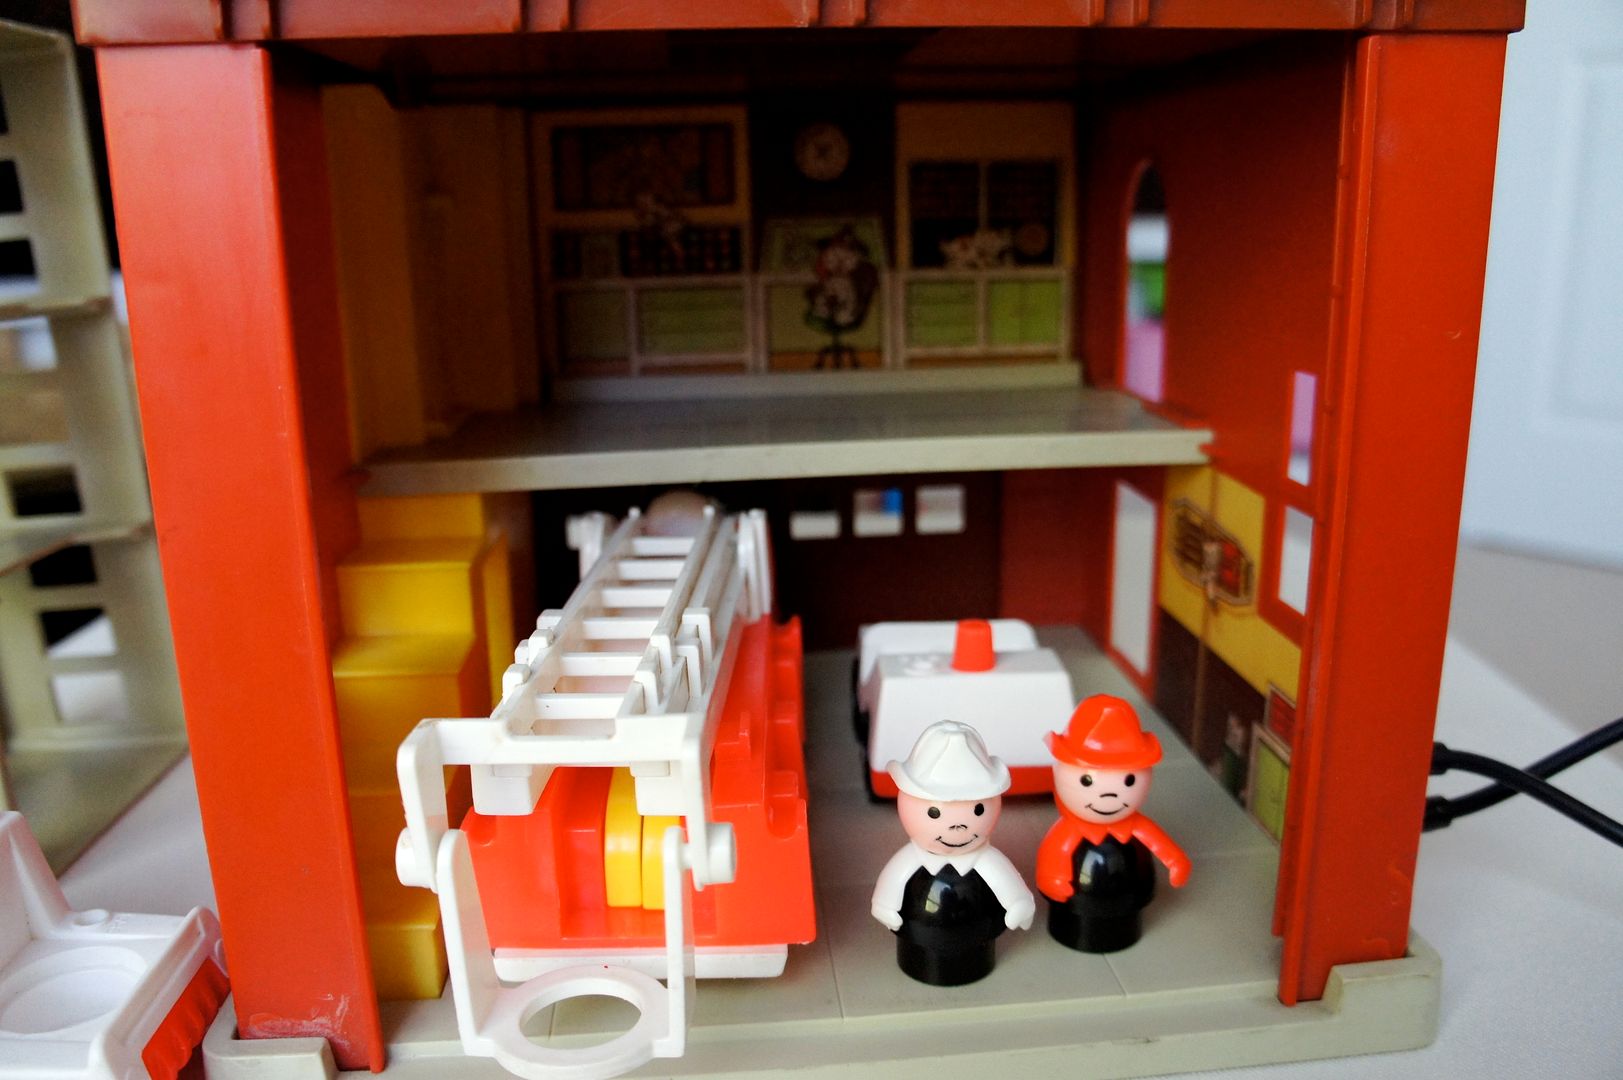
Inside the station there is a parking bay, stairs and an office space.
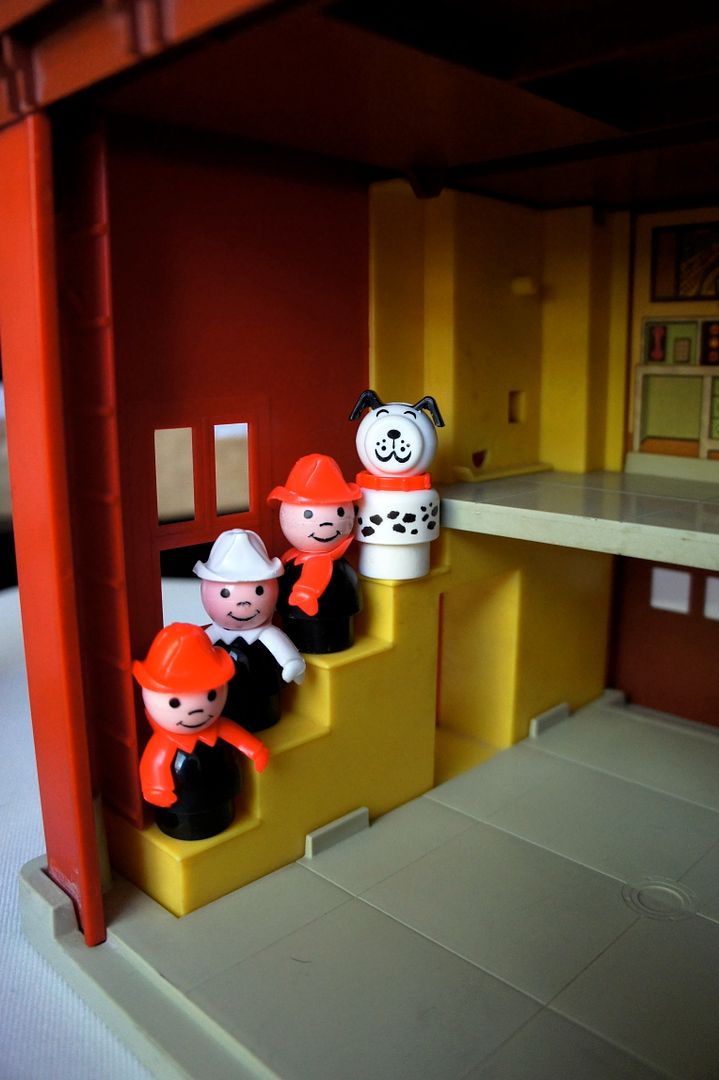
Three firemen and a dog came with the set.  Two with black bodies, red arms and red hats and one with a black body, white arms and a white hat (the fire chief).  They all had plastic heads and bodies.  The dalmatian could also have a yellow collar, although the red one was more common.  The dalmatian only came with two sets, the fire station and the #2361 Fire Truck (although the yellow collared dog was only made for the Fire Station). 
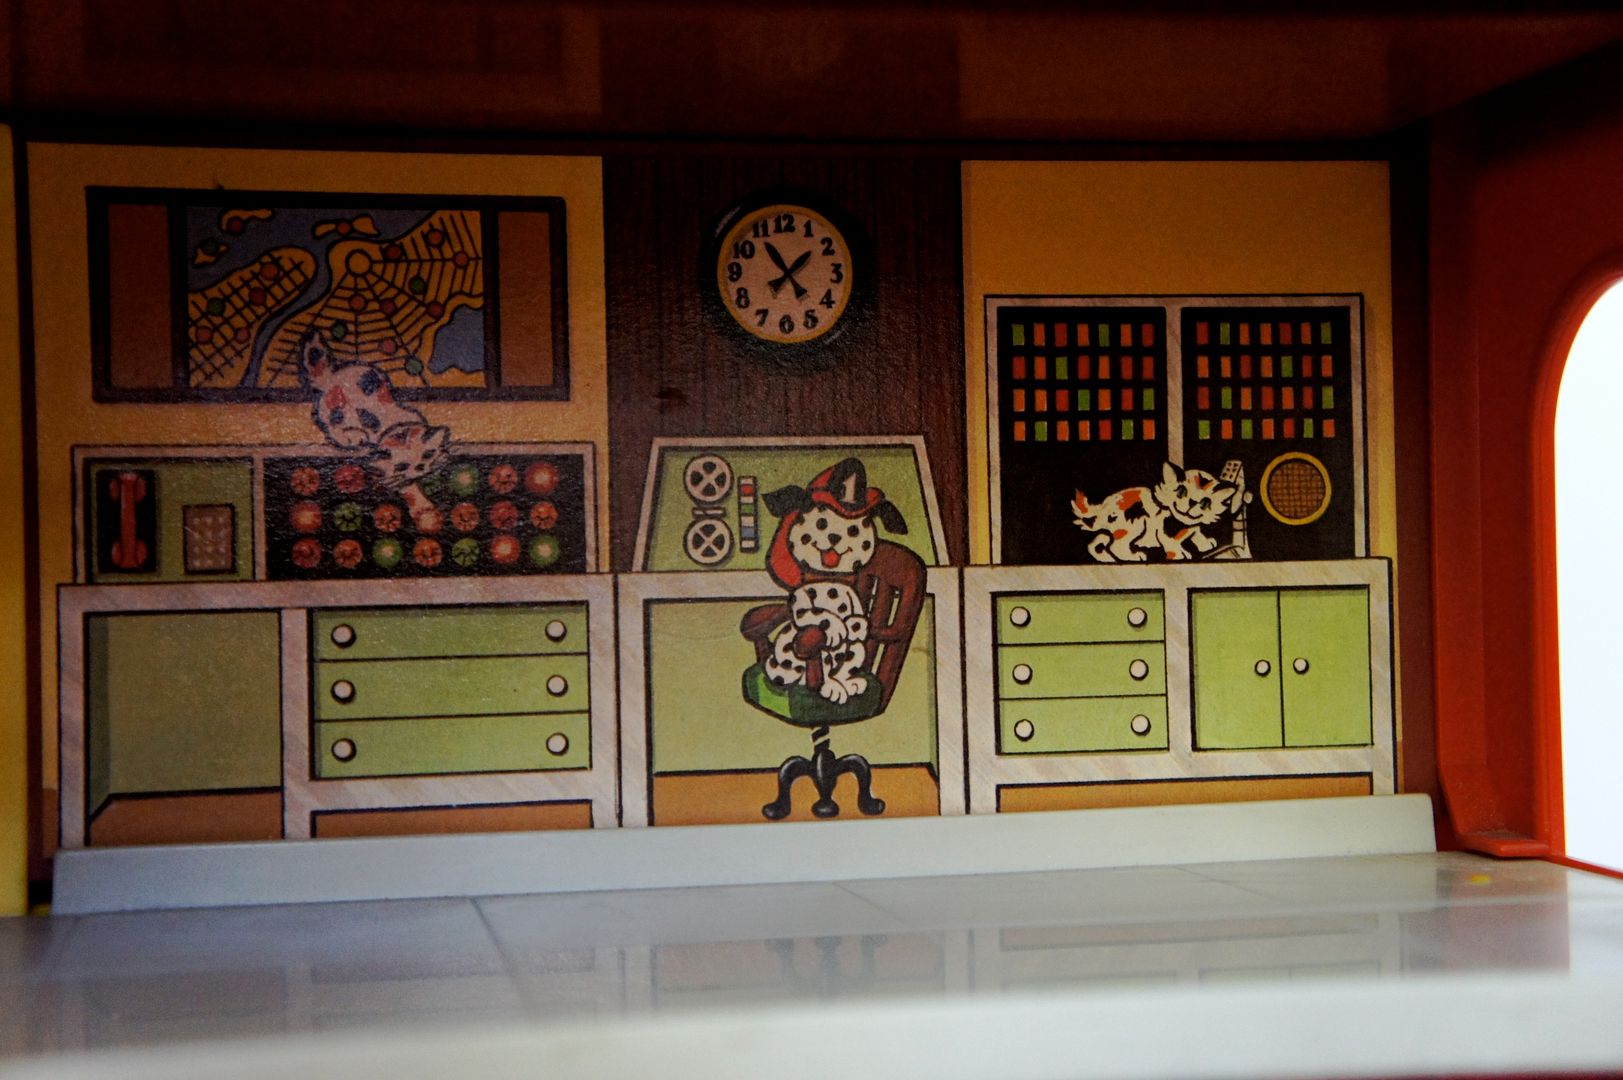
The upstairs of the fire station has the work center complete with a dog wearing a fire hat and two cats.
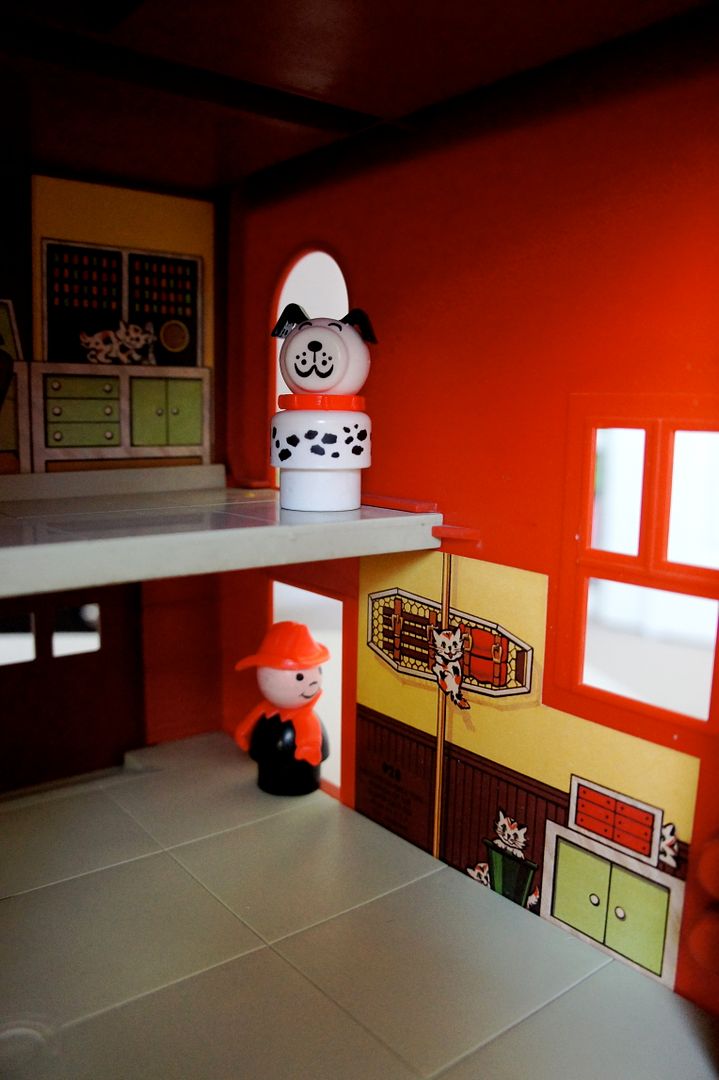
The side of the station has a lithograph of a fire pole, garbage can, stretcher and 4 more cats.  This set has the most cats pictured, which is especially amusing to me considering there are no original FPLP cat figures.  Someone must have liked cats though!
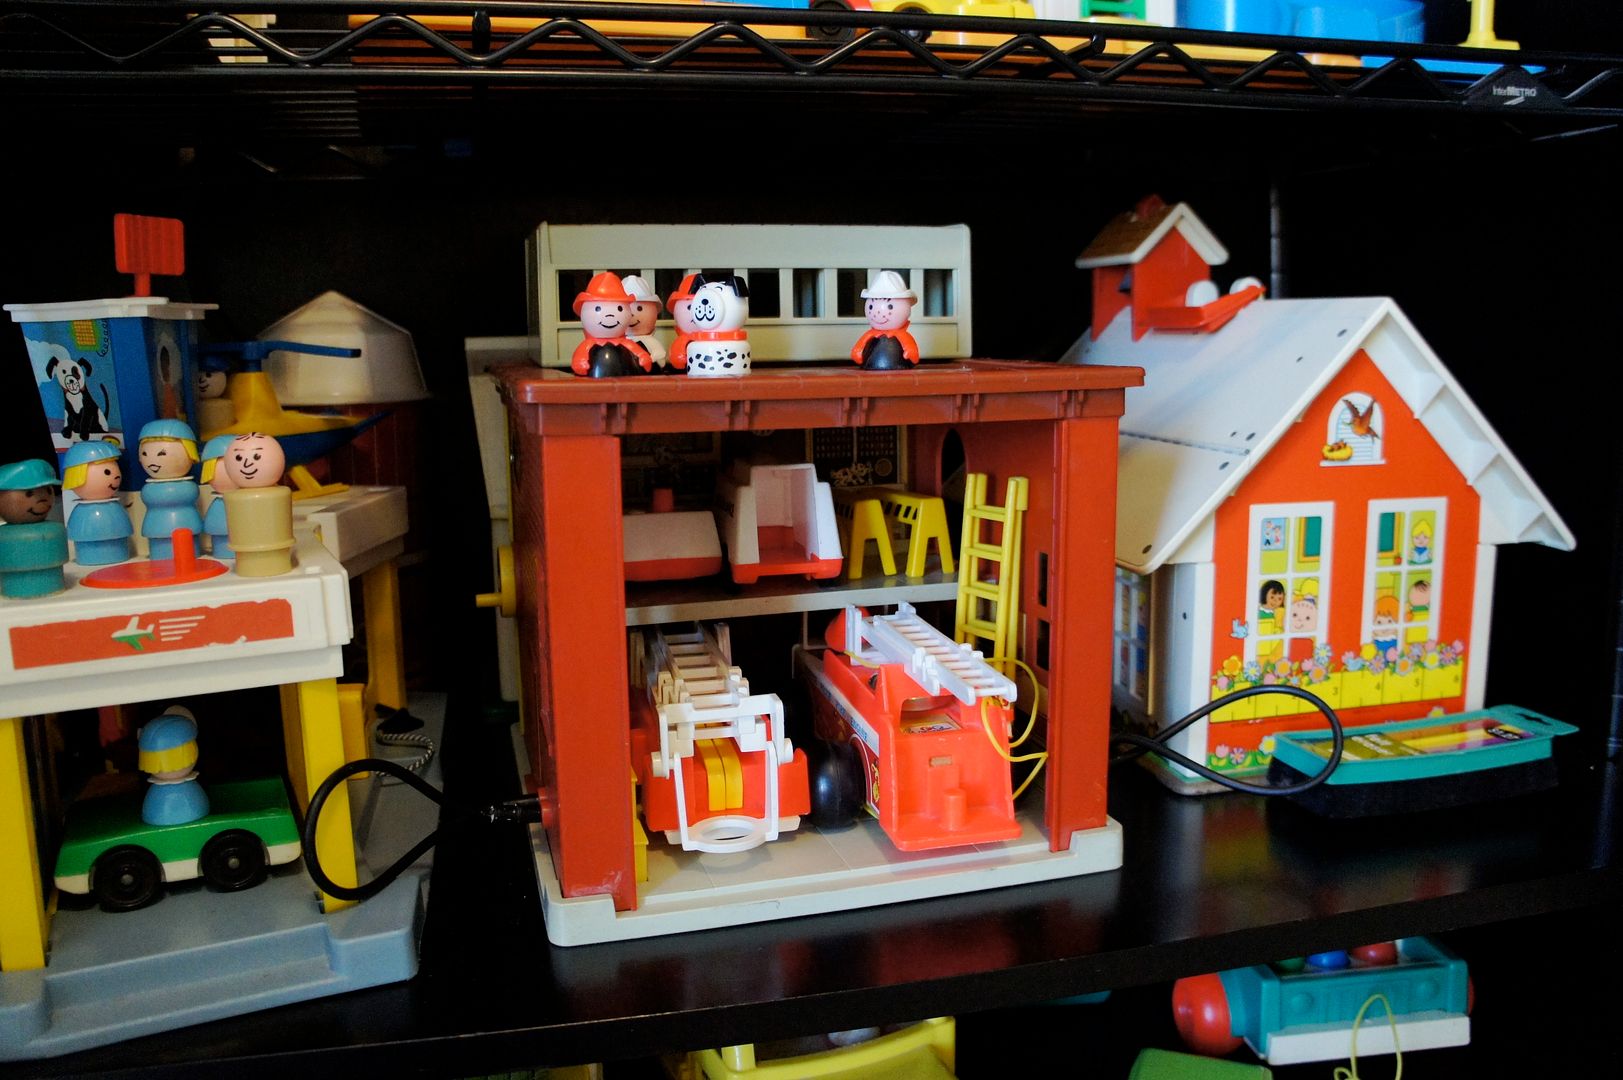
This is how I store our Fire Station.  I park another little fire truck in there, the #720 Play Family Fire Engine.

For more entries on Fire Trucks go here.

Wednesday, December 5, 2012

Wordless Wednesday - Puppy Growing

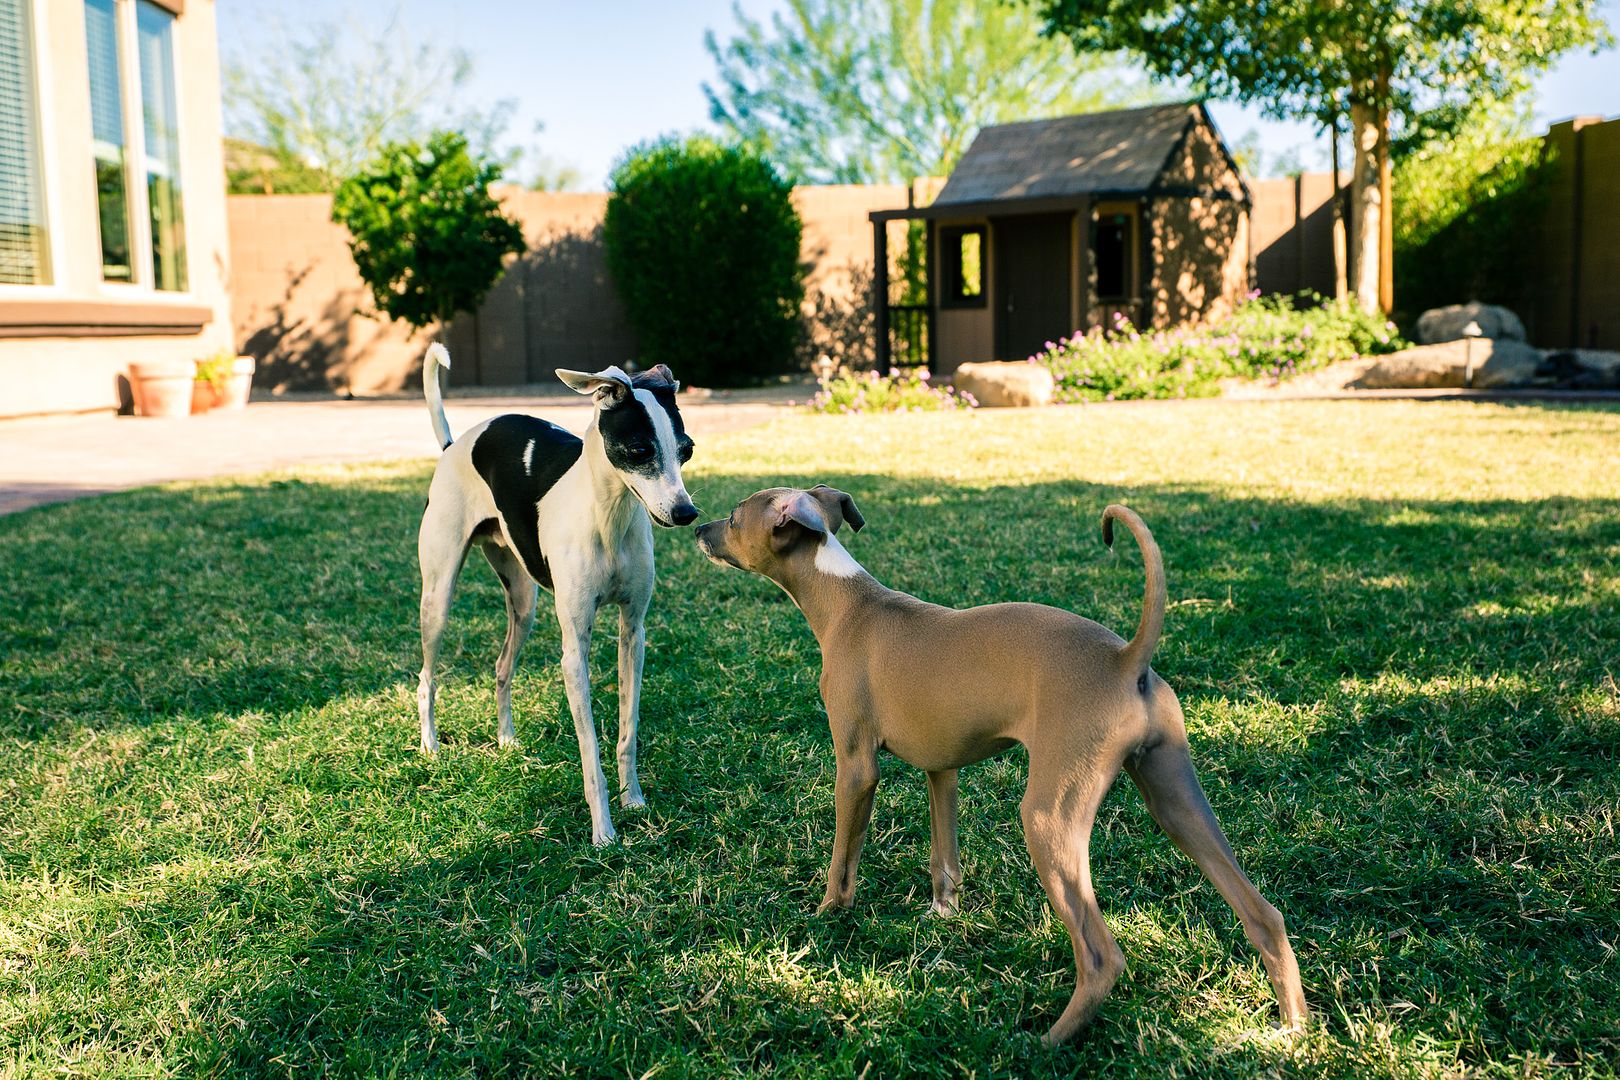
This little puppy that we got back in September is not so little anymore.

At 4 months she's a huge 9 lbs!  

It won't be long before she's bigger than her brother.

Tuesday, December 4, 2012

Swiss Chard with Onions Recipe

It's swiss chard season in the CSA again.  Many swiss chard recipes include adding vinegar in the cooking process and my family does not really enjoy vinegar.  So I was on the hunt for something different.  This recipe from epicurious looked promising and there is no vinegar but instead oil and butter.  The original recipe was for more chard (3 lbs) but I only had one bunch so I adjusted everything down.  This recipe should feed about 3-4 people as a side dish.


This photo doesn't do the recipe justice as it was taken the next day in the leftover container.  You'll have to take my word on this one.

Swiss Chard with Onions 
Ingredients
1 pound green Swiss chard (about 1 large bunch)
1 tablespoon olive oil
1 tablespoon butter
1 medium onion, halved lengthwise and thinly sliced
2 garlic cloves, finely chopped
Salt/Pepper

Directions
Cut stems and center ribs from chard, discarding any tough portions, then cut stems and ribs crosswise into 2-inch pieces. Stack chard leaves and roll up lengthwise into cylinders. Cut cylinders crosswise to make 1-inch-wide strips. Heat oil and butter in a large heavy pot over medium heat until foam subsides, then cook onions and garlic with 1/4 teaspoon salt and 1/8 teaspoon pepper, covered, stirring occasionally, until onions begin to soften, about 8 minutes. Add chard stems and ribs, 1/4 teaspoon salt, and 1/8 teaspoon pepper and cook, covered, stirring occasionally, until stems are just tender, about 10 minutes. Add chard leaves stirring until wilted and cook, covered, stirring occasionally, until tender, 4 to 6 minutes. Transfer with a slotted spoon to a serving bowl.

To be completely honest I left out the chard stems this time.  We just ate the leaves.  This made the recipe simpler as I skipped from the cooked onions to the leaves (cut out 10 minutes of cooking).

So what did my family think?  They loved it and even had seconds.  In fact there was hardly any left over and since I forgot to take a photo last night this tiny little amount is all you get to see. :)

Other Swiss Chard Recipes:

Beef and Bean Soup with Swiss Chard
Swiss Chard Tzatziki
Sauteed Swiss Chard with butter and Red Pepper Flakes
Swiss Chard Gratin

Monday, December 3, 2012

Arizona Snowfall

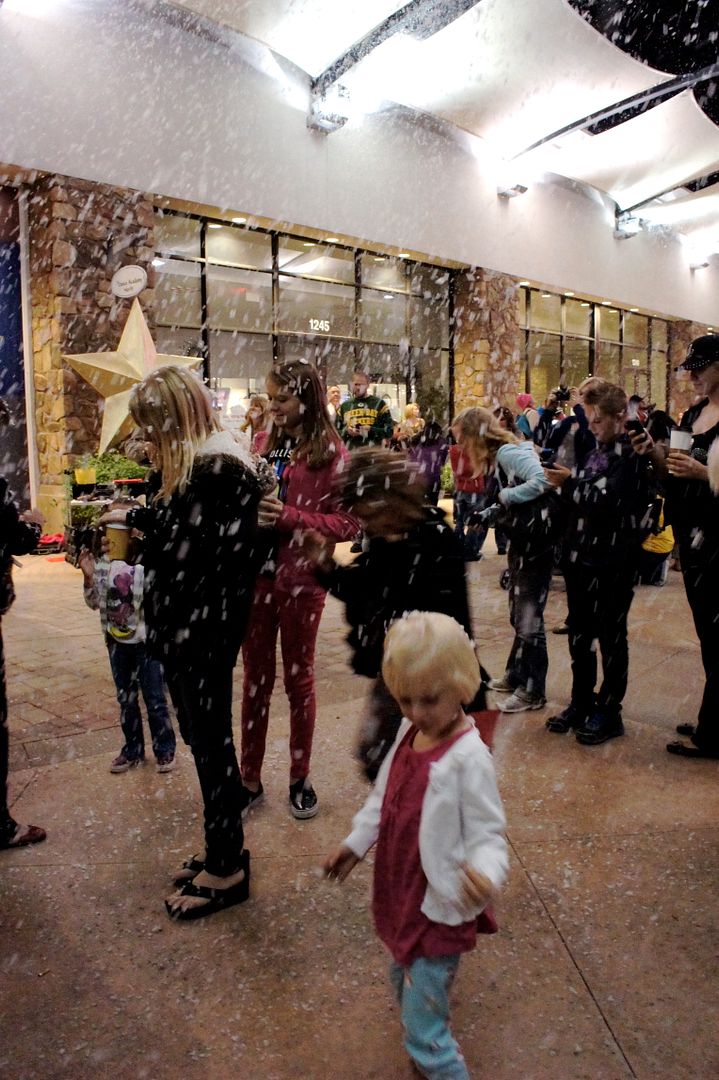
Last weekend I took my kids to see snow falling.  Now here in Phoenix that isn't an easy feat, especially since it's the first week of December and the forecast is for the low 80's all week!  There is a trade-off for beautiful, sunny and very mild winters.  For example our cut Christmas trees are already dried out before we even get them home!  But I digress, back to the snow.  When I saw an advertisement for Christmas music and snowfall at a local outdoor mall I decided to take the kids.

We saw some cute 3rd-6th graders sing Christmas songs while we patiently waited for the 7pm snowfall.  It was past my baby's bedtime but I figured it was worth it to see snow, beautiful snow!

I wasn't sure how they would create it, I figured some sort of a ice-machine that shaves it up and shoots it out.

After patiently listening to carols and then small children playing clarinets (yikes) it was finally time.  SNOW!


Wait, what?  Why isn't it cold?  What's that smell?

Oh my, it was soap bubble "snow".  I should have known.

Bummer.  I guess that's all you get when you live in Phoenix.

I'm sure the cleanup was easy.  Ha!

Saturday, December 1, 2012

Felt Kids Christmas Tree Craft

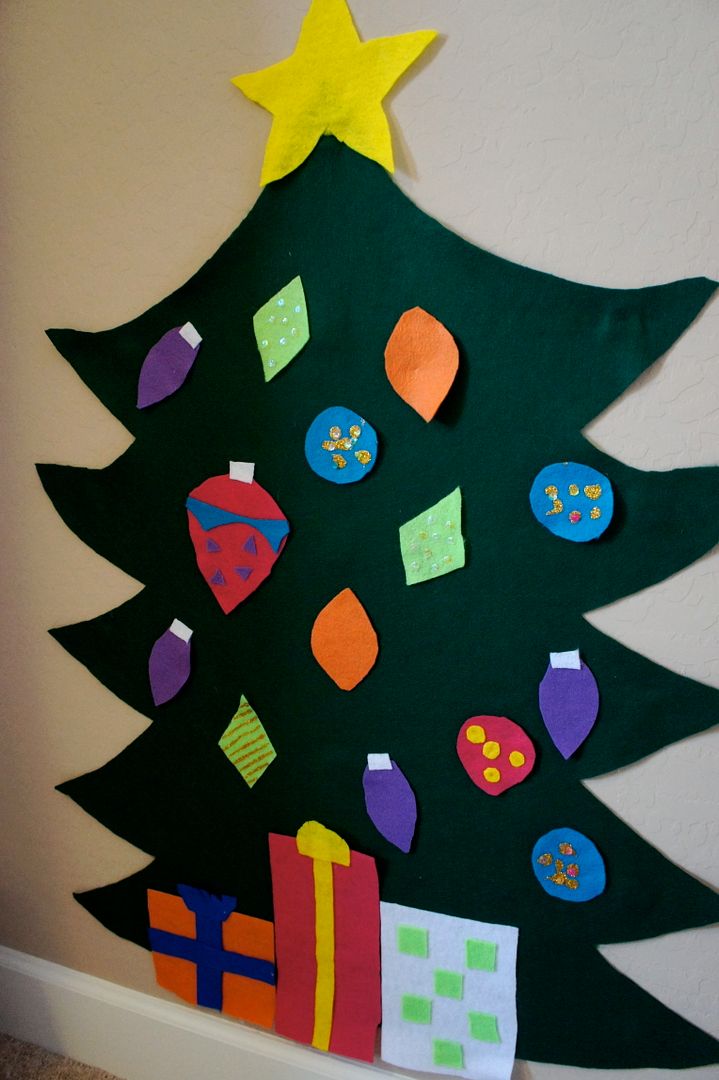
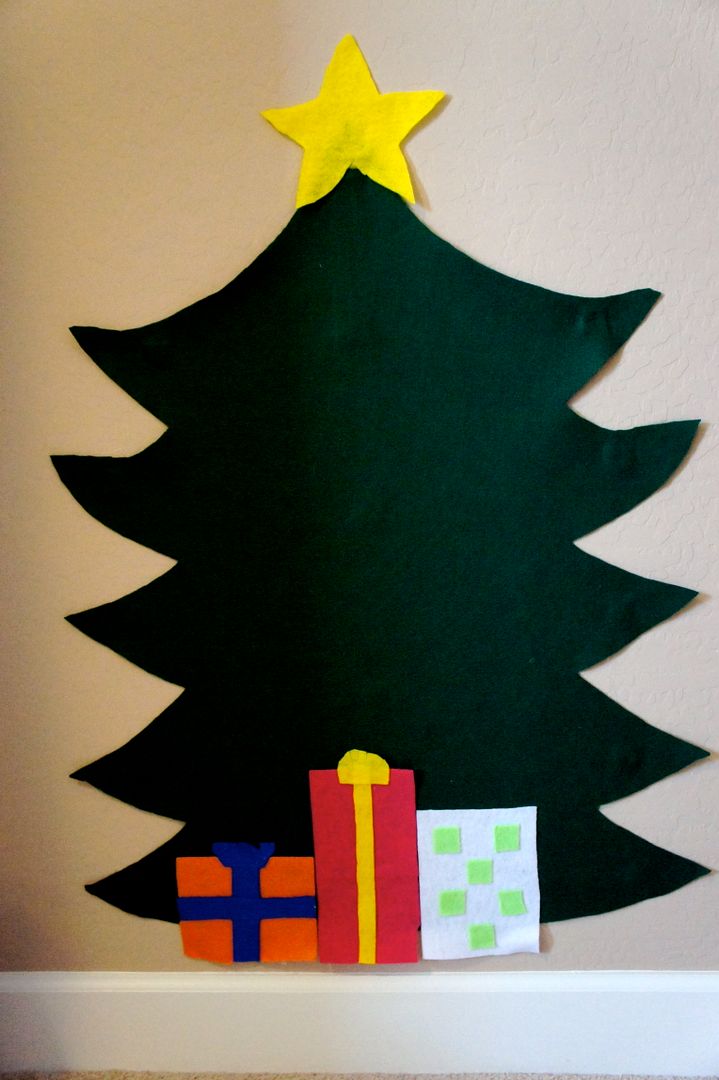
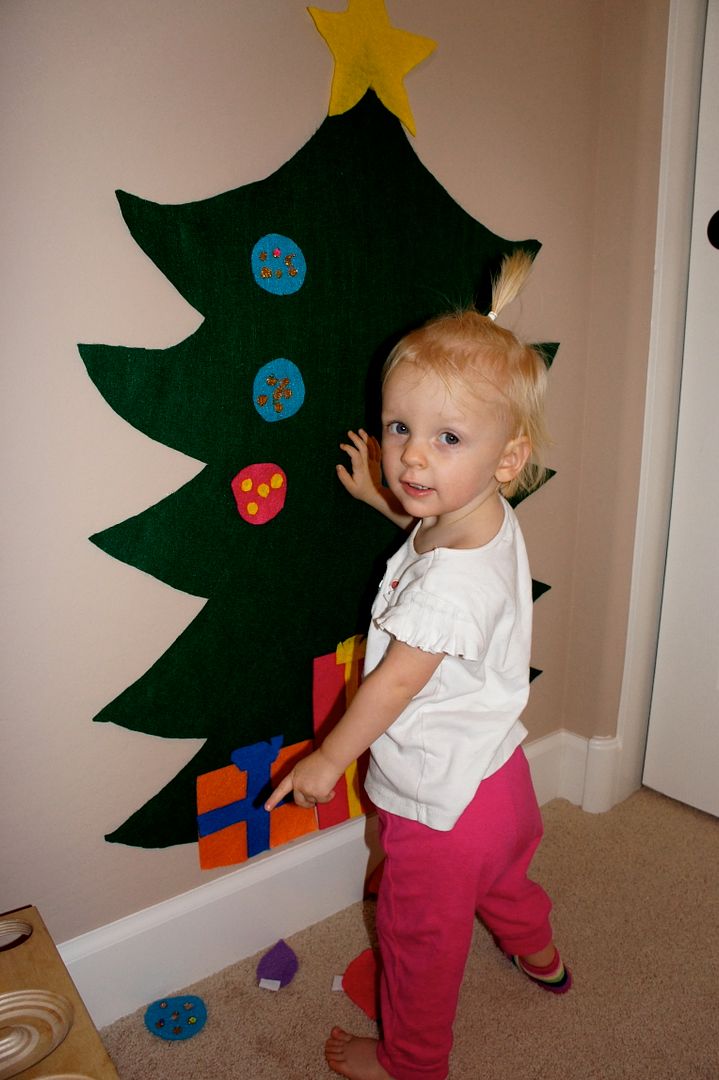
I made this Felt Christmas tree for my kids.  This time of year makes me feel crafty, even if I am often out of my depth.  This craft however was not difficult, even for me!  


I was inspired first by wait-for-it, yes that's right Pinterest.  Then a local friend made one and I was motivated to make it happen.  I bought 1 yard of felt (at Walmart for $3.97) which is enough for 2 trees.    Also a package of mixed color felt sheets (about $3-4), a bottle of glitter glue ($1.97) and more hot glue for my gun.  That's it!  I cut the yard in 1/2, then folded it and cut the tree on one side (I used chalk to rough out what the branches would look like).  You could also just make a big triangle to make it easier.  I hot glued the star and presents onto the tree so they'd be permanent.

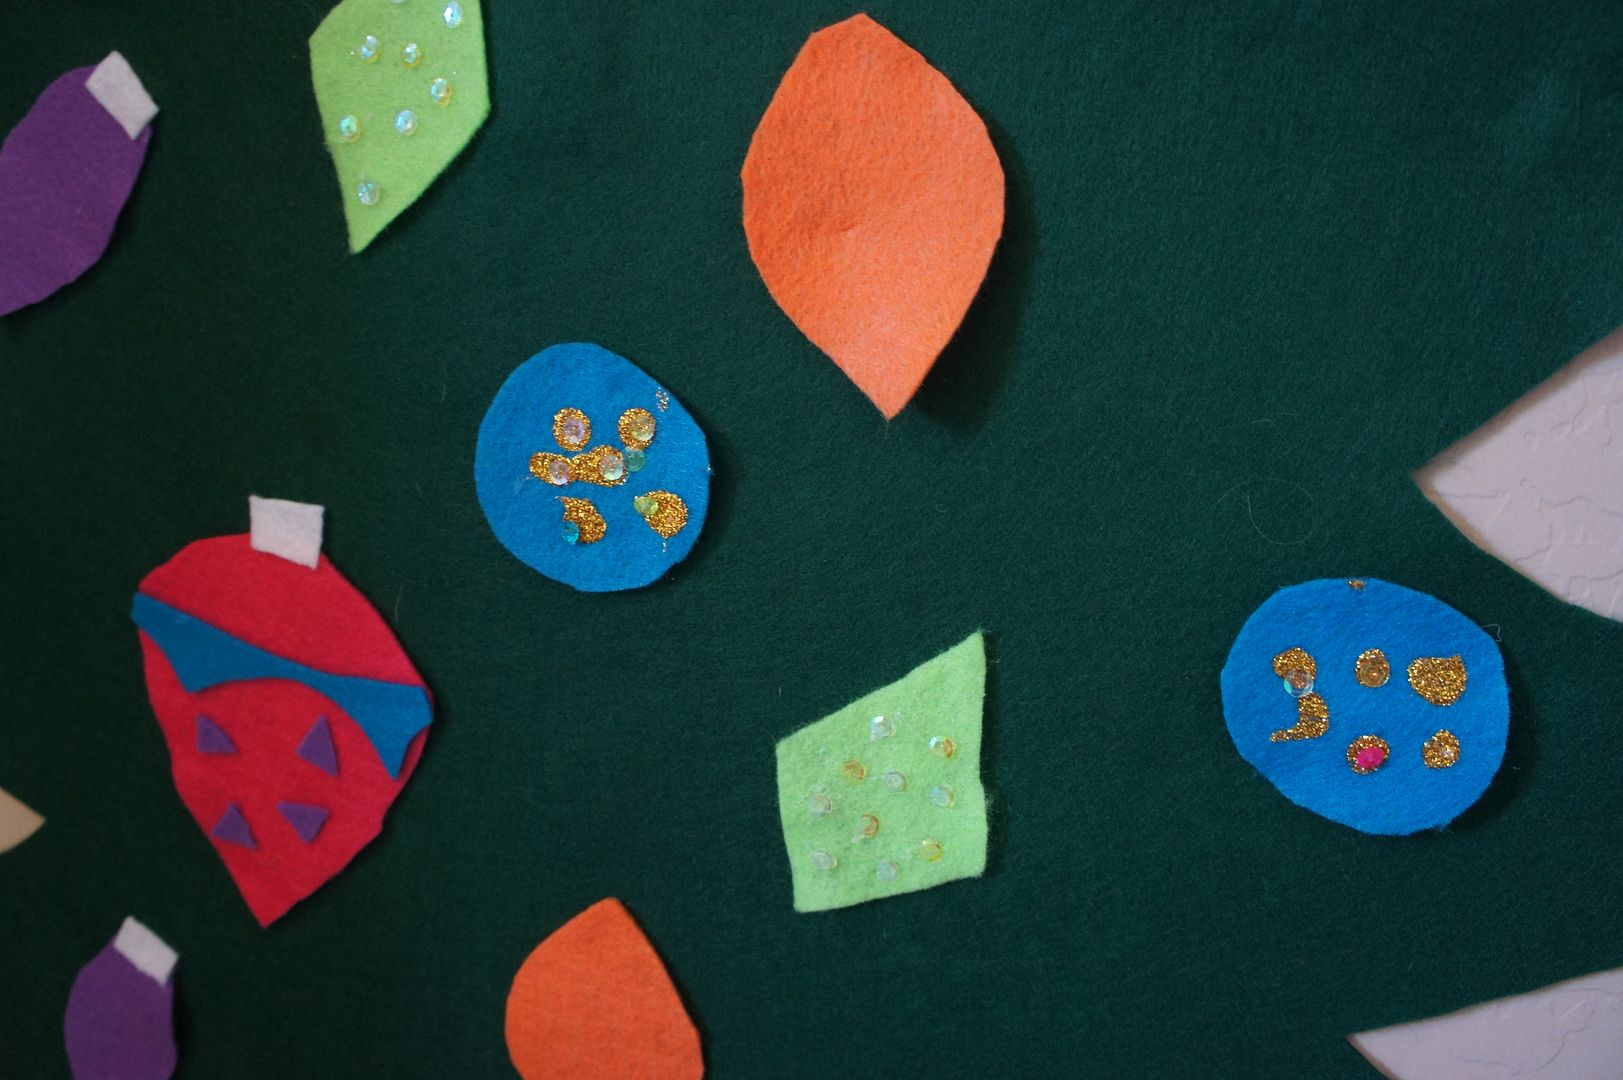
Then I made ornaments with the help of my 5 year old.  We embellished them with glitter glue and some extra sequins and beads we found around the house.  I will probably make a few more but we have enough to get started.

After I had the ornaments and tree the tricky part begun, how to put it on the wall.  I didn't want to leave any permanent marks or use anything sharp (like a nail or tack).  I first tried painters tape, which worked initially but the tree was on the floor within a few hours.  The challenge is finding something that will stick to the felt, which pretty much repels anything but itself!  


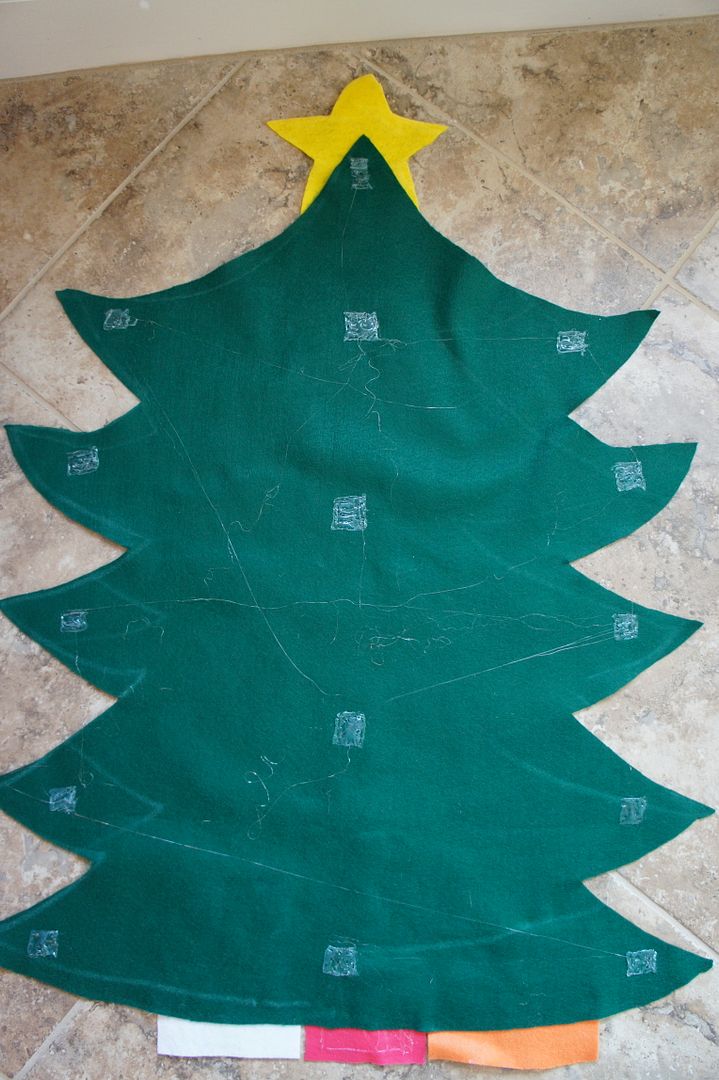
I then had the brilliant idea of making a surface on the back for adhesive to stick to rather than the felt.  I set about making squares on the back using my hot-glue gun.  About 3 sticks later I had all of these squares.

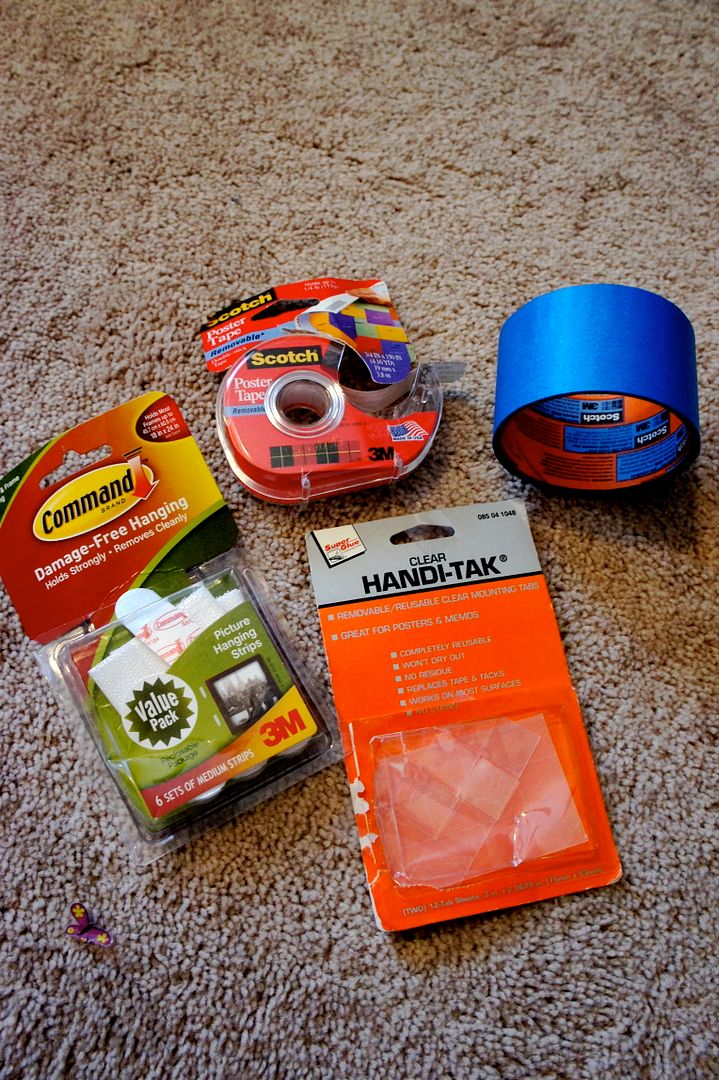
All the products I tried to hang the tree.

After I had the squares of glue on the back I started trying different non-permanent adhesive products.  The handi-tak squares (nice b/c they're reusable) didn't stick to the glue spots.  The Scotch poster-tape (double sided) worked great at first, it even seemed to stick to the felt by itself but within a few hours the tree was on the floor.  I saved the best for last and used a strip of the Command picture hanging strips at the top of the tree.  The rest of the tree still had the poster tape.  Success!  The heavy part is held by the command and the rest with the scotch.  A day has passed and the tree is still on the wall.  

My 16 month old loves the tree and decorates it whenever she can.  She just lights up with pride when she puts an ornament on, it's the cutest thing!  The 5 year old likes it too and has been making different arrangements each time.  

Priceless!