HomeVintage Fisher PriceMy Etsy ShopCategoriesAbout

Monday, March 11, 2013

Cold brewed Iced Coffee Recipe

I already have two favorite ways to make wonderful iced-coffee.  There is my easy iced-coffee recipe using a regular coffee pot to brew coffee then adding 1 fabulous ingredient.  Then there is my Keurig iced-coffee K-cups over ice.  So simple.

But...I saw this recipe on Pinterest and couldn't resist giving it a go.  Cold "brewed" intrigues me. How can you brew coffee using only ground coffee, cold water, a refrigerator and time?  Amazing.

The recipe I saw on the velvet bird also added flavor (cinnamon) but I used a pre-flavored ground coffee so didn't want to go overboard.  Otherwise I followed her recipe.


Cold Brewed Iced Coffee
Ingredients:
2/3 cups of course ground coffee
3 cups cold water
3 tablespoons brown sugar

Directions:
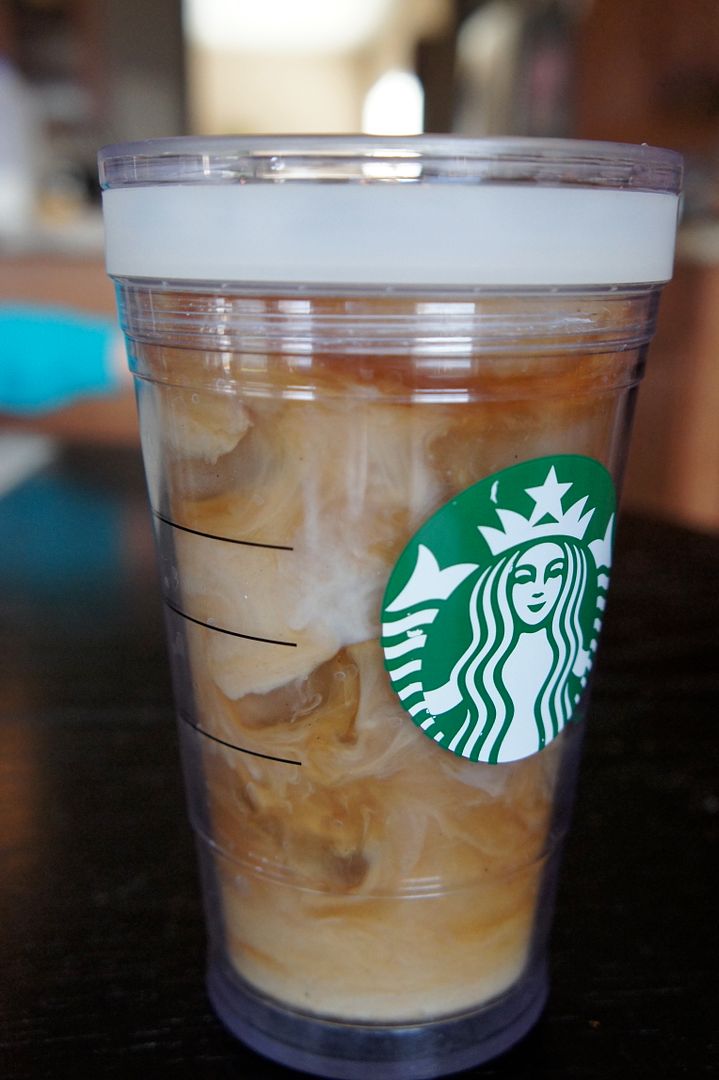
Place all ingredients in a mason jar; stir and let sit covered in fridge overnight. The next day pour coffee into a french press or strainer, then pour the strained/pressed coffee back into your rinsed out jar for storage. Fill a glass with ice and pour coffee over.  Add a milk or cream and more sugar if needed.

If you are particularly hip you will use your Mason jar as a drinking glass.  Or so I've seen. ;)

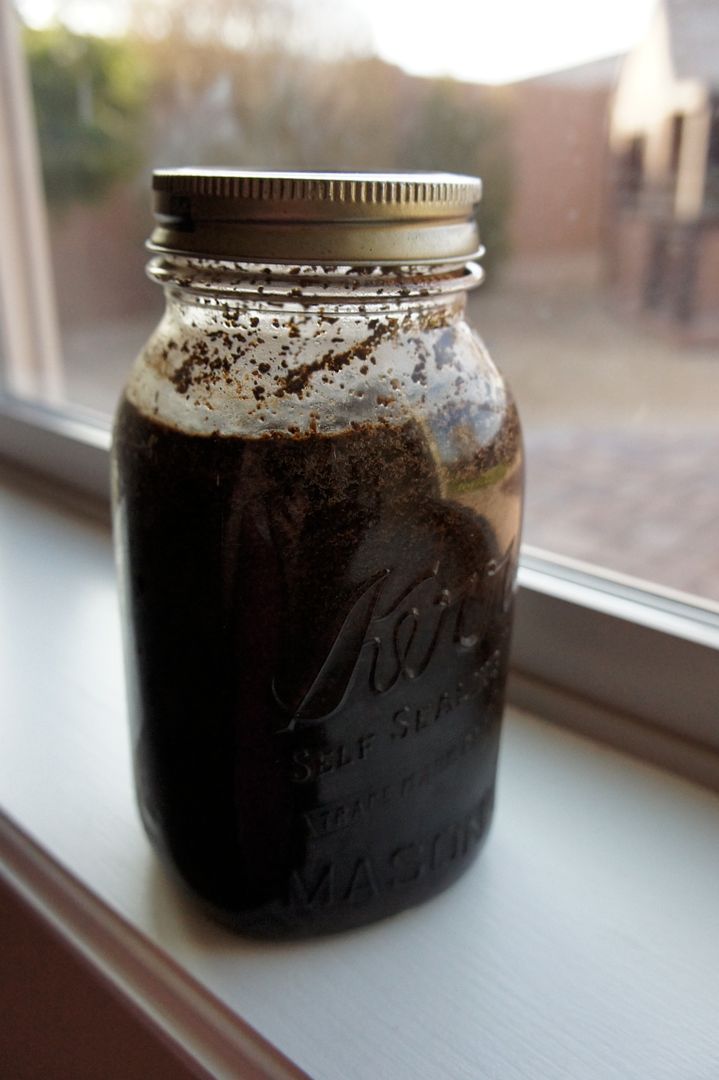
The coffee the next morning (before pressing).
Now, a word of warning.  From what I've read the cold-brewed method makes your coffee have a MUCH higher caffeine level than other methods.  Perhaps b/c the coffee is just chilling in the water ALL night sucking up the caffeine.  All I know is I was Buzzed with a capital B after drinking this coffee.

I think I'll stick with my regular coffee methods but I'll save this one in the back of my mind for an occasion like camping or when traveling without a coffee maker.

Friday, March 8, 2013

Fisher Price Friday - Western Town


Today's set is so perfect for my family since we live in the Southwest.  There are old western towns all over the place so this set is actually familiar looking to my kids!  It's the Play Family Western Town #934.  It was made from 1982-1984 and is a one-of-a-kind.  Well sort of.  It's really a remake of the 1977-1979 Sesame Street Clubhouse.  They took the clubhouse base and changed it around a bit to make the western town while still keeping some of the same fun features like the roof walkway, flip up roof and stairs on the side.

The Western Town came with 18 accessories (plus the base).  The four little people included a red cowboy, orange Native American Chief, blue Sheriff with a orange star badge (could also be silver, which is rarer) and a yellow lady with a green hat.  The yellow lady was the only figure made exclusively for the set, the other three were produced in people only western sets even after the Western Town stopped production (with a few variations).  


The other accessories included 2 horses (as shown, one brown and one black), 2 harnesses, one saddle, a stagecoach, orange stagecoach roof, wagon, crate and finally a piece of luggage (should be the same shape shown but in green).


The stagecoach could be either yellow or green.  Both colors had a orange removable roof.  The stagecoach roof is one of the most difficult pieces to replace, they are hard to find!  The coach holds two people inside and a driver up front.  There is space in the back or on top to hold luggage.  The coach is pulled by a horse of course that is wearing a a harness.  
Like the stagecoach the wagon could be either yellow or green.  However, it should be the opposite color of the stagecoach.  The wagon can hold two crates and one person (the driver).  It is pulled by the same harness and a horse.


Here we have the Native American Chief riding the horse with the saddle.  The saddle is another easily lost piece (trust me, we lost ours here in the house for a couple weeks).


Now to the play set.  It is all plastic with a few bright lithographs here and there.  The front has double turquoise doors (only the left opens), a window, flip top roof and a trap door that shoots a figure out the side.  Let me tell you, my toddler spends the longest time shoving little people through the trap door.  It's her favorite part!  The front also has stairs leading up to a deck area as well as the rooftop walkway.  The walkway moves via the brown crank on the left side and like the Sesame Street Clubhouse the pieces eventually drop off the side of the building.


Just a little note about the Native American Chiefs.  There are many many variations of them!  I've heard there may be as many as 13 different versions!  They have subtle differences including the colors on the headdress, color of the scarf, colors on the body, colors of the body and silver (or not) on the side of the headdress.  The 5 Chiefs shown here are all unique, can you spot the differences?  
There are a lot of cowboys and western figures too.  Perhaps another week I'll go into more details about all of them.
Happy Playing Y'all!

Thursday, March 7, 2013

Coconut Banana Bread with Lemon Glaze Recipe

My 5 year old has been bugging me lately for banana bread.  I never seem to have enough mushy bananas around though because the baby and I eat so many!  However, today I had enough bananas so I did a little recipe research to find something new.  I was inspired by a couple different recipes and changed a few things to make my own version.


Now this is not just any banana bread.  This is AMAZING banana bread.  Heck, it has coconut and a lemon glaze!  My husband hates banana bread and he couldn't get enough of this.  He actually told me (unsolicited) that this is the best sweet bread he has ever had.

Without further adieu, here is the recipe:

Coconut Banana Bread with Lemon Glaze 
2 cup flour
3/4 tsp baking soda
1/2 tsp salt
1 cup sugar
1/4 cup (4 Tbsp) real butter, softened
2 large eggs
4 large bananas, mashed
1/4 cup sour cream or plain yogurt
2 Tbsp milk
1 tsp vanilla extract
1/2 cup shredded coconut
Topping: 2 Tbsp additional coconut
Glaze: 1/2 cup powdered sugar whisked with 1 1/2 Tbsp fresh lemon juice

Directions
1. Preheat oven to 350 degrees. Whisk flour, baking soda, and salt together in a medium bowl and set aside.
2. In a large mixing bowl, beat butter and sugar until blended (I did this by hand but you could use a mixer). Add eggs and beat to combine. Add banana, sour cream, milk, and vanilla. Beat until blended. Add flour mixture and beat until just combined. Stir in 1/2 cup coconut.
3. Pour batter into a 9×5″ loaf pan that has been greased with coconut oil. Sprinkle additional 2 Tbsp coconut on top. Bake in the oven for about 1 hour or until a knife inserted in center comes out clean. Note: Check bread after about 40 minutes. If the top has browned and the coconut pieces are looking toasty, cover top of bread lightly with a piece of foil. Continue baking until done. When done, remove pan from oven. Let cool on a cooling rack for about 10 minutes and then carefully remove from pan.
4. Whisk powdered sugar and lemon juice together for the glaze and then drizzle over top. Cool for another 15 minutes before slicing.

In the interest of full disclosure I did not follow my own directions at the end.  I did not wait another 15 minutes before slicing.  I cut into that beauty as soon as I finished taking these photos!  I took my slice and added a little (a lot?) of butter and it was heaven on a plate.


My sweet dog wishes he could have had a slice!

Isn't it beautiful?

Wednesday, March 6, 2013

(semi) Wordless Wednesday - Big Baby

Have you met Big Baby?  She joined our family when my oldest daughter picked her out around the same age as my youngest is now.  She is SO huge that we naturally call her Big Baby.  She wears 6-12 month clothes!

My youngest loves her as much as my eldest did.  I've been taking photos of them together since baby-girl was tiny.
Fortunately Big Baby has a lot of love to give.

Friday, March 1, 2013

Fisher Price Friday - Floating Family


Today we take a closer look at the #411 Floating Family.  I showed a few of the Floating Family pieces about a year ago here but now I have the entire set.

The Floating Family was made from 1975-1998 but there were a few changes made over the years.  In 1991 they removed the blue teapot and replaced it with a red lifesaver.

The original set came with a boat, turtle and a teacup as well as three jumbo little people (until 1991 when they switched to only 2 people).  The little people figures are all babies with yellow bodies (until 1991 when one baby was blue) and different colored faces.  The figures shown in the photo were original to the set.

The difference between regular Jumbo Little People and bath Jumbo Little People is all in the bottom.  Bath figures have closed bottoms as pictured while regular figures have holes in the bottoms (just like the smaller classic LP).
The boat could have either a red top and white bottom or the reverse.  However, the most common made was with a white top and a red base.  The later 1991 version had a blue top instead.  They made quite a few changes in 1991!

For more Jumbo Little People check out: 

For more Bath Toys check out:
LP Cruise Boat #2524