HomeVintage Fisher PriceMy Etsy ShopCategoriesAbout

Wednesday, July 18, 2012

Baby keeps me on my toes - Wordless Wednesday

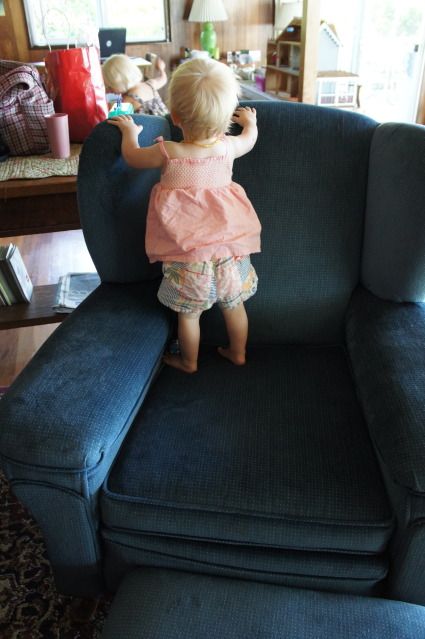
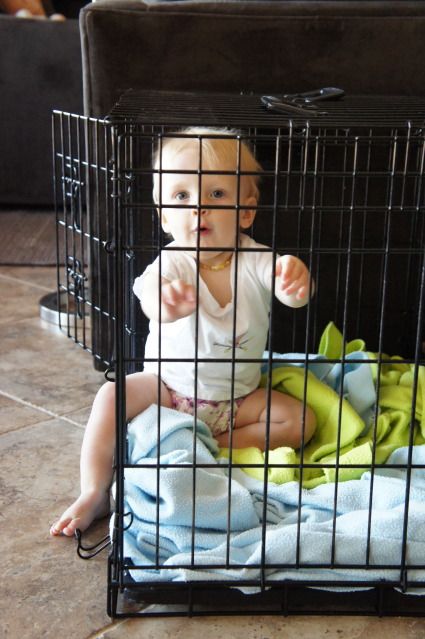
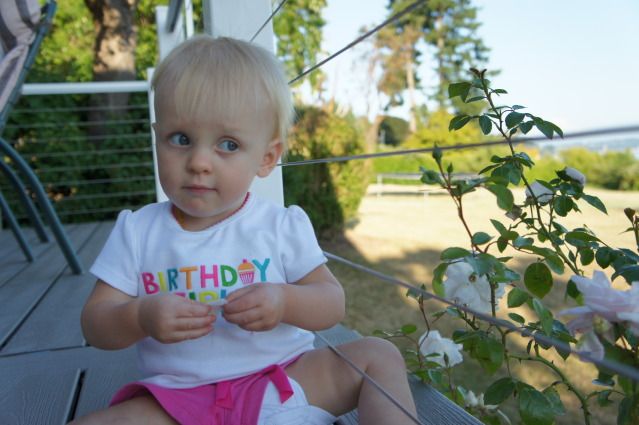
She likes to do things her own way.

And is often found climbing or exploring.


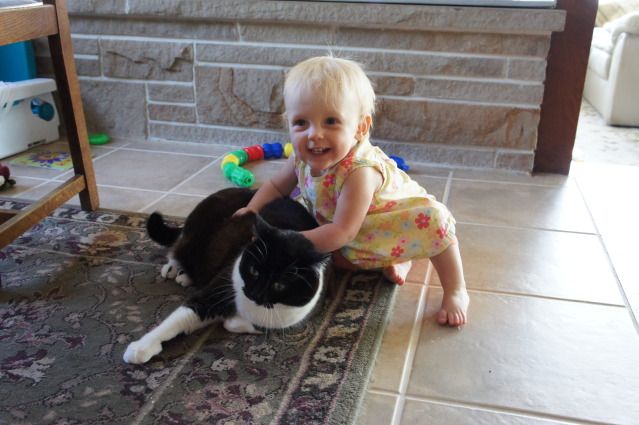
She's oh-so-friendly.

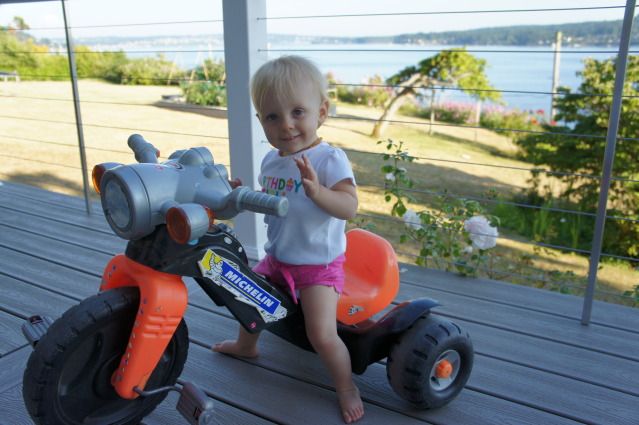
And ready for adventure.

Happy 1st Birthday baby girl!

Tuesday, July 17, 2012

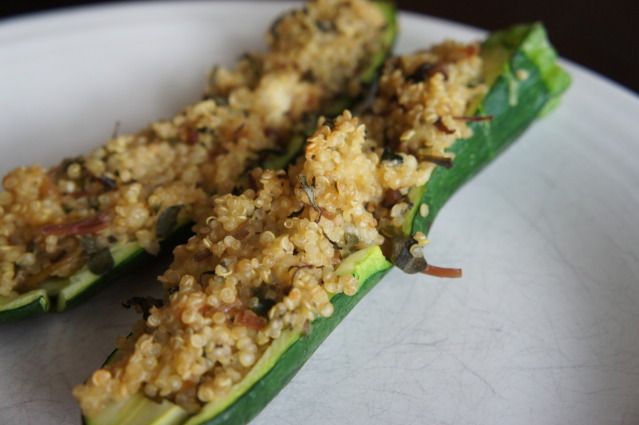
Quinoa (stuffed) Zucchini Boats Recipe

Now that our vacation is over I've been getting back into cooking.  Saturday's CSA box had some interesting and beautiful items and I decided to try one of their recommended recipes.  Our CSA is Chow Locally and they called this recipe Quinoa Stuffed Zucchini with Purslane & Pinenuts.  Our family decided to rename this recipe after eating it.  Zucchini boats worked better for us. :)  We also didn't add pinenuts although I'm sure they would have been wonderful.  I didn't have any in the house.


Quinoa Stuffed Zucchini Boats

Ingredients
3 zucchini (I used about 5 b/c mine were small)
2 tablespoons olive oil, divided
1/2 onion, chopped
1/2 cup mushrooms, chopped
2 cups purslane, chopped
1/2 teaspoon salt
1/4 teaspoon pepper
*1/2 cup pine nuts
1 cup quinoa, cooked
1/4 cup parmesan cheese
1 egg, beaten

Directions
1. Preheat oven to 400°F.
2. Cut zucchini in half lengthwise.  Scoop out seeds and soft flesh with a spoon.  Set aside.
3. Heat olive oil in sauté pan.  When oil is hot add onions and cook over medium high heat
for 3-4 minutes.  Add mushrooms and cook for 3-4 minutes.
4. Add purslane, salt and pepper and cook until purslane is wilted about 2-3 minutes.
Remove from heat.
5. Toast pine nuts in a separate pan and cook for 3-4 minutes on high heat until evenly
toasted.  Roughly chop and add to purslane mixture.
6. Combine quinoa, parmesan cheese and egg with purslane mixture.
7. Stuff each zucchini half with about 2-3 tablespoons of mixture and roast for 15 minutes.
Serve immediately.

Note: Don't throw away the scooped out zucchini.  I sauteed mine with a little olive oil and had it on the side.  Yummy!

Monday, July 16, 2012

Blog Share: This Big Oak Tree

Despite my attempts at a few crafty kids projects like homemade shakers and homemade eye-spy toys the truth is I am not very crafty.  I don't have a sewing machine yet although I've dreamed from time to time about getting one.  I stumble around craft stores desperately wanting to do something that doesn't end up looking like a elementary school project.

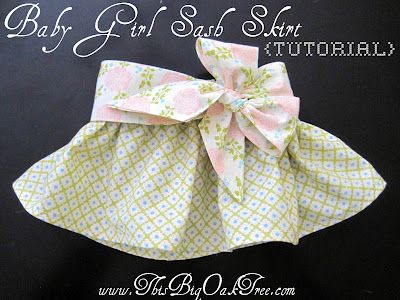
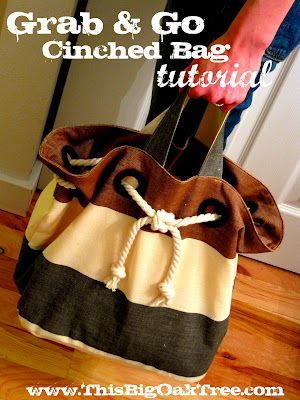
However, I have crafty friends.  Friends who have sewing machines and who know how to use them.  Today I'd love to introduce you to Amy and her blog This Big Oak Tree.  Amy makes lots of simple but amazing projects like skirts, purses, baby clothes and aprons.  They're adorable and also have easy step by step instructions.  If I ever get a sewing machine I'll know just where to go to get started!


Isn't she the cutest?  Go check out here blog here.

You may also like these fabulous projects on her blog:


Sunday, July 15, 2012

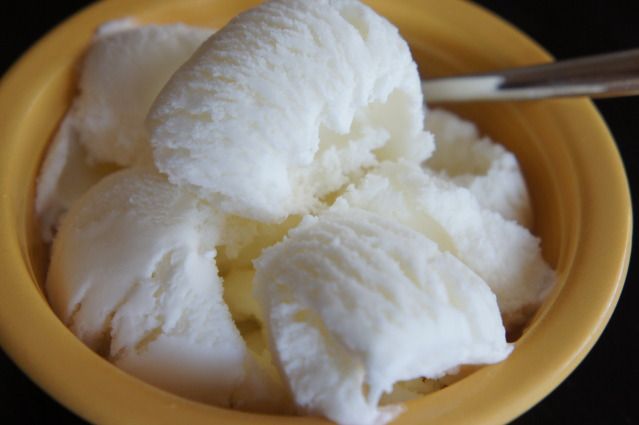
Coconut Ice-Cream Recipe

Did you know that it is national ice-cream day today?  It was established by former President Ronald Reagan back in 1984. I guess he really loved ice-cream too!

I have a few ice-cream recipes on my blog to help you get into the spirit including honey, key-lime, double chocolate, buttermilk, frappuccino and the very popular vanilla (haagen dazs copy-cat recipe).  And today I introduce coconut!


I have a confession to make.  I made this ice-cream a couple weeks ago and it went so fast that I didn't get a good photo.  So that gave me a good reason to make it again last night, you know, so I could take a photo. ;)

This ice-cream was a big hit, everyone around here loved it and I think I'll be making it for our baby's 1st birthday party.  I love that it is a no cook, no egg, easy-peasy recipe!

This recipe is a combination of a few different recipes that I found on Pinterest.  But it's the closest to one from marthawrites.com.

Coconut Ice Cream
*makes about 1 quart

1 cup heavy cream
1 cup milk
1 cup coconut milk (canned, unsweetened)
3/4 cup sugar (or to taste)
1/4 tsp salt
*2-3 cups sweetened flaked coconut, optional

1. In a bowl, whisk together cream, milk and coconut milk.  Add sugar and salt and whisk until the sugar is dissolved, 3-4 minutes.  Keep cold until ready to pour into the ice-cream maker.  Follow ice-cream maker instructions.
2. Optional step: Once the churning is almost through (about 20 minutes) add the flaked coconut and churn a bit more until blended. 
3. Pour soft cream into a container. Freeze 2-5 hours and then serve.

I skipped the coconut flakes as I prefer my ice-cream smooth.


Happy Ice-Cream Day!  

Saturday, July 14, 2012

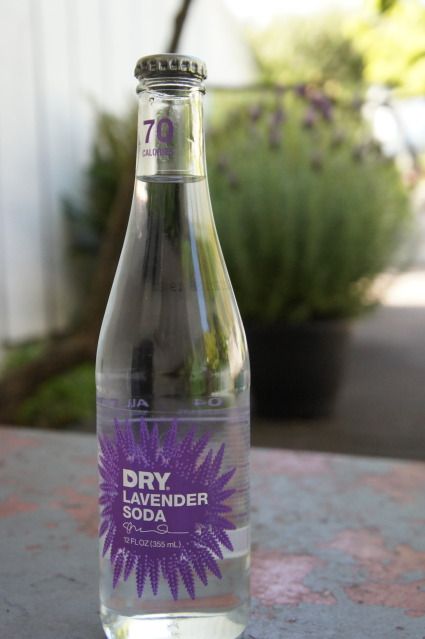
DRY Soda

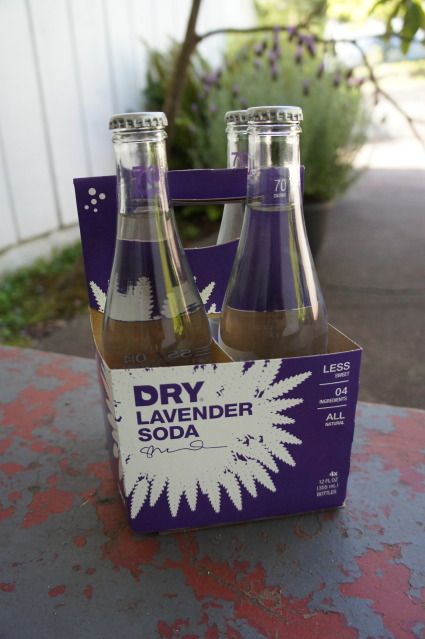
Have you heard of DRY soda?  I hadn't until just last week when I saw an article about it on my FB feed.  That same afternoon I happened upon it at a grocery store and decided to give it a try.

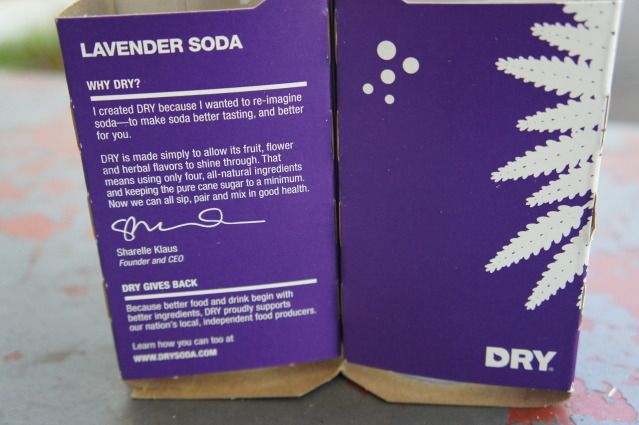
The company was created by an alum from my alma matter SPU (go falcons!!) and they describe it as an "adult soda".  They are naturally low in sugar (only cane sugar) and have all natural ingredients.  They also have recommended pairings for each soda.  For example lavender pairs with: cheese courses, pork, roast duck (!?!?), desserts and chocolate.  This is one fancy soda. :)

There are lots of fun flavors like lavender, cucumber, vanilla bean, juniper berry, wild lime, blood orange and rhubarb.  The store I bought my 4 pack in had only three flavors and I selected lavender, which was a first for me.

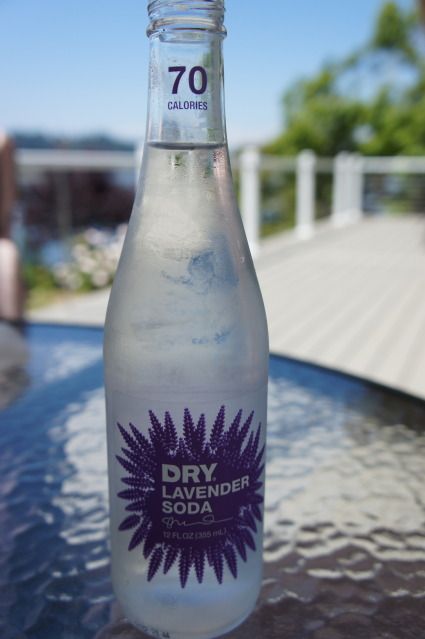
Doesn't that look refreshing?  It had a light flavor, not too sweet and not too strong.  Perfect for a summer day.  I thought it was a fun girly drink and would be great for a get-together with my friends.  I plan on trying more flavors, especially rhubarb and vanilla bean!  I discovered that it is carried at many stores throughout the country including one only 2.5 miles from my house!

Have you tried DRY?  What is your favorite flavor?  If you live in the Seattle area you should try out their testing room.  How fun would that be?  I'm planning on checking it out on my next trip to WA state.