HomeVintage Fisher PriceMy Etsy ShopCategoriesAbout

Thursday, February 7, 2013

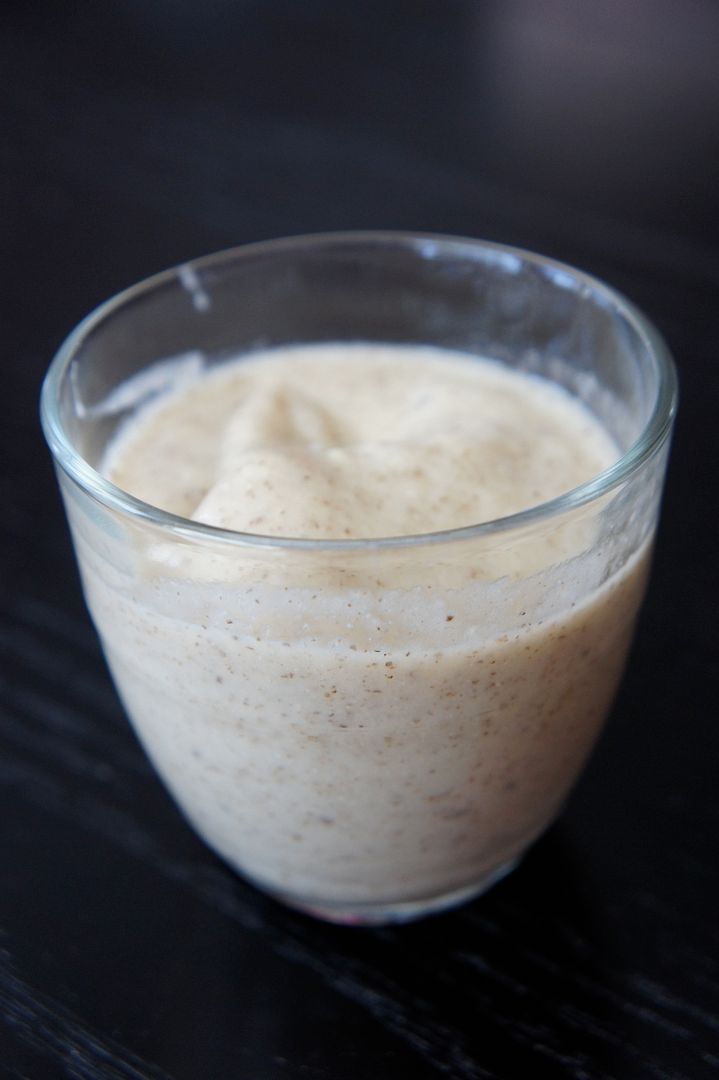
Chia Pineapple Banana Smoothie Recipe


I haven't talked about Chia recipes in a while.  I still love Chia and have been making puddings and smoothies but didn't have any new recipes to share, until now.  I found this recipe on kellird.com which is a great recipe blog by a local dietitian and nutritionist.  It is a vegan recipe and very kid friendly (although aren't most smoothie recipes?).  My daughter loved it and asked for seconds, which was unfortunate for me since this recipe only makes enough for one big smoothie.  Perhaps she was relieved that it wasn't green for once? ;)

Chia Pineapple Banana Smoothie
Ingredients
1 Tbsp Chia Seeds
1 cup water
1/2 tsp vanilla extract
1 cup frozen pineapple
1 frozen banana
sugar to taste (I used 2 tsp)

Directions
1. Combine chia seeds and the water and put in the refrigerator for at least 1 hour (I got lazy and mine was in the refrigerator for almost 2 days).  It will get thick and look like a gel.

2. Add the chia "gel" and the rest of the ingredients together in a blender.  Blend until well mixed.
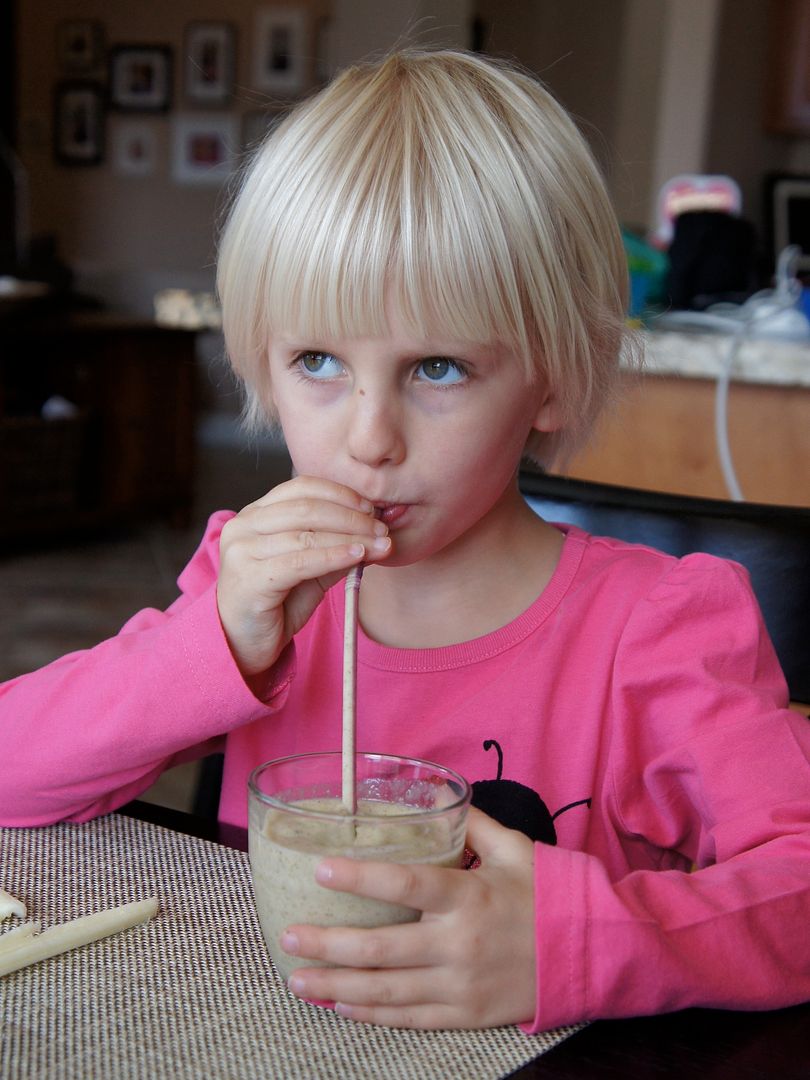

This is her working hard at sucking it out face. :)  She liked it though!
My daughter and I thought it was fabulous, even better than our usual smoothies.  The baby kept asking for bites of mine which is fine because it's a very appropriate baby/toddler food (go easy on the sugar though).

Anyone else have "cha-cha-cha-chia" in their head after reading this? Ha!

Wednesday, February 6, 2013

(semi) Wordless Wednesday - Play dates

I haven't had as much to blog about lately.  I've been making the same old recipes and hanging out with my kids.  That's about it. ;)

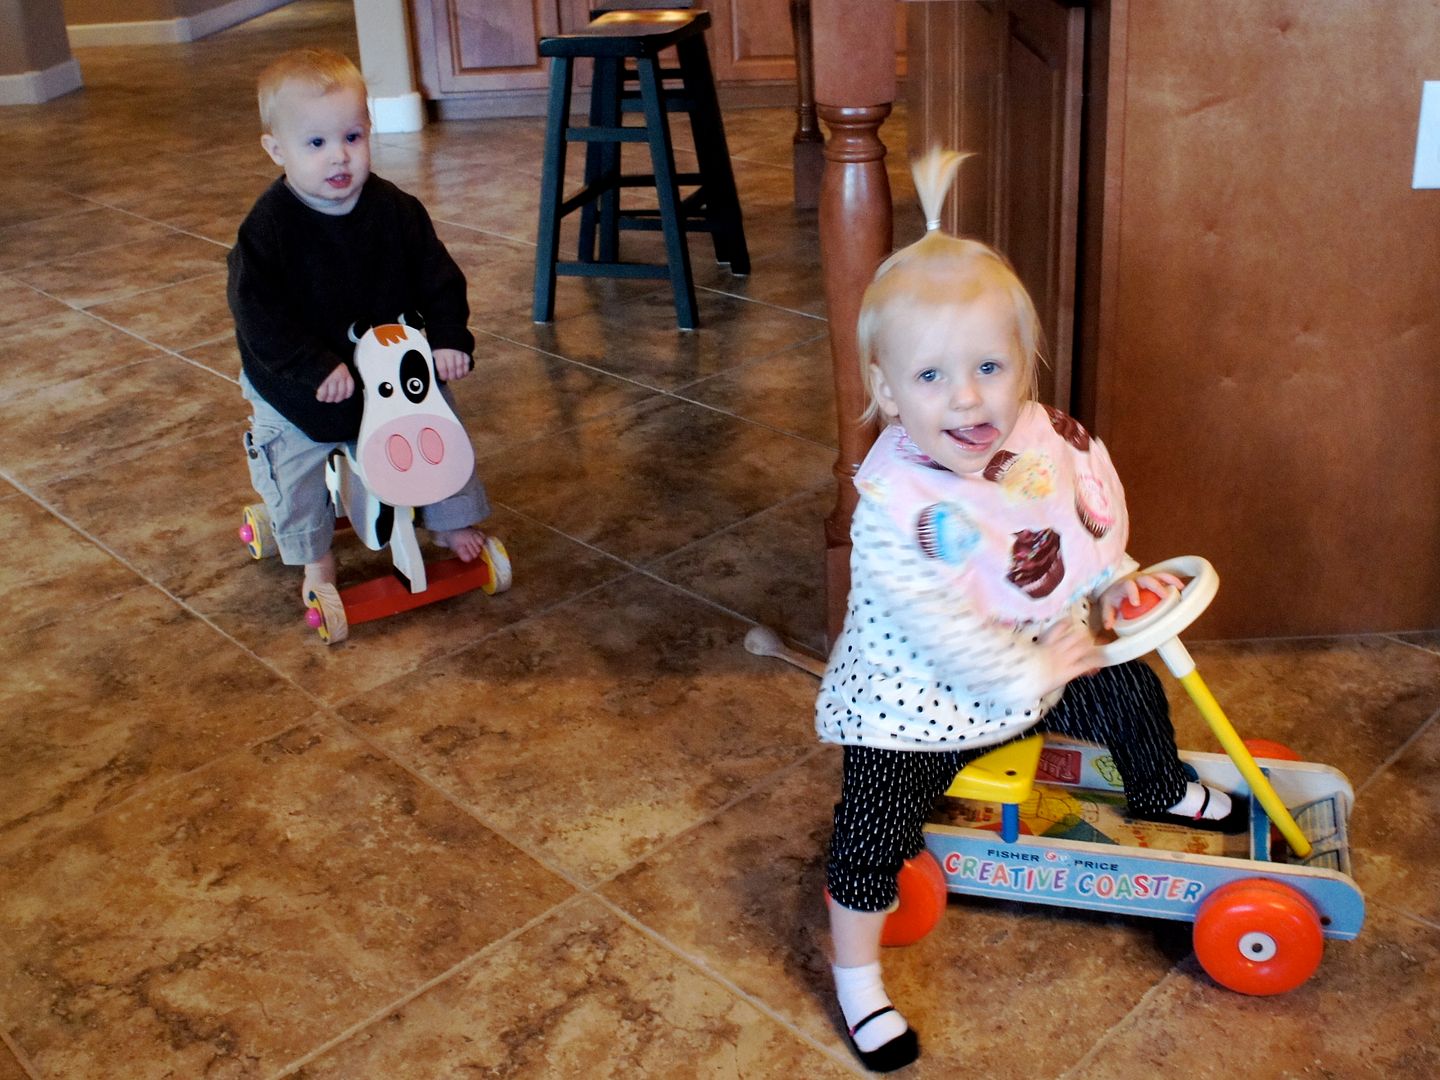
We've had lots of play dates in-between colds and viruses.

I am blessed to have such lovely friends with kids around the same age as mine.

Shopping play dates are fun too.  Look at these cuties.

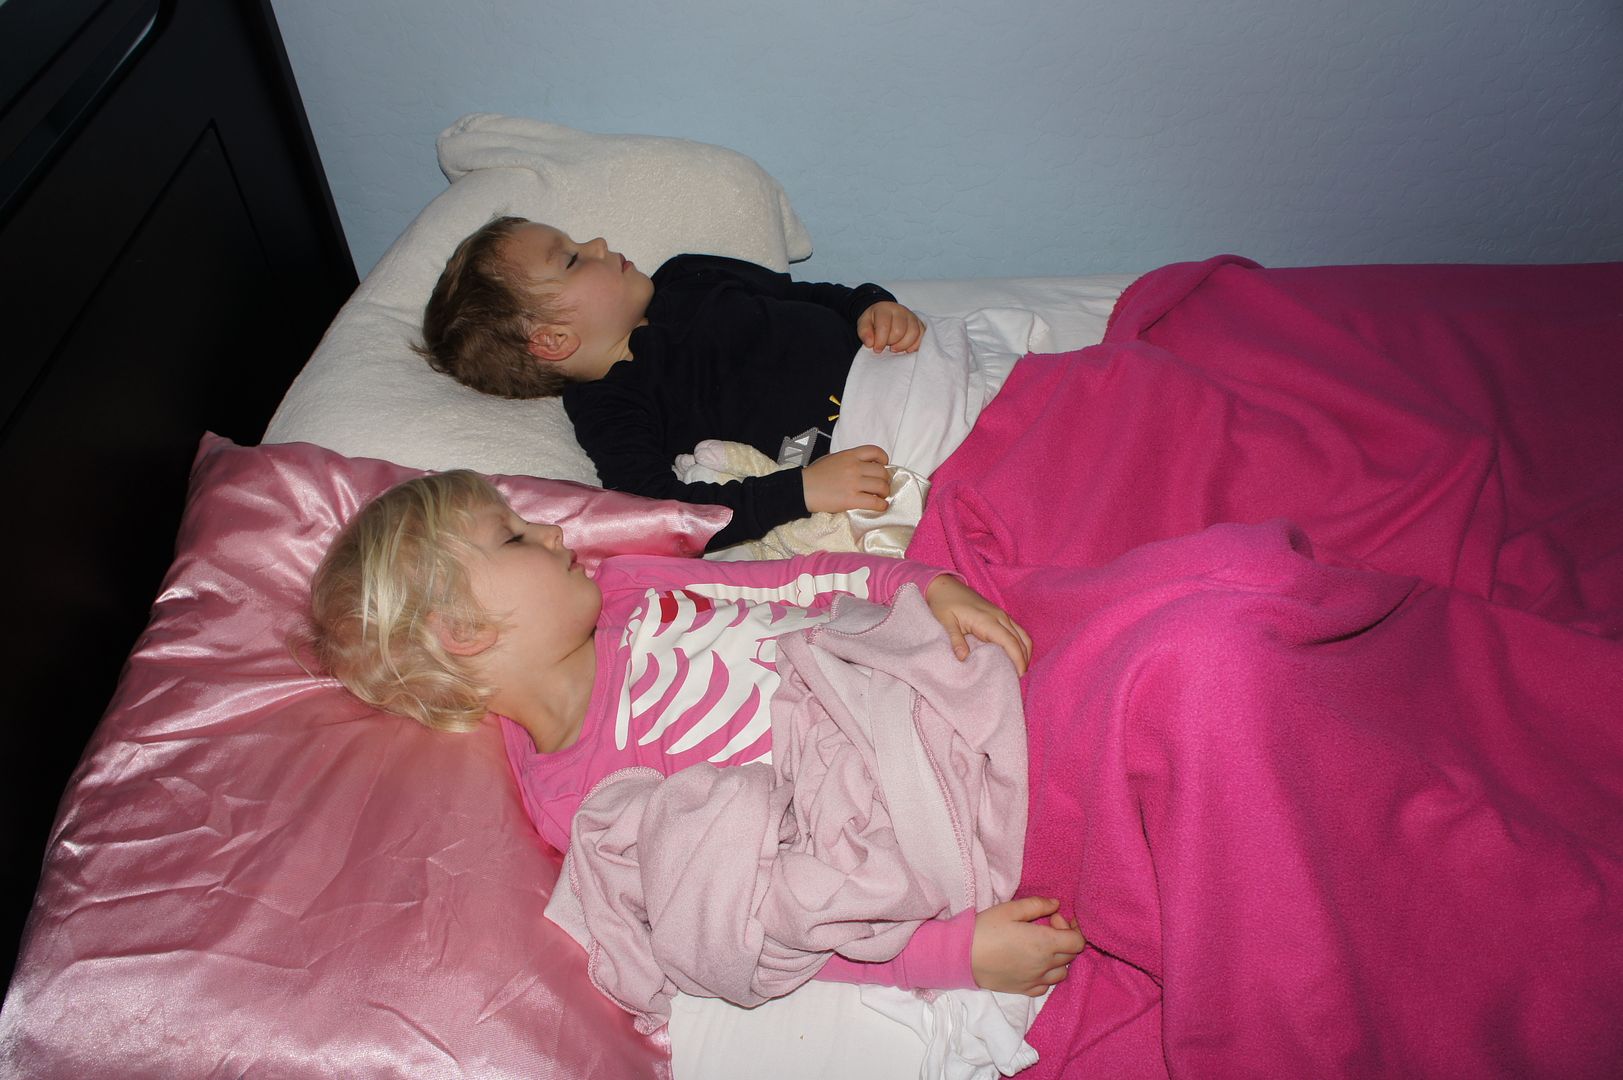
We even had a sleepover play-date last week with a friend whose husband was away on business at the same time.  How cute are these two?  (they are actually sound asleep in this photo)

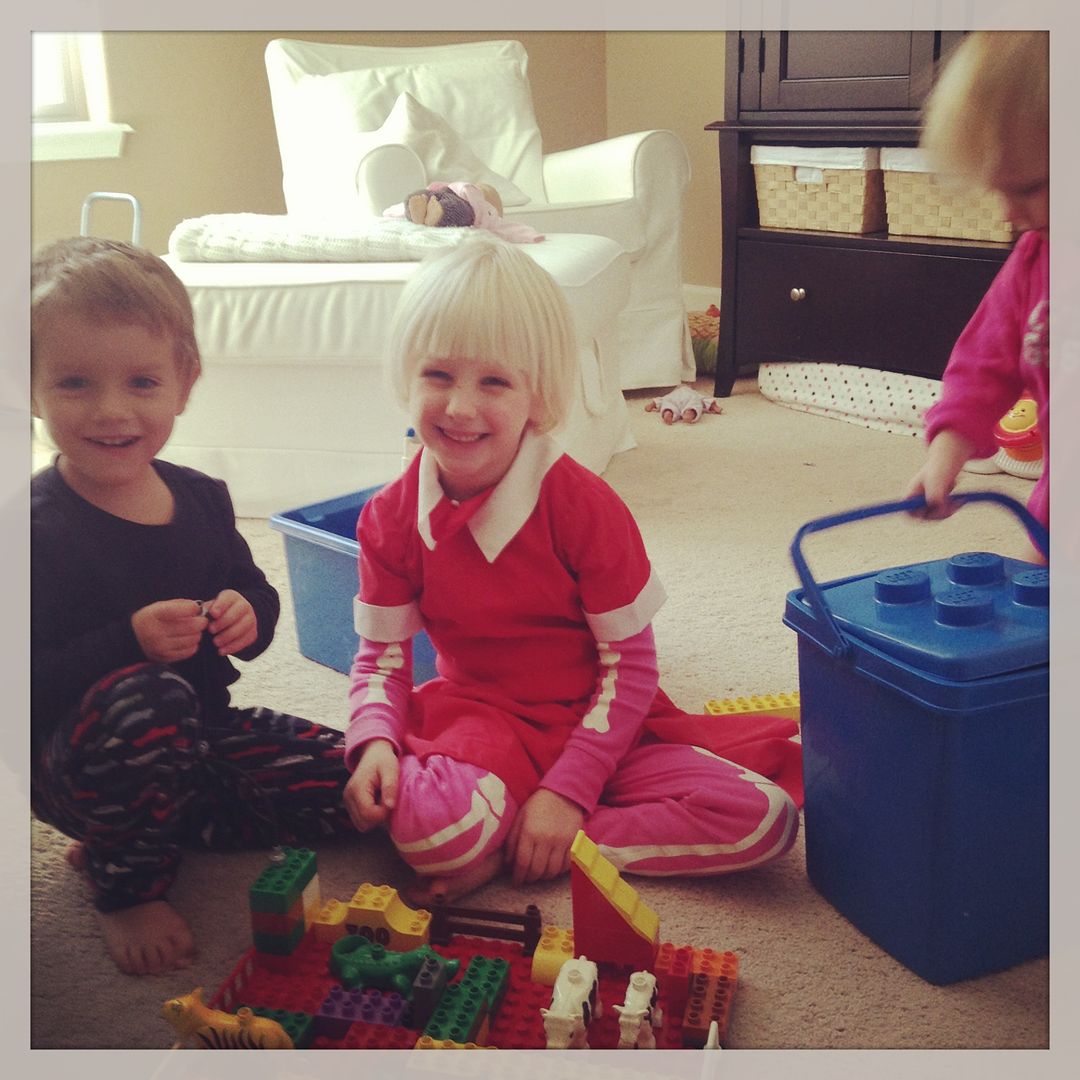
Duplo play and yes, my 5 year old is wearing an Annie dress over her pjs. 

We also had a "pool" day in my big soaking tub with the kids, swimsuits and all.

That's about it.  Now I'd better go find some new recipes or something!

Sunday, February 3, 2013

Coconut Custard (Blender) Pie Recipe

It's Superbowl Sunday!  We're not a football (or television) watching family but I can still help with some great food ideas.  Now, I realize the game is already going so you may be thinking "too little too late" but you'd be wrong.  This pie recipe is so easy you can whip it up in 5 minutes and be eating it in 40.  I kid you not.

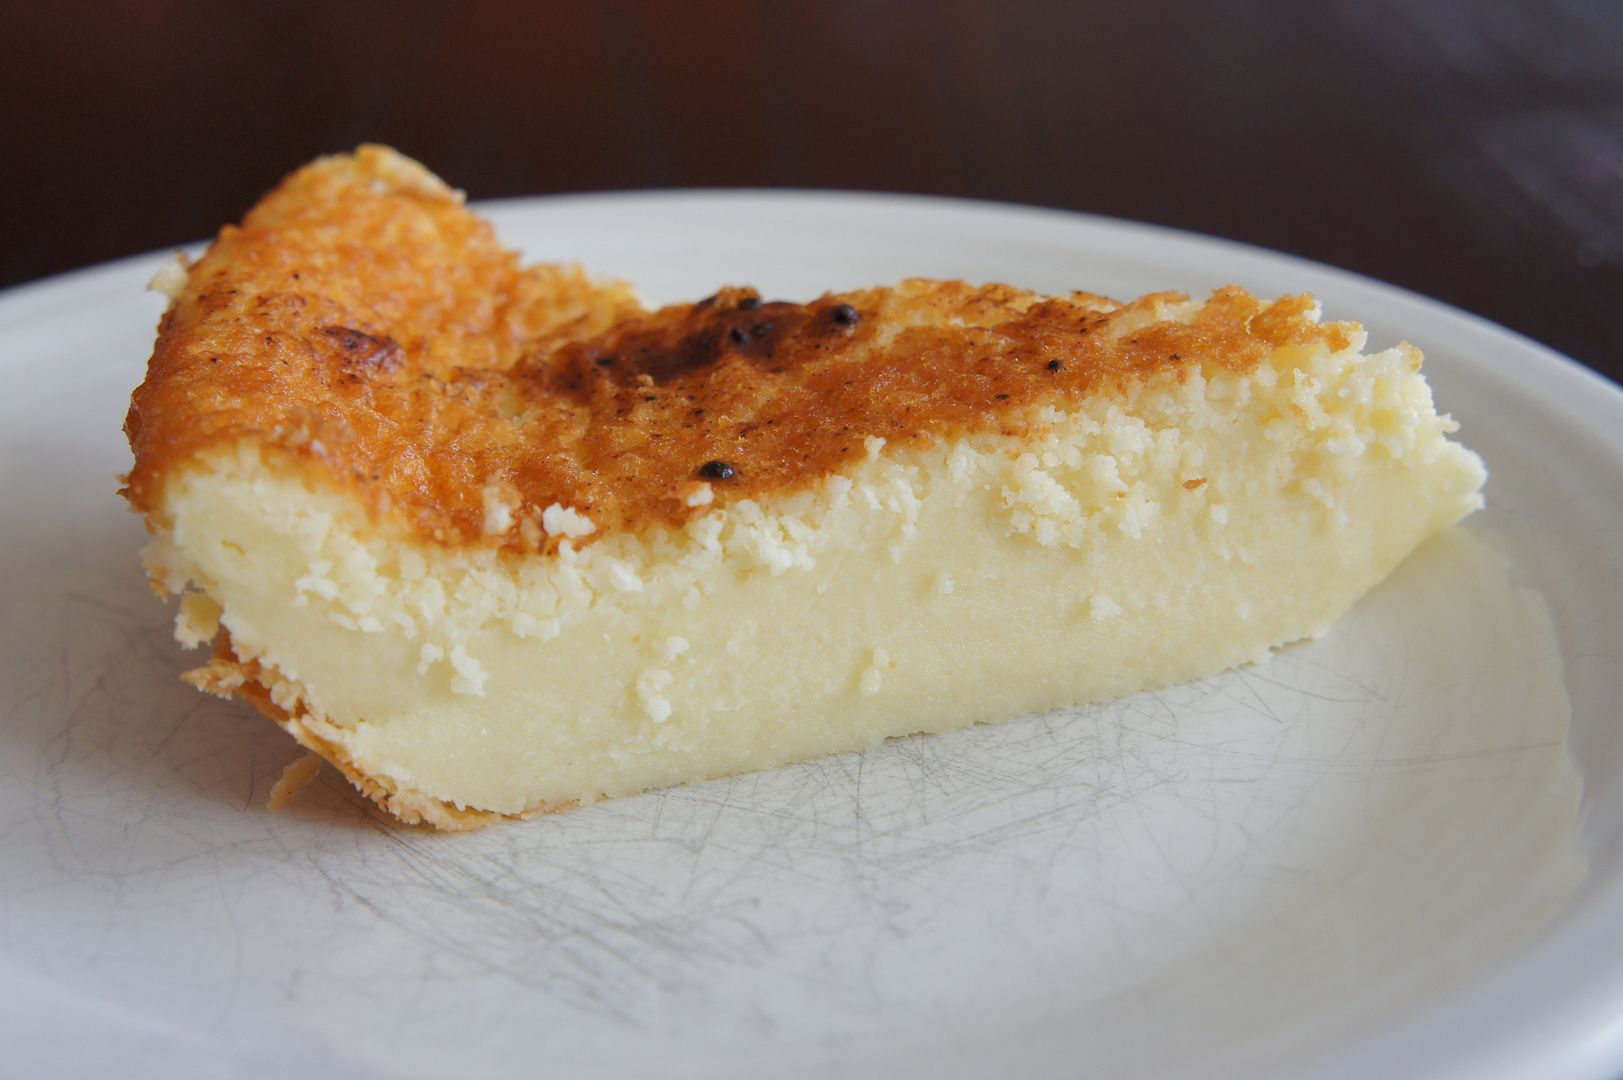
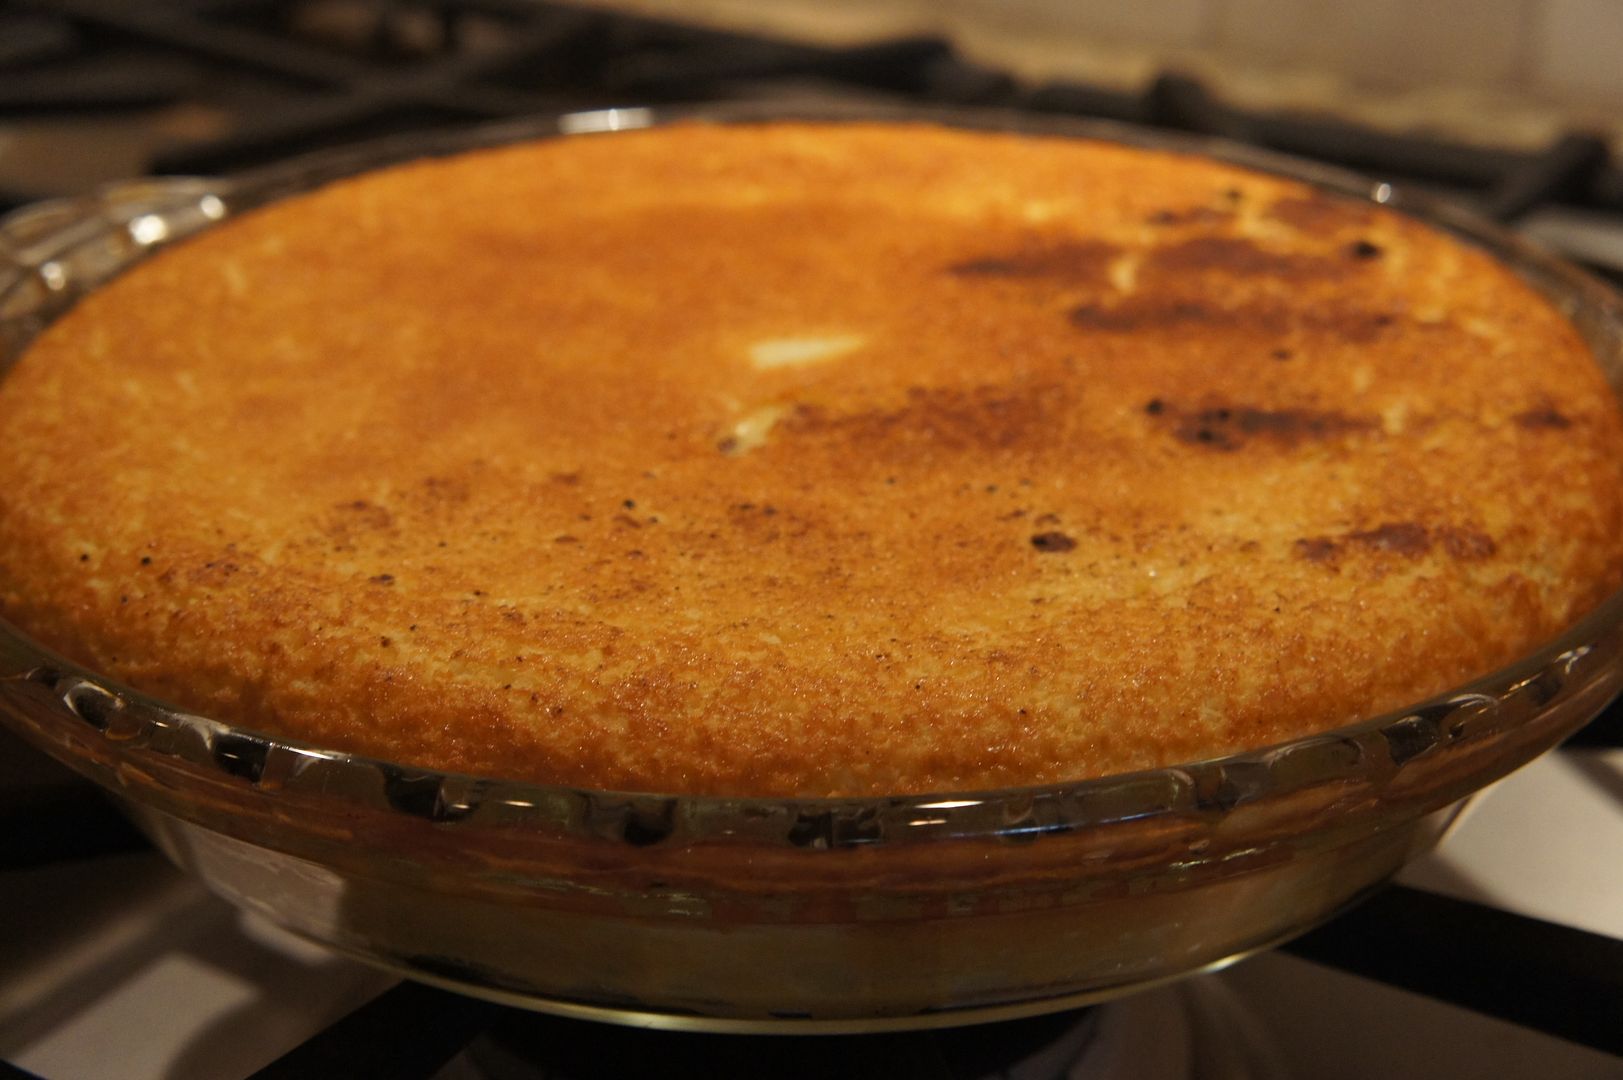
I had some friends over for a play date last week and decided to make a pie.  Just like that.  SO EASY!  I adapted the recipe from Land O Lakes.  They call it a magic pie because the ingredients separate while cooking so you end up with a golden coconut top, custard middle and (allegedly) a flour crust.  I didn't really see much of the crust on my pie but the rest was true.  I decided to rename it a custard pie because I think it suits it better.


Coconut Custard Pie
Ingredients
1 cup heavy cream & 1 cup milk (or 2 cups Half and Half)
1 cup flaked coconut (I used unsweetened)
3/4 cup sugar
1/2 cup all-purpose flour
3 tablespoons Butter, melted
4 Eggs
1 teaspoon vanilla

Topping:  Freshly grated whole nutmeg or cut-up fresh fruit (I added fresh blueberries one day and they were perfect!).

Directions
Heat oven to 325°F. Grease and flour 9-inch pie pan; set aside. Place half & half in 5-cup blender container; add all remaining ingredients (except toppings of course).  Cover, blend at medium speed until well mixed (1 to 2 minutes). Pour egg mixture into prepared pie pan; sprinkle with nutmeg, if desired. Bake for 40 to 50 minutes or until knife inserted in center comes out clean. Serve warm or chilled with fresh fruit. Store refrigerated.


I sprinkled Nutmeg on only one side, it came out a little clumpy but tasted just fine.

So what are you waiting for?  Go make a pie!

Friday, February 1, 2013

Fisher Price Friday - Cruise Boat

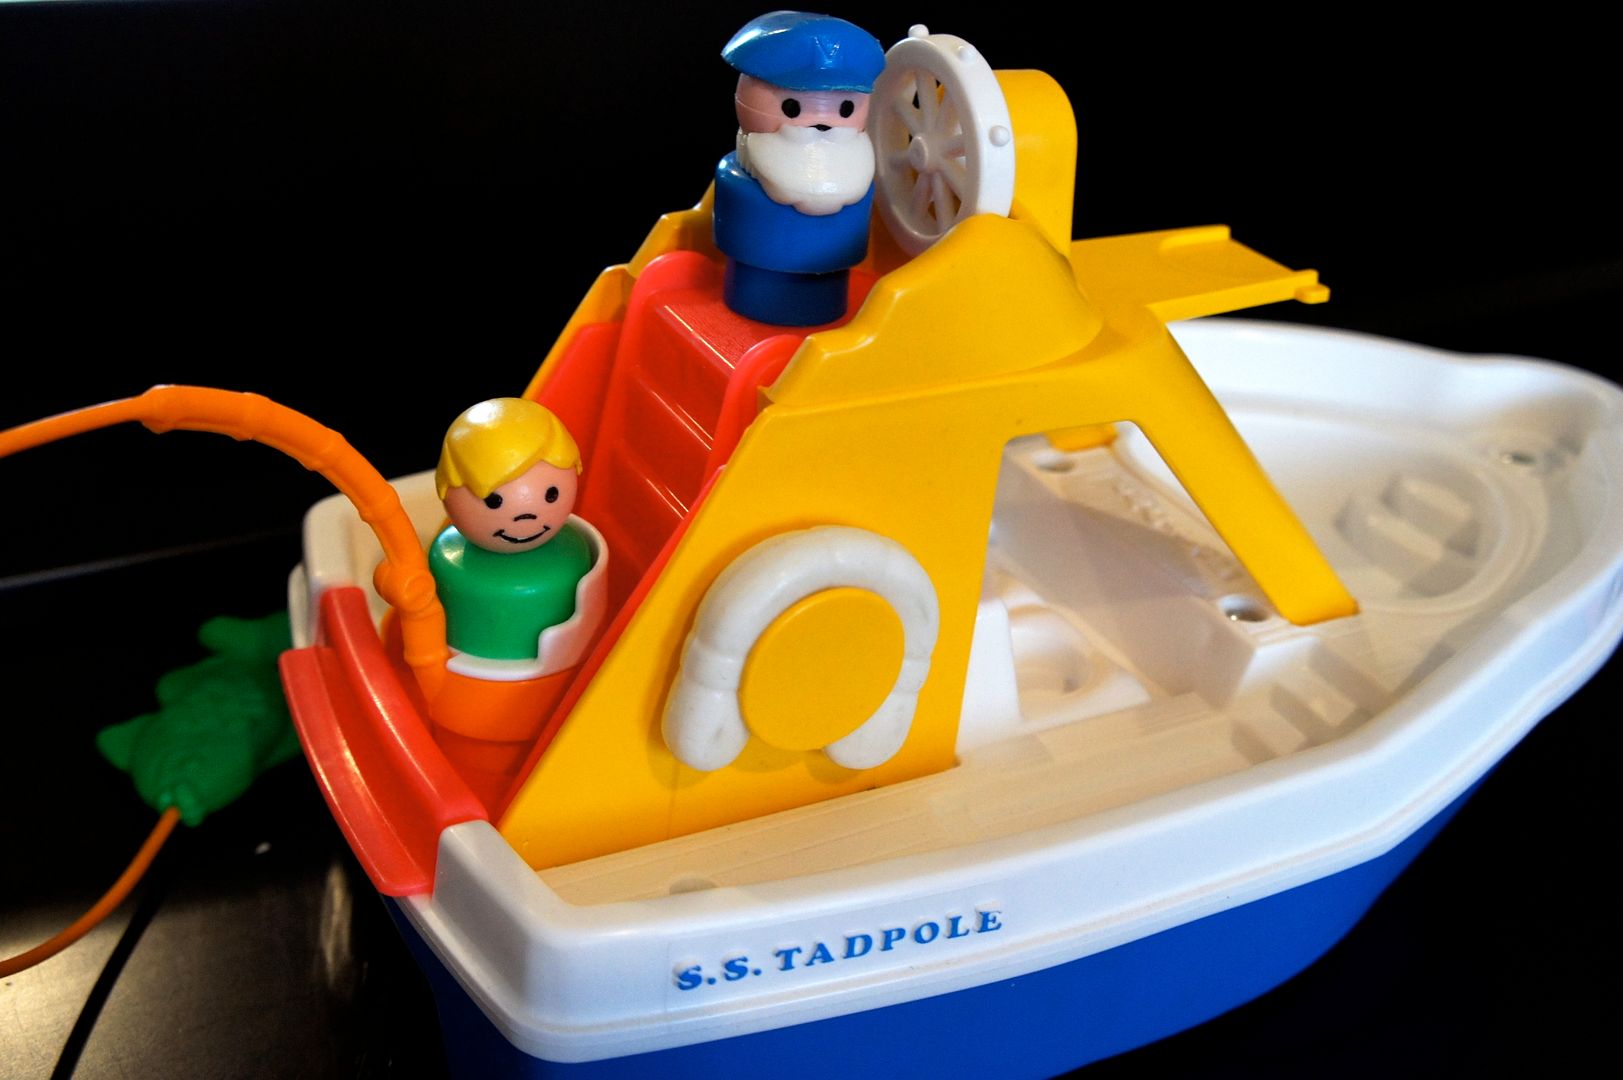
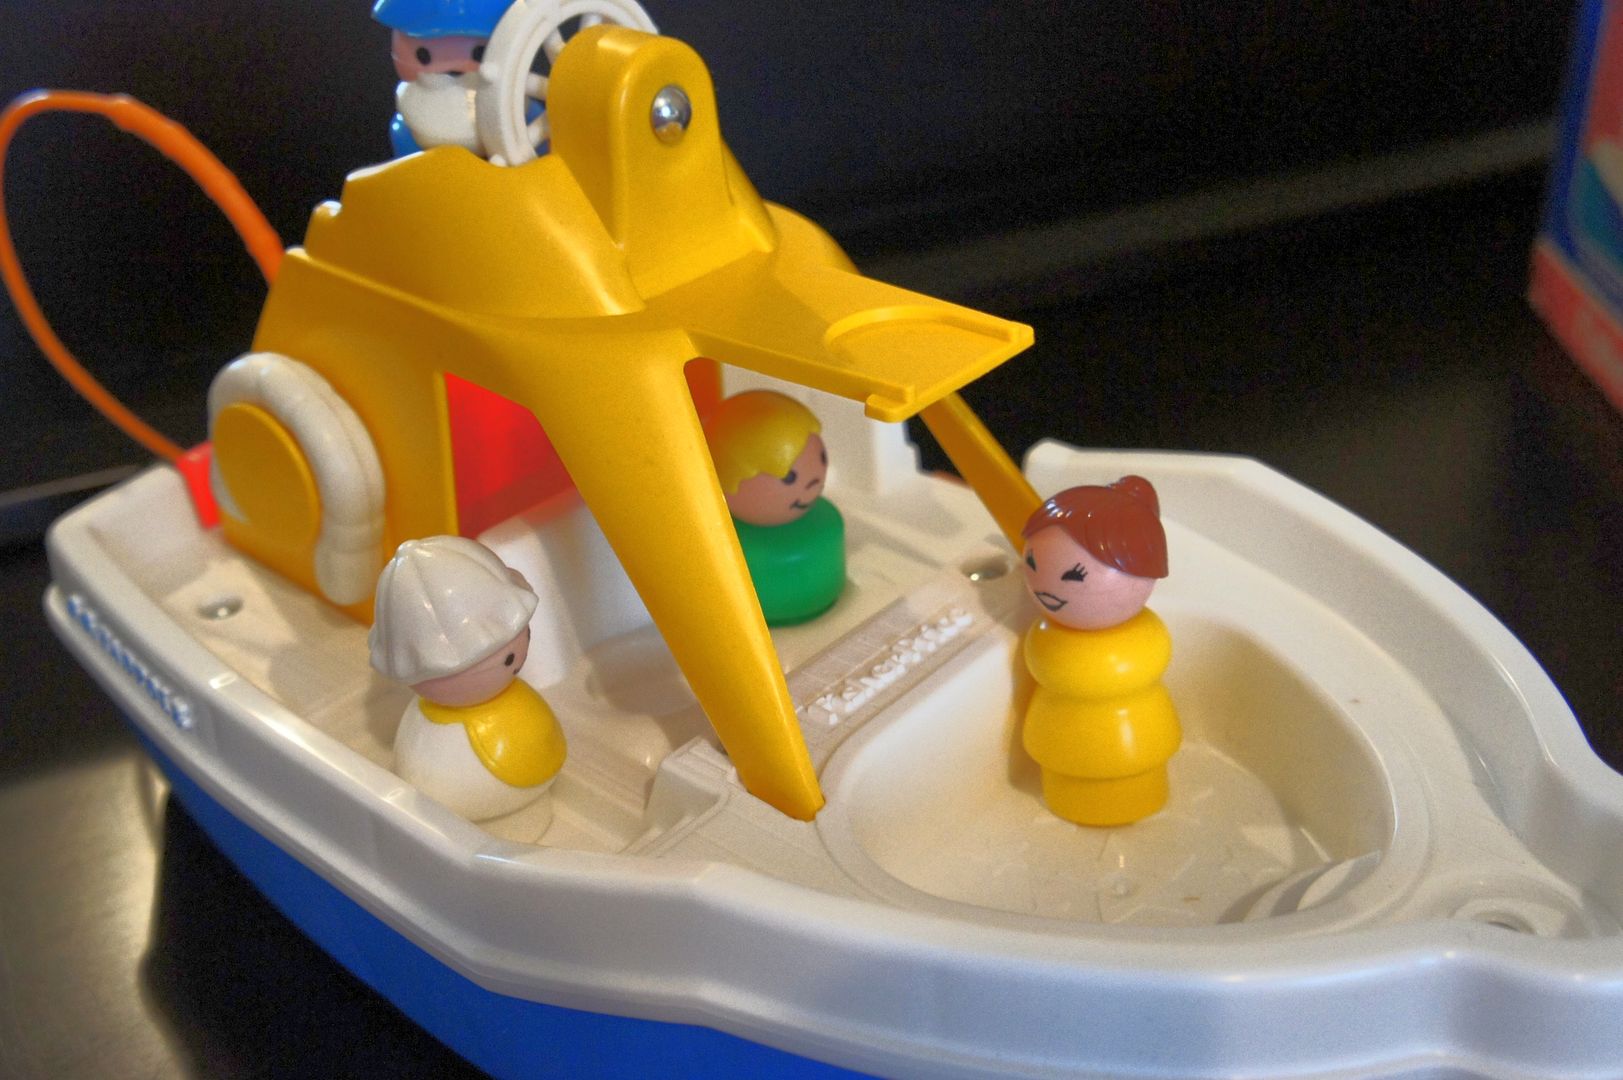
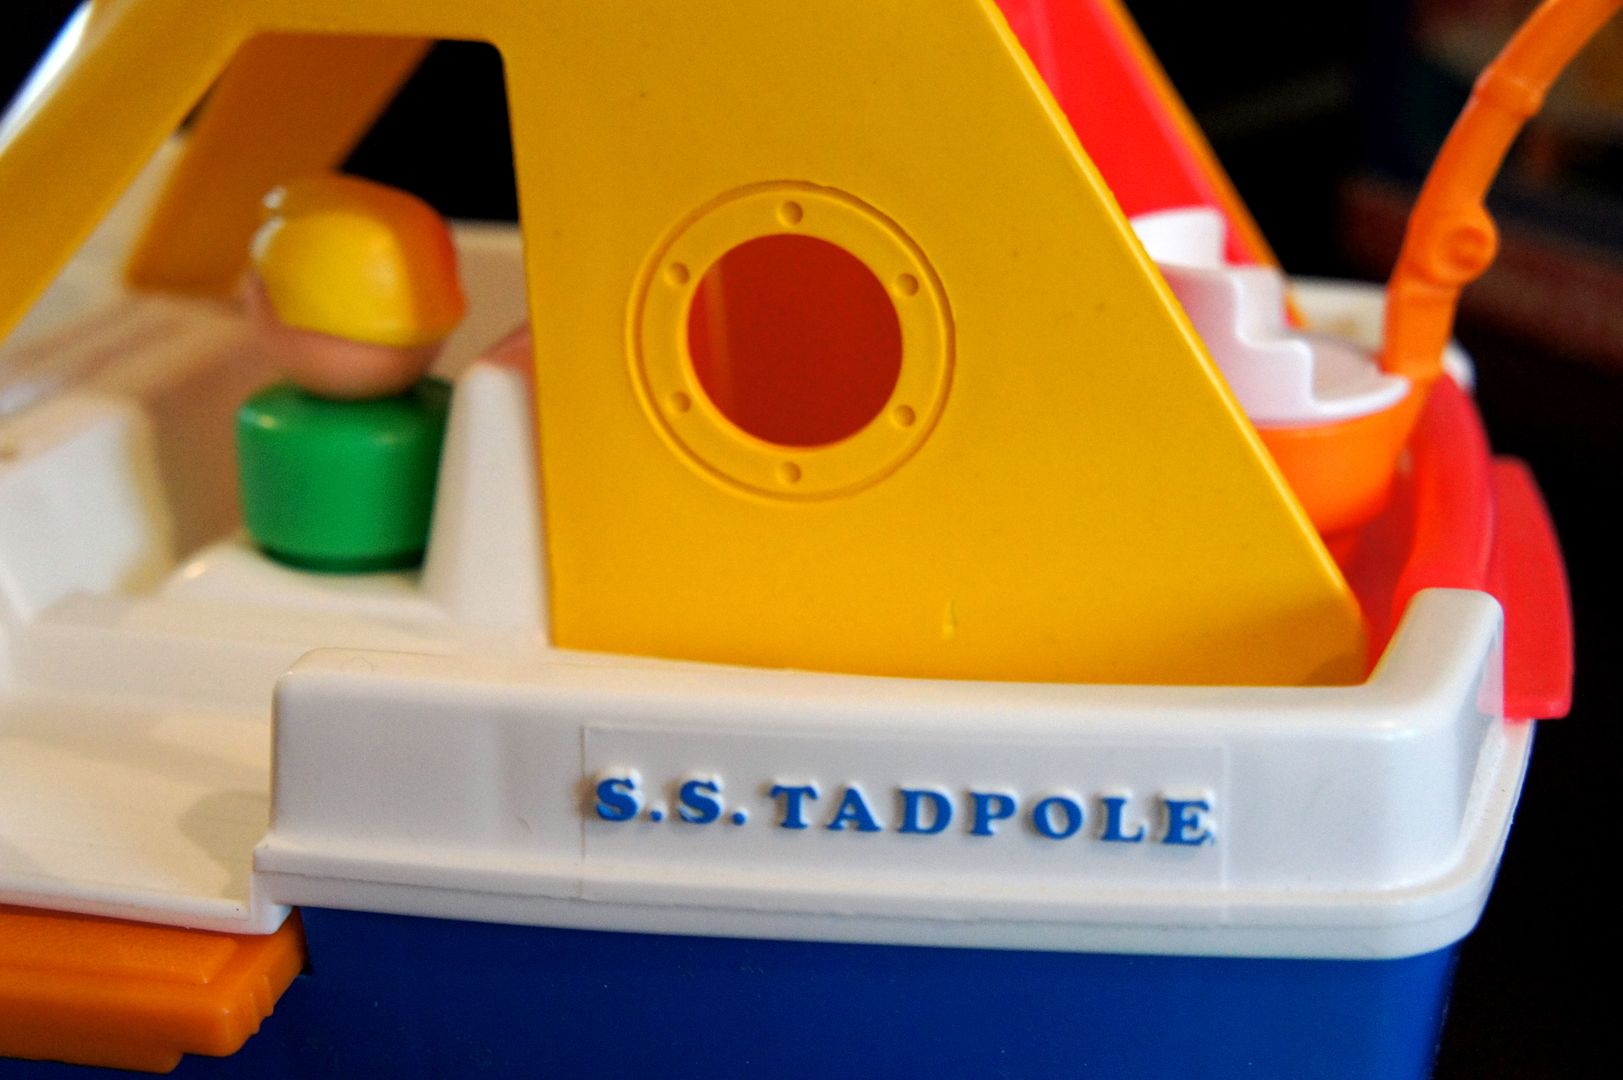
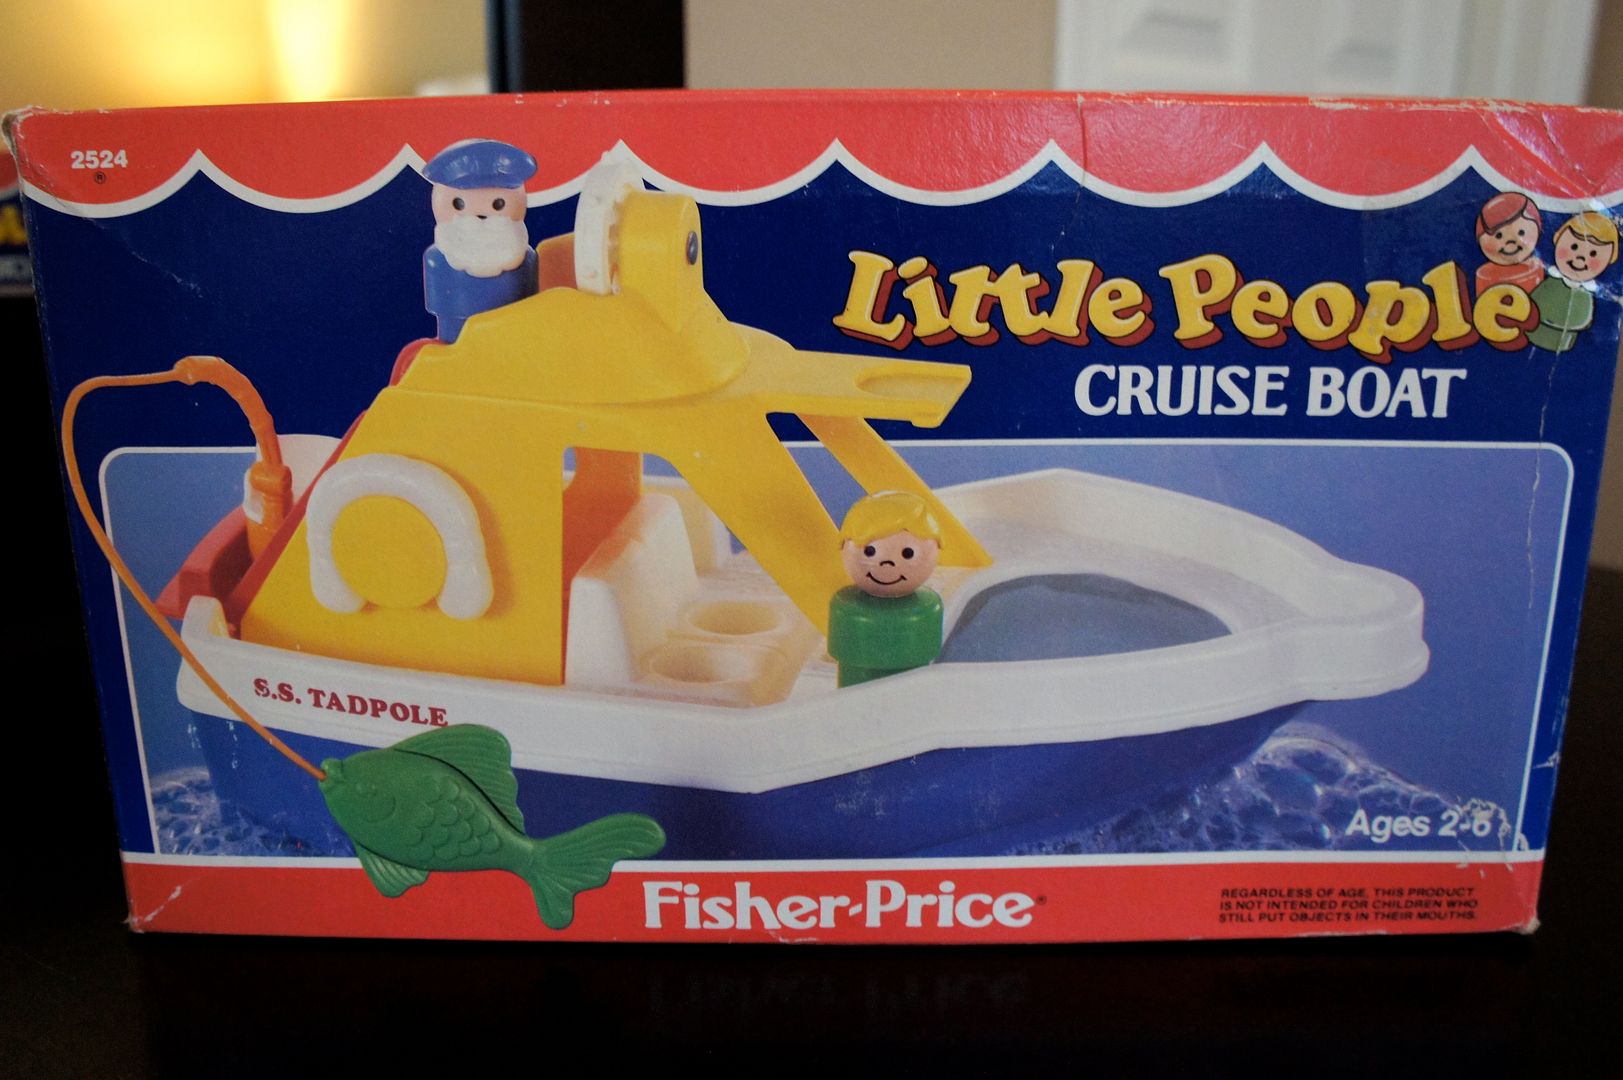
Today on Fisher Price Friday I'd like to introduce the charming Little People Cruise Boat #2524.  Also known as the SS Tadpole this colorful plastic boat was made only briefly between 1989-1990 at the end of the classic people run (before chunky and the current LP).  It was designed for children ages 2-6.


The Cruise Boat has only 3 accessories which makes it an easy play set to complete.  However, the little blond boy was only made for this set, so he can be tricky (expensive) to find.  The life-preserver and the captain were found in prior sets.

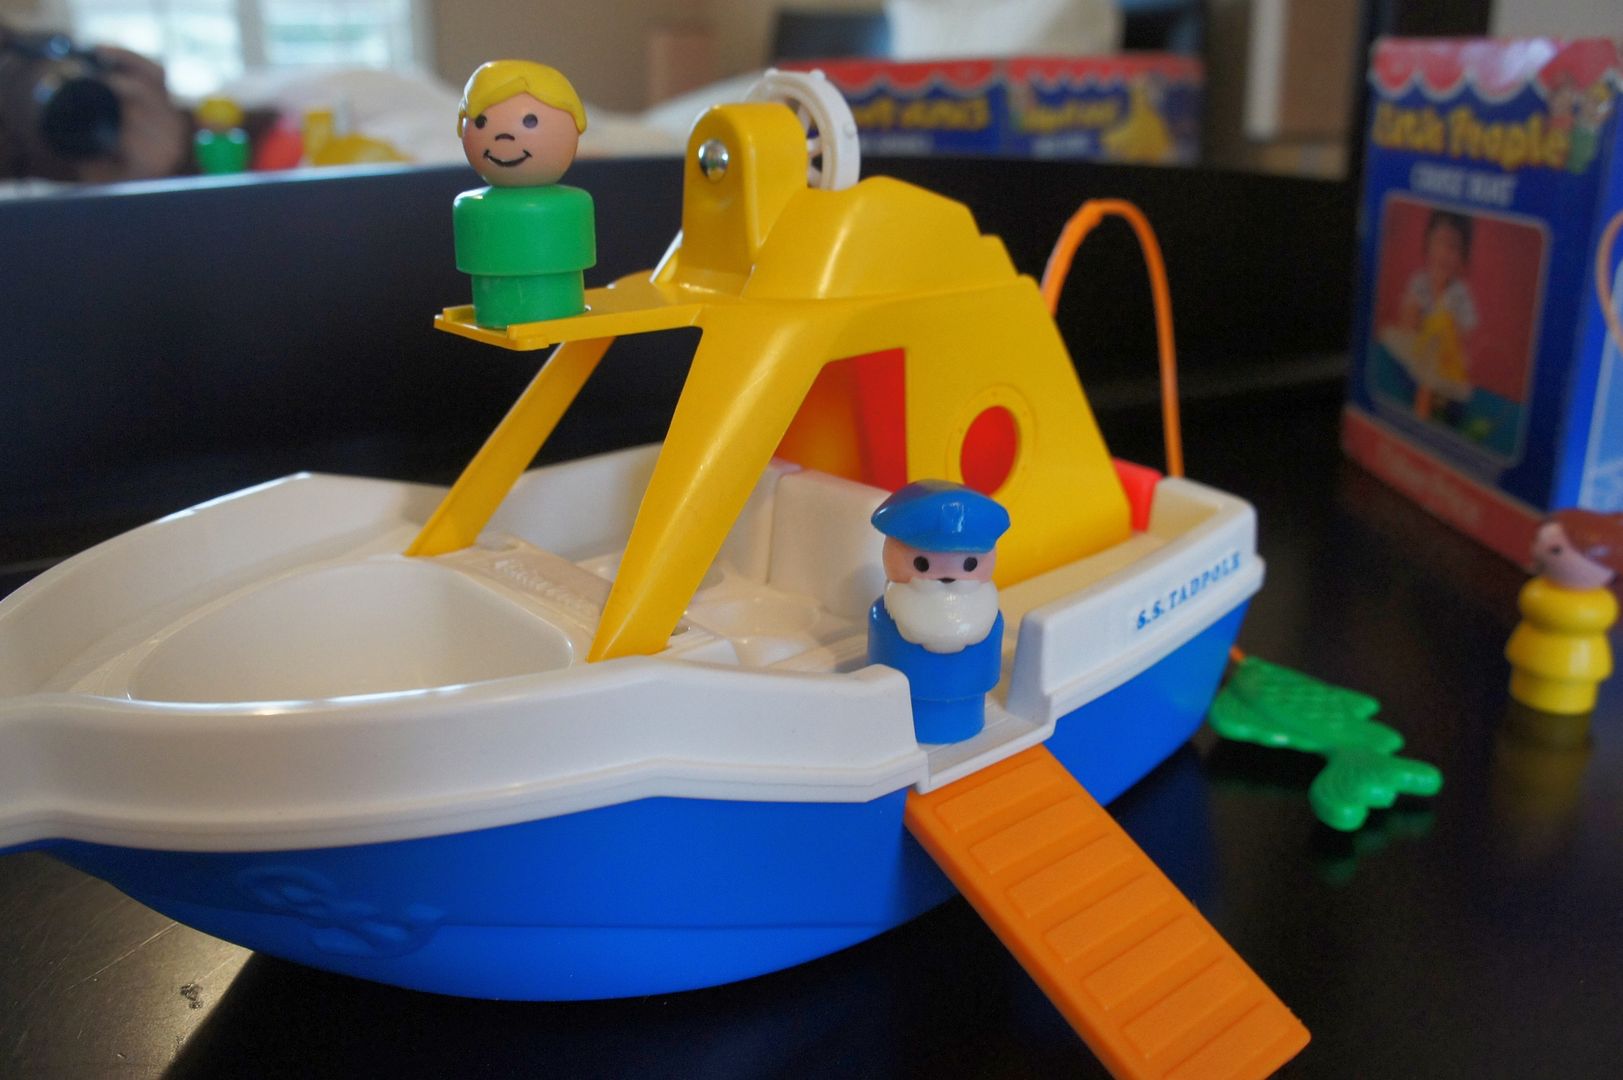
The boat has many fun features and is perfect for bathtub or pool play as it has no lithographs.  One side of the boat has a orange gangplank/ramp that slides into the boat for storage.  

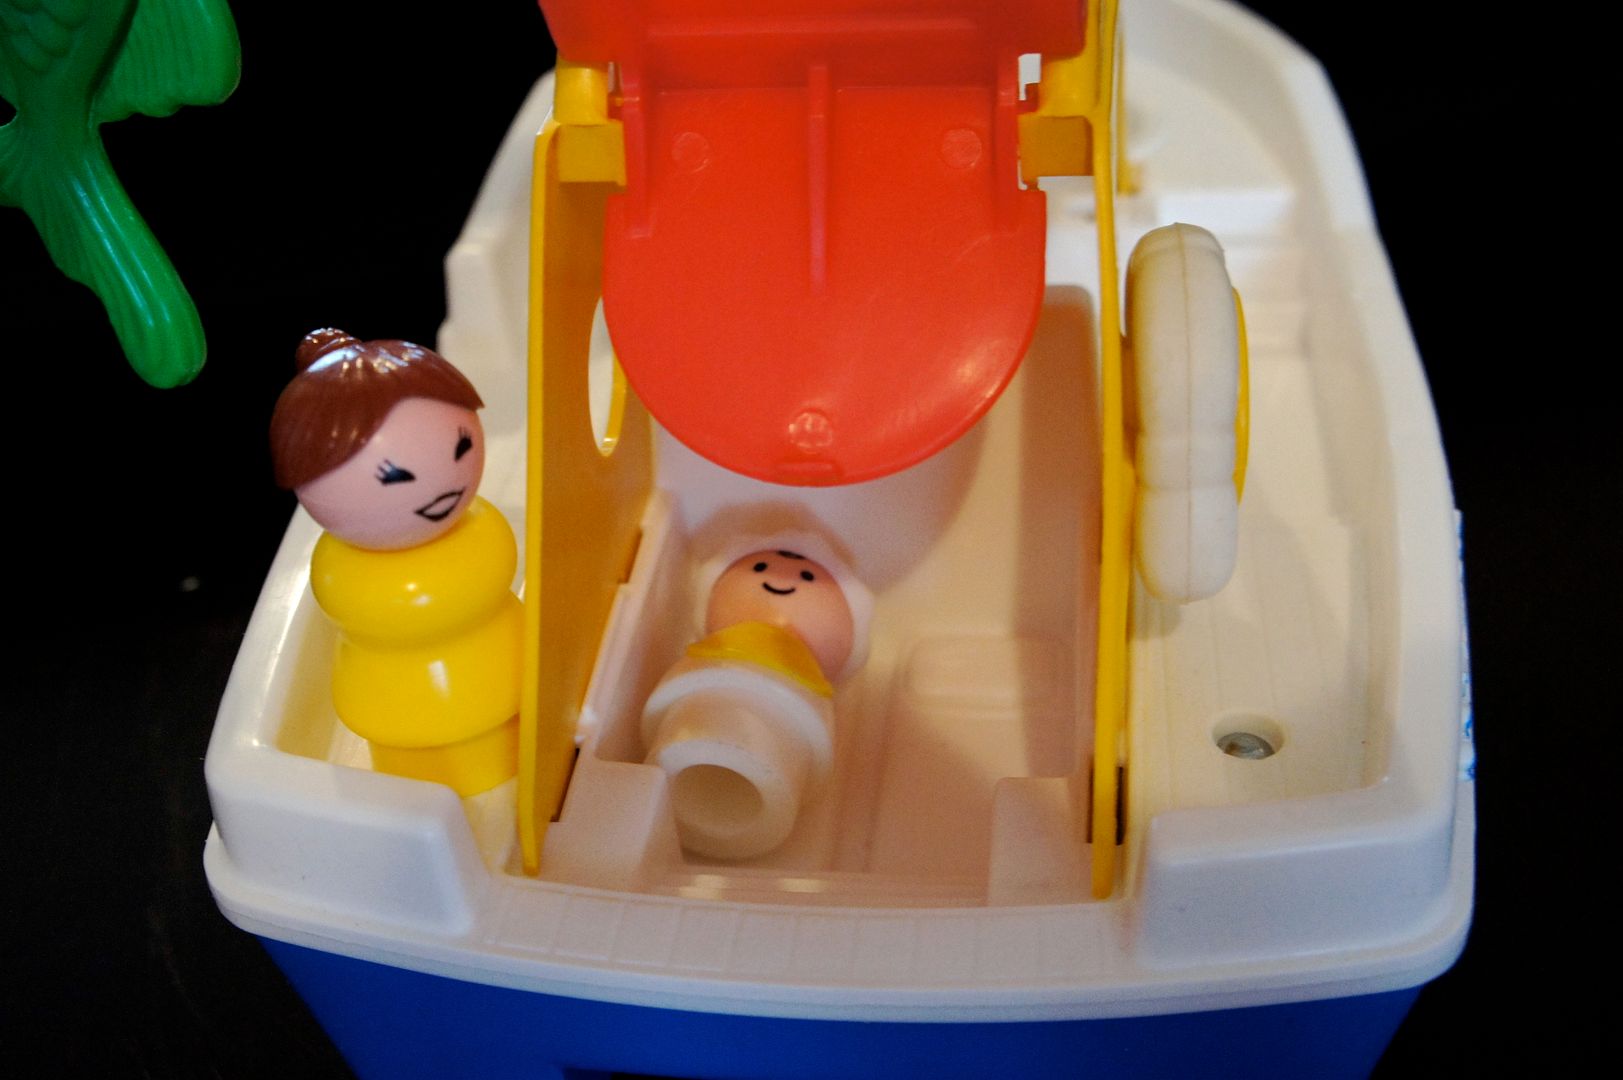
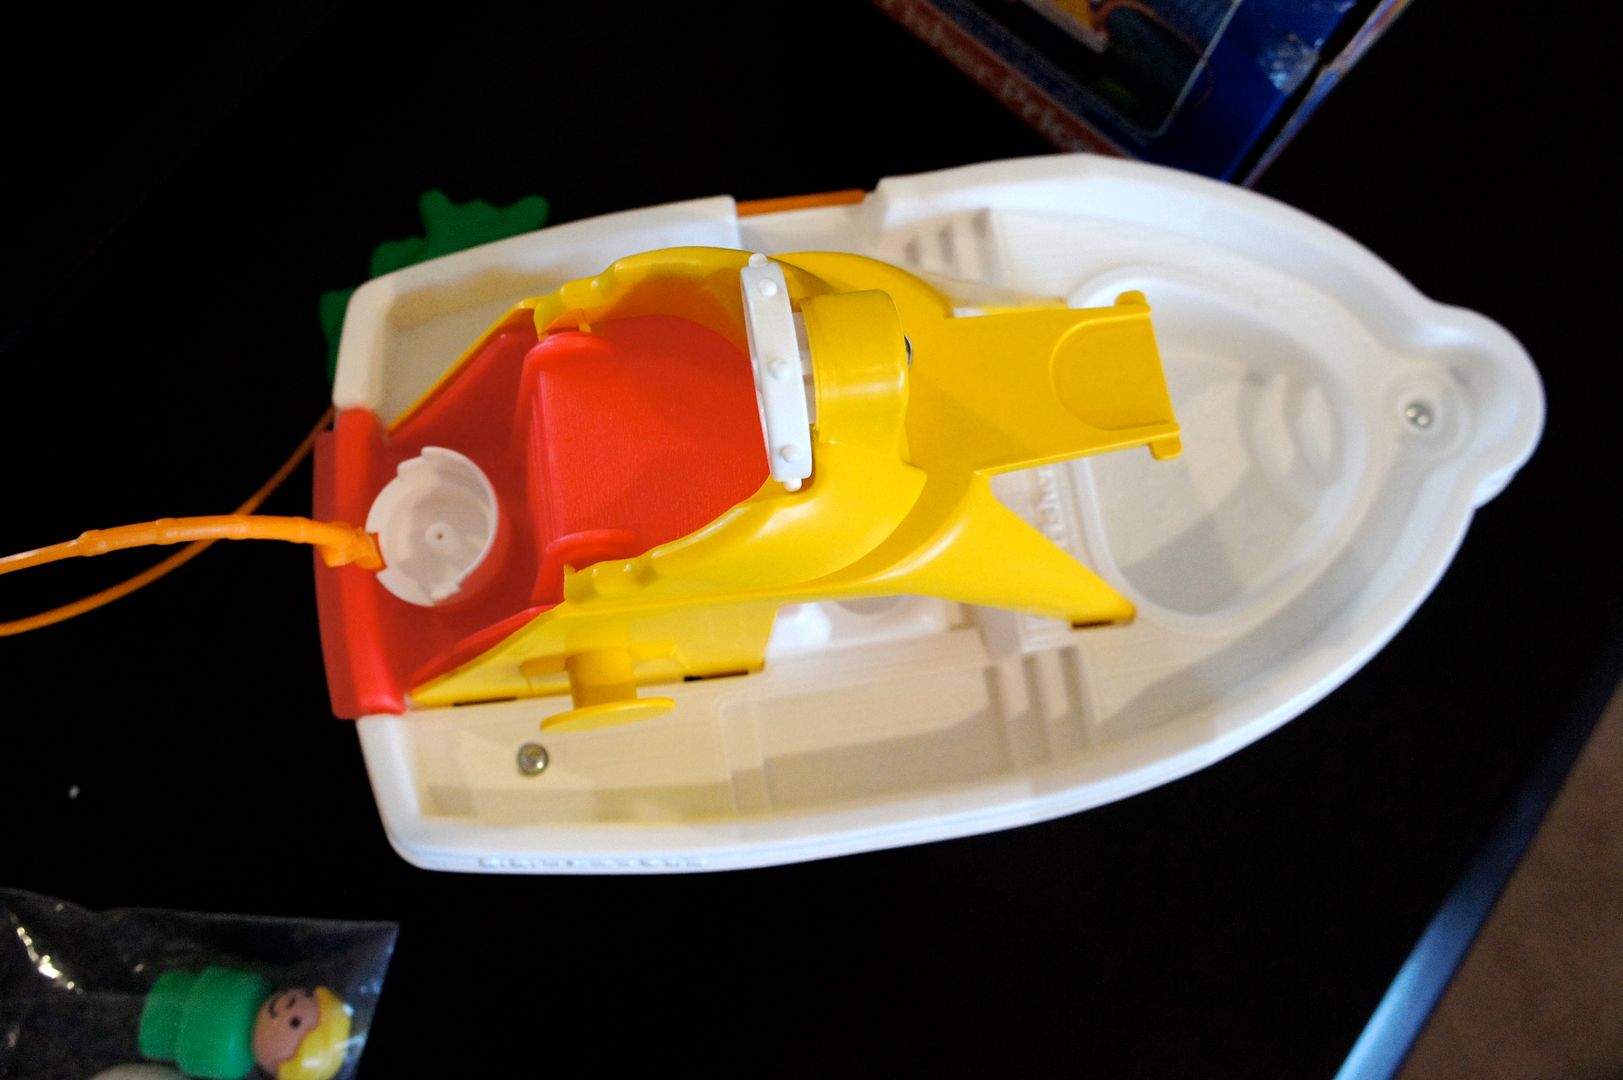
The back of the boat has a sleeping cabin with two built in beds.  You can access the cabin by flipping up the red fishing chair.

The beds have molded pillows.  My daughter added the mother and baby to demonstrate how they work as they did not come with the original set. It seemed creepy to put the blond boy and the captain in the beds; there is something not quite right about that. ;)

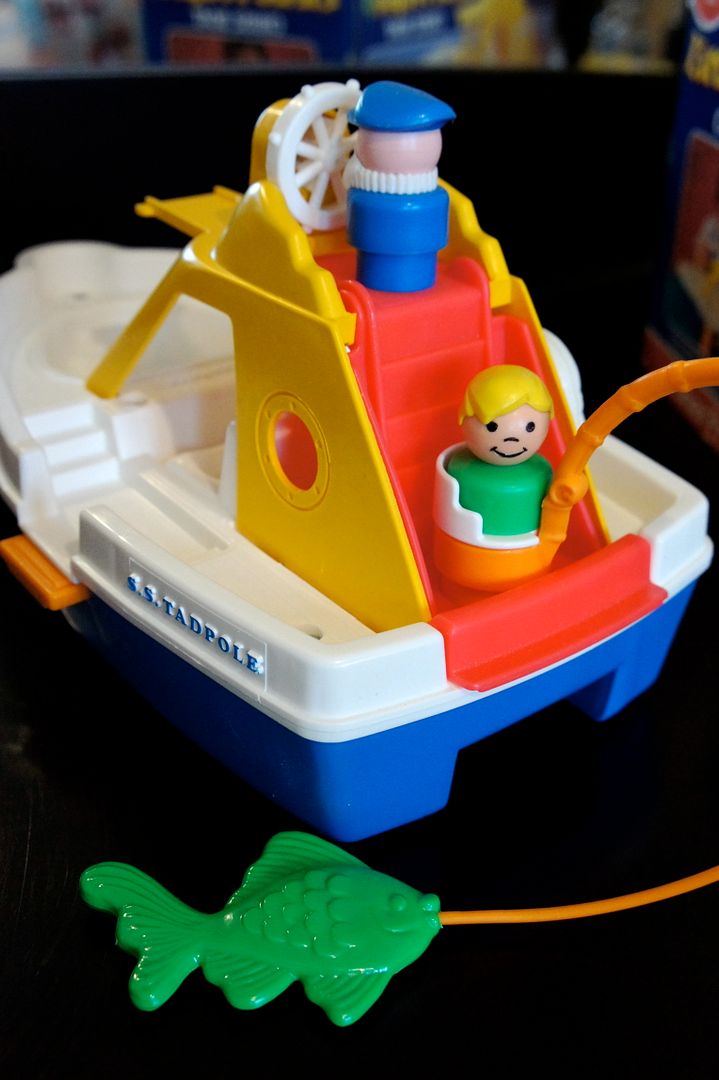
Here is a better view of the fishing chair.  It swivels side to side.  The orange fishing pole and green fish are permanently attached to the boat and move around with the chair.  When in the tub or pool the fish appears to swim around under water.

The front of the Cruise Boat has a built in swimming pool complete with steps and star shapes on the bottom.  This is one classy fishing boat!  Behind the pool are two molded seats (blond boy is sitting in one of them).  The life-preserver is stored on this side of the boat as shown.  I've read that a yellow life-preserver could also have come with the set (less common).

The top deck of the boat includes a stationary diving board and the captain's wheel.


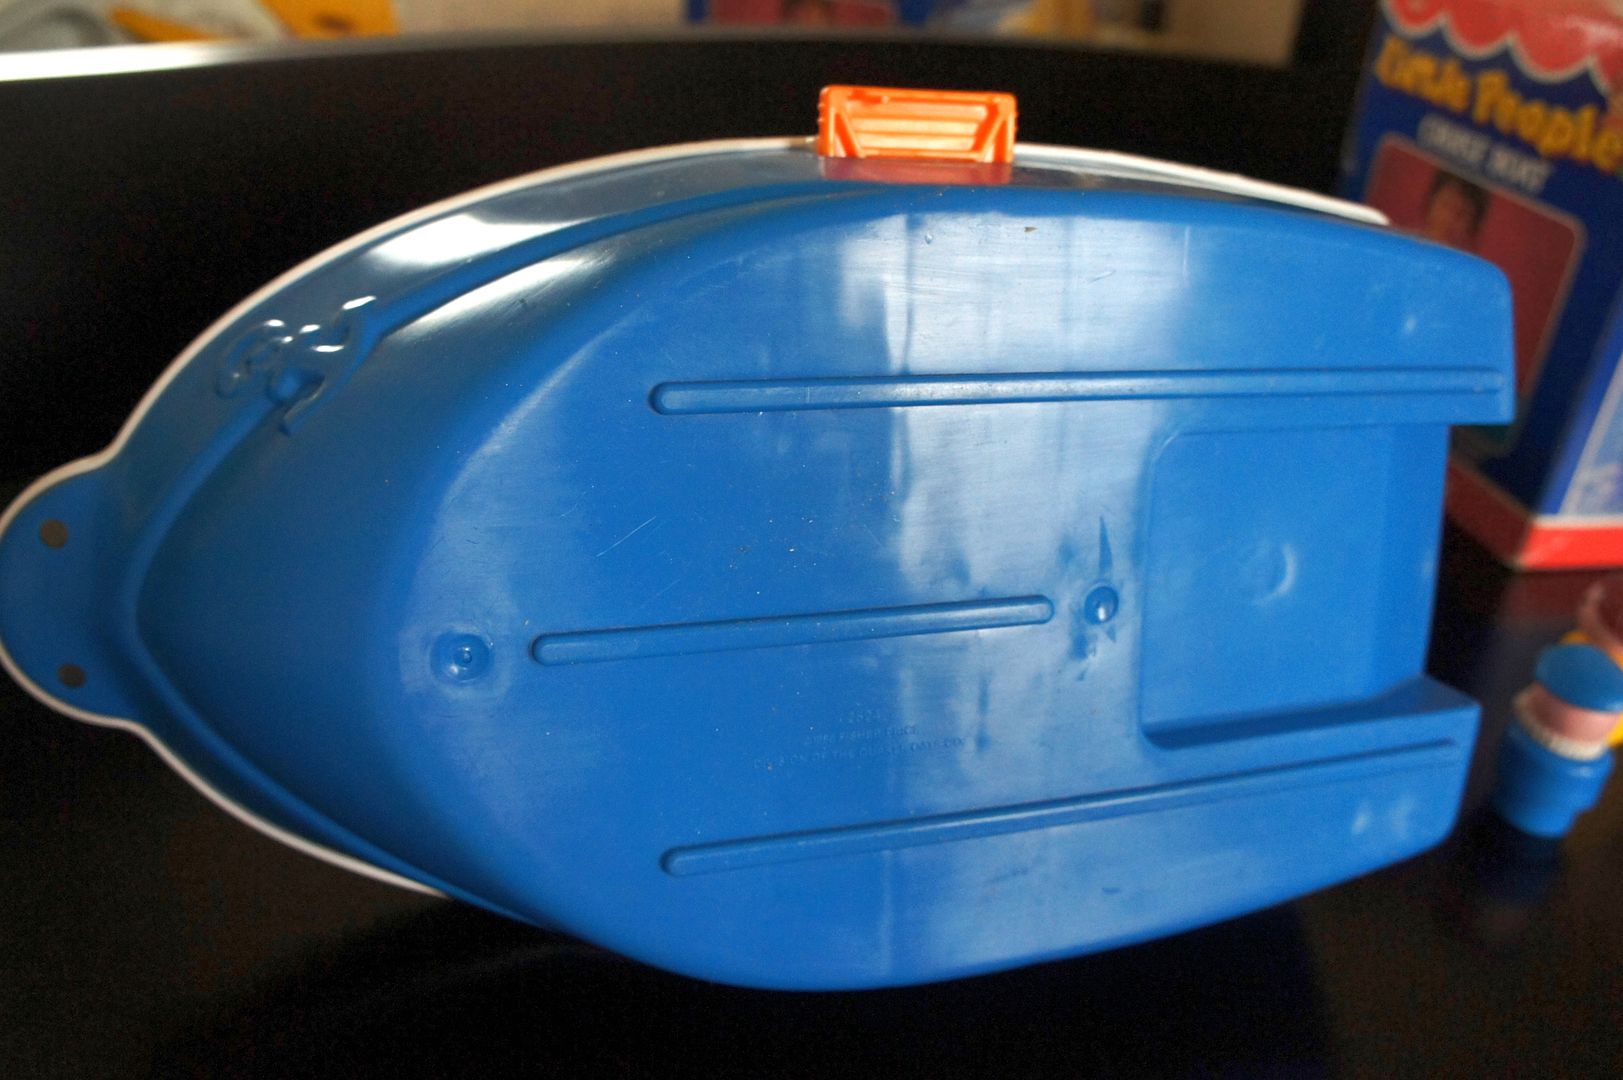
The bottom of the boat has the toy number and the name Fisher Price.  It also mentions Quaker Foods, who owned FP when this toy was made.

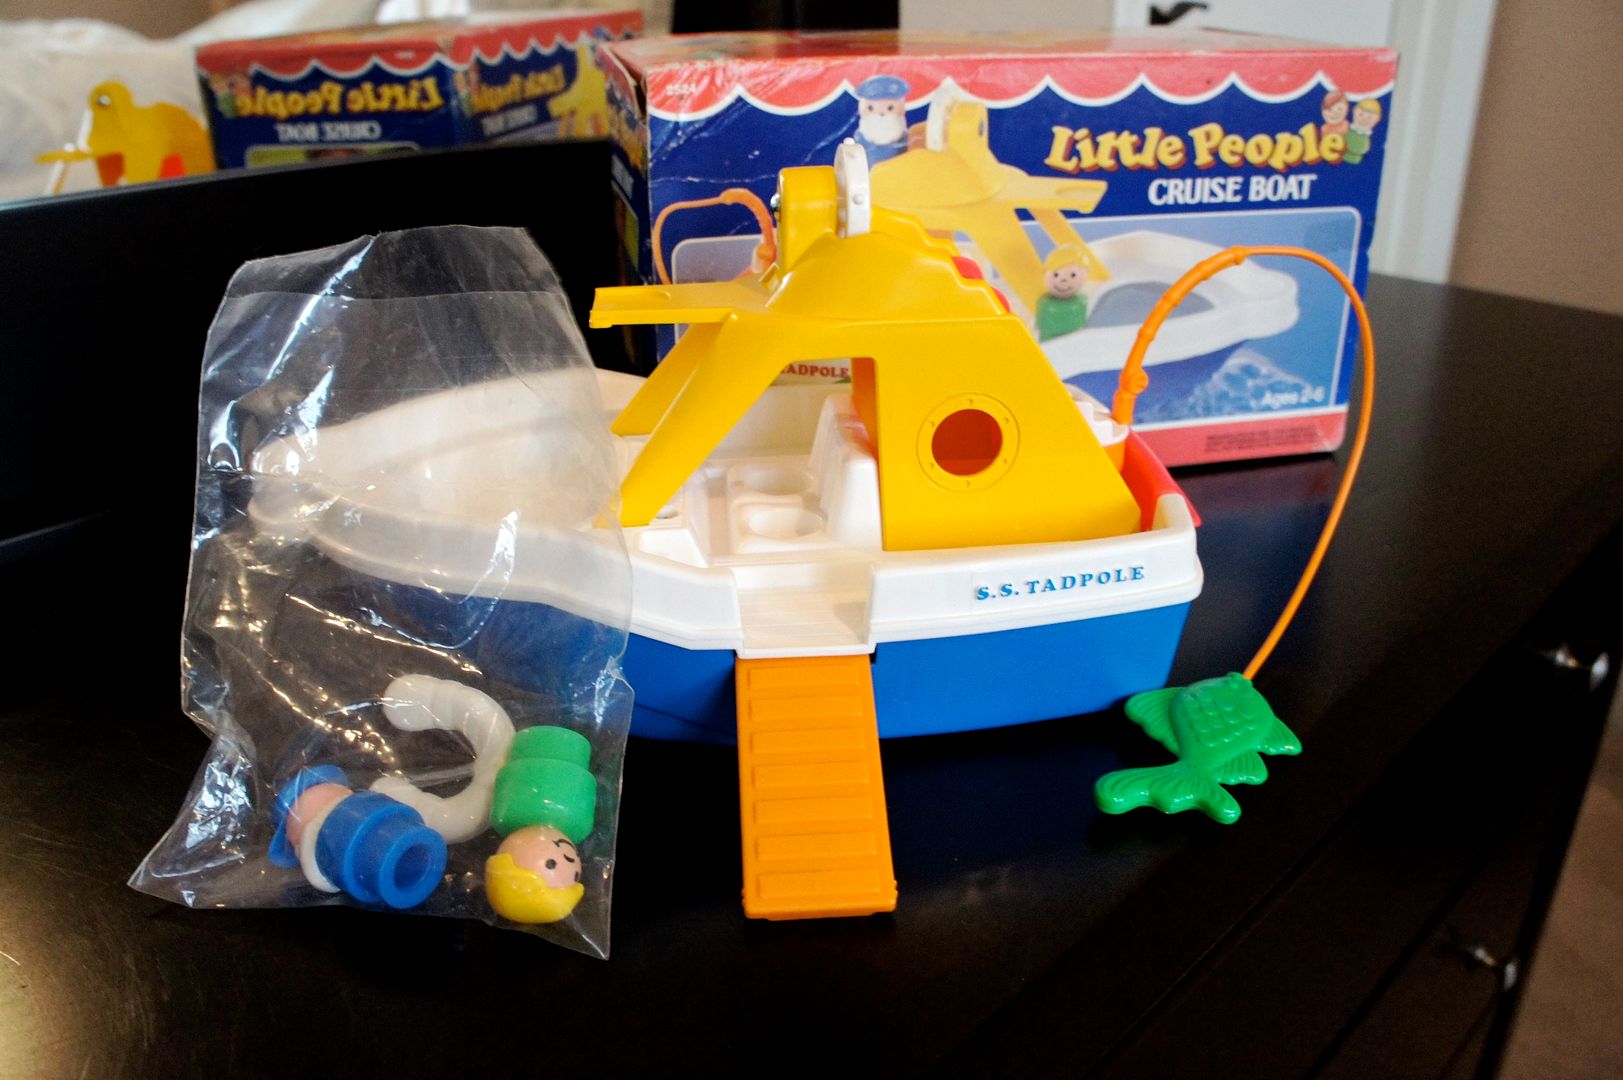
Here is a new-in-box version of the Cruise Boat.  The set accessories came sealed together in a plastic bag as shown. 


If you like bathtub toys check out:


Or for more boats:

Thursday, January 31, 2013

Crock Pot Chili (from dried beans) Recipe

Ah, I love this time of year.  It's crock-pot season!  Bring on the soups, stews and now chili.  I don't make chili very often, mostly because it is hard to find a recipe that my "selective" (aka choosy) husband will like.  I decided to give this recipe a go when I read it on my friend's blog: willworkforeskimokisses.blogspot.com

However, I had to make a few adjustments as my family prefers our chili more soup-like than stew-like.  The good news is that the chili was both simple and it was a success.  My favorite combination!


Crock Pot Chili with Dried Black and Pinto Beans
Ingredients 
6 oz dried pinto beans
6 oz dried black beans
3 tbsp tomato paste
2 14.5 oz cans Diced Tomatoes
2 medium onions, chopped
1 bell pepper, chopped (I used a red pepper)
6 garlic cloves, minced
2 1/2 tbsp chili powder
2 tsp cumin
2 tsp salt
1 cup water
2-3 cups beef broth
1 lb ground beef
1-2 dried chilies, whole (optional)

Directions
1. Soak beans overnight by covering with a few inches off water in a large bowl or pot. The next morning drain water and rinse beans before placing in crock pot.
2. Brown beef, breaking it up as it cooks until cooked through. Add along with all the other ingredients (except the broth) to crock pot. Cook for 8-10 hours.  I added the beef broth about 30 minutes before serving to keep it from being so thick.

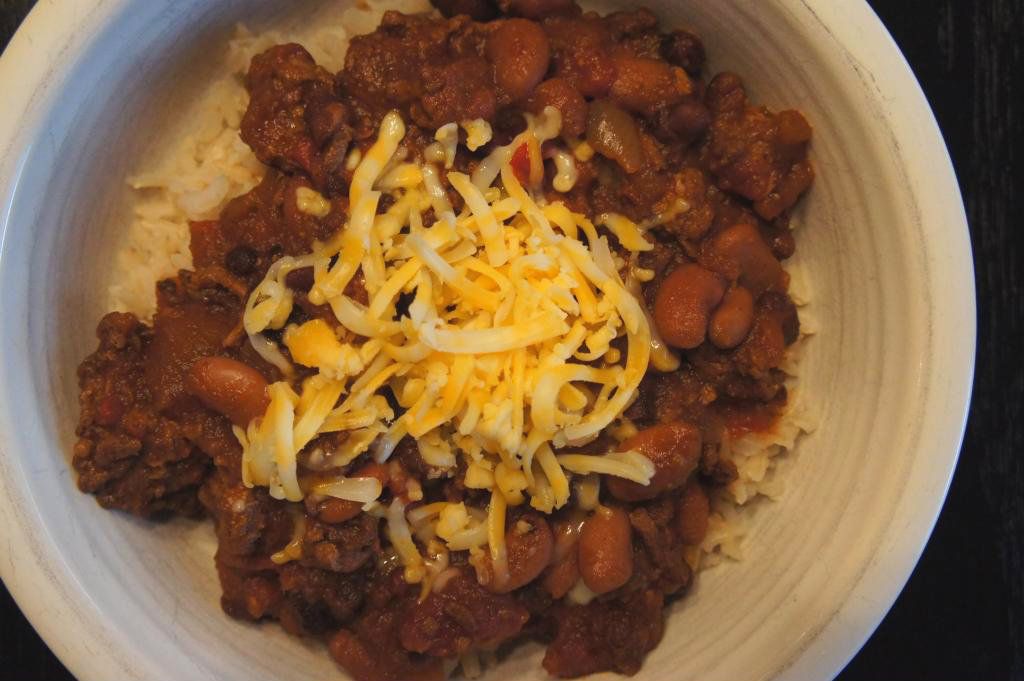
I served my chili over brown rice with shredded cheese and a little sour cream.